Let’s talk more about ISO.
What is ISO? ISO is the sensitivity of the image sensor to light. Remember the example of the worker bees bringing back the light for you. So if your ISO is set at 100 you are sending out 100 bees to bring back light. If it is set at 1600 then you are sending out 1600 bees which will get you a lot more light then the 100.
Read more: Complete Guide to Understanding the Exposure Triangle
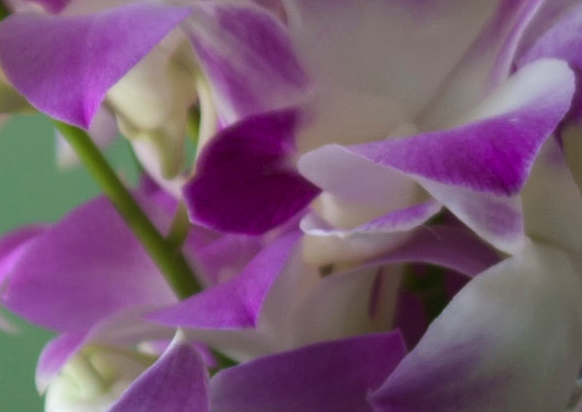
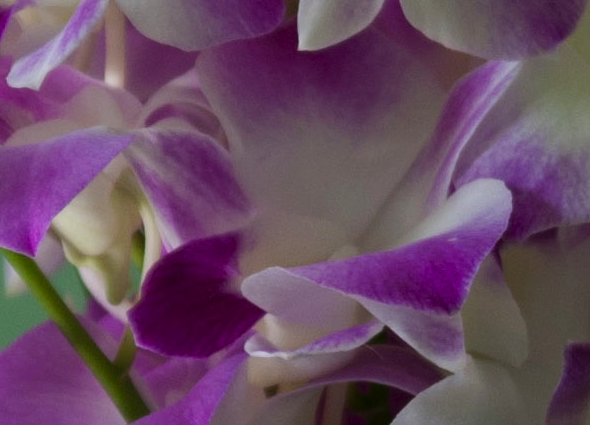
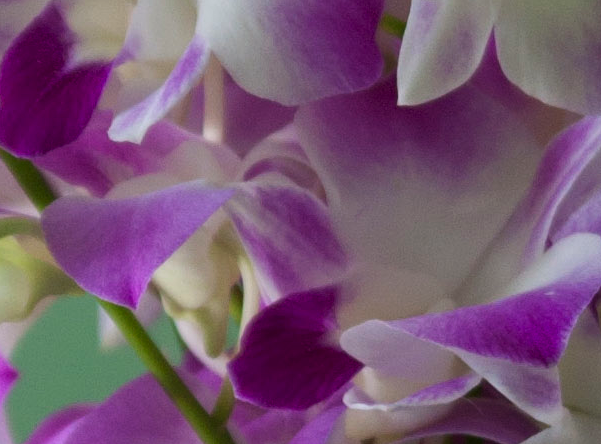
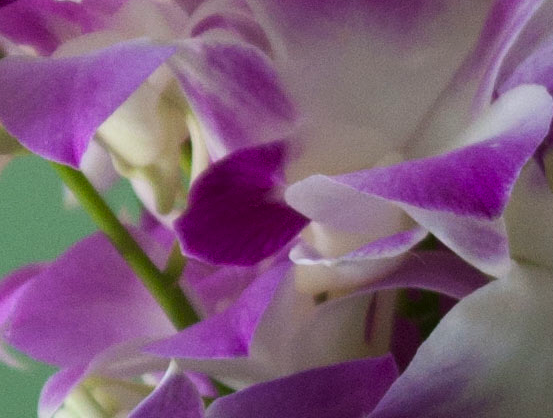
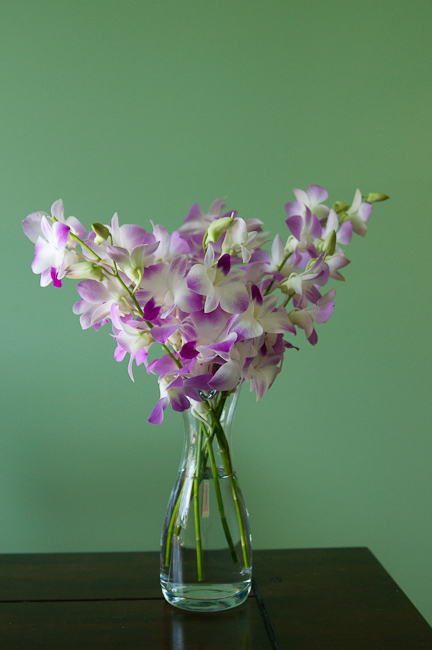
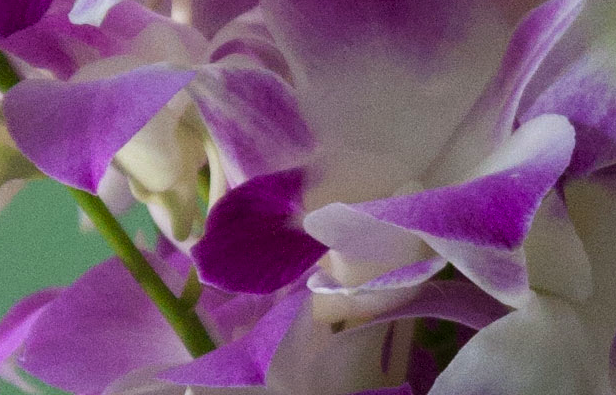
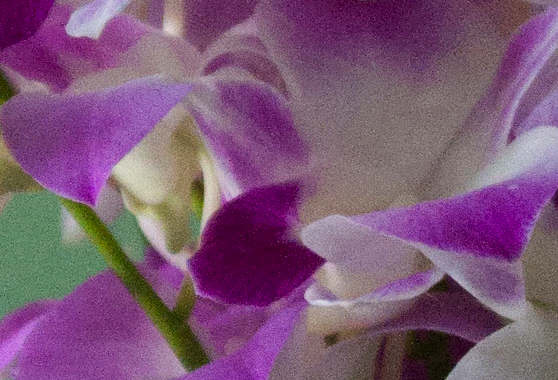
When people talk about ISO they talk about the noise or grain you may see when you bump it up. If your photo is exposed properly it cuts down the noise but we will talk more about that later. Today, I wanted to show you an example of the grain/noise that you may see as your ISO increases. Sometimes I like to embrace the grain and if you convert the picture to a black and white it can look really cool.
It is always nice to enlarge your picture to 1:1 ratio or 100% view if you are going to print it. This will help show you if your picture has a lot of noise that may not be noticeable when viewing on your computer at a smaller size.
There are different types of noise reduction software out there. I just recently learned how to use that setting in Lightroom and I love it.
All of these shots are SOOC for the purpose of you seeing the noise.
Your camera will limit how high you can set your ISO. These were taken with my Nikon D90. Depending on the type of camera will depend what your noise looks like at different levels. My Nikon D700 can go much higher. Full frame cameras have more abilities than crop sensors. I challenge you to do this little experiment and see how high you can go.
Click here to learn how to reduce the noise in Lightroom.
What you need to know about indoor natural light photography








I have been wondering about this “noise” you have been talking about. This is very helpful to me and now I know to check it out at 100%.
On a side note I have misplaced my camera cord on this trip so I won’t be able to post a picture this week. At least I brought a lot of SD cards. I have filled up almost 16 GB. Yikes!! But let me just say that I am excited about some of my pictures. This week I have learned that you should really take the road less traveled.
Get yourself a card reader if you dint already have one. Best $12 I spent and really comes in handy if you have multiple cards.
Yay!! I can’t wait to see your pictures!! I hope you are having a blast in the “land down under” :O)
You will have to do a tutorial on using it in Lightroom and maybe some before and afters. I’ve tried to figure it out and I don’t notice a difference so I think I’m doing something wrong!
I will try and get that up for you this week :O)
Very cool. Thanks for showing the close ups. I would love to hear how you did it in lightroom.
I’ll try and do it this week :O)
Courtney i’m pretty sure we can bump up the iso to 6400 on the d90 also. (I think it’s called iso H1 or something. It’s in the expanded menu.)
I thought that is what those numbers went to but wasn’t sure :O) Guess, I will need to try it out!!
Courtney Seriously, I am just 12 year old
and is in simply love with your website.
also can you answer my question ?
Q: which are the best settings to keep for aperture, shutterpeed and ISO in manual mode???
Thanks! Unfortunately, there is no magic setting. It all depends on the light you have available.
its informative….