Adding a texture in Photoshop or Photoshop Elements is actually very easy. Hopefully this tutorial will give you the knowledge and confidence to experiment with your art more and push your boundaries.
If you are unfamiliar with layers, you can read about understanding Photoshop layers here.
I like to edit my photos as much as I possibly can before I add a texture. Some edits effect the look of the texture, so I have found it best to leave the texture for last. So take your edited image and flatten it or merge visible layers (CTRL+SHIFT+E).
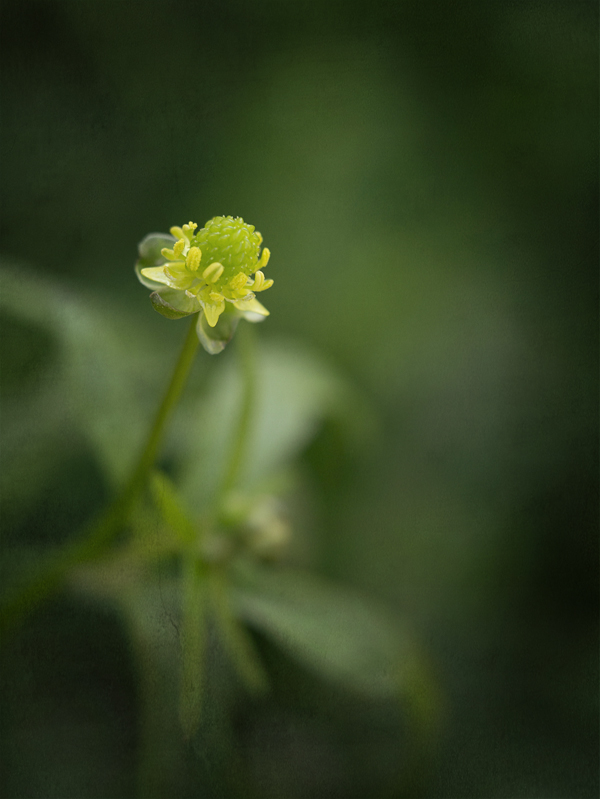
Here is my photo of a small flower (okay weed) in my yard.
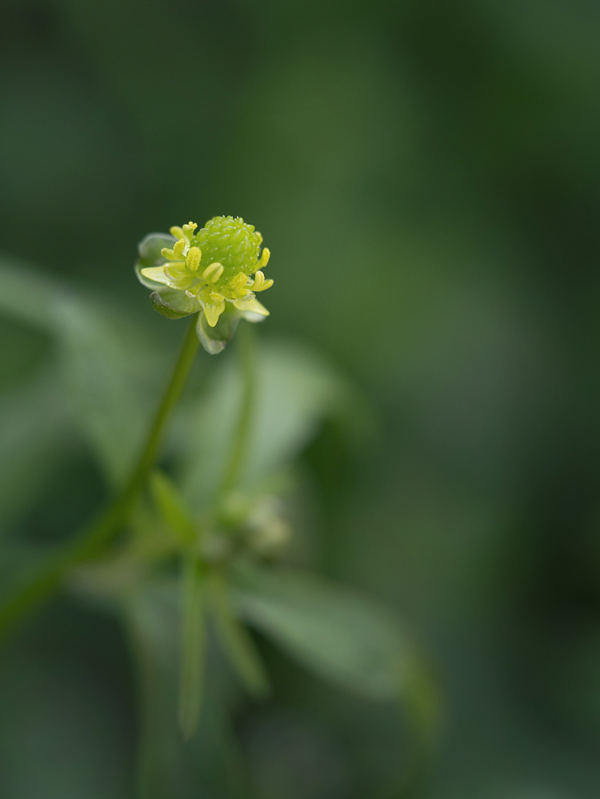
I would like to add a little more artistic flair to it. So I have decided a texture is just what I want.
*Remember art is subjective and you can edit your photos however you choose. This tutorial is simply giving you the information to use this editing tool if you do so choose. There is no wrong when it comes to art.
Select the texture you would like to add. Here are some things you should keep in mind when choosing the right texture for your image:
- The tones of the texture. Is is a warm or a cool tone? Will this go well with your original image?
- The marks on the texture. Many textures have distressing marks and scratches on them. Will this look appropriate on with your image?
- Does the texture have a vignette? If you already have a vignette adding a texture with a strong vignette will make the vignette that much more prominent. You may want to wait to add a vignette to your image until after you have added a texture.
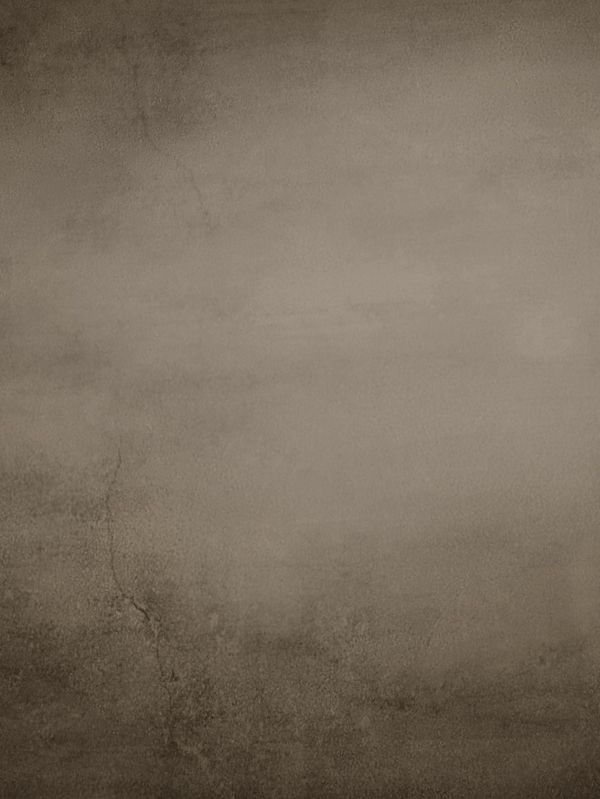
For this image I selected this texture.
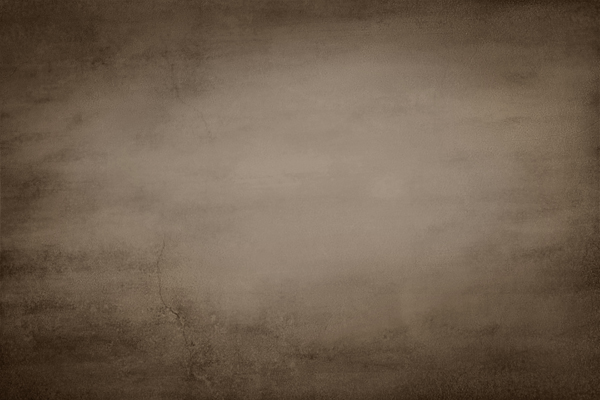
This is a texture I purchased from Jessica Drossin’s Illuminations 1 package called Daybreak (warm), but there are many sites with free textures. One of my favorite free texture sites is Deviantart. You can simply type in texture or a more specific type like linen texture and see tons of free options.
Opening Your Texture
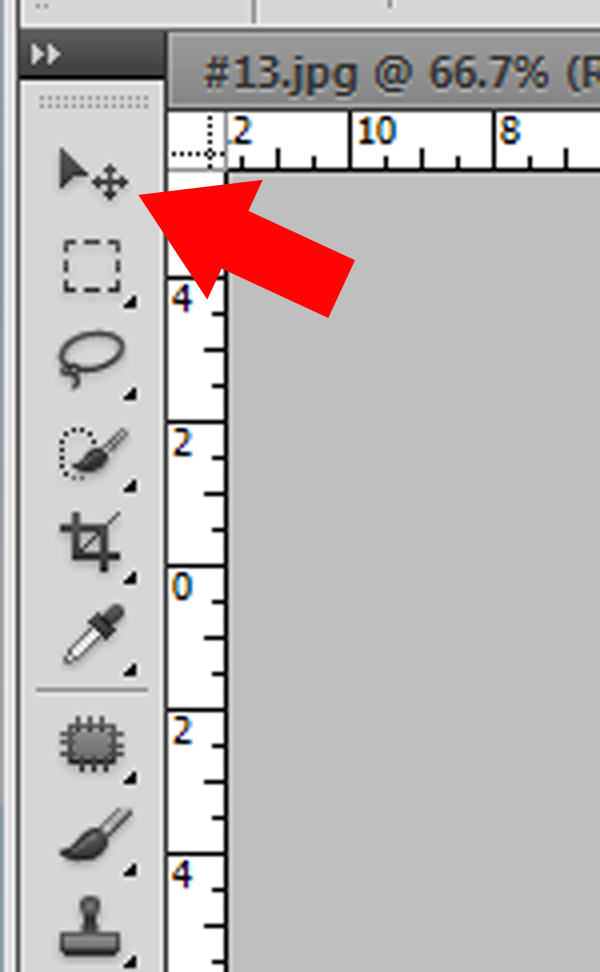
Open your texture in a different tab in Photoshop by pressing CTRL+O (or Command+O). Select your desired texture. Now use the Move Tool. You can find this tool at the very top of your tool bar on the left side of your screen.
After you have selected your Move Tool, simply click on your texture and drag it to the tab of your photo.
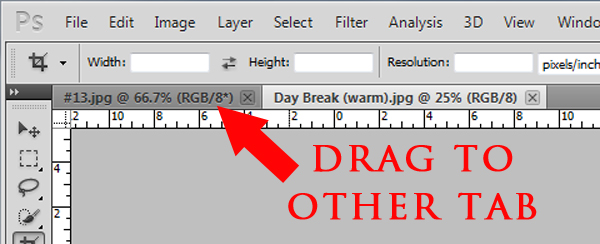
Once you have moved your cursor onto the tab of your photo your image will appear. It will have a hollow box over it, though. This is showing that the texture will be placed onto this image. Simply release your cursor.
*A box may pop up asking if you want to continue because the embedded color is different. This is completely fine and you can hit okay. Your Photoshop is already set to the color source you have selected, this will just convert any other to it.
Adjusting Your Texture
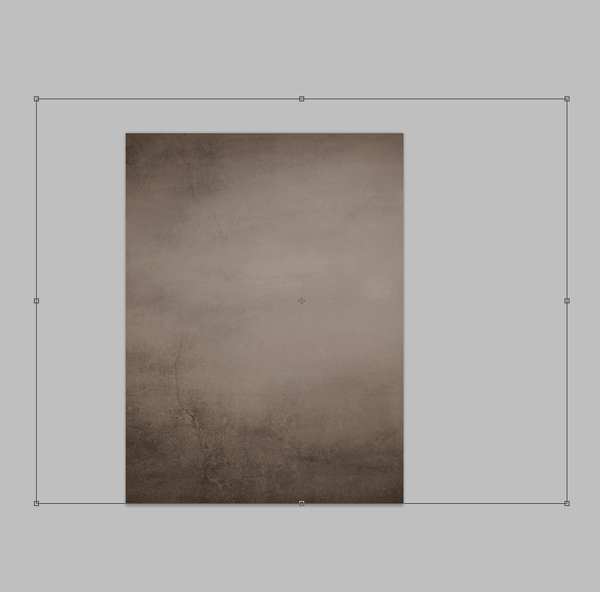
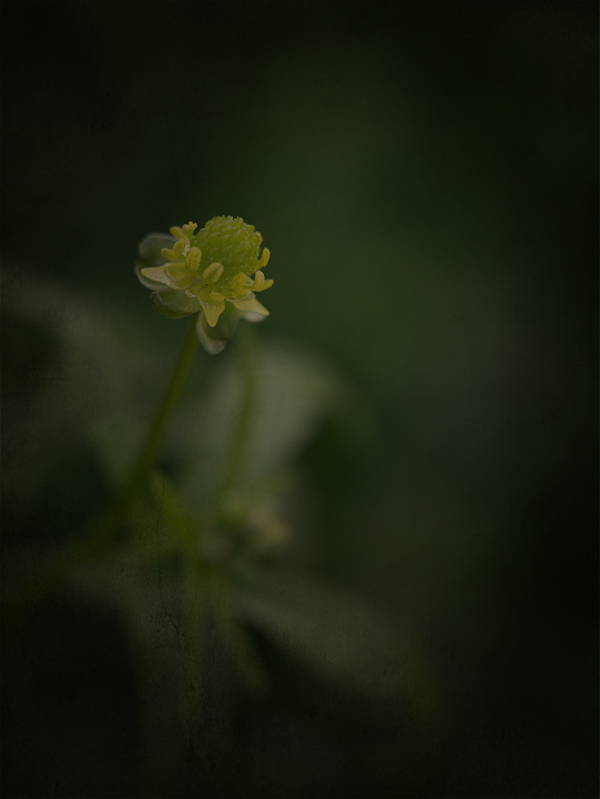
Once you released your cursor your image is now covered with the texture and that is all you can see. Do not panic, this is what is supposed to happen. Your image may look like this:
Now you need to adjust your texture to fit your image. Press CTRL+T (or Command+T). A bracket will appear to resize the texture you just added. Click on a corner and drag it to fit the size of your image. It should cover it completely .
Blending Your Texture
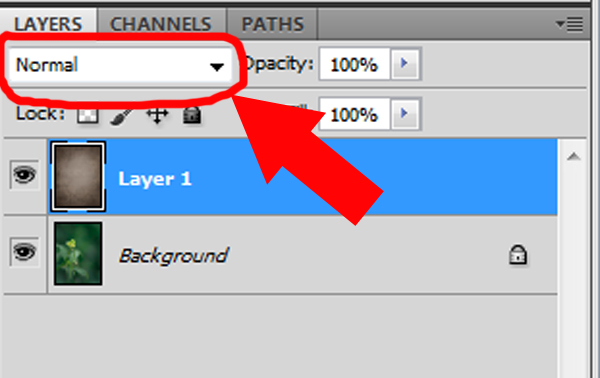
If you look in your layers panel, on the bottom right corner of your screen, you will see this texture as its own layer on your image.
Make sure the texture layer is selected/highlighted. At the top of your layers panel you will see a drop down box that is the blend mode for your layer. It should read “Normal” right now. Click on it and select “Soft Light”.
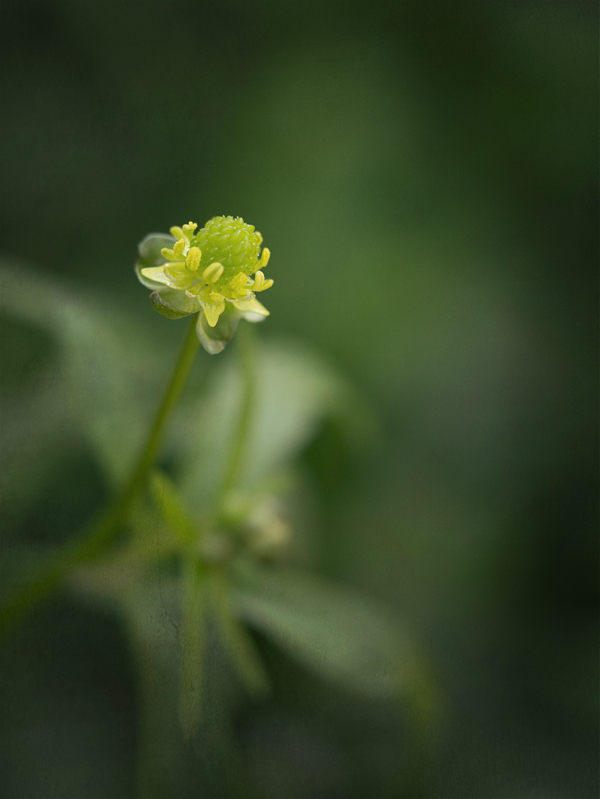
Your photo will now look like this.
If you selected “Overlay” it would look like this.

“Multiply” looks like this.
Try each blend mode until you get the look you are going for. Each of these images show the texture at 100% opacity, too. Please keep that in mind.
After I adjust the opacity of the Overlay mode down to 50% it now looks like this. A little more subtle, but the texture is enough to give it that oomph I was looking for.
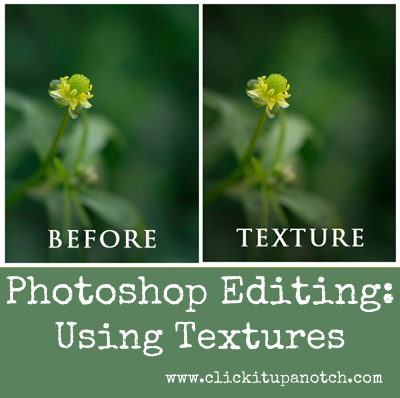
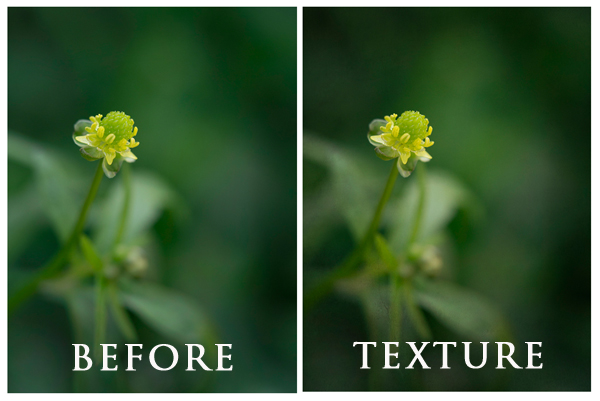
Here is the before and after added texture.
It may not be quite your style to add texture, but now you have the knowledge and can try it on some of your images is you would like. :)


This is great, thank you. I didn’t really know how to use textures before this, and as I result I wasn’t at all inspired. Now I am! :D
Thanks, good tutorial, can’t wait to try.
Thank you! I laugh with the description “She spends her days balancing being a stay at home mom of three young kids and growing her small business while taking tons of photos (usually of kids running from the camera).” It looks like me :P lol