*This post has great tips for a photo wall display and is sponsored by Posterlee.
I’m a huge advocate for getting your photos off your computer and printed for everyone to enjoy. Whether you decide to print them for albums or photo wall displays the important thing is that you are printing them.
Deciding how to display your photos can be a challenge as well. I have always loved photo wall displays. I remember in college saving my pennies so I could buy as many 4×6 frames as possible that would cover my walls.
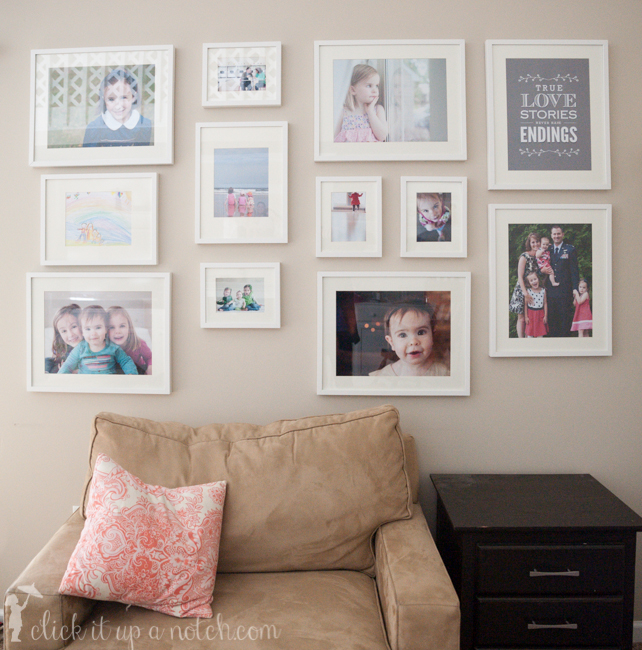
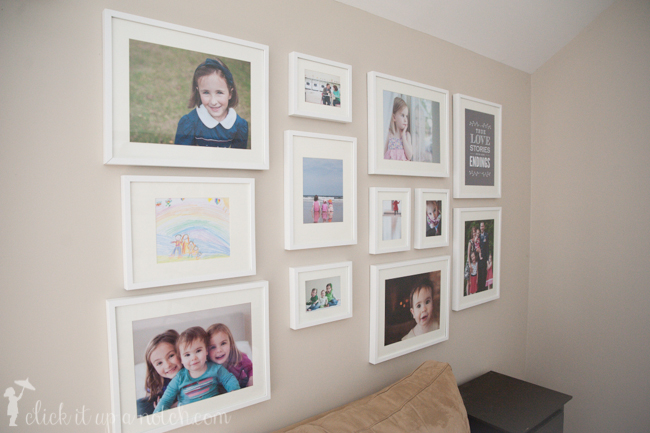
I recently put up a photo wall display in my living room which was in need of something on the walls.
How to make a photo wall display:
1. Pick out your picture frames.
When selecting your frames remember bigger is better. The smallest frame I bought would hold a 5×7. You want to showcase your images so you don’t want them to be too small and get lost on your wall.
We headed to IKEA. I played around for about 15 minutes trying to figure out which frames I would like and how to organize them.
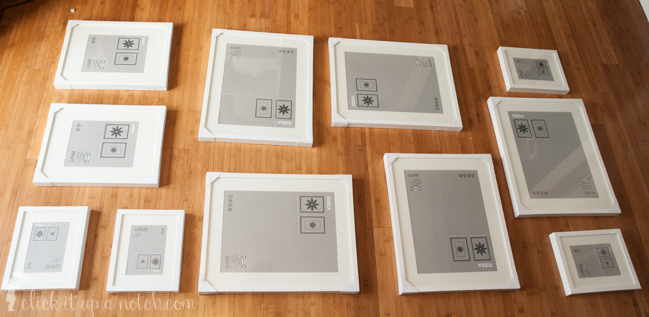
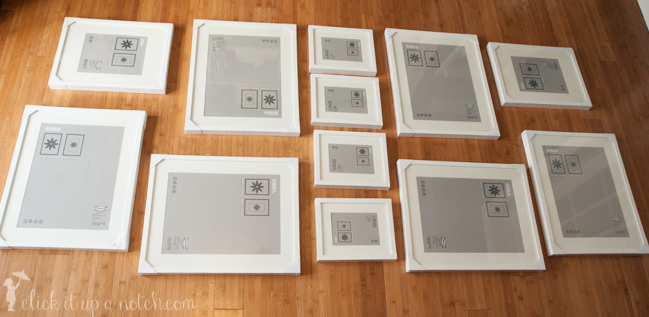
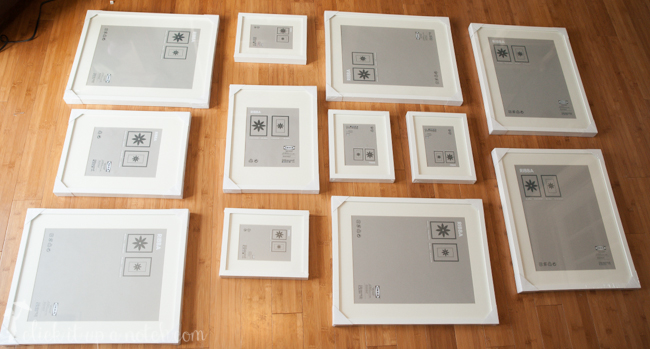
2. Lay out your frames to help pick your photos.
I had a general idea how I wanted to display the frames when we left IKEA. However, once I got home I realized that I don’t take a lot of vertical images and some of my favorites were horizontal. This meant I needed to re-arrange the frames.
6 Large frames – 15 3/4 x 19 3/4 holds a 11 1/2 x 15 1/4 photo with matte. Printed images sized 12×16.
2 Medium frames – 11 3/4 x 15 3/4 holds a 7 1/2 x 9 1/2 photo with matte. Printed images sized 8×10.
4 Small frames – 7 3/4 x 9 3/4 holds a 4 3/4 x 6 3/4 photo with matte.
Printed images sized 5×7.
3. Decide what pieces, other than photos, will go in the frames.
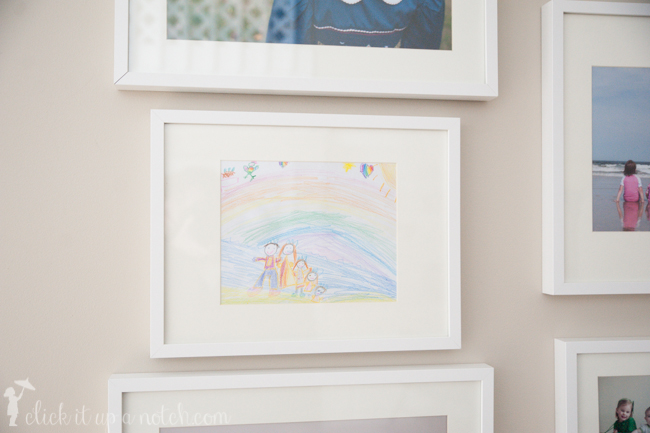
I knew I wanted to incorporate more than just my images in our photo wall display. I found this family photo my daughter had drawn and I knew I wanted to include it.
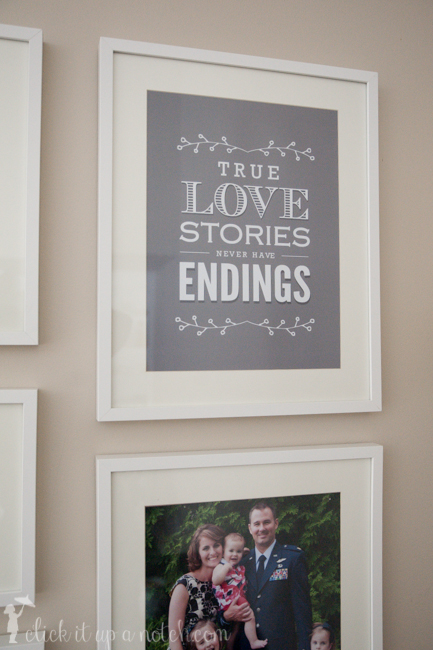
I also found this awesome print from Posterlee. What is cool about this website is the print is sent to you as a layered PSD file and a JPEG. Therefore, if you want to edit the print in Photoshop or Photoshop Elements you can. I wanted to change the color of the background from red to gray and I loved having the flexibility to do this. It was super easy to customize.
They have a variety of prints to choose from to fit all different types of photo walls.
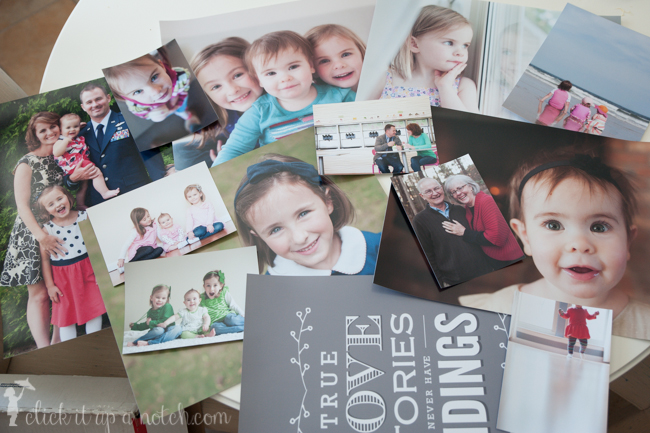
4. Get those lovely images printed.
5. Prepare your wall
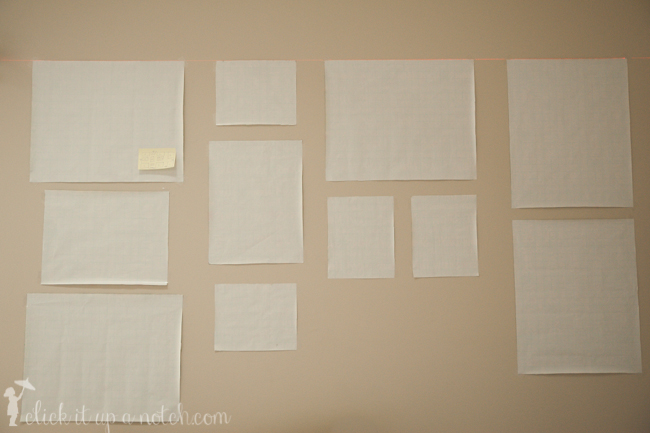
We traced each frame on old wrapping paper so we could tape them on the wall. So glad we did this. I thought I wanted the photo wall to start at a certain point on the wall but after we taped up our wrapping paper we realized it was way too low. This is a great way to play around with the photo wall without damaging your wall in the process.
Plus, you can easily see where you need to drill your holes or put the nails in. This will save you from turning your wall into swiss cheese.
6. Step back and admire your work

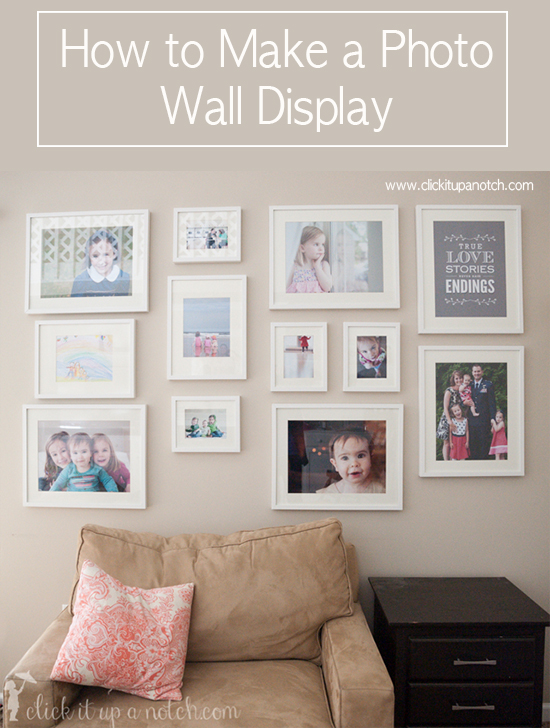



I love these & especially love the framed poster! We have a gallery wall & something like that would fit in perfectly.
Love is photo wall! I might copy this idea on one of my walls. :)
Thanks Courtney!
Thank you so much for this walk-through. This is the year I want to put frames on our walls. I already started by getting my husband to put up some artwork we bought last September. (It had literally been leaning up on a wall in our front room for 6 months.) My next plan is to print out some photos and get those on the wall as well.
Maybe I should make it my monthly project for March! I don’t have anything slotted for then yet…
Lovely tutorial! Found you from the WGS group on FB. I so need photography tips. Following on Twitter and look forward to meeting you in SD! :)
what a gorgeous display!
I love this. In fact this is a goal of mine. Question..When I use IKEA frames the mattes have measurements that are not always easily converted to standard US measurements. How did you measure your pictures to fit? Thanks..love your blog….
I just purchased the next size up on the image so there was a smidge of extra photo. For example one of the frames is 11 3/4 x 15 3/4 holds a 7 1/2 x 9 1/2 photo with matte so I printed the image to be sized as an 8×10.
Where did you get 12×16 photos printed for the medium sized frames?
I ordered them from Color Inc Lab :)
I love this idea & want to do this! I notice in your ebook that you recommend upping your ISO when you have to for perfect focus. I notice in your Project 365 that you do this- yeah! Does this affect the quality of the pictures when you print them? Will they look pixelated?
I use Lightroom and the noise adjustment section if I realize the image has too much noise in the photo. This helps it to print better. Here’s a tutorial on that – http://clickitupanotch.com/2010/10/lightroom-noise-reduction-video/
Thanks for this post, Courtney! I love the look of your wall. Getting more of my photography up on our walls is one of my goals for 2014 :)
I have a couple questions related to printing and photo enlargement. I’m a Canon user, but understand the Nikon you’re using is a full frame camera – correct? I don’t have a full frame camera and have read that image quality and enlargement is an issue in this case. I believe that I read a cropped sensor camera will only produce quality prints up to maybe 11 x 17, or so at the largest. Is this accurate? What can you tell me about photo enlargement relative to camera type (full frame vs cropped sensor)?
P.S. I found your site a couple months ago and want to tell you I’ve really enjoyed all the info and inspiration that I’ve gleaned! Thanks so much for all you and your team share!!!!
Thanks for your sweet words about my site. I don’t know how much the crop vs. full frame has to do with the photo size. I would make sure you are saving your images on your camera in the largest size. Either RAW or large JPEG. I know RAW files are pretty big and allow you to print larger sizes. My best advice would give it a try and see how they turn out :)
Oh, just saw you are already shooting on the highest quality image size. Good!
Regarding my questions above, I forgot to mention that I’m shooting at the highest picture quality option on my camera if that also makes any difference on the size that one can enlarge to when printing.
I am so guilty of buying frames and making prints, but I am so bad at actually hanging them on my walls because I couldn’t figure out the best way to display everything. I like the idea to trace each frame with paper and then hang the paper on the walls to figure out if I need to rearrange my display. Thanks for the tip.
Thanks for the post, and reminder to use big prints too. How far apart are the frames? Is closer better? Thanks again, love your posts!