
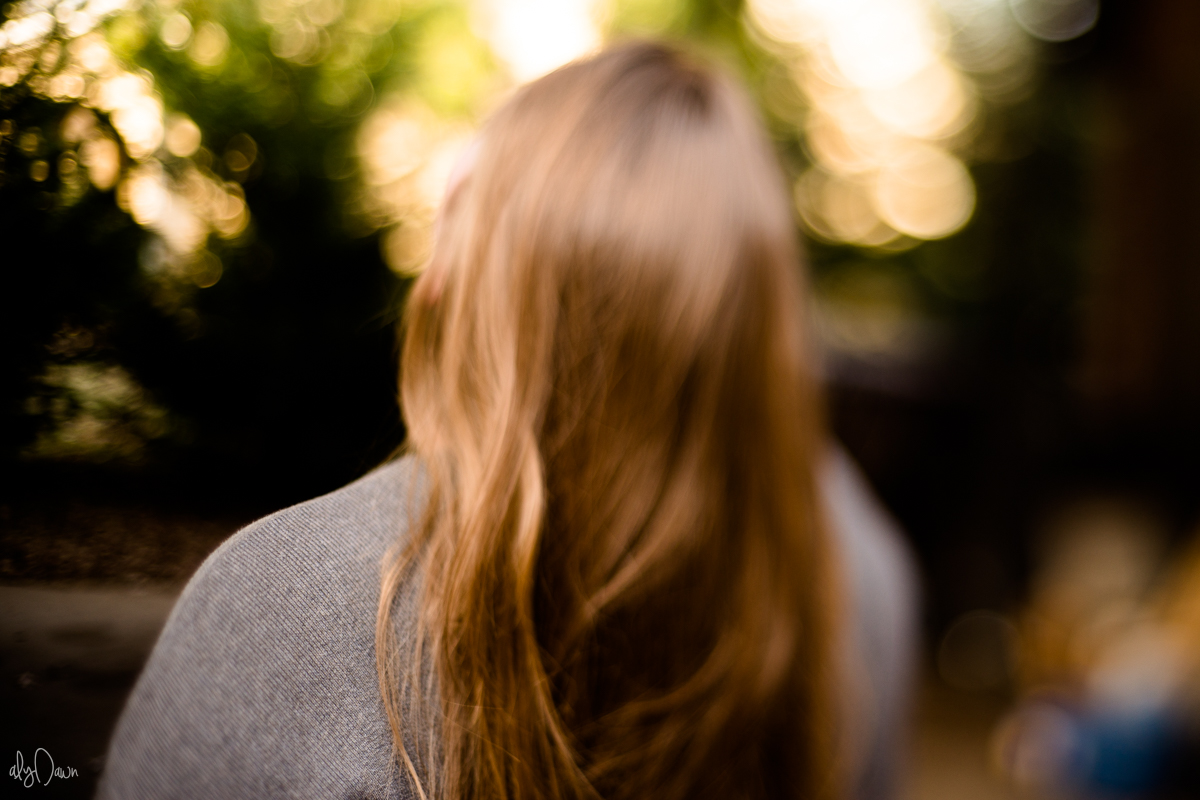
As photographers, we sometimes get into the mindset that every detail must be perfect. Sometimes, this is good! Achieving perfect focus should always be a goal. But one of the things I absolutely love about free lensing is how perfectly imperfect it is. If an image doesn’t come out with perfect focus, it still looks beautiful and painterly. I think letting go of perfection is one of the hardest things when it comes to free lensing.
Read more: 8 Perfect Times to Use a Tilt Shift Lens
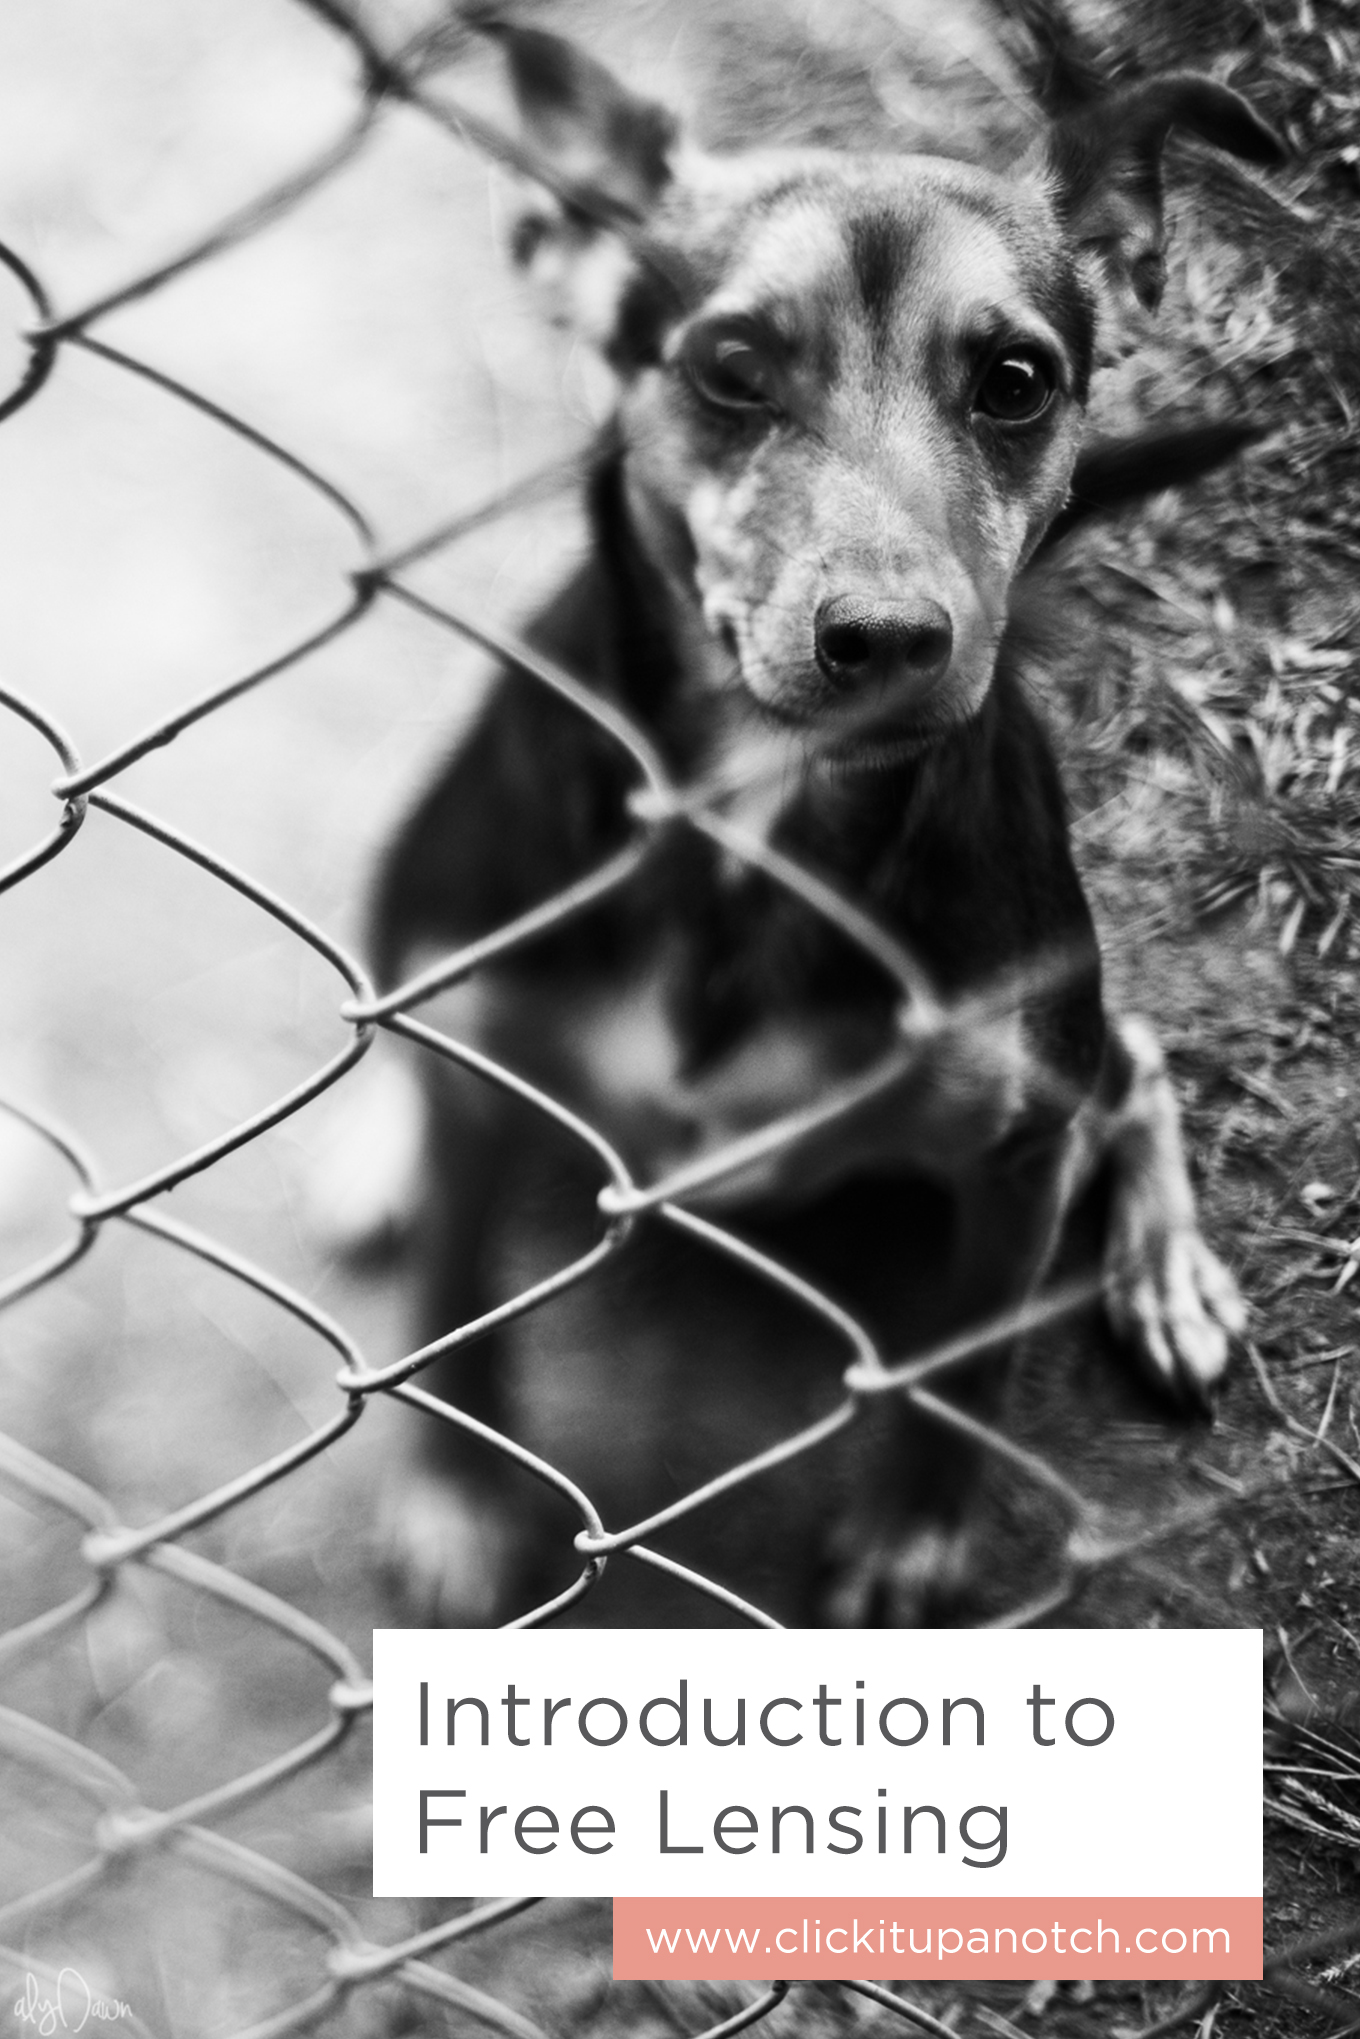
Free lensing is exposing your camera and then taking your lens off your camera. It allows you to get a slice of focus. Not get everything in the frame in focus, remember that. The goal to free lensing is to just get a slice of focus. That’s what makes it look so painterly and dreamy. One note, I find that the 50mm is the perfect lens (for Nikon or Canon) to start free lensing. Now that we have a little intro to free lensing, let go of perfection, and let’s begin!
You’ll Need….
-a DSLR camera
-a lens that allows you to open the aperture ring to wide open
-a subject
Once you have all you need, there are a few more steps you need to do before removing your lens. This is very important!
-
No.01
Set your ISO, Shutter Speed, and white balance before you ever take the lens off your camera. The reason for this is because you don’t want to mess around with your settings too much while the lens is off your camera. It’s hard and you run the risk of dropping your lens. An easy way to set white balance is to turn on your Live View mode and change it that way (you’ll immediately see how the white balance changes in Live View, it’s great, I recommend it to everyone). Take a test shot. (Aperture should be WIDE OPEN, so adjust your settings accordingly).
-
No.02
You’ll need to set your lens to manual focus, my Nikon 50mm 1.8D is only manual, so I never need to do this step! You’ll also need to change it to infinity, the little symbol on your focus panel that looks like this: ∞. I sometimes like playing around and seeing what I can get in focus when the focus ring is somewhere else, but I find the infinity spot works the best.
-
No.03
Turn your camera off. Take the lens off. Turn camera back on. And turn on Live View. It is so much easier to get what you want in focus when you have Live View on.
Once you have done these, you’re ready to begin. Relax, it’s fun! Here are a few tips to help start you out.
-
No.01Use an object that won't move first
I highly recommend practicing on an object first. Practicing on your children will be hard and you might get frustrated quickly, since they move so much. Pull out a toy, a vase, anything that will behave, and start practicing on that. If you’re scared about free lensing at first, take a seat and practice. Then when you get more confident, stand up and start moving around.
-
No.02Practice
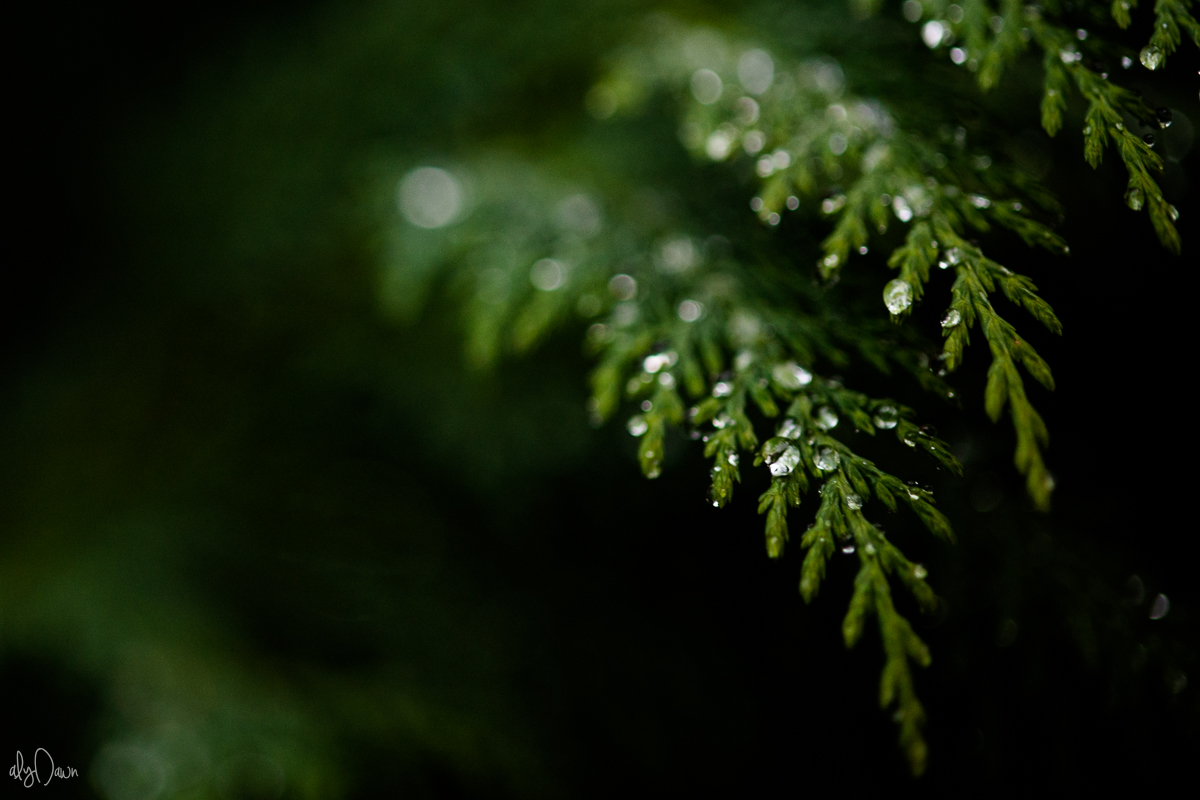
Tilt your lens up, down, left, right, see what becomes in focus and what goes out of focus. Remember, you don’t have to have the whole object in focus, that’s the beauty of free lensing!
See how far you can pull the lens away from the camera (not too far, you don’t want to get dust on your sensor) and how close you can get it to the sensor. Try stepping closer to the object and farther away from the object. You can also flip your lens around for reverse free lensing, which allows you to shoot macro if you get REALLY close to your subject. I am talking REALLY close!
I find I have a sweet spot on my camera. If I am too far away, nothing is in focus, if I am too close, nothing is in focus. Practice, practice, practice on your object!
-
No.03Find the Light
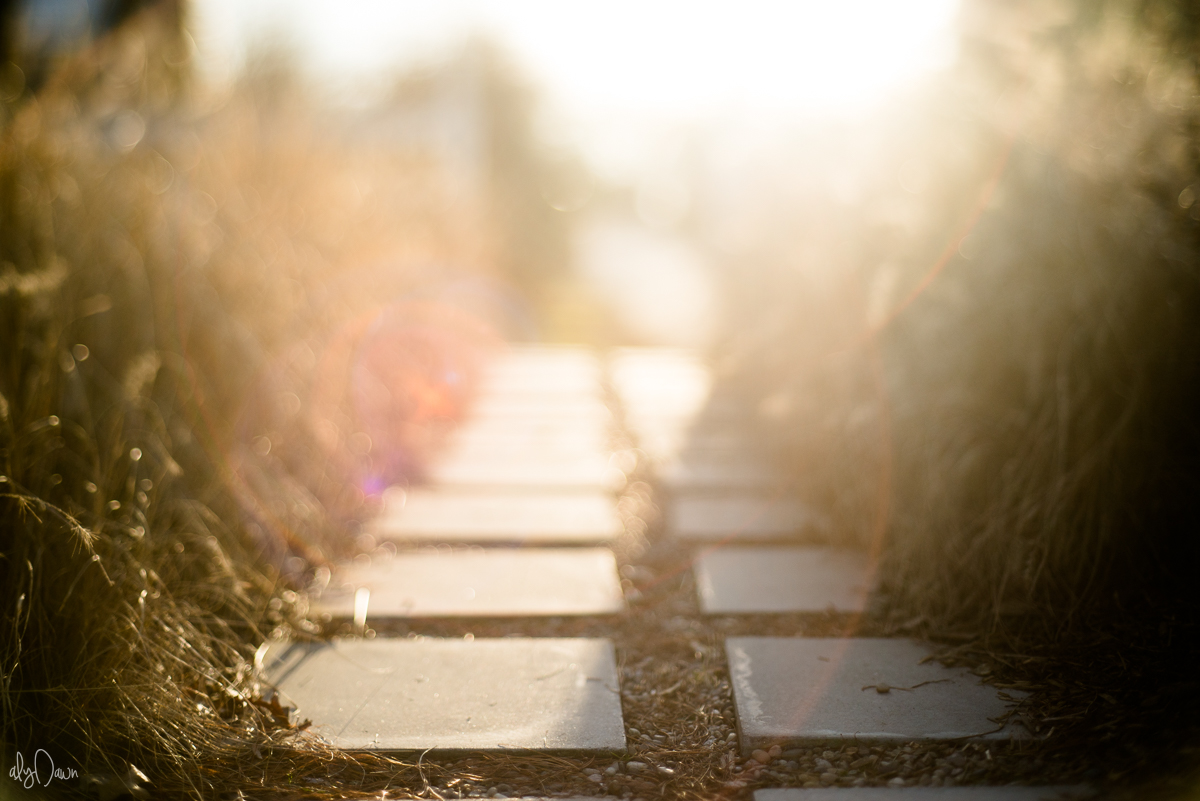
I believe light makes every image pop. But for free lensing, when you have the right light, it just makes it that much better. I first started out free lensing with flat light. I hated the result and quit doing it for a long time. My images just weren’t coming out as beautiful.
Once I started seeing the light better, I started free lensing more with that beautiful light and magic happened. So, I recommend shooting in light such as backlight, directional light, hard light, soft light. Just find the light!
-
No.04Find a new subject!
Once you get comfortable with a still life object, move on to a moving object. A pet, a child, a husband, a neighbor, the list goes on. It will be harder to get something in focus when the subject is moving. I practice on my dog all the time. She is constantly moving, but it’s a fun challenge to see what types of images I can get with her.
I have heard that Canon users find free lensing to be easier than Nikon users. The reason Canon is easier to free lens with is because you’re able to get closer to the sensor than Nikon users. I do find this to be true, and it can be a bit frustrating for Nikon users at times. But you just have to embrace the brand you have and work with what you have. Don’t let it scare you from using your Nikon camera!
Free lensing can be dangerous to your camera. It runs the risk of allowing dirt onto your sensor. I would just buy a cleaner or take it in for a sensor cleaning every occasionally. Another risk is dropping the lens (I have done this once, but luckily my lens was ok!).
So, take precautions, but have fun with it! I think the biggest keys to free lensing is patience and practice. Without those two, you’ll probably always get white images (been there, done that!).

Most importantly, just remember to have fun! Free lensing is just another skill to learn. I find it relaxing like macro photography. So go grab your camera, relax, and have fun. The rest will come with practice.
Find more creative shooting techniques:
– 4 Tips for Experimenting with Prisms


First of all I would like to say excellent blog!
I had a quick question which I’d like to ask if you
do not mind. I was curious to find out how you center yourself and clear your head prior to writing.
I’ve had a tough time clearing my thoughts in getting my thoughts
out. I truly do take pleasure in writing but it just seems like the first 10 to 15 minutes
are usually wasted just trying to figure out how to
begin. Any ideas or hints? Appreciate it!
maglia roma 2017
[…] across the technique of freelensing when reading through photography tutorials. An article from Click It Up A Notch piqued my curiosity. I grabbed my old Rebel XT body and a Pentax 50mm manual lens (my old […]