
Macro photography allows you to slow down and see life differently.
As a macro photographer, I have the luxury of being able to “stage” my photos, shoot inside during bad weather, and set up my images in any small corner of my home. However, what do you do when you want to immerse yourself in nature and capture the beauty outdoors?
Table to Contents
This post contains affiliate links. Thanks in advance for supporting Click it Up a Notch®.
What is macro photography?
Many photographers are venturing into macro photography because it allows you to photography small details through your lens. By using a macro lens you can get in much closer to your small subject. This makes photographing something very small appear much larger in your image.
Read more: An Introduction to Modern Macro Photography
What is macro photography used for?
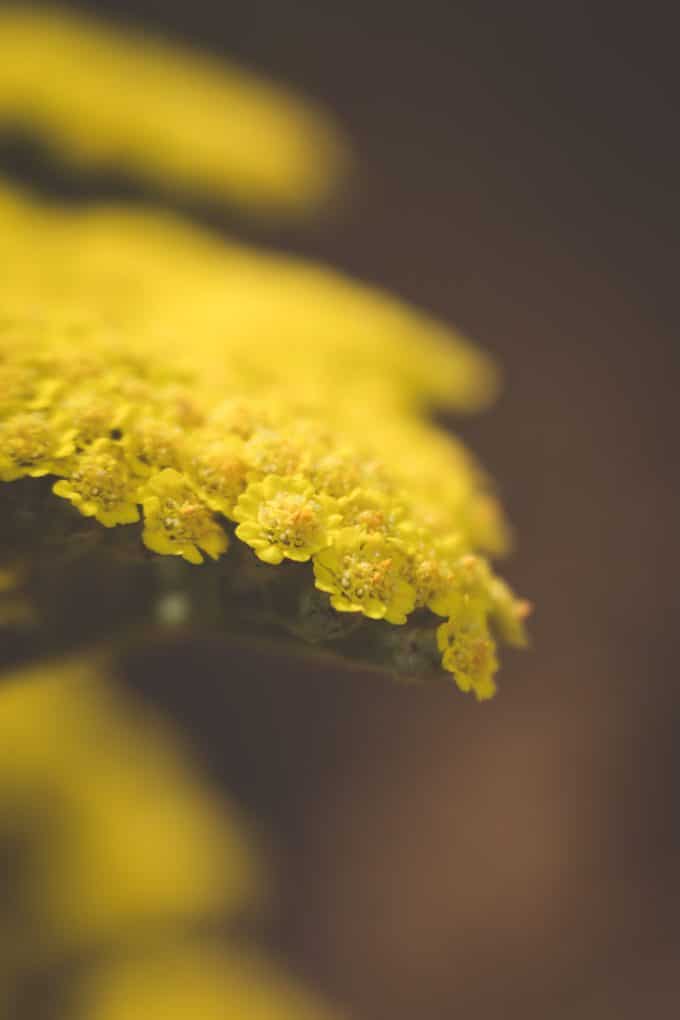
Macro photography is used to showcase details and intricacies. Often it is used on flowers and plants. But it is definitely not limited to those things. Macro photography can show texture, movement, and other details that are missed when shooting normally. Another favorite is to use macro photography to show the details of sweet little newborns.
What settings to use for macro photography
Shoot in manual mode
Try to use manual mode if possible so you can put the settings exactly where you want them to achieve the highest amount of quality. Taking complete control of your camera and the settings help you achieve the look you are going for with your photo.
Read more: How to shoot in manual mode
Keep ISO as low as possible
Keep your ISO low to avoid grain and noise. Some cameras are able to go up higher using ISO and obviously you will need to if there isn’t enough light. But ideally keep it as low as possible.
Set a small aperture
Your aperture should be between f/5.6 and f/11 if you are going for a true macro shot. You really want to try to get as much of your subject in focus as possible. That is how you will achieve the beautiful detailed shot.
Most people think you want to shoot wide open since very often with macro shots it appears as if only a small portion of the photo is in focus. However, keep in mind that you are extremely close and typically shooting with a variety of focal planes which is why it’s important to keep an eye on your aperture.
Read more: How to use a smaller f-stop to create an amazing photo
Have a fast shutter speed
Depending on your subject, you will want to keep a faster shutter speed. If you are photographing an moving object obviously keep it fast to maintain as much detail as possible.
If you subject is not moving, you still do not want any motion to throw off your focus. Keep your shutter speed about 1/125 of a second.
Which lens is best for macro photography?

Macro lenses are different than a traditional zoom lens. A macro lens allows you to get in close to your subject and still focus where as zoom lenses may struggle to get in as close as you want.
I recommend the Nikon 105mm. This specific lens has a newly added bonus of VR or vibration reduction. When shooting macro, any slight movement could throw off your focus. Another option to consider is using an extension tube or macro filter.
Read more: Macro Photography: A Photographer’s Approach
7 Best macro photography tips
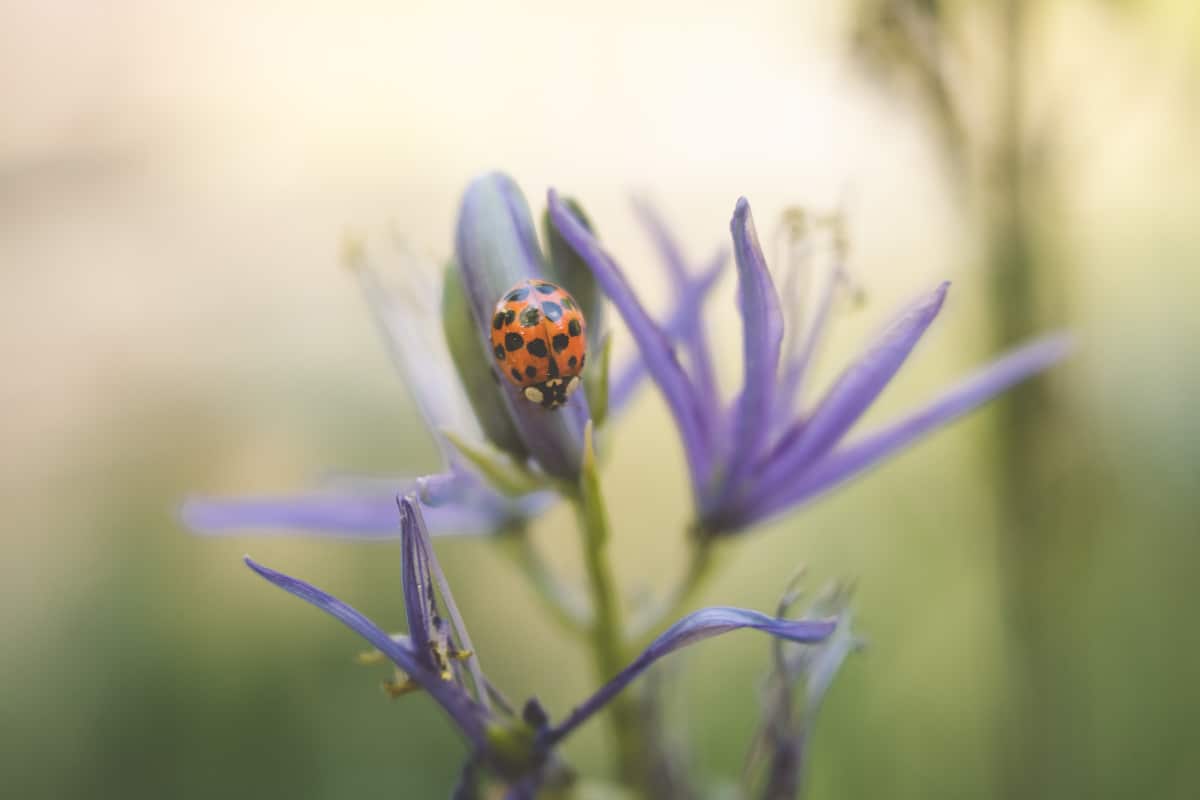
1.Keep your eyes open.
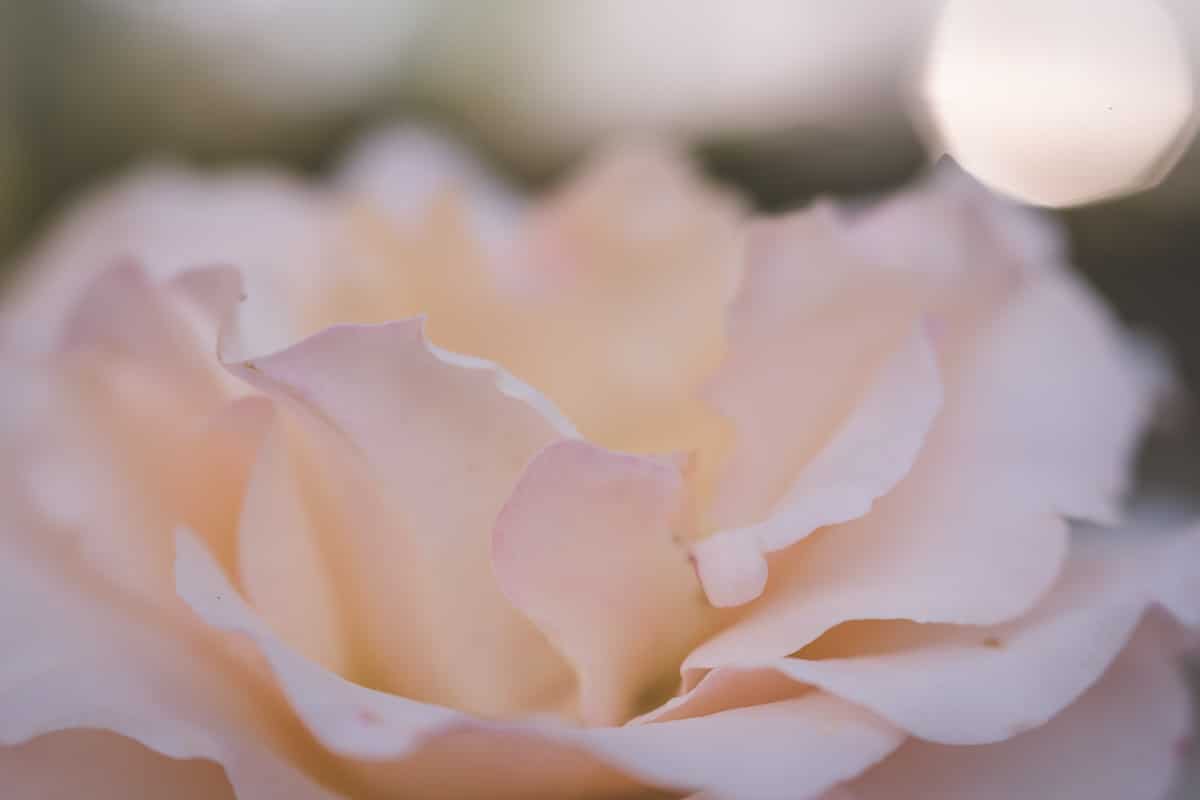
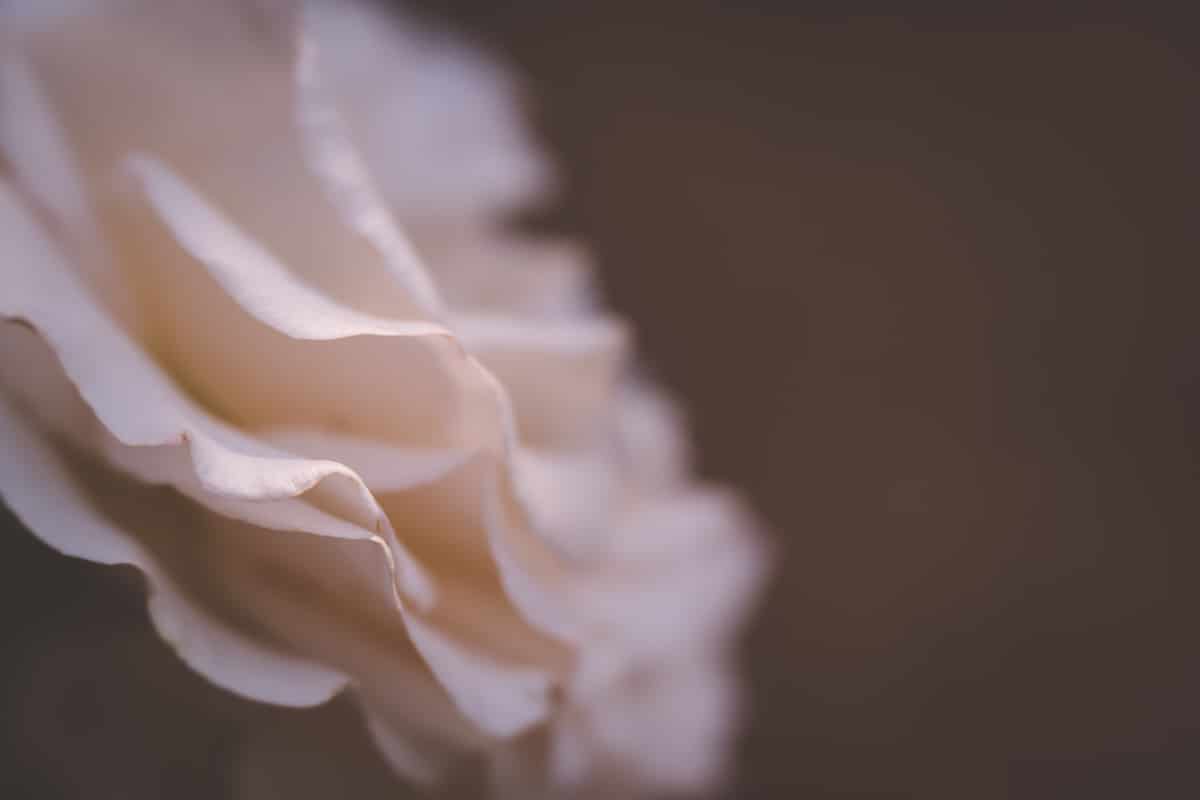
Really slow down and look around. Before you start shooting, choose not only your subject but also your focal point. What about your subject is inspiring you? Sometimes you will have a bunch of the same flower to choose from – when selecting, look for unique or quirky features of the flowers.
I also pay attention to the quality of the flowers, keeping the mood of my image in mind. Sometimes I may want a dead or dying subject if I want a dark and moody image.
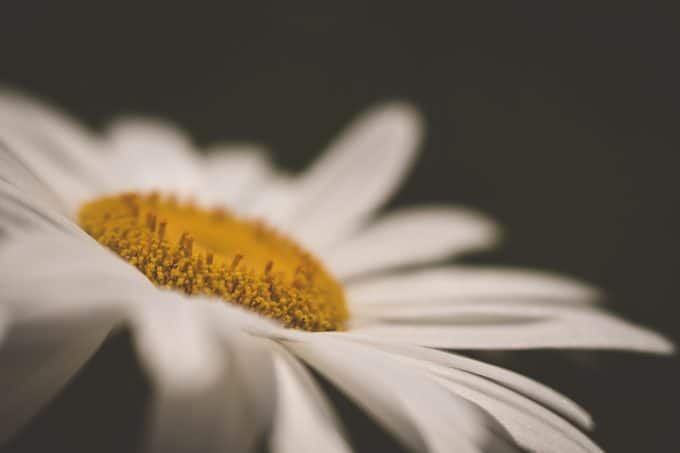
On the other hand, if I’m shooting a bright, airy image of a rose or a daisy, I probably want to select one that’s in good shape and without browning petals. Remember your subject may fill the frame so be sure to examine it closely.
Read more: How Focus Stacking Will Help You Create Sharp Photos
2. Watch the light.
It doesn’t have to be golden hour. Look for reflected light or interesting pockets of direct light. Shade is always an easy bet as well.
Make sure to be careful of your own shadow. You can use it to your advantage to shade your subject, but if it’s ruining your shot make sure to change your angle.
If you are moving in and out of shade and sun, make sure to change your settings to update your exposure accordingly.
Read more: 7 Creative Ways to Use Outdoor Light
3. Expose for the highlights.
In portrait photography I know it’s a really common idea to “expose to the right” however in macro I prefer to expose for the highlights. This means sometimes my images are underexposed but I would rather have that than have blown highlights. I find that shadows are easier to recover in post-processing than highlights.
4. Watch your angle and your background.
If you cannot move your subject, what you CAN do instead is move yourself. Change your angle if it’s not working for you.
When choosing my location to shoot from and my angle, I pay attention not only to my subject but also to my background. I want to make sure I don’t have any distractions or ugly split backgrounds.
Aperture plays a big role here as well. If my background is looking ugly or it’s too close to my subject, I open my aperture wider to blur the background more.
5. Be mindful of the breeze
Sometimes you have to wait for a lull in the wind. Sometimes I can block the breeze with my body.
However, you want to watch your shutter speed. Keep in mind you don’t want it to drop below 1/125 of a second. This will help you to freeze your subject. With macro photography, even the slightest movement may appear in your photo.
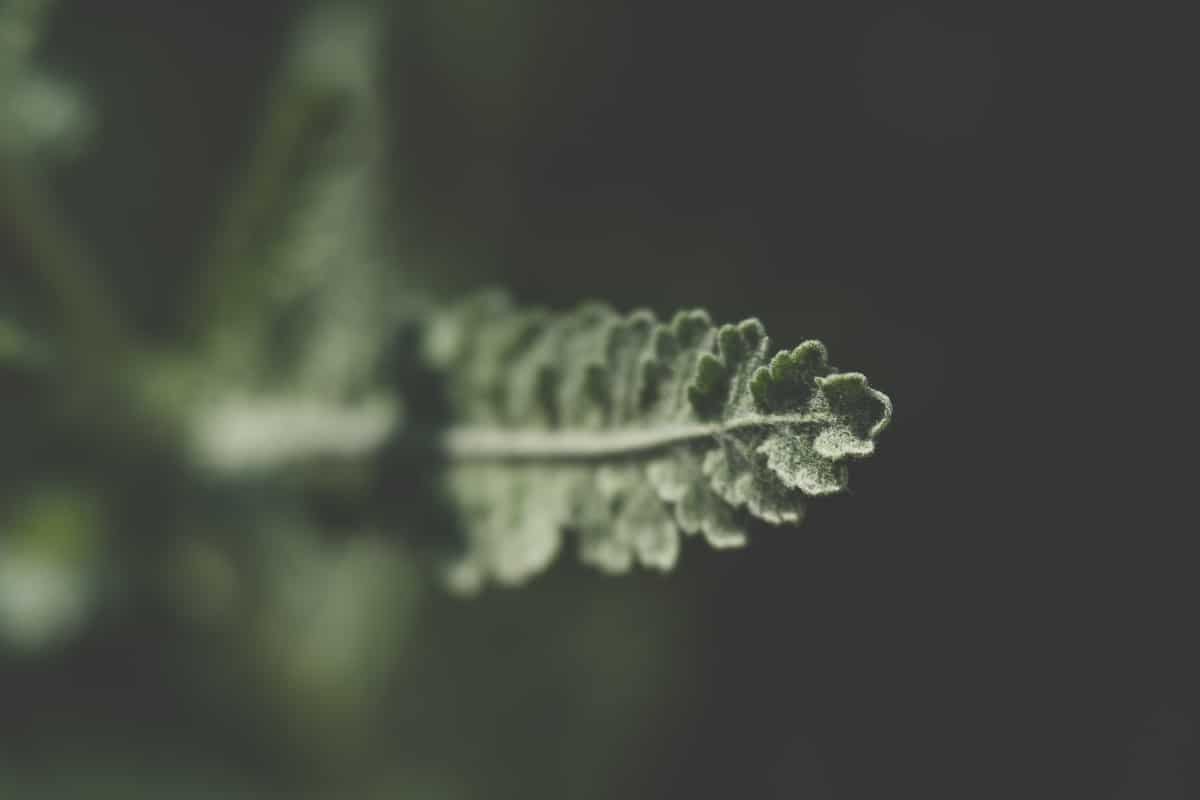
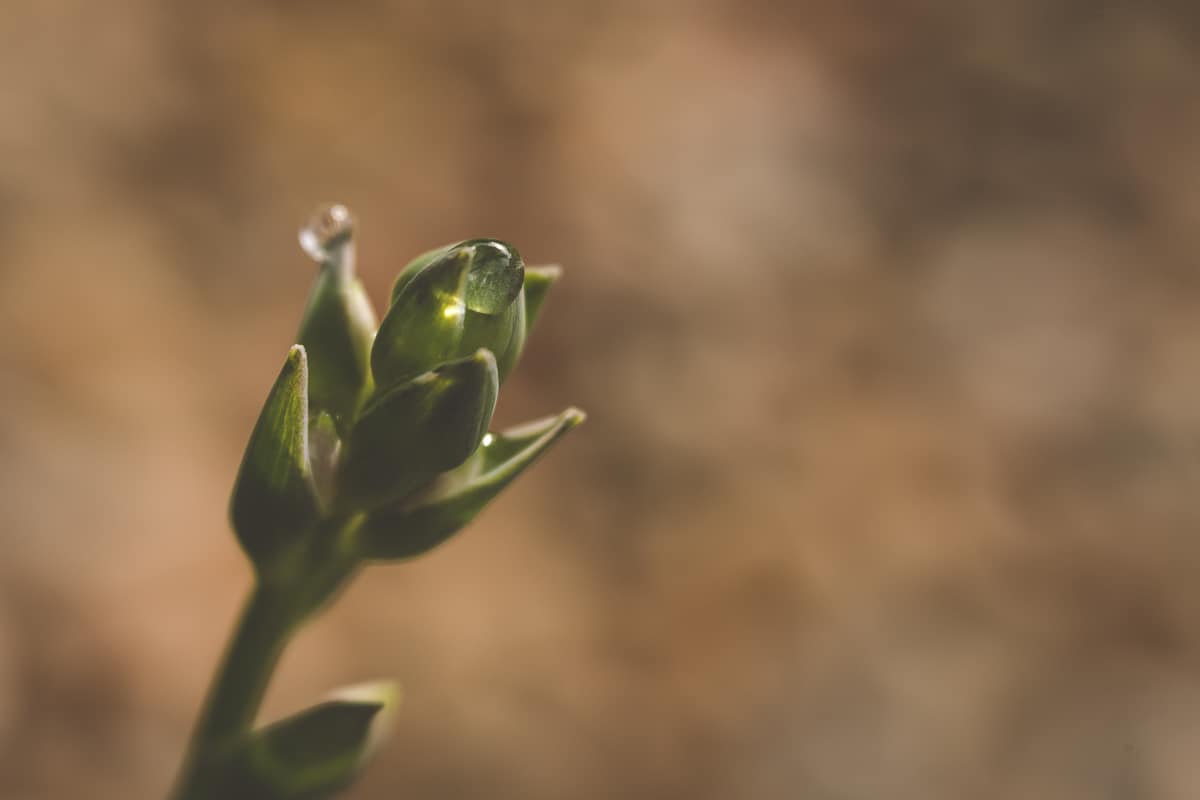
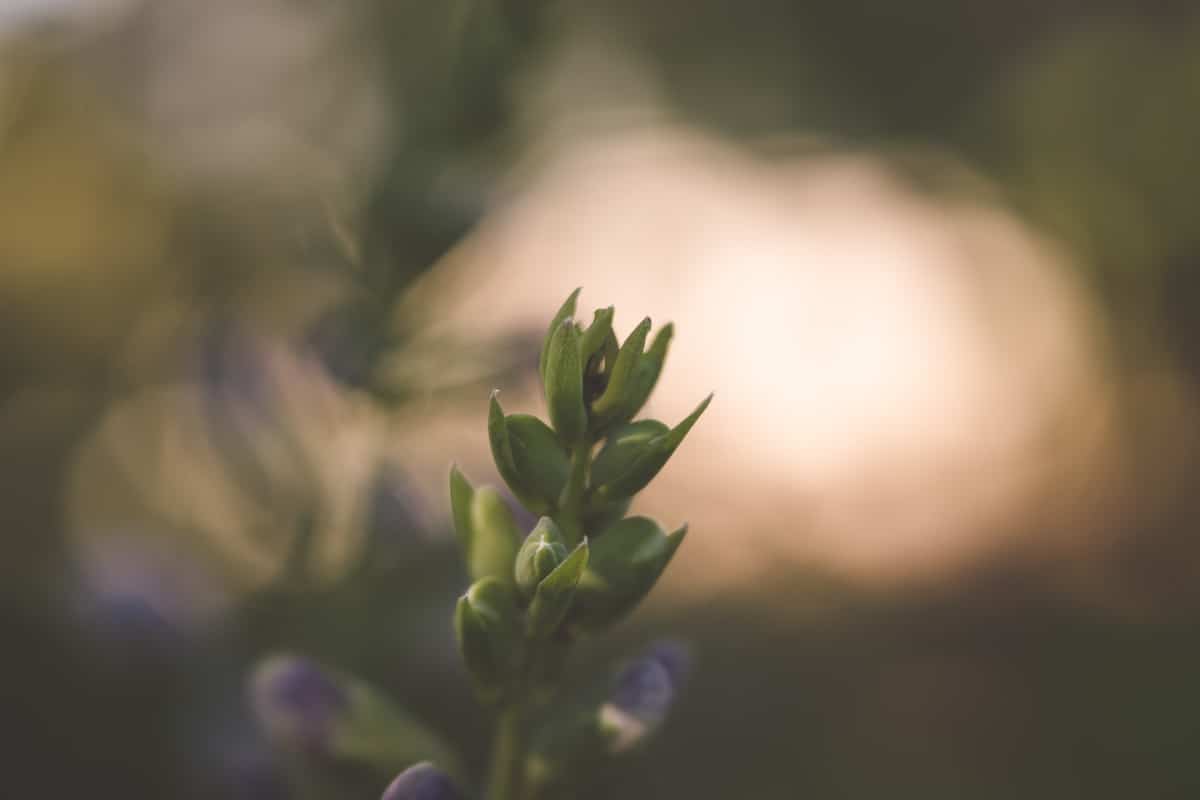
6. Don’t limit yourself to flowers
I also love shooting leaves and greenery, the occasional bug, and even neat textures or building elements. Keep your mind open to new ideas and see what inspires you.
Read more: Insect Macro: 5 Easy to Find and Intriguing Subjects
7. Bring accessories for your macro photography
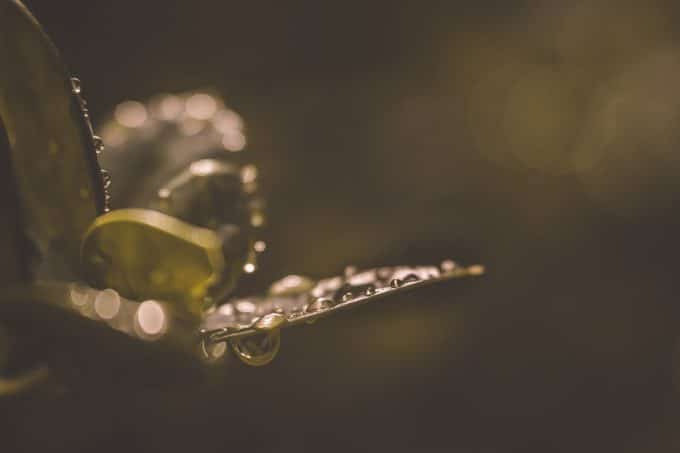
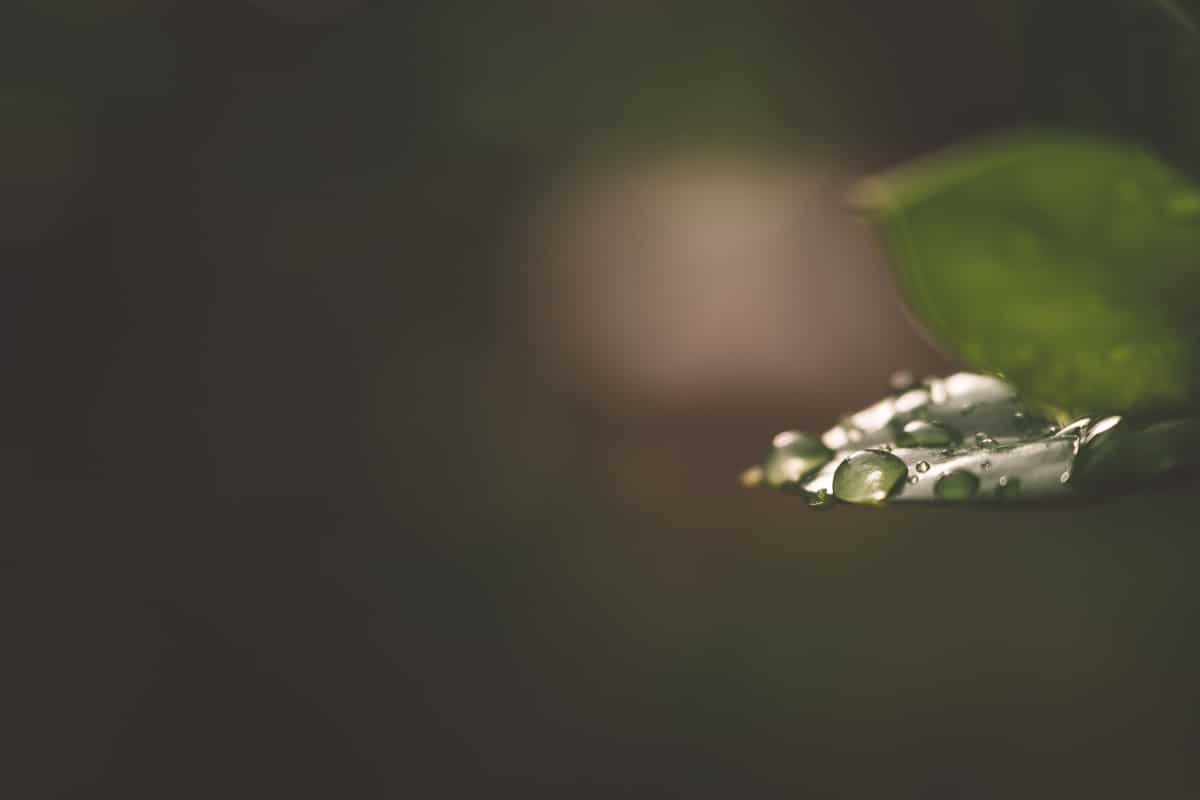
If you want to get creative, bring along some “props” for your shoot. I love shooting in the early morning because there is gorgeous dew everywhere, but you can also add your own fake dew with a water spray bottle.
It’s also fun to shoot through elements – you can use what is in your environment, like other flowers or leaves, or you can bring your own prism or other material to shoot through.
One of my favorite things to do is go on a little photo walk, exploring a local garden or even my own yard or neighborhood. It can be such a relaxing way to unwind and you will end up with beautiful art as an added bonus!
I hope you give this a try and shoot something just for yourself, and enjoy being in nature while doing it!
FAQs about Macro Photography
While a macro lens would be ideal to have, I understand it is not for everyone. There is another option. You can buy a set of macro filters for a lens that you have. The have a magnification built in and this will help you get your macro shot!
Yes you can! You will need to buy a set of macro filters to add to the front of your lens. They are an inexpensive option to achieve the macro photograph.
Yes! While they are optimized for close up shots, they are also great for portraits, just back up a little bit. They will provide you with crisp and clear photographs.
Discover more Macro Photography Tips:
– 3 Simple Tips For Snowflake Macro Photography
– 5 Creative Exercises for Macro Photography
–How to Shoot Still Life Photography to Push Your Creativity


I have tried macro photography some. This post has given me great tips and inspired to try it more often. I liked the idea of using a spray bottle to create your very own dew effect.
Nice article. I don’t use a macro lens but these tips will be helpful. I seem to get gorgeous close shots with just using my 85. Dreamy bokeh! Would love to invest in the macro some day.
Thank for this article. I will try your suggestions and hope for some interesting images.
Don’t forget to bring some extra light along. Low ISO means more light is needed. Stop down to increase depth of filed means more light is needed. Fast shutter means more light is needed. Even a reflector can help to fill in shadows.