Mastering skin tones is no easy feat, but there are some simple steps you can take to help you on your way. From accurate white balance to editing skin tones with RGB numbers, here are some ways I go about maintaining accurate skin tones no matter the light or environment.
Read more: Zone System: The Basics
How to Adjust Skin Color with RGB in Lightroom
-
No.01White Balance
It begins with proper white balance. Auto white balance is great and all, but I guarantee you about 90% of the time your image will be too cool.
This is why I use Kelvin. Depending on my environment, I can select a Kelvin number that customizes my white balance. The reason Kelvin is my go to is because it’s convenient and quick. Some cameras do not offer Kelvin but do offer white balance presets like cloudy, shade and daylight.

There’s also the option to go with a grey card or expodisc.
Read more: White Balance: Comparing Different Methods
So why is accurate white balance important? Accurate white balance means accurate color and skin tone, and a lot less editing work if you get it right in camera.
These Kelvin numbers are a good starting pointing for certain types of light:
House Light: 3500K
Fluorescent: 4000K
Daylight: 5500K
Overcast: 6500K
Shade: 7500K
Dark Shade: 9000KRead more: How to use Kelvin for White Balance
-
No.02Lightroom Color Correction
Of course color casts can also affect skin tone. Color casts can be anything from what your subject is wearing, to the paint on the walls inside your home, to the green grass outside. The best way to avoid this from happening is to study the light and how it’s falling on your subject, and if you notice make changes like moving your subject to another location.
Easier said than done right? Sometimes we can’t avoid it.
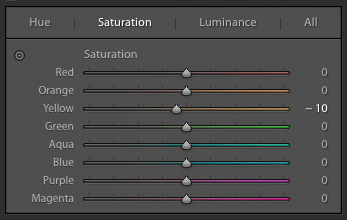
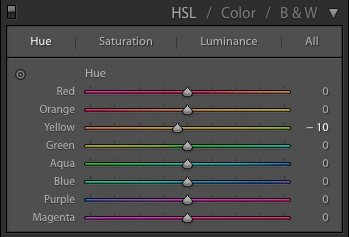
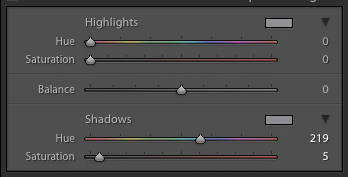
One quick way of editing out color casts in Lightroom is by utilizing both the HSL panel and split tone panel. For example if you are seeing green casting in the shadows of your subjects skin, making the adjustments similar to below will help.
Read more: 8 Foolproof Lightroom Tips for Editing Your Photos
Keep in mind when you make these adjustments in Lightroom it will affect your entire image.
Lower Yellow Saturation

Bring Yellow Hue Closer to Orange

Adjust Shadows in Split Tone Panel

Read more: How to Correct Skin Tones in Lightroom
-
No.03Skin tones in Tricky Light
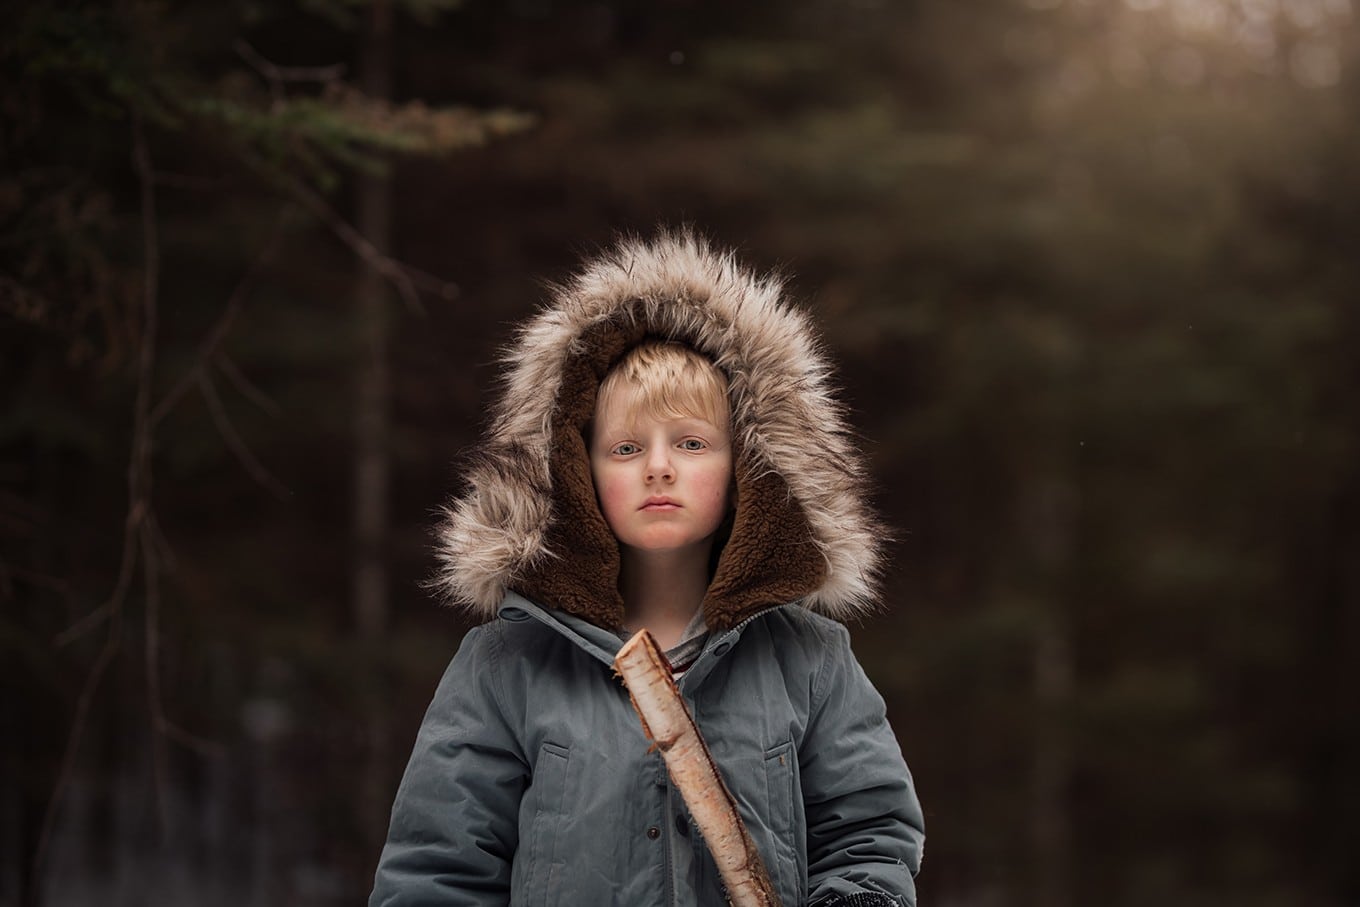
There are a couple of tricky light situations that can feel like they are throwing off our white balance and skin tones. They are golden hour backlight and low light.
Golden Backlight
With golden backlight the environment is surrounding our subject is often very warm, so it can deceive you into thinking your skin tone is also warm. Take away the golden light and a common mistake I often see if that the skin tones are too cool.
Read more: 8 Tips for Backlighting
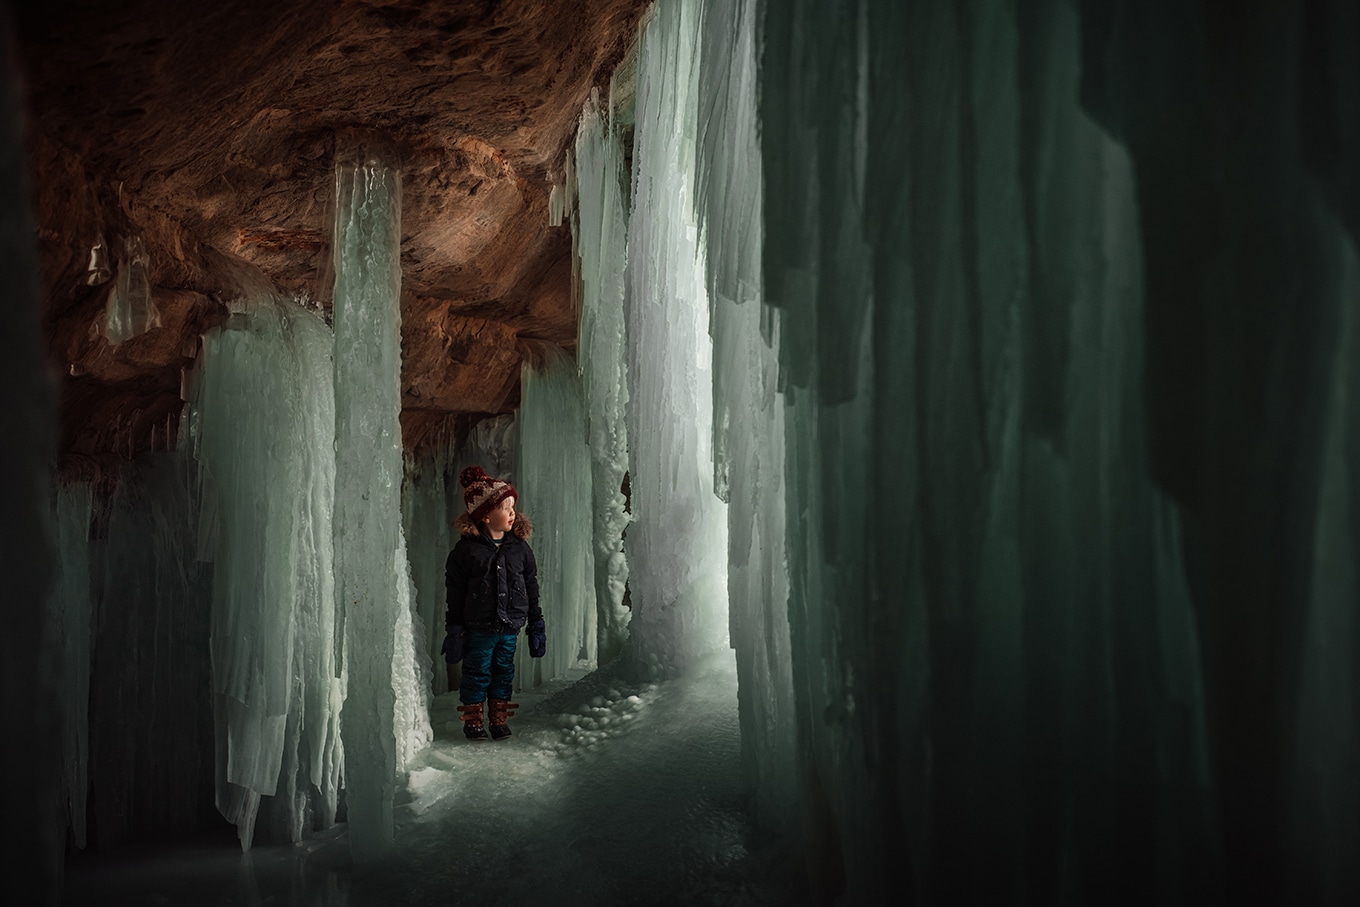
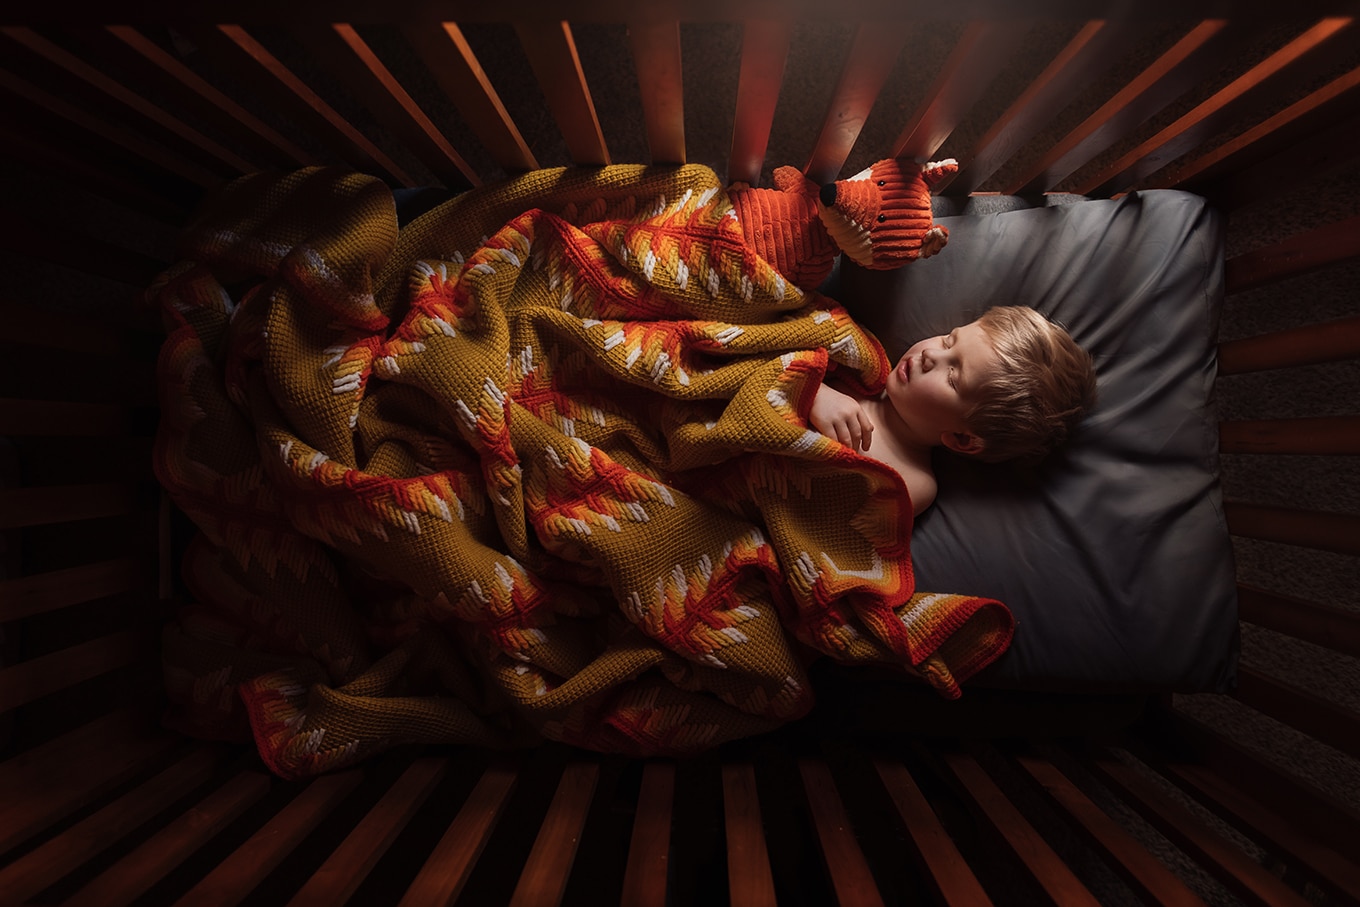
Low Light
Another type of light that can be tricky with skin tones is low light. Low light is one of my absolute favorite types of light. I love the mood and romantic feel it exudes, and that is why I often underexpose my images.
Underexposure however can make your skin tones look cool, and that is why I often add more warmth to my low light images than I would other types of light.
Read more: Low Light Photography Tips
-
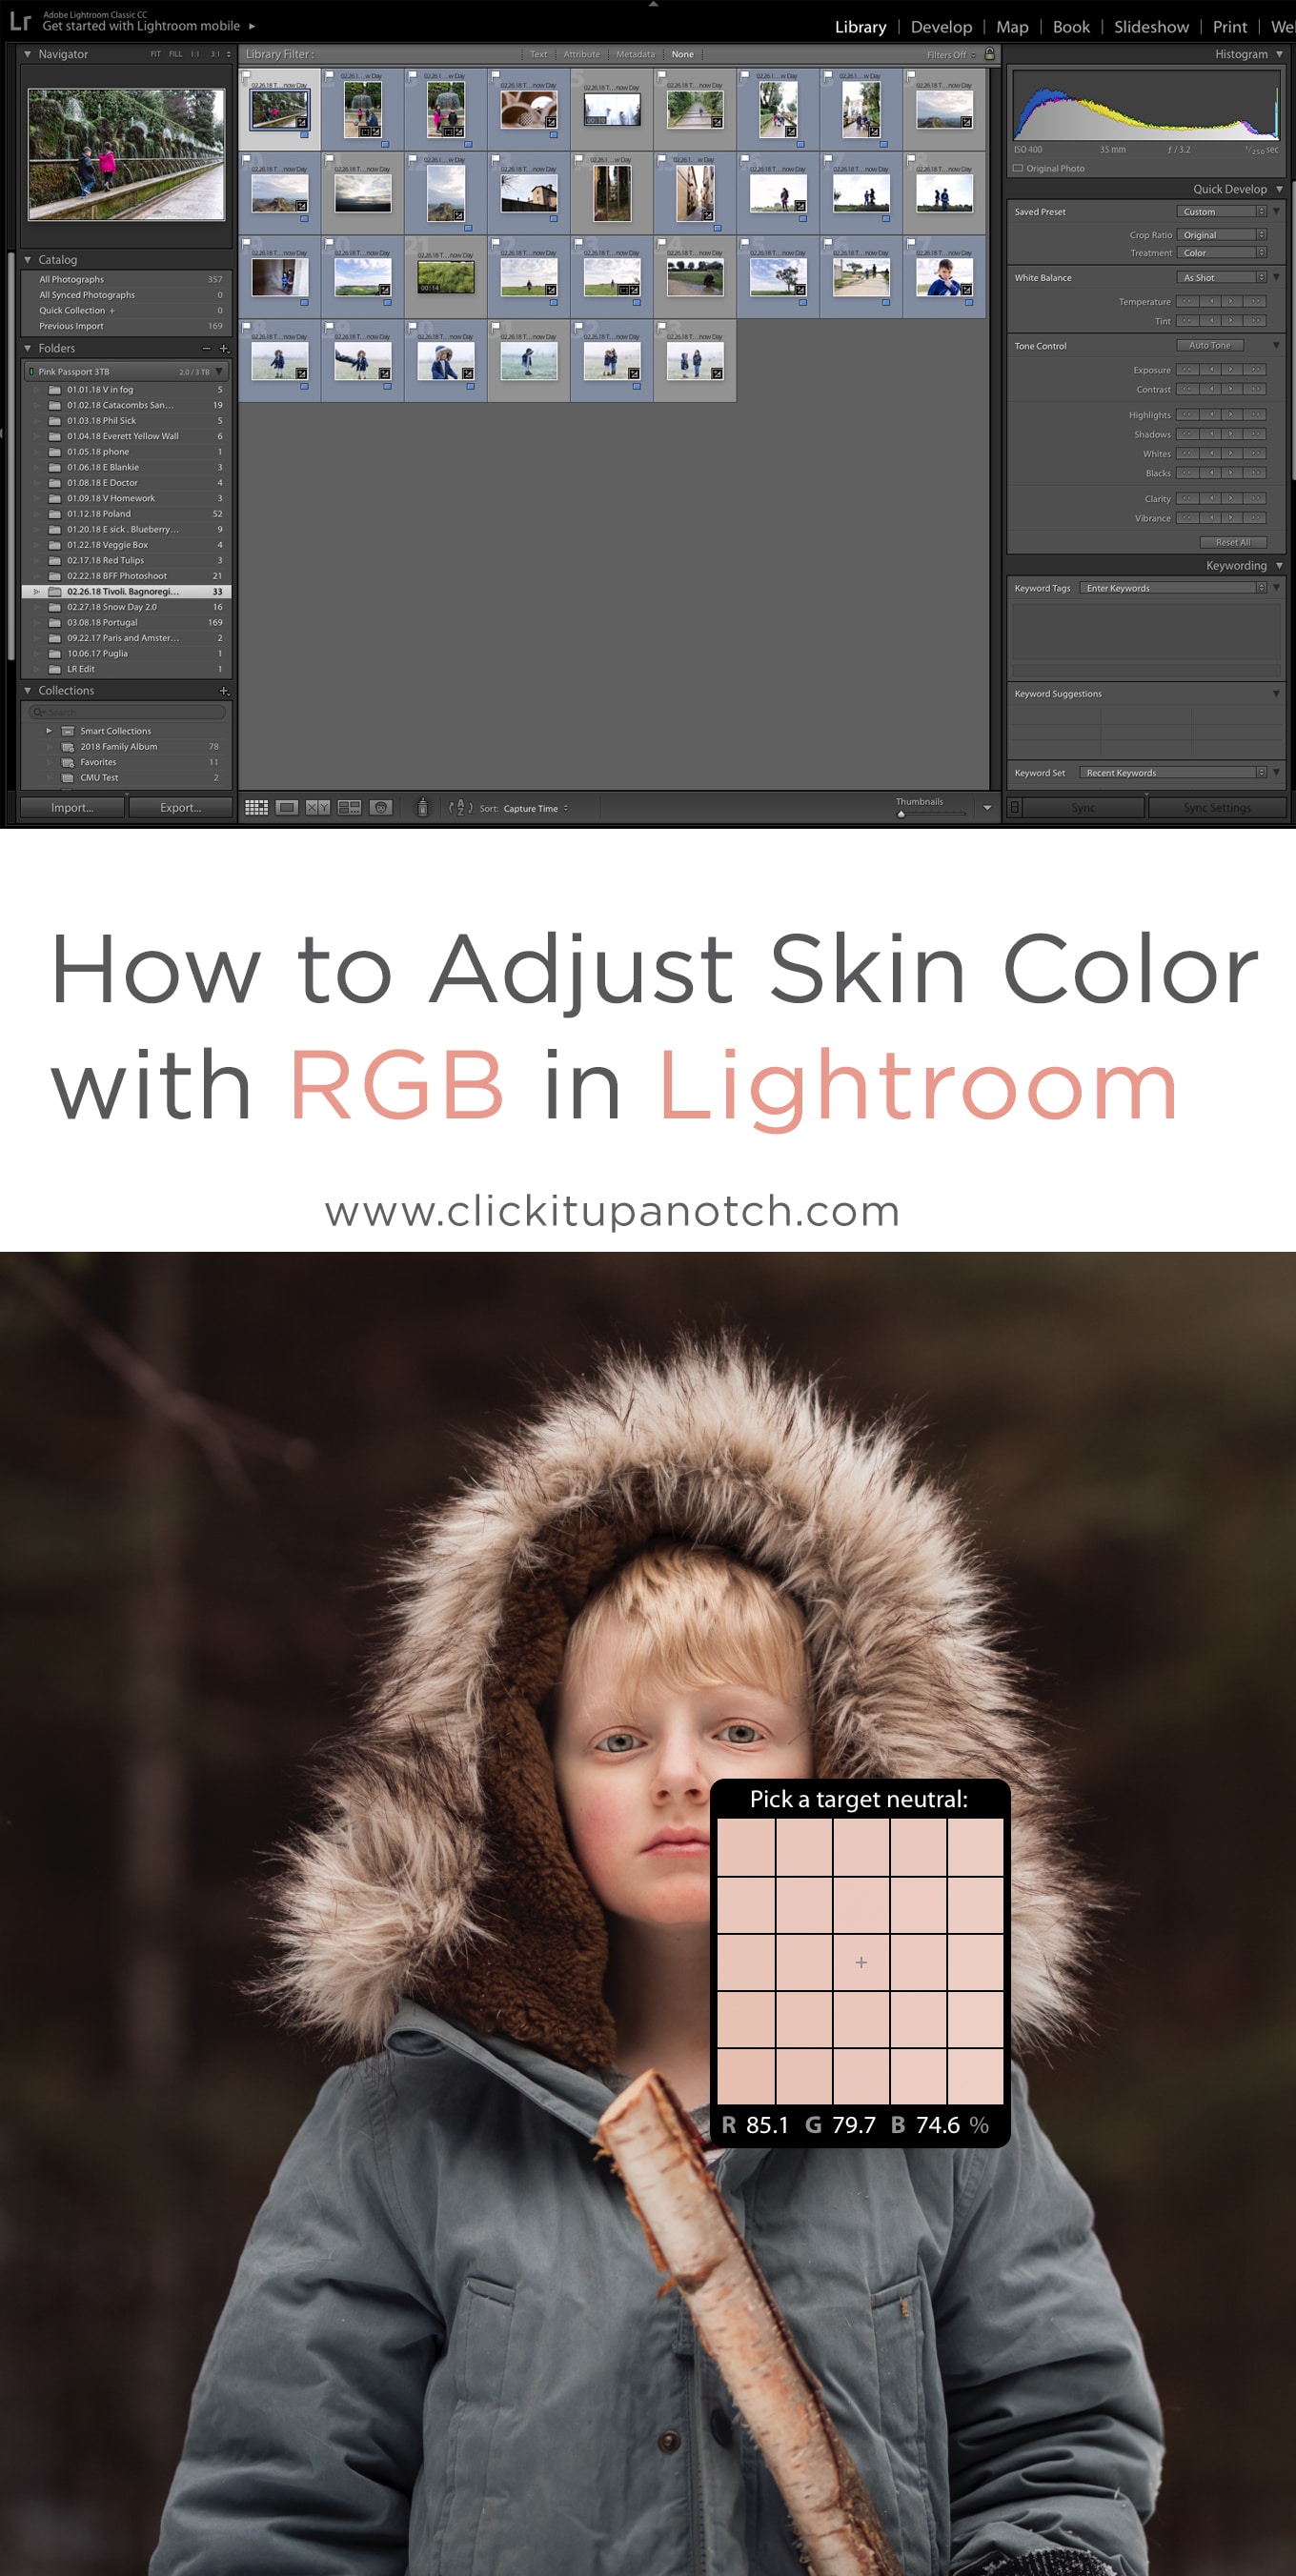
No.04Checking Skin Tones in Lightroom
So how do I go about checking my skin tones to make sure they are correct? I always do two things… I first study my subject to and ask myself whether the skin tones look accurate. Does their color look true? Do I see any casting in the shadows and highlights?
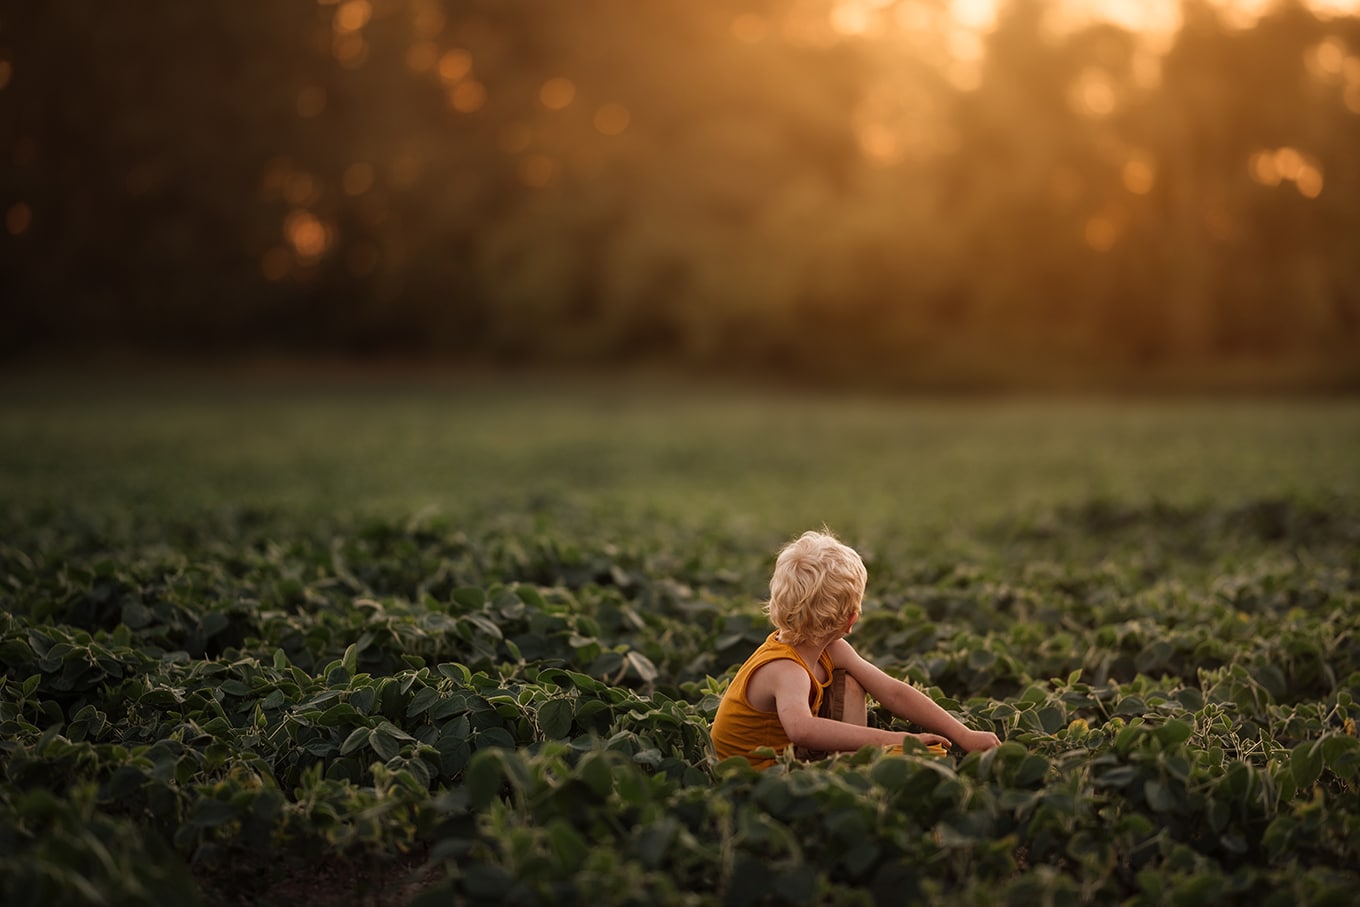
If I question the skin tone, I double check by using the RGB number system. I take the dropper tool in Lightroom, hover over a midtone (see example), and look for certain numbers.
For a very fair person like my son, his numbers should always be around: R:85 G:80 B:75.

There’s typically a 10 point spread between the red and blue channel, and the green should always fall somewhere in the middle.
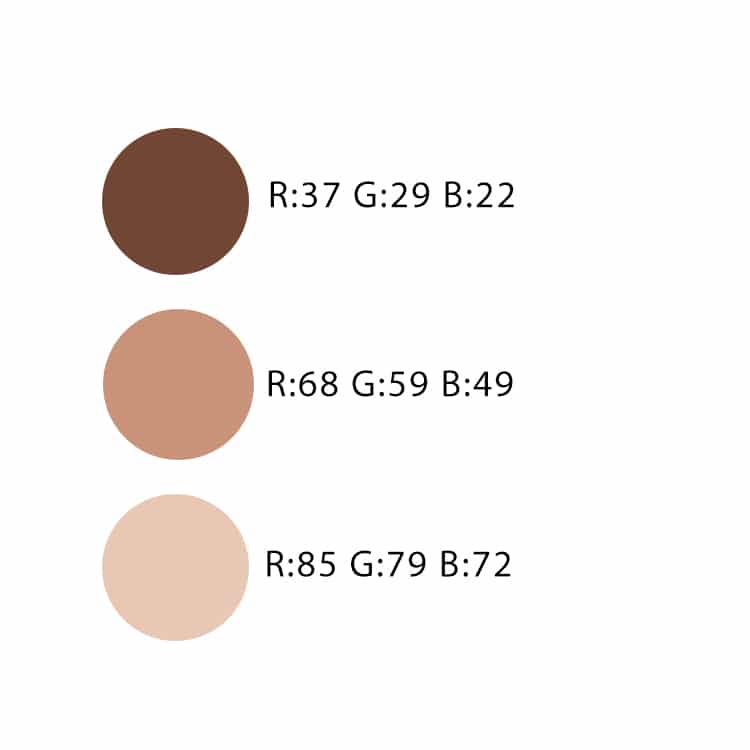
Of course different skin tones should have different numbers. Skin tone color chart examples:


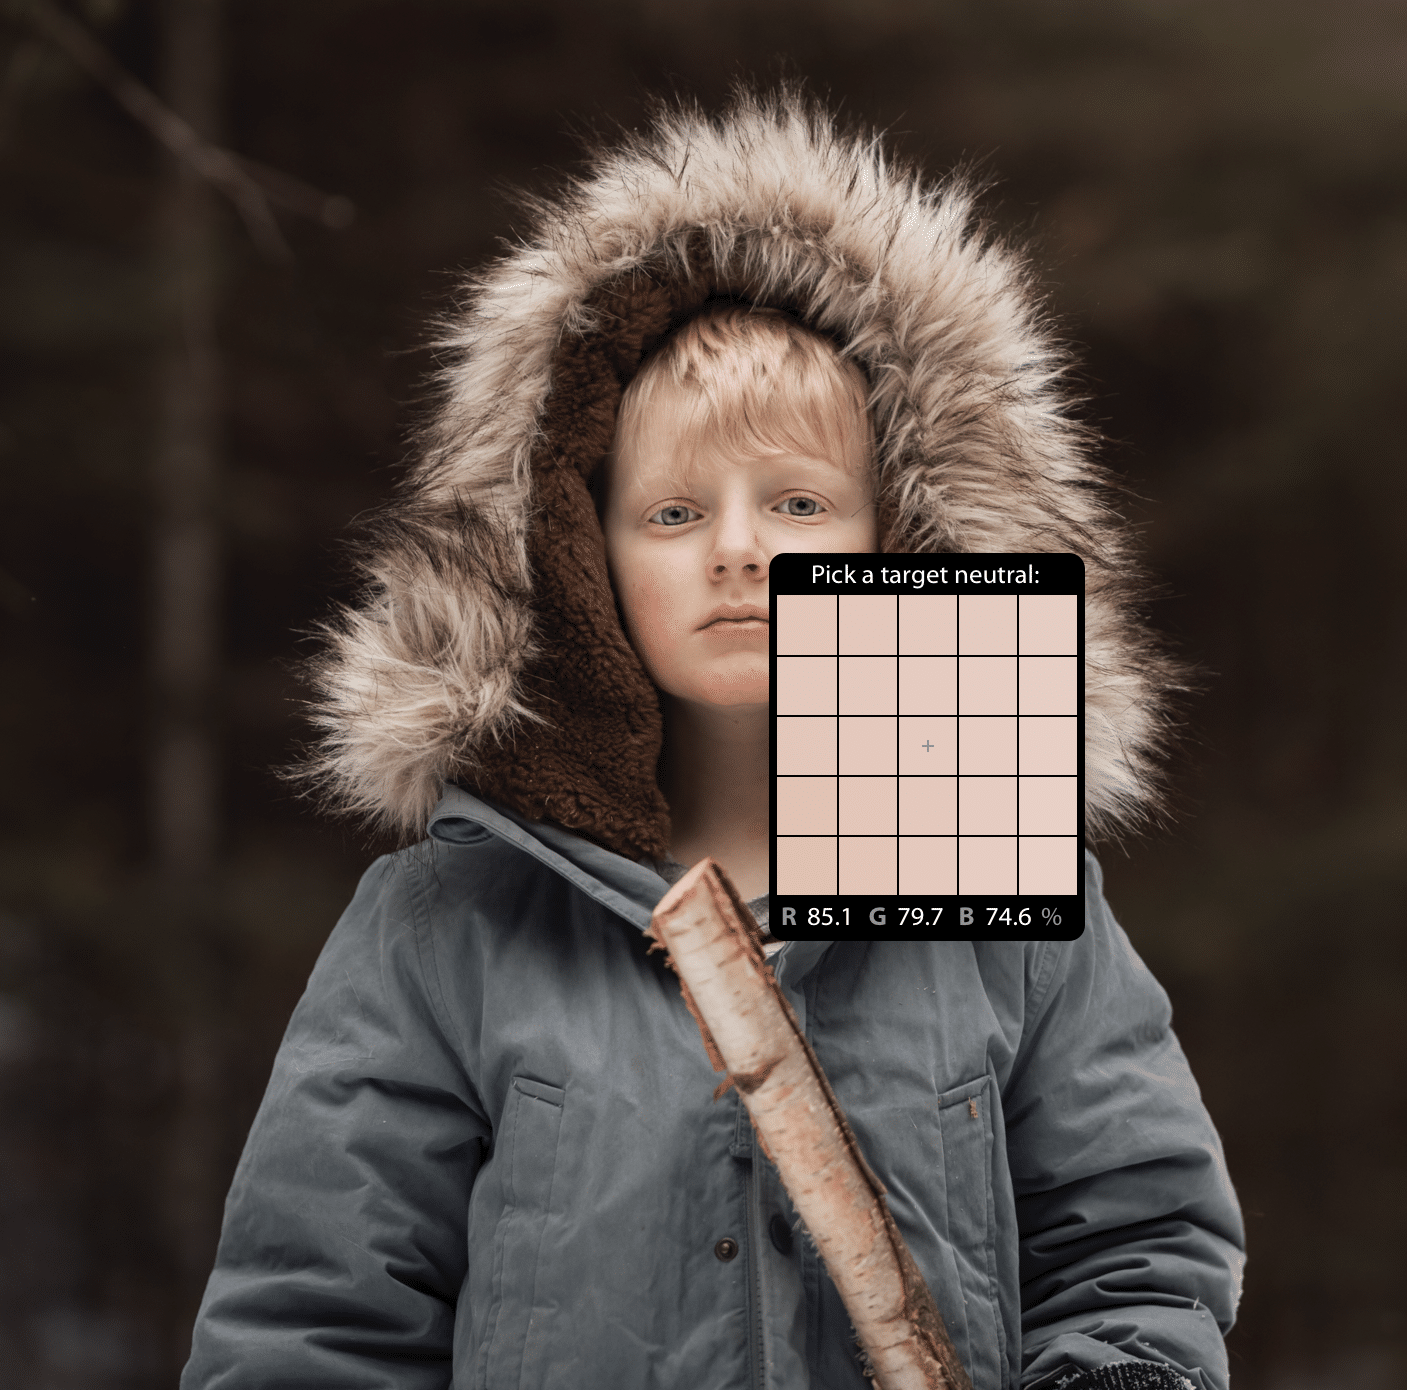
It’s also important to note that some programs read RGB differently. For example Camera Raw does by percentages and not numbers like Lightroom.
Naturally these are just general guidelines, but once you know your subjects RGB numbers that rarely ever changes unless their skin tones changes. For example in the summer my children’s skin tone is slightly different than it is in the winter.
These guidelines really do make a big impact. Over time, as with anything, understanding skin tones does get easier.
Find more ways to edit portraits in lightroom:
– Split Toning: My Lightroom Secret Weapon
– 8 Foolproof Lightroom Tips for Editing Your Photos
– 3 Ways to Brighten an Image in Lightroom


Another tool in my toolbox. I do use expodisc and find it very useful. This will enable me to tweek my skin tones if need be in LR. Thank you!
Something I’ve never seen before in all my research. Thanks!
Thanks…it was very helpful, well written and easy to understand!
Thank you for the skin tone chart!!! I’ve been looking for something like hat.
Thank you Meg! So informative read.
This was excellent! I, too, appreciate the skin tone chart. I have been thinking about starting to use Kelvin, but so many articles that’s I have read were just not helpful or were too technical. Thank you for spelling it out so clearly. I am going to be checking out your other posts, particularly the one about low light. I tend to lean that way naturally with all of my shots, so I truly appreciate your tips!
Do you have these tips for Phoshio cc?
Fabulous and very helpful article!
Thank you, very good informative article, easy to understand and to the point. Appreciate it!
This is the first time I have found sound advice on skin tones and I’ve been searching a long time because my work consists mostly of darker skin tones. Thankyou!
Are there any cheaper options than Lightroom? I’m not quite ready to spend $10 a month on it. Thanks!
Emily, you may try Luminar from skylum.com/luminar. It can serve as a cheaper analogue for Lightroom. However, functionality may vary a little.
By the way, this skin tone game is really impressive in its simplicity. Thank you for explaining.
I’ll improve my editing from now.
I don’t know how i found this but woah!! Thanks for everything
So if my skin tones (numbers) are off, how do correct them? I have a difficult time trying to correct the RGB numbers