Although I love to take posed portrait images, my main photography inspiration comes from my desire to capture those mundane, everyday moments with my son. I want these photographs to be able to transport me back to the day the photo was taken, to that very moment in time. Whilst most definitely a single image can do that, I regularly find myself telling these everyday “stories” through several shots. When viewed together, these images allow me to create a more meaningful collection of memories than a single image could. There are several types of images that I try to take when storytelling, which I thought I would share with you today.
Read more: How to take outstanding photos that tell a story
1. The Introductory Shot
First off, I usually take a couple of shots help set the scene. Generally, this is a wider shot that shows where the activity is taking place – a pullback of sorts that shows where we are and what we are doing. However, this can be of a photo of just one detail – for example the box of cake mix if we are baking cakes, or the table set with paints and blank paper.
2. The Detail Shot
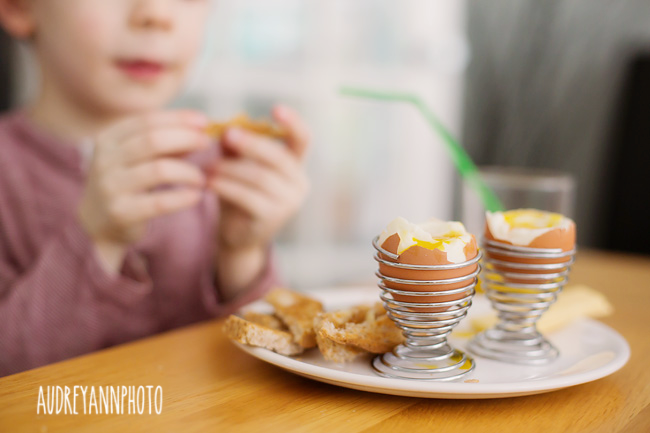
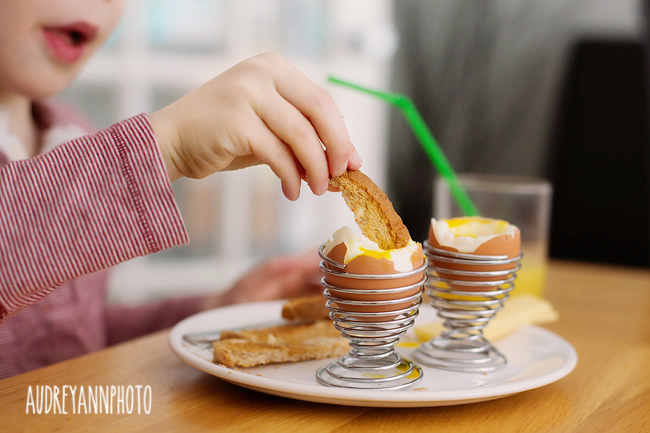
I love detail shots and will generally take a few of these, depending on how much time I have and how many things I want to capture. This could be little hands holding the paintbrush, or pictures of the paints themselves, or a brow furrowed in concentration – anything that shows the smaller elements of the story that can help to pull everything together.
3. The Portrait Shot
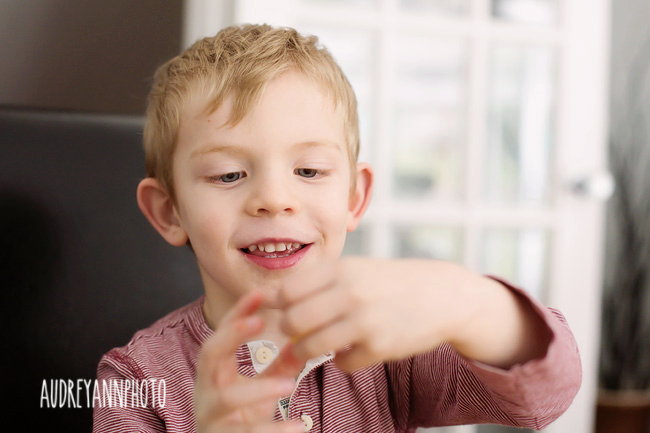
I nearly always try to get a clear shot of my son’s face – the more natural this is, the better, so I will never ask him to look at the camera for this. However, I will try to position myself so that the light on his face is the most flattering it can be. Many times when shooting indoors, the background is pretty messy (and I generally don’t tidy up, for photos, or in life for that matter) so I normally use a very shallow depth of field to blur out what’s going on in the background.
4. The Moment Shot
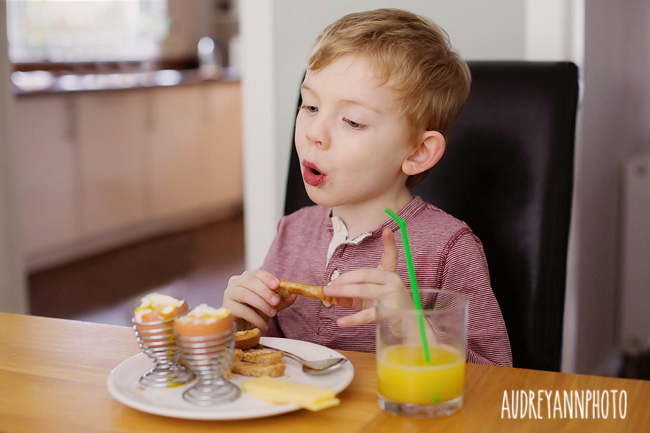
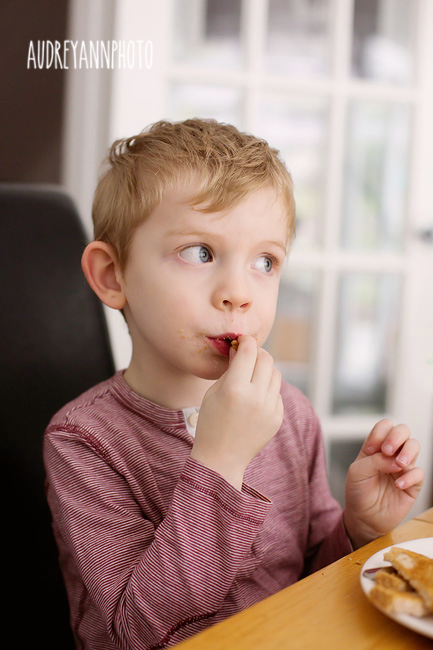
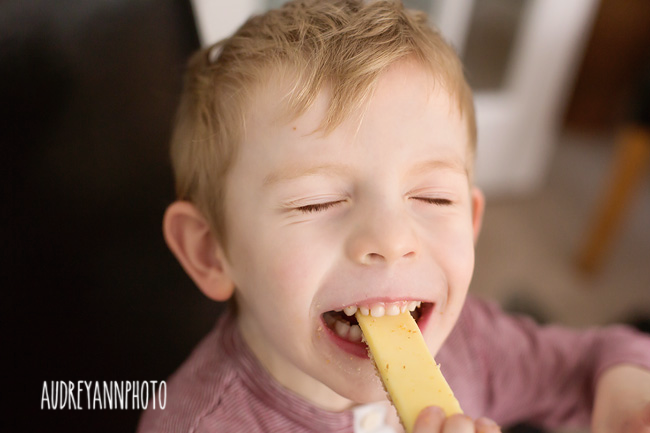
This can take a bit of patience! This is the shot where you get a great expression, or a momentary connection between two people, or capture the apex of an activity. In the photo below, it’s my son’s expression and the fact that he is in mid bite that makes this as a “moment” shot for me.
5. The End Shot
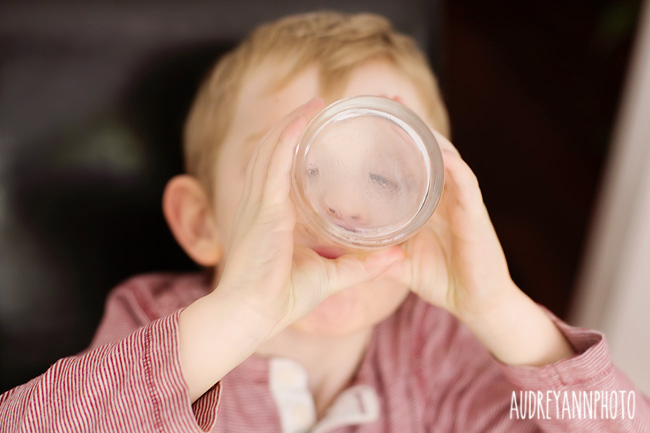
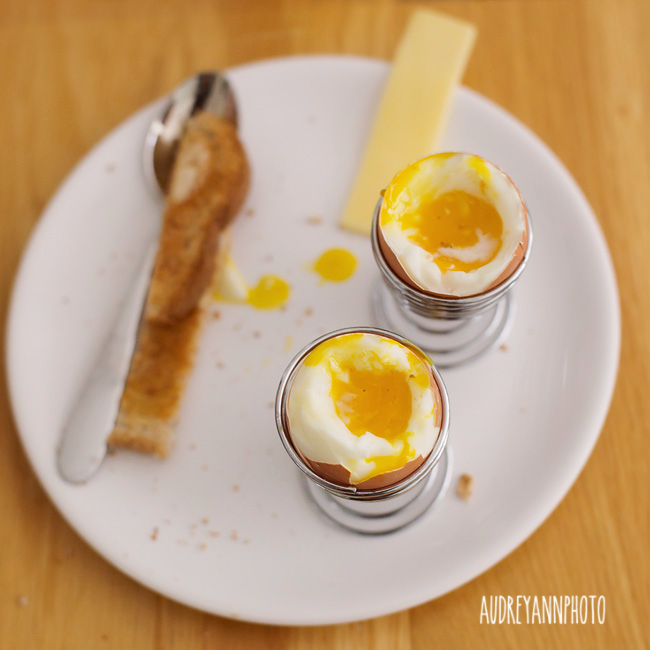
I always try to remember to wrap up the story with a final photograph. This could be photographing the end result, such as the finished picture we were painting, or the mess that was left behind, or the cakes cooling on the rack. This can be of whatever seems like a natural place to end your story, in this case, his half finished lunch.
6. Getting it all in ONE shot
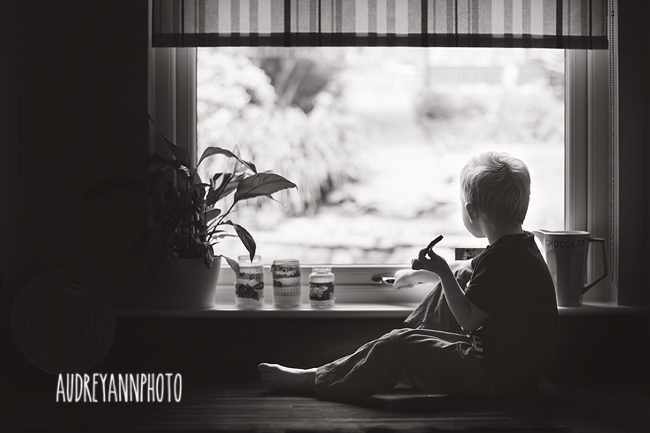
Some times, less is more. If moving in and around my subject would disturb the scene too much, or I can say everything I wanted in one shot, then I will leave it at one. For example the photo below has everything I need to remember that moment – the pajamas tell me it’s morning, the toast in his hand that he’s eating breakfast, the wideness of the shot shows me he’s up on my dryer looking out into the garden through the window. I don’t even need to see his face to know that he is content. Whilst this would make an excellent introduction shot, and from here I could have gone to photograph his face, his toast, his feet etc. – doing so would have ruined the peaceful mood, and therefore changed the very thing I wanted to capture.
Some other tips to help with your storytelling:
-A “story” doesn’t need to be of a special day or a big adventure – even small insignificant moments (like having eggs for lunch ) can be told as a story. Our most cherished memories are often from everyday moments.
-You can tell long stories (for example a day in the life project) or short ones like the one shown above, which happen over just a few minutes.
-Shoot from a variety of angles– above, below and from both sides, wide and close up. Mix it up!
-Rather than trying to remember the above as a shot list, simply think about having a beginning, middle and an end, or even the classic storytelling principles of who, where, when, what and why.
-Try to position yourself and your subjects so you have the most flattering light. Shooting indoors always means high ISO’s for me so I try to over-expose a touch to keep noise at a minimum.
-I don’t tidy up around my subjects, because I want the scene to be as real as possible – but if you do, make sure that you are not removing elements that help tell the full story or just add something to it.
-Shoot from the heart. When you try to photograph to a formula, your photos won’t have the same resonance when you look back on them in ten or twenty year’s time. The above series is far from being technically or compositionally perfect, but it works for me because I can both see and feel that moment in time in these images, despite all the things I could or should have done differently.
Read more about storytelling photography
– Creativity Photography Exercise: Perspective for Storytelling
– Creating a photo essay



Just the inspiration I was needing! Love your blog! http://www.daniellegeriphotography.com
Thank you so much for this post. For a long time now I’ve been struggling with my photography. I’ve come so far from trying to tell a story and caring about my photos to just grabbing the camera and clicking, resulting in less than stellar images. This is just what I needed to get my head back in the game and back to what I love doing.
I like taking story telling, every day type photos too. Even if I never share them and just keep them for us to remember something specific. By the way and totally off topic. I have the same egg holders and love love love eating soft boiled eggs. My sister brought me the egg holders from Germany a long time ago and the soft boiled eggs are a staple in our house since that was a typical Sunday breakfast for us growing up in Germany! :)
Thanks for the inspiration. Those tips are top-notch.
I love this! I’m always trying to use the light indoors to capture all the goodness of my little girl in her daily rituals :)
So simple, so effective … great tips!
These are wonderful tips. I especially appreciate to think of things in terms of a beginning, a middle and an end. I’m going to share this article with my Facebook and Twitter followers.
I enjoyed reading this post and loved the photo story of your son. He looks like a sweet little boy. I look forward to trying your ideas, though I no longer have little ones in the house. Some day maybe there will be grand-babies. :)
Great Story! Thanks this is so helpful, has given me a lift today Thank you
I loved this post! I really loved the detail shots! My favorite one was when your sons face was blurred out and the food was in focus! I will definitely be trying that shot out! Thanks again!
This is my favourite style of photography too but you’ve described and explained it perfectly! Super-helpful…thanks so much for writing this! Your photography is beautiful.
Thanks you so much for this post. I love Storytelling Photography but rarely do I actually do it myself. You’ve inspired me to give it more of a try! :)
Thanks for sharing. I was looking around for an article like this and you really nailed it!
my class just used this blog for an entire lesson.