Photography is an amazing way to capture your life around you as well as share your unique perspective on how you view things. It can always be extremely overwhelming and feel like a foreign language. At least it did for me.
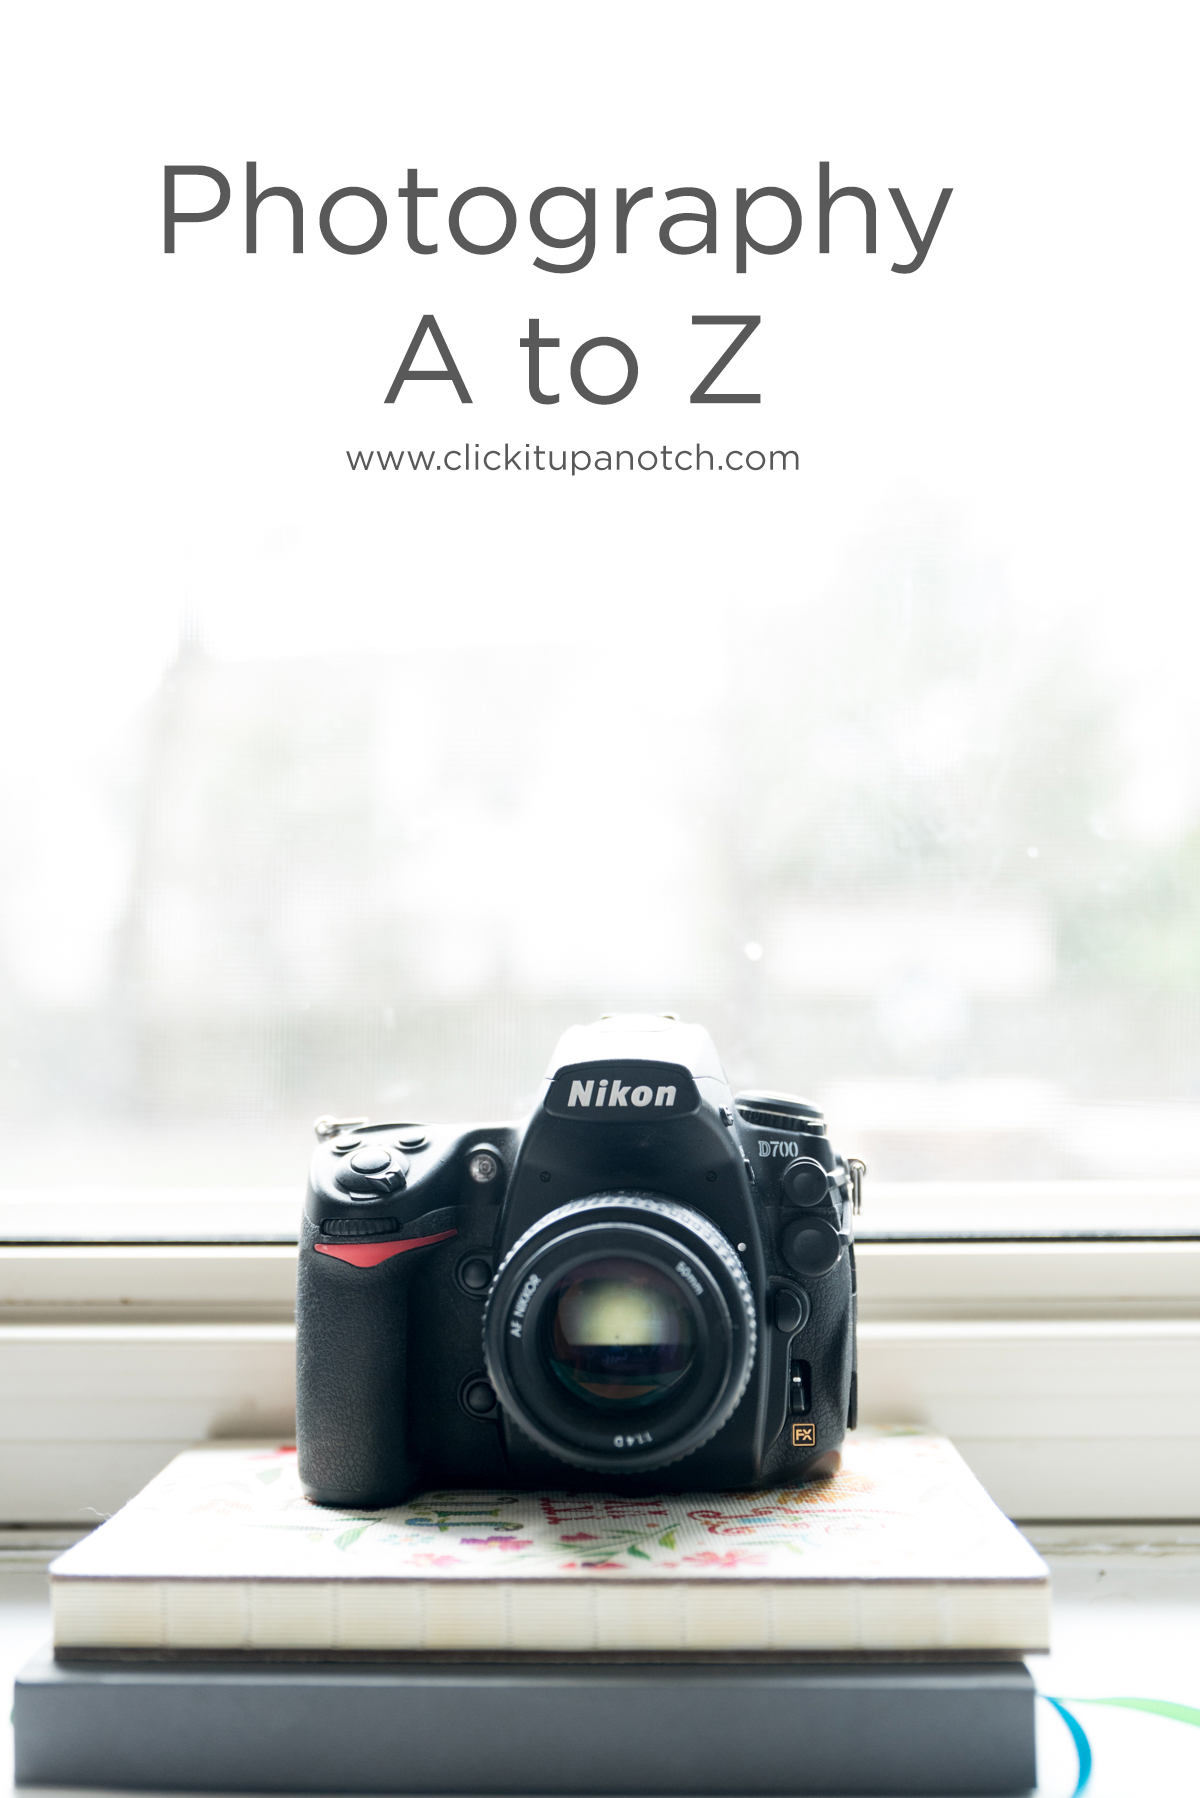
I put together a Photography A to Z for you. Think of this as a resource/guide to help you figure out parts of photography you may have not even realized you didn’t know. Or maybe it’s a guide to help you dive deeper into the meaning behind some of these words and concepts.
You will want to “pin” or bookmark this page as it will be one I’m sure you will reference in the future.
*This post contains affiliate links. Thanks in advance for supporting Click it Up a Notch.
Photography A to Z
-
No.01A - Aperture
Curious as to what makes those blurry backgrounds. It’s the aperture. The aperture plays an important role in the exposure triangle. Read more: Aperture-The Basics
-
No.02B - Bokeh
Those beautiful circles of light in the background of your image is the bokeh. It is best achieved when the light is coming in from behind your subject like peeking through the trees.
-
No.03C - Composition
Learning how to use composition to pull your viewer into the images is important to the story you want to tell. Composition plays a powerful role in your image and can take it from looking like a snapshot to a beautiful thought out photograph. Read more: Photography Composition Tutorials
-
No.04D - Depth of Field
Depth of field is often a term you will hear photographers talk about when they are looking at a particular image. Read more: Depth of Field for Beginners
-
No.05E - Exposure Triangle
When learning to shoot in manual mode, understanding the exposure triangle is key to a properly exposed image. The exposure triangle is made up of aperture, shutter speed, and ISO. Read more: Shooting in Manual Mode – The Basics
-
No.06F - Flash
If you are interested in learning to use flash, we don’t recommend using the pop-up flash on your camera. Instead, invest in a speed light or another off camera flash to help provide more light for your images. Read more: Speed light photography for beginners
-
No.07G - Golden Ratio
There are many ways to compose an image. The golden ratio is a method that artist have been using for years. In fact, you can find the golden ratio in nature as well.
-
No.08H - Hand strap
As a mother of little ones, I sometimes worry about having my neck strap hanging off the kitchen counter when the kids walk by. I found this useful hand strap which allows me to still have a strap without having to worry the kids will accidentally break my camera.
-
No.09I - ISO
ISO is an important piece of the exposure triangle as well as the factor that causes noise in an image. That being said, don’t be afraid to raise your ISO.
-
No.10J - JPEG
JPEG vs RAW? Which to choose? Something to keep in mind is not only the quality of the image you are taking but if you have an editing program to open, view and edit RAW images.
-
No.11K - Kelvins
My absolute favorite way to set my white balance. Not all camera’s have Kelvins but if your does, I highly recommend you giving it a shot as it may be easier for you to set your custom white balance. Read more: How to use Kelvins for White Balance
-
No.12L - Lens
Photographers love our gear. Figuring out what lens to buy can be a challenge. Which lens should you buy first? Maybe you know what you want to buy but aren’t sure if you are going to love it, rent it! If you are ready to get all your lens questions answered, Everything You Want to Know About Lenses.
-
No.13M - Manual mode
I encourage you to try manual mode for 2 weeks. Take complete control over your images. Understanding shutter speed, ISO, and aperture isn’t as scary as it looks. Learn how to use these three aspects together – How to shoot in manual mode – The basics
-
No.14N - Noise
The higher you raise your ISO the more noise is brought into your image. Often times, we need to raise the ISO to bring in more light and if that brings in noise you can easily correct that in post processing.
-
No.15O - Overexposed
If you find your images are too bright and white looking it may be that your image is overexposed. An overexposed sky doesn’t bother me but you need to be mindful if you are overexposing your subject’s skin or key subject in the image. If you find you are overexposing or the sun is too bright, you can always move to open shade.
-
No.16P - Post Processing
After you feel comfortable with the exposure triangle, the next step is to start learning how to edit your images. Personally, I edit every single one of my images. You don’t have to spend hours editing once you have a system that works for you. I can easily edit an image in seconds as I try my best to properly expose the image so I’m not fixing mistakes but just enhancing the image. I recommend Lightroom for editing. Read more – Editing tips
-
No.17Q - (sorry, I don't have anything for this one)
-
No.18R - Rule of thirds
A composition guide most photographers learn first is the Rule of Thirds. It’s a fantastic guide that helps create interest and helps pull your viewer into the frame. Read more: Rule of Thirds
-
No.19S - Shutter speed
Shutter speed can freeze your image or help create movement. It is a fun feature to play around with. I love using it to create blur in my images. Read more – 7 tips to show movement with slow shutter speed
-
No.20T - Tripod
Learning how to take self portrait is not only a great way to get in the photo but helps push your creativity as well. Megan Cieloha and I are doing a weekly challenge on Instagram called #portraitsofme where each Monday we post a self portrait. We encourage you to join us. To make things easier, invest in a good tripod. It is great for self portraits, food photography, as well as low light photography. My tripod has been discontinued but this is similar – Manfrotto tripod
-
No.21U - Unique Perspective
Each photographer sees the world in their own unique way. Part of your journey will be figuring out how to capture images, your way. It can be a challenge to find your photography style which is why Beth Deschamp of Bethadilly Photography and I teamed up to create The Styled Photographer. She shares the tools and techniques she wishes she had to help you learn to share your unique perspective.
-
No.22V - Vantage point
When composing your shot, I encourage you to try at least 3 different vantage points. Often times the image you have in your head may be one thing but after you try two other vantage points you find there was a more interesting way to tell the story. Read more – One subject, different vantage points
-
No.23W - White balance
If you want your images to look professional, one sure fire way to do that is to have correct white balance. I highly suggest not relying on your camera’s auto white balance but learn to set it yourself. Read more – White balance: Comparing different methods
-
No.24X - Xperiment (I know it's a stretch)
Okay, I know this doesn’t start with an ‘X’ but it’s so important when on this journey to experiment with everything. Different lenses, different editing styles, different light and compositions. Play around. Figure out what it is you like and not what others are doing. You are on your own journey!
-
No.25Y - Your life
Many of us get into photography to photograph our children, I know that is my story. I wanted these beautiful everyday moments captured so I could fondly look back on them as the kids got older. I am a firm believer in photographing those everyday moments which is why I created The Unexpected Everyday. In this 30 day challenge you will not only learn the basics of photography – manual mode, light and composition, but you will be given daily prompts to help photograph the simple moments of your kids lives.
-
No.26Z - Zoom lens
Often times, photographers will say they are either team “prime” or “zoom” when it comes to lenses. Personally, I love a mix of both. But as far as zoom lenses go I’m obsessed with my Tamron 24-70mm and my Tamron 70-200mm. If you are interested in investing in a zoom lens I highly recommend checking these out.


As always thank you for all your tips
Thanks so much!
Q – Quit slackin’ and practice ;)
ha ha I love it!
yay! Excited to go through this!
Enjoy :)
Cant wait to go on another photography excursion, its been far to hot her to go out and relax. Thankyou for all your help.
Sounds wonderful!
great tips, courtney! thank you so much for all your hard work putting this together.
xoxo
Thank you!
Quick release clip for a tripod
Quiet Mode (Silent mode)
Oh, those are good :)
Q is for questions. Always ask questions when it comes to your photography☺️
Yes! Most definitely!
Is this in Ebook form? I would loveeeee to have this for referral
Not currently, but that is an idea :)
Great post! Maybe quantity for Q? hehe. Take lots and lots of photos. Practice makes perfect ;)
Q – Quality of the photo is important to the type of photo you want to make
Q for Quality not quantity
Interesting alphabet! As for “Q” suggestions: how about the Q-Menue found on some system cameras?
Thank you for this very helpful list.
Love a hand grip, not sure which one to order w/Canon DSLR w/battery pack?
I’m a Newby need all the help I can get
Very good and useful article, well done, Thank you.
Another very valuable help from you!
Thank You!
Thanks for all that useful information. I’m an amateur/more experienced photographer and I’m still working on the manual mode and understanding it more and more. Your tips have helped reinforce what I’ve been trying to learn all these years. Thanks.