When I moved to Tampa, one of the things that most attracted me to this city was the proximity to all of the white sand beaches! What a perfect place to take pictures of my three girls making sandcastles, searching for shells, and twirling at sunset. I was finally going to be able to take my own breathtaking sunset images rather than just admiring fellow photographers beach images through social media.
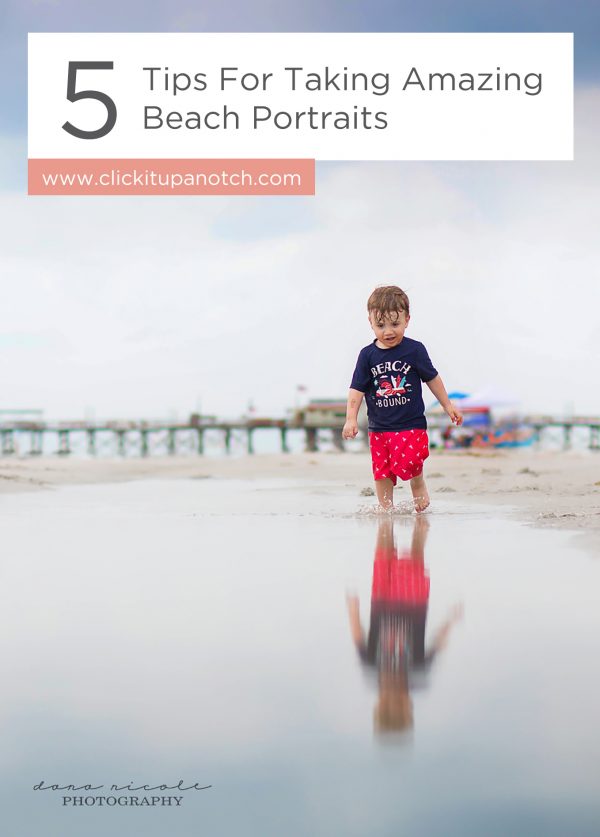
During our very first family trip to the beach while living here, I must have taken hundreds of photos! When I got home and eagerly uploaded my images, my excitement turned to disappointment. Why didn’t they look as beautiful as the images that my favorite beach photographers have shot? Where was that beautiful, colorful sky that I saw that evening? Why did my girls look so dark?
It turns out that shooting at the beach, especially during sunset, is challenging! If I exposed for my subjects, the sky would be blown out. If I tried the opposite and exposed for the sky, my subjects would be too dark. How could I get my girls exposed correctly but also keep the detail and color of the sky?
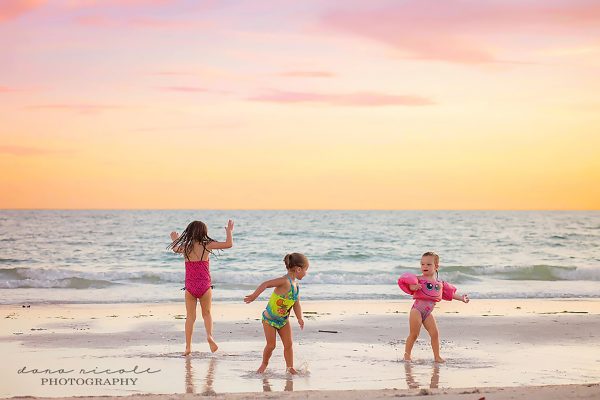
I was determined to figure this out. I poured through books, tutorials, and webinars searching for the solution. Equipped with all of the information I have learned, I took my girls back to the beach and practiced until I got it right! Here are some tips that I have found useful in achieving beautiful portraits without blowing out those beautiful sunsets and keeping your subjects properly exposed.
-
No.01The Golden Hour Is Magical
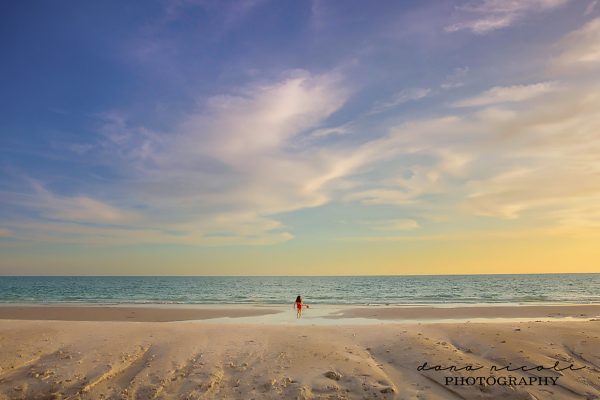
If you’re a photographer, you know that this is the most gorgeous hour of the day: the hour before sunset. This is when the light is luminous, creates gorgeous skin tones, and adds an overall magical feel to the image.
If you shoot at any other time of day, the light can be extremely bright, especially when there is white sand and water constantly reflecting it! If the light is too bright, you will notice harsh shadows, washed out colors, and squinty eyes.
-
No.02Shoot In Manual
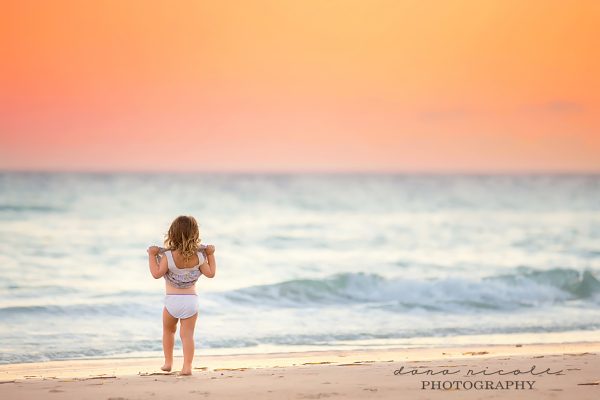
This is important! You should practice this if you haven’t already mastered manual mode because it is important to control all aspects of your camera while the light is constantly changing.
As the sunlight decreases, it’s important for me to know how to continually adjust my settings to allow more light to enter my lens.
-
No.03Use Spot Metering
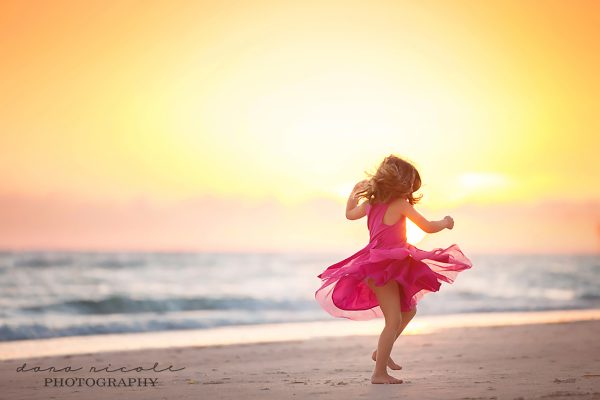
This mode on your camera is important, especially for beach photography. I use this to expose for my subjects skin. I will spot meter for skin and then purposely underexpose a bit.
I realize that this might not be everyone’s cup of tea, but I have found that this works best for me in order to retain the color and detail of the sky. I then lighten my subjects later in post-processing.
Read more: Metering Mode – Basics
-
No.04Silhouettes Are Fun Too!
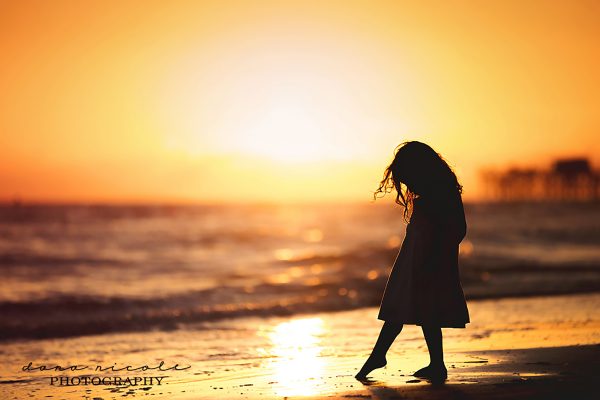
So now take everything I said about exposing for your subjects skin and do the opposite! To rock a silhouette, spot meter for the brightest area of the sky and then focus on your subjects and shoot. Again, this is where knowing how to shoot in manual mode really comes in handy!
-
No.05Lightroom is Magical
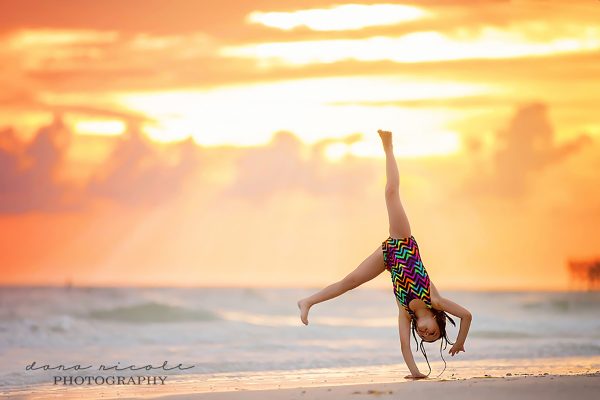
Yes, I mean magical…like unicorns and rainbows magical. This is where most of my post processing is done. Lightroom is very user friendly and easily transforms my beach images into art. Typically, I bring down my highlights, increase my shadows, adjust my white balance, and add some vibrance.
So there you have it! Now it’s time to get out there and practice, practice, practice…and don’t forget to have fun in the process!


Thank you so much for your tips. I have trouble with manual because I have to wear vheater glasses and focus is off – so I always use auto. I live on the other coast and get up early for the sunrise…
Thank you! I’m just south of you in Palmetto, and I don’t get out to the beach to shoot as much because of exactly what you mentioned. Can wait to try your tips!
Thank you for the tips, your pictures are stunning! The colors you captured are amazing!