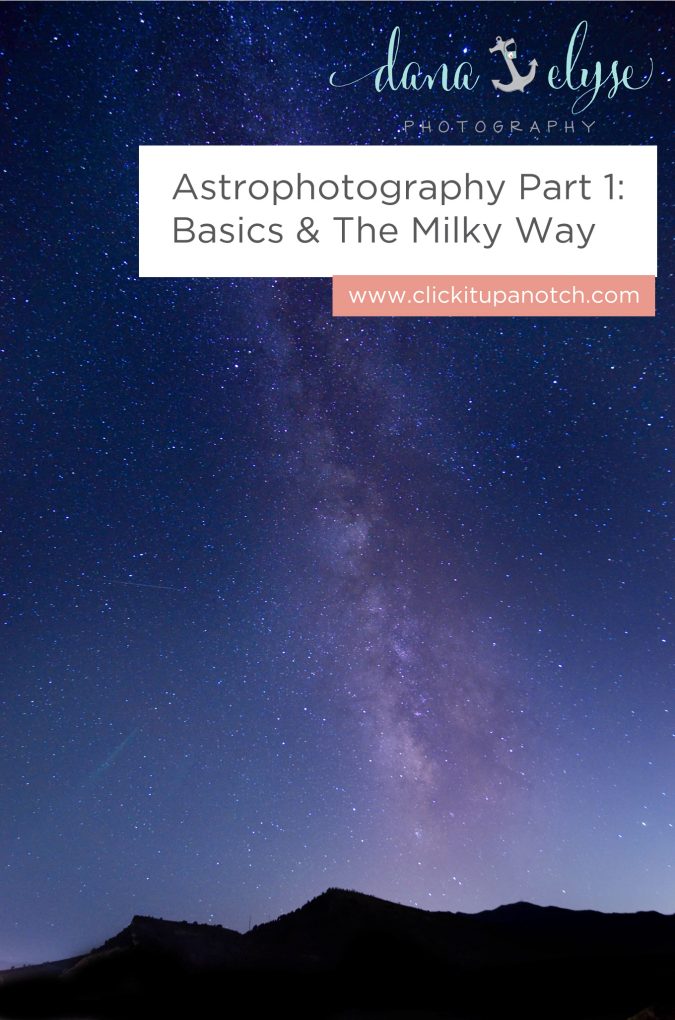
Don’t put your camera away when the sun goes down! In part one of this two part series, you’ll learn how to capture some out-of-this-world nighttime images. Astrophotography covers any form of night sky photography and includes (but is not limited to) shooting: the milky way, star trails, meteor showers or the northern lights. While you’ll need to do a little prep work for a successful nighttime shot, once you’ve done your research and gathered your equipment, taking the actual images isn’t as complicated as it looks! This is a two part article. In this part, I will talk about the planning and equipment needed as well as the basics of shooting the night sky/Milky Way.
Read more: 6 Tips for Night Photography
What you’ll need:
DSLR camera (or camera with full manual control) Wide angle lens (bonus if it has an aperture of 2.8 or faster) Sturdy tripod Fully charged battery for your camera
Optional, but very nice to have:
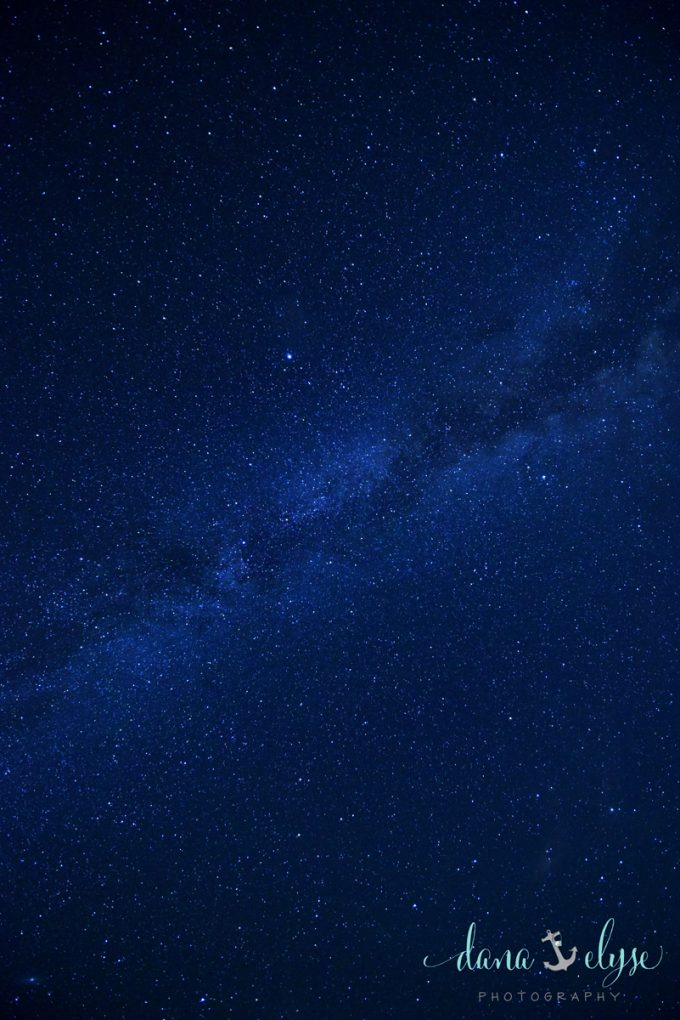
Remote or Cable release Battery grip or spare camera battery Flashlight/headlamp (one with a red gel makes life even easier) A smartphone/tablet with a night sky app installed (more info below) A camp chair/folding chair Bug spray if you’re shooting in the summer months Before shooting the night sky, there are three key aspects to keep in mind; Location, timing and weather.
Location for Astrophotography
The old real estate phrase ‘Location, Location, Location’ is especially important here. You’ll want to find a place far away from city lights. Any lights from a town will cause ‘light pollution’ in your image, as well as keep you from seeing many of the stars in the sky. The darker the sky, the more stars you’ll be able to see! Read more about light pollution on the International Dark Sky Association’s website. Find a good location using this map.
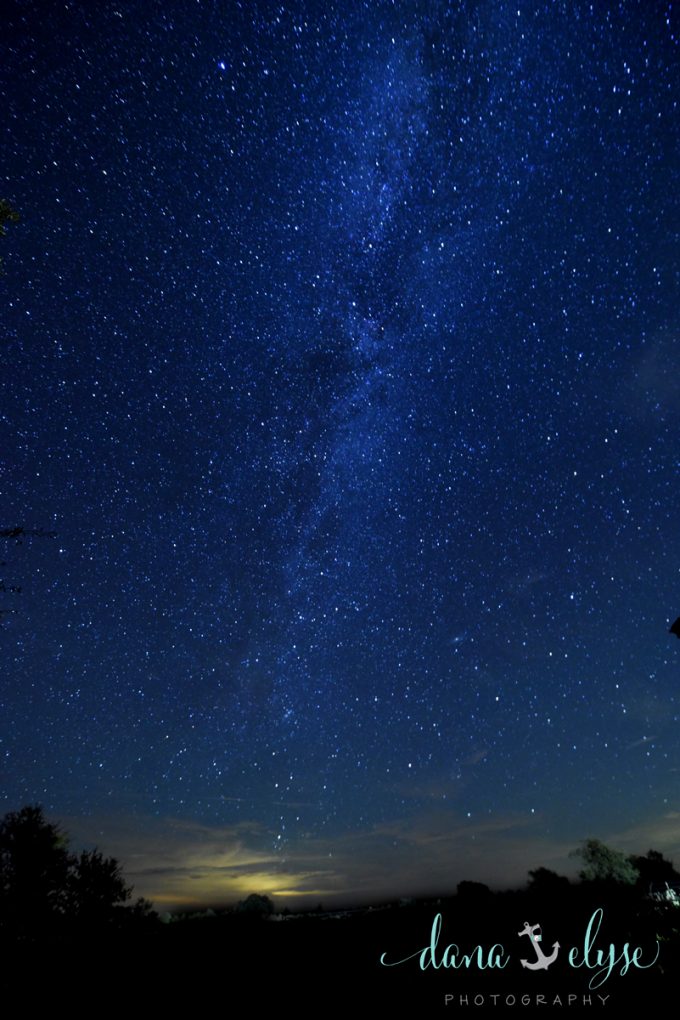
Another important factor in your location is the foreground. You’ll want something interesting to draw the viewer into your image – it can be something as simple as a single tree, or more elaborate such as a mountain range, the beach, an old building, etc. National Parks and State Parks are great places to start as they’re often very dark and have unique photo opportunities! Just be sure to check with the park before venturing out as some may not allow visitors to stay after dusk, or require permits of visitors that will be staying after park hours.
Timing
You’ll want to keep an eye on moonrise/moonset as well as what phase the moon is in. I prefer to shoot the sky during a new moon, but it can be done within a few days prior or after new moon, as long as the moonrise won’t take place during your shooting time.
Remember, any additional light coming into your image will hinder the amount of stars you can see! If you are planning on shooting the Milky Way, it is best seen from April-October, with the peak being around the summer solstice (mid June) in the Northern Hemisphere. This website is a good resource to find the moon’s phase as well as moonrise and set.
Weather
A clear sky with no clouds is ideal. Any clouds, once again, will hinder your ability to see all of the stars. Clear Dark Sky is a great website to check the clear sky forecast for the night.
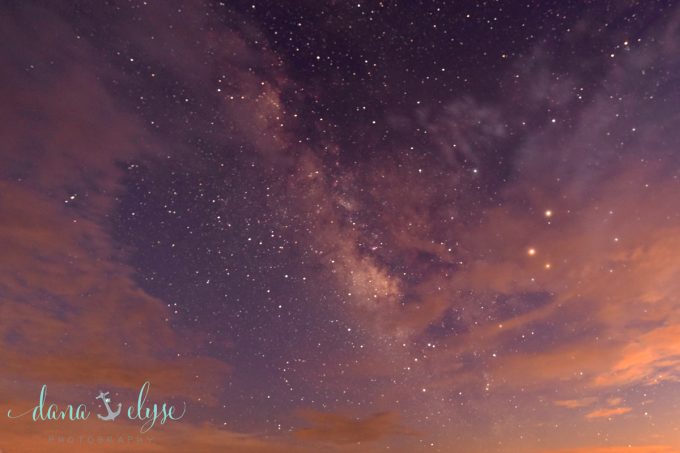
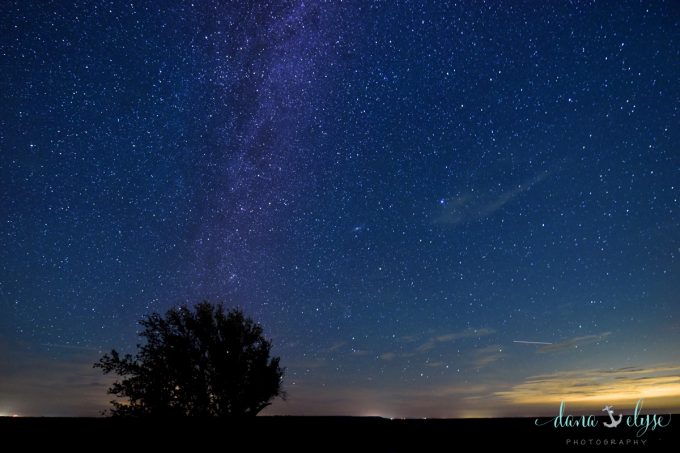
I shot this the same night as the image at the beginning – we had driven 1.5 hours to get to our dark sky location, and weren’t about to give up on our night for a few clouds! We started shooting shortly after sunset and I got this surreal image. Thankfully the clouds quickly cleared out and we were able to go on with our evening of astrophotography shooting, but you can see how much the clouds can block your view of the stars and Milky Way!
Bonus: Night Sky App
There are several night sky apps available for your smartphone or tablet. My favorite is Sky Guide. It is an easy-to-use app that allows you to simply hold up your phone to the night sky and it will tell you exactly what you’re looking at, whether it’s constellations, planets, or satellites. It will also tell you fun facts about the constellations as well as alert you when there’s an event going on near you (meteor shower or satellite going overhead), and can even tell you where the moon will be later in the night so you can plan your shoot around that. The selling point to me was that this app does not require wifi or data to operate, which is essential as many remote dark sky locations have limited cell service. At this time, I believe it is only available for Apple Devices.
Okay, so you’ve gathered your equipment, researched the perfect day to see the milky way without having the moon interfere, the weather is clear and you’re scouted your dark sky location. What next? The good news is, the difficult part is over! Now it’s time to go out and do what you love- take photographs! I recommend arriving to your location about an hour prior to sunset. This will give you time to get settled and determine the best angle for your pictures (using your night sky app) as well as get familiar with your surroundings. Walk around and take some test shots, get your tripod ready and camera set on it, attach your cable release or sync your remote, set up your chair and if you’re lucky, maybe even get some killer sunset pics! Shortly after sunset, you’ll need to give your eyes some time to adjust to the darkness, but once they do, you’ll be amazed at the amount of stars you can see! At this point, I recommend you turn your smart phone’s screen down as dim as it will go, and use a flashlight with a red gel to keep your eyes from un-adjusting to the dark.
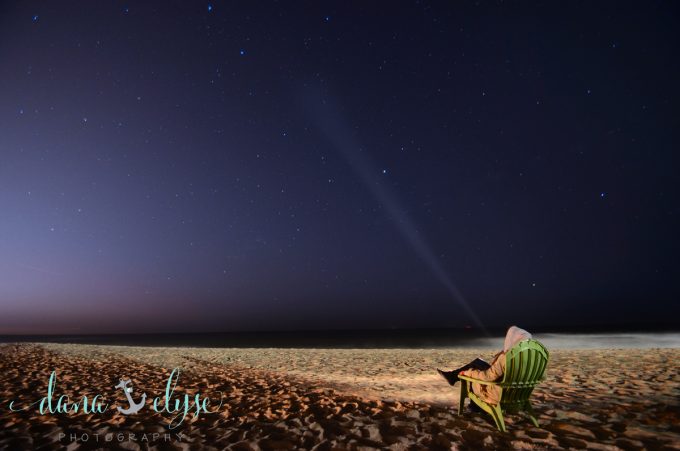
Once the sky is dark enough for the Milky Way to be visible, it’s time to start shooting! First, you’ll want to turn off autofocus. It is difficult for a camera to focus on stars, but there are a few things you can do. Zoom out as wide as your lens will allow you to and set your lens’ focus ring to infinity as a starting point, and if you have it, turn on live view. On the live view screen, zoom into a bright star and tweak your focus ring until the stars are in focus. If you do not have a live view, you’ll have to do some experimenting by taking a test shot, zooming in on the playback screen and then making slight adjustments until the stars are clear. If you have a high-powered flashlight, you could also shine the flashlight on an object about 100 feet in front of you and use that to help you focus.
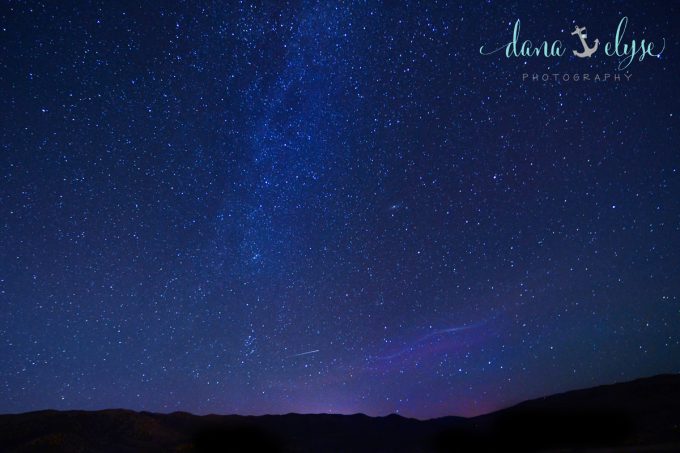
As far as settings, there are many variables here that can affect ‘correct’ settings, but I find a good starting point is setting your ISO somewhere between 3200-6400 (start with 3200 while the sky is still blue from blue hour, but bump it up to 6400 as it gets into total darkness), shutter speed a stop or two above wide open (for example, if you are using a 24mm 1.4 lens, set it to f/1.8 or f/2.0), and a 30 second shutter speed. I like to use Kelvin for my white balance to give the sky a rich blue tone (or better yet, shoot in RAW so you can batch edit the white balance after the fact). Somewhere between 3800-4300 should be good. Take a test shot and see what needs to be adjusted. If it is too bright, either lower your ISO or use a shorter shutter speed. Aversely, if it is too dark, raise your ISO. You don’t really want to extend your shutter speed past 30 seconds because the movement of the earth will begin to blur the stars into ‘trails’. Keep tweaking your settings until you’ve got a properly exposed photograph, keeping in mind two things; your settings will likely continue to change as the sky gets darker, and that the Earth is constantly moving, so you may have to re-adjust your camera as the Milky Way moves overhead. Don’t forget to check your focus any time you move your camera/tripod! I always use zoom in on my LCD screen every few shots to make sure that everything is still in focus.
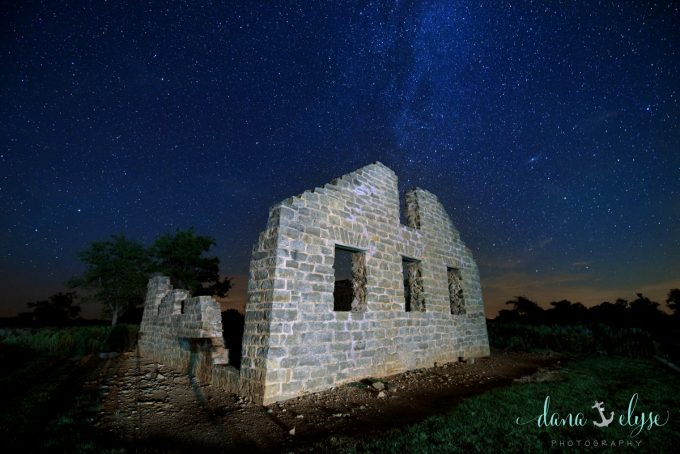
If the night sky isn’t bright enough to illuminate your subject, take your flashlight and ‘paint’ the light over it.


No comments yet.