
At the beginning of every year, I make a list of photography goals. At the top of the list for the last two years running was “Learn Film”. I couldn’t pull the trigger in 2015 but made it my personal mission to make it happen in 2016.
I can’t explain why, but film photography seemed overly intimidating to me.
Read more: 9 Shooting Film Tips for Beginners
Apart from the expense, there are just so many choices to make – from the initial choice of camera system and lens(es), to film stocks, developing and scanning. It’s a lot to learn and a bit intimidating coming from someone whose only film knowledge is the disposable cameras you used to get at weddings.
That being said, I did a ton of research and tried to educate myself as much as possible and broke things down into manageable steps to get started.
*This post contains affiliate links. Thank you in advance for supporting Click it up a Notch!
-
No.01Camera Systems
First things first. Buying a film camera. There are a TON of choice. The great thing about getting into film now, is that you can get your hands on top of the line equipment for a fraction of their original cost.
Typical camera options include 35mm, medium and large format options.
I was on the fence about either going for a 35mm Canon (which is my digital brand) or a medium format camera.While I liked the idea of using the lenses I already owned with the Canon – I felt like I either needed to go big, or go home…. So Medium Format was the winner.
-
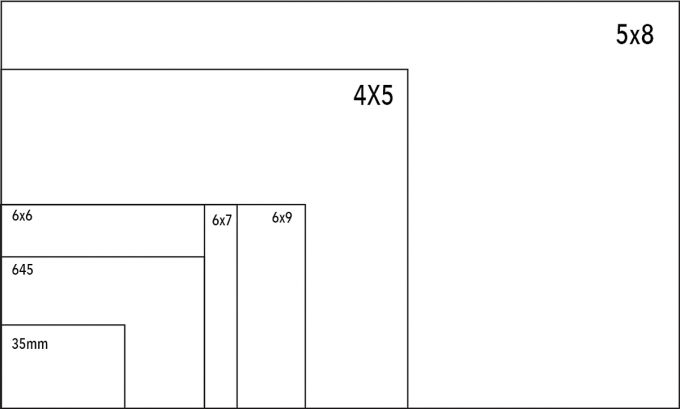
No.02What exactly is medium format?
It’s big! Medium format is typically anything larger than the standard full frame size of 24mm X 36MM up to 6X9 inches. That’s anywhere from 2 – 3 times bigger than your standard 35mm film.

-
No.03What does it mean?
It means lots of detail. It means huge enlargements without any loss of quality. It means a lack of perspective distortion – meaning what you see is exactly what your camera is capturing.
It’s hard to say exactly what it is about medium format that gives it images such a distinctive look, but once you start shooting with one, you won’t want to put it down!
-
No.04Medium Format Options
There are many options on the market for medium format film cameras that vary widely in price. There are also varying sizes 6X4.5, 6X6 or 6X7 formats. After reading up on all three, I chose the Pentax 6X4.5 (Also known as 645) – primarily because of price and ease of use.
-
No.05First impressions
This camera is BIG. My Mark III is a big DSLR. The Pentax is about twice the size. The plus though is that it weighs about the same. The first thing I noticed is that everything has a button, switch or dial. There are no menus to flip through and no guessing.
It is what it is. ISO has its own button. Aperture is set on the lens. Shutter has its own dial. It’s almost refreshing to see something so simplified. It’s ready to roll as soon as you open the box!
My camera came with one lens – a manual focus 75mm 2.8. Because a 645 is 2.6 times bigger than a standard 35mm, the crop factor is 0.62075. All that math means my 75mm lens is more like a 45mm on a 35mm camera.
-
No.06Film Stocks
This is where things get fun. There are a ton of available film stocks that are still mass produced today. Each stock has its own quirks and nuances. Certain stocks make skin tones look AMAZING.
Certain stocks are better for landscapes and make skin look ompa loompa orange in certain situations. Other stocks may be rated for certain ISO’s, but have latitude to be pushed or pulled for maximum latitude, and other stocks – while rated at certain speeds, are super light hungry and look better slowed down.
Take a look at the stocks I’ve experimented with thus far:
-
No.01Porta 160 NC
Portra 160 color negative film that is known for pleasing skin tones, fine grain and high sharpness. Color saturation is medium.


-
No.02Portra 400
Portra 400 is pretty much a perfect all around film. 400 film speed offers much more flexibility for indoor and outdoor shooting. It’s subtle, bringing just enough color, contrast and sharpness.

-
No.03Ektar 100
Ektar 100 is a high contrast, super fine grain and super saturated. Perfect for landscapes. Skin tones can appear more orange on fair skin.

-
No.04Tri-X
Tri-X is a black and white film thats very flexible for indoor/outdoor shooting with distinctive grain and high sharpness.


-
No.05Developing
While developing at home and scanning at home is doable, I stick to lab developing. Just like with pro printers, you need to shop around to find what works best for you.
Many labs welcome your feedback and will work with your to develop your scans to match your vision. The typical turn around is approximately a week for most.


For the most part, film shooting is relatively the same as digital – with the horrible exception of not getting that instant gratification of seeing your work immediately on the back of the screen. No joke, I still look at the back of the camera constantly. Oops!
The one important difference however is since you’re limited to the amount of exposures you have (typically 16 on a roll) – the more purposeful you’ll want to be with composition, posing and settings. Film forces you to slow down – since mistakes are equal to costly wasted frames.
As a terrible overshooter, this is such a valuable lesson for me. One that I’ve noticed is actually spilling over into my digital shooting.
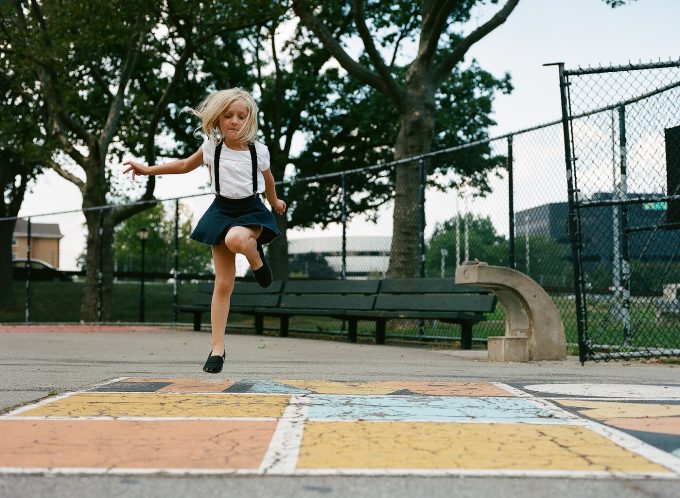
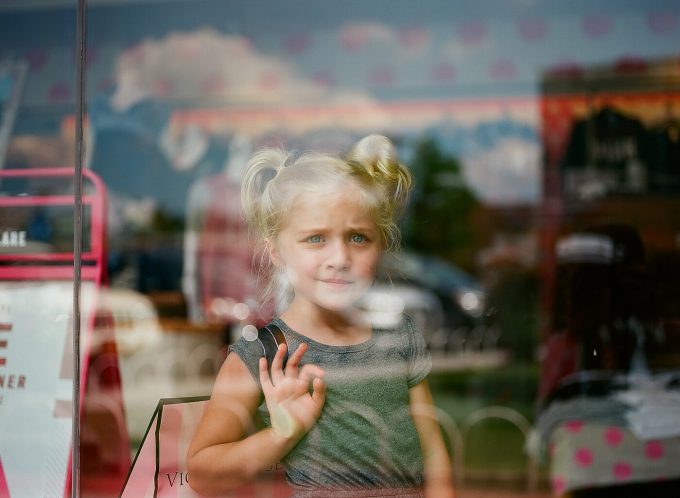
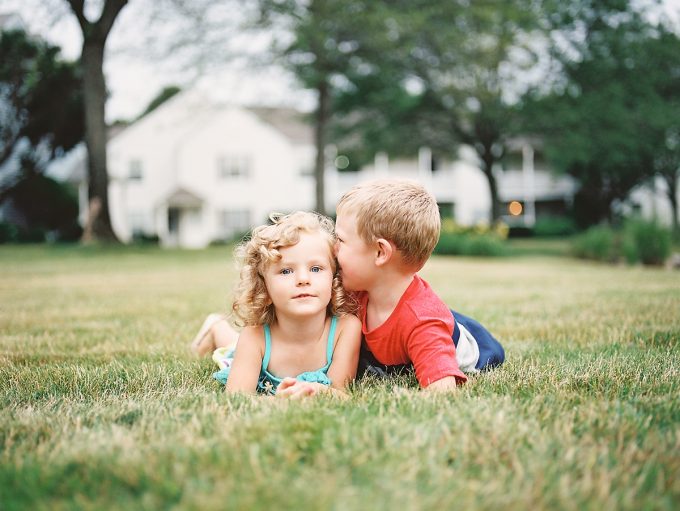
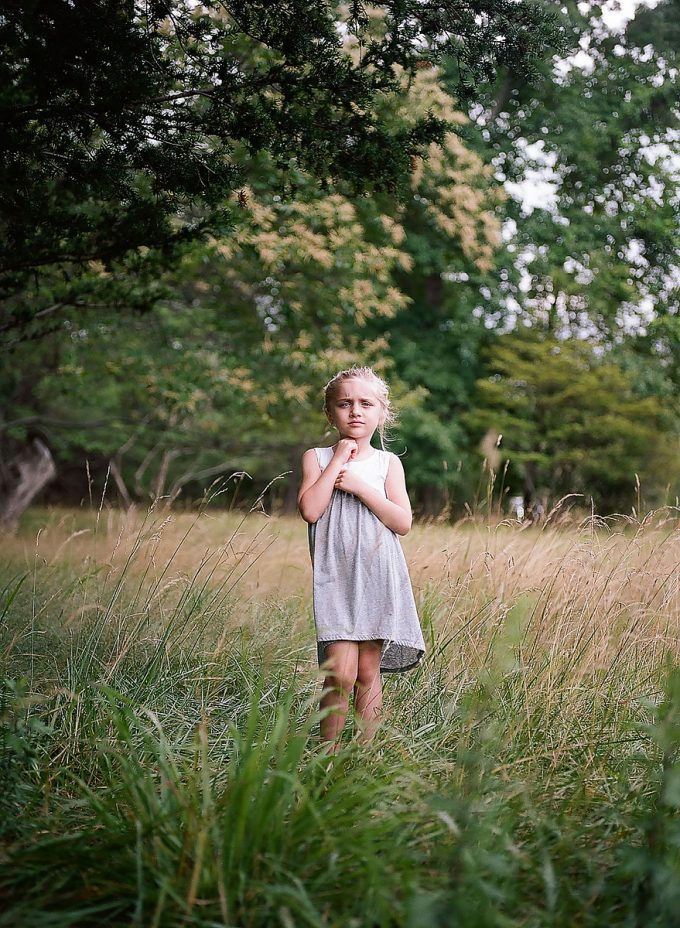
All images you see above are completely SOOC and unedited. With film, what you see is exactly what you get.
So, long story short – am I happy with my investment? Yes! Was it as intimidating as I thought it would be? Nope. If anything, shooting is MUCH easier…and FUN.
Film really forces you to slow down, be more intentional and teaches patience and delayed gratification. While I still have a lot to learn, I’m extremely excited to continue on this journey!


I love shooting MF film. I have a 6×7 Pentax, a 6×6 Rolleiflex, and a 6×4.5 Mamiya.
One thing though, the images aren’t exactly SOOC. They aren’t even SOON (straight off of negative). If you are using a lab they apply basic edits within the scanner software to make your images look pleasing. Some labs will even do custom color profiles for you. But for you, there is no editing. :)
Mary
Thanks for this clear explanation. :)