
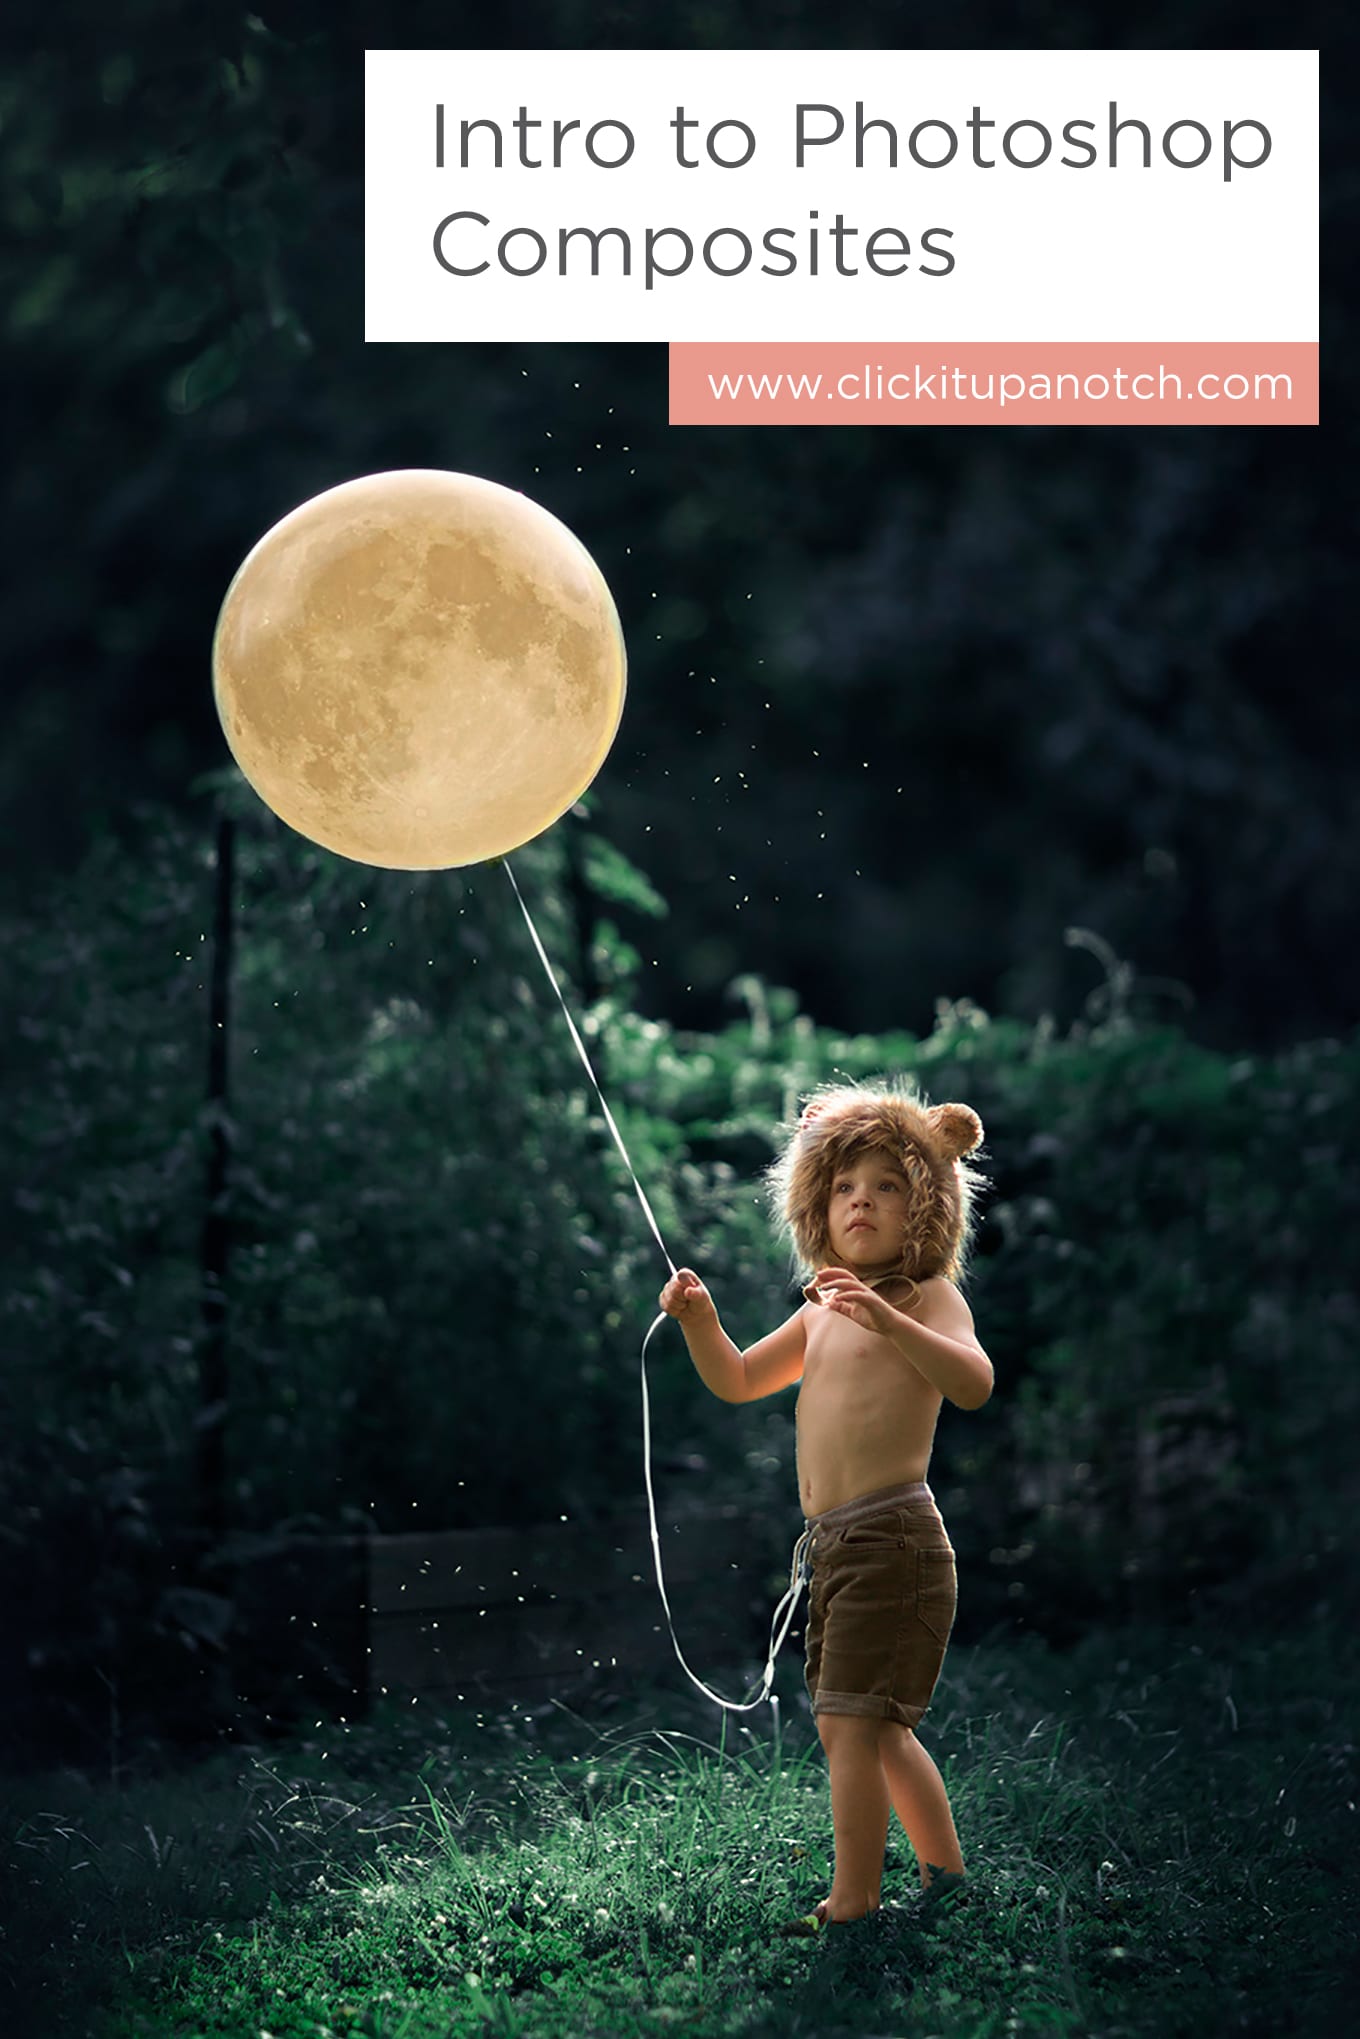
Photoshop is one of the most useful tools in my arsenal and compositing images to build the perfect frame is one reason why. From complicated and whimsical art pieces to a simple head swap so both of my sons are looking at the camera, I use compositing in some form in many of my images.
Read more: Creating Symmetry in Photoshop
Some tips for a polished, final product:
-
No.01Layers
Work in layers. Every change and addition is done on separate layer. That way, everything can be changed or edited down the line. Sometimes that means 20 layer psd files but that is way better than starting from scratch!

-
No.02Light
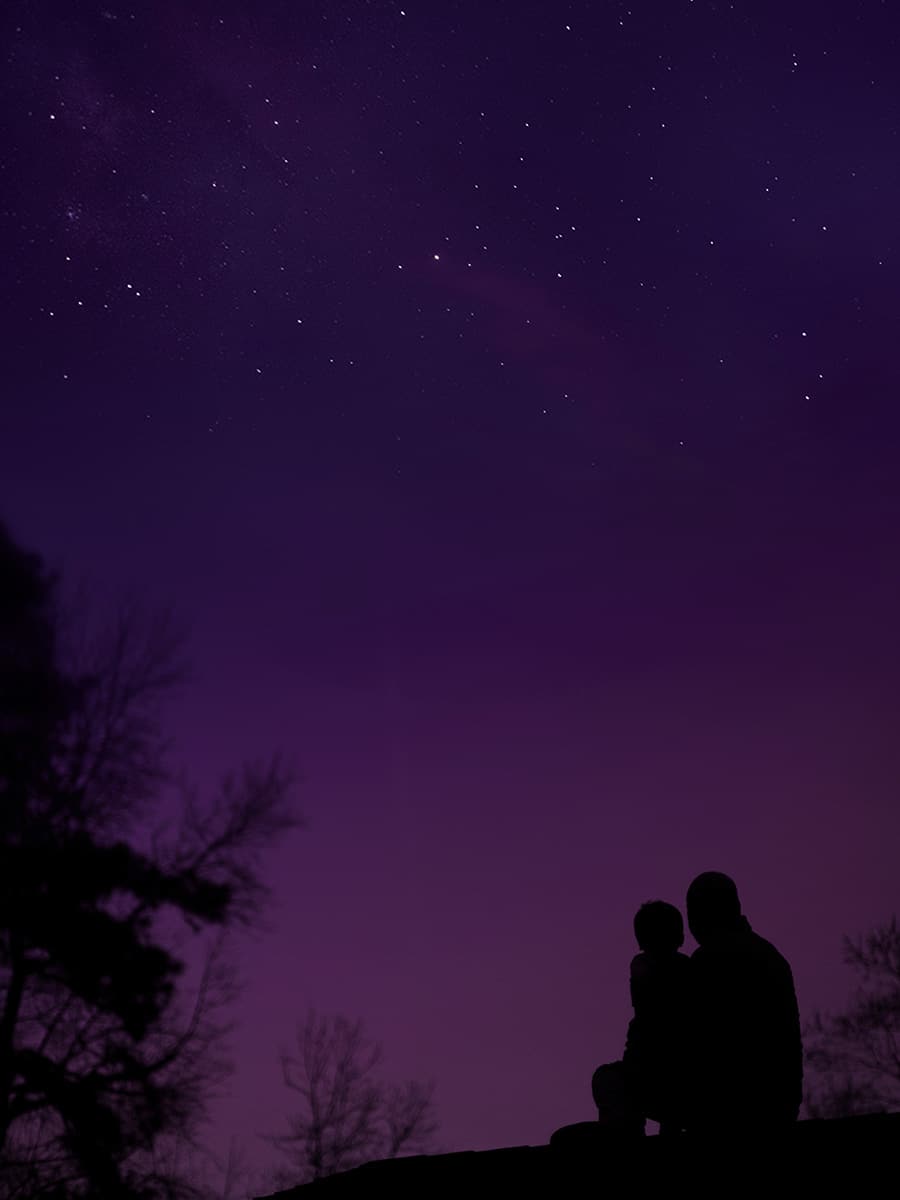
Pay attention to your light source! Nothing will ruin the believability of a composite like one element being lit from a different direction than the rest of the scene. Decide on your light source and stick with it.
Read more: How Focus Stacking will Help you Create Sharper Photos

-
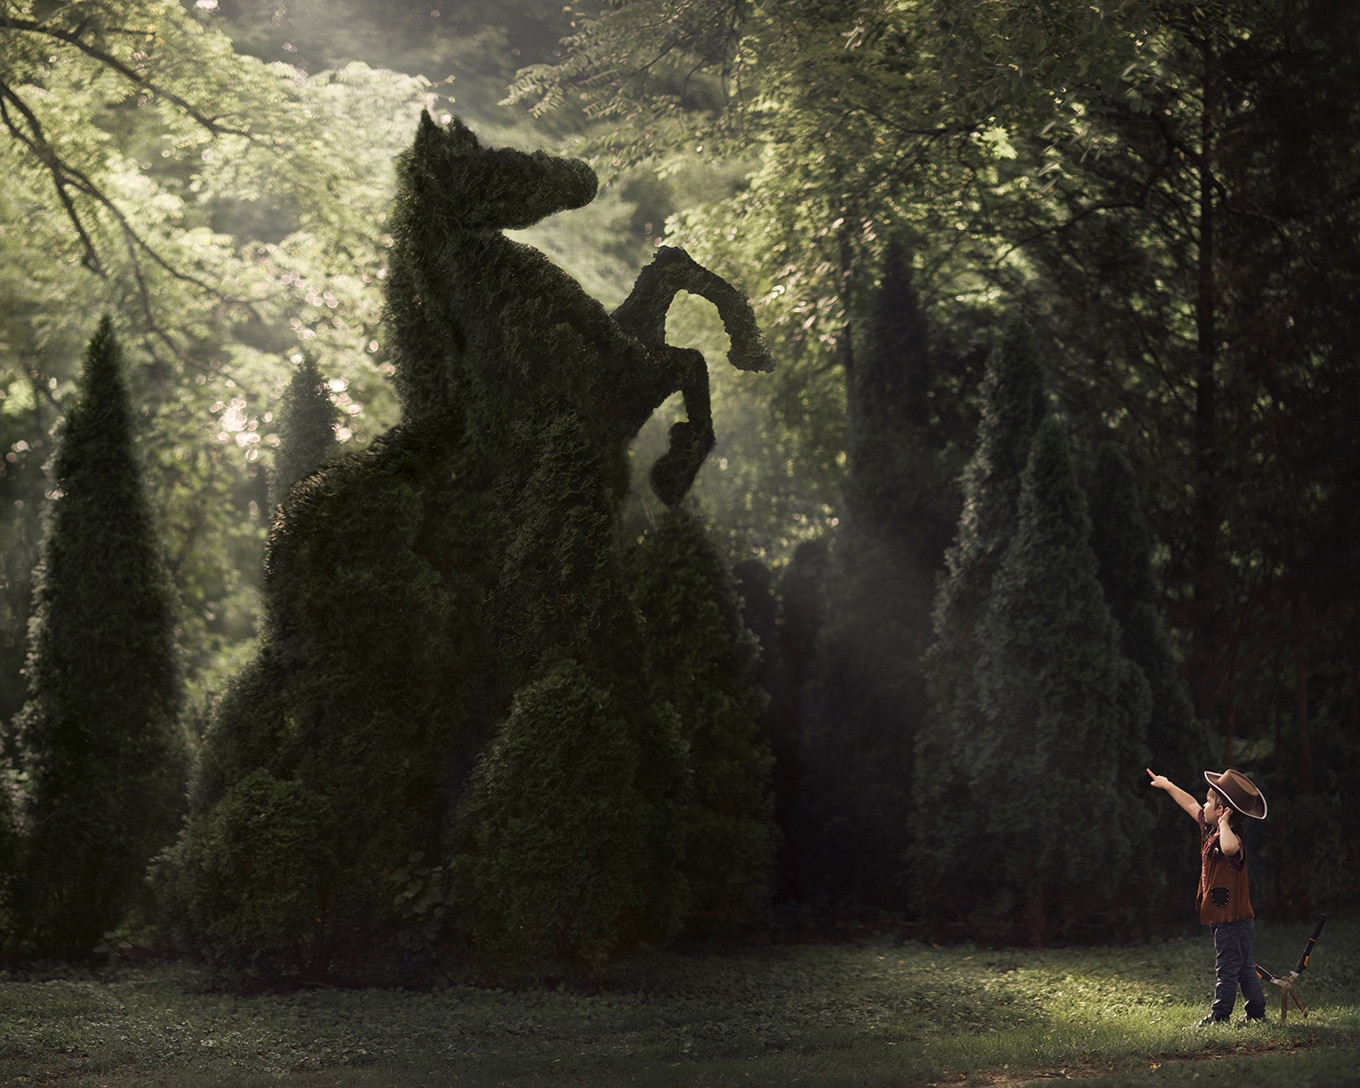
No.03Depth
Create depth using foreground and background elements. Just as you use foreground elements to compose and tell a story in camera, these elements help tell the story in composites. Creative blurring of these objects make a more believable image and add depth. You can either intentionally photograph blurry foreground/background elements or the lens blur filter in photoshop also does a great job.


-
No.04Color
Add cohesive color. When blending elements from different images into a composite, adding a hue/saturation adjustment layer can tie all the layers together for a unified final image. You’ll make a new Hue/Saturation adjustment layer and choose the “colorize” option. I always choose a warm hue here. You’ll change the blending mode to “soft light” and lower the opacity to your liking. 10-20% is normally where I’ll end up.
This layer will make your shadows a little darker and richer and your highlights a little brighter and warmer. It will also give all your layers a similar look and feel which is what we want!

-
No.05Grain
Add grain to give your layers cohesive texture. You don’t need to add a lot and if done correctly, the grain should really go unnoticed. This is done at the very end – create a layer with a middle grey color, then under the “filter” drop down, go to “noise” and then “add noise”. 3 points is normally plenty but play with this setting based on your images. You’ll then set the blending mode of this layer to “soft light” and adjust the opacity.


And most importantly, be creative and have fun – the possibilities are endless!

Discover more Photoshop posts:
– How to Extend Backgrounds in Photoshop


Courtney this is so great!! So proud to know you! Me
You are so good at these! I can never even tell when they are composites. Thanks for being awesome!
This is so interesting! I learned to much! 😍
So mich*
So much* oh my gosh my phone never cooperates 😂😂😂😂
THANKS FOR ALL THIS AWESOME INFO!!!
Awesome article! Can’t wait to try! Imaya
Great article and tips! Your work always amazes me!