
Some photographers absolutely love backlighting and others shy away from it. Shooting into backlight can make it hard to focus, create muddy images, or even completely wash out your subjects with bright golden light. However, once you learn to control your lighting, you can create images with greater depth and visual impact. Here are 5 must try Backlighting Photography Tips you must try today.
Table to Contents
What is Backlighting in Photography?
Backlighting is achieved when you place your subject in front of the main source of light. This light source can be artificial or natural light like the sun. This is a more advanced lighting technique since it requires you to adjust your settings and focus to get a properly exposed image.
Read more: Backlighting Photography: Master backlighting in 8 Easy Steps
How do you take Backlight Photography?
Using a few backlighting photography tips you will be able to create some amazing photos.
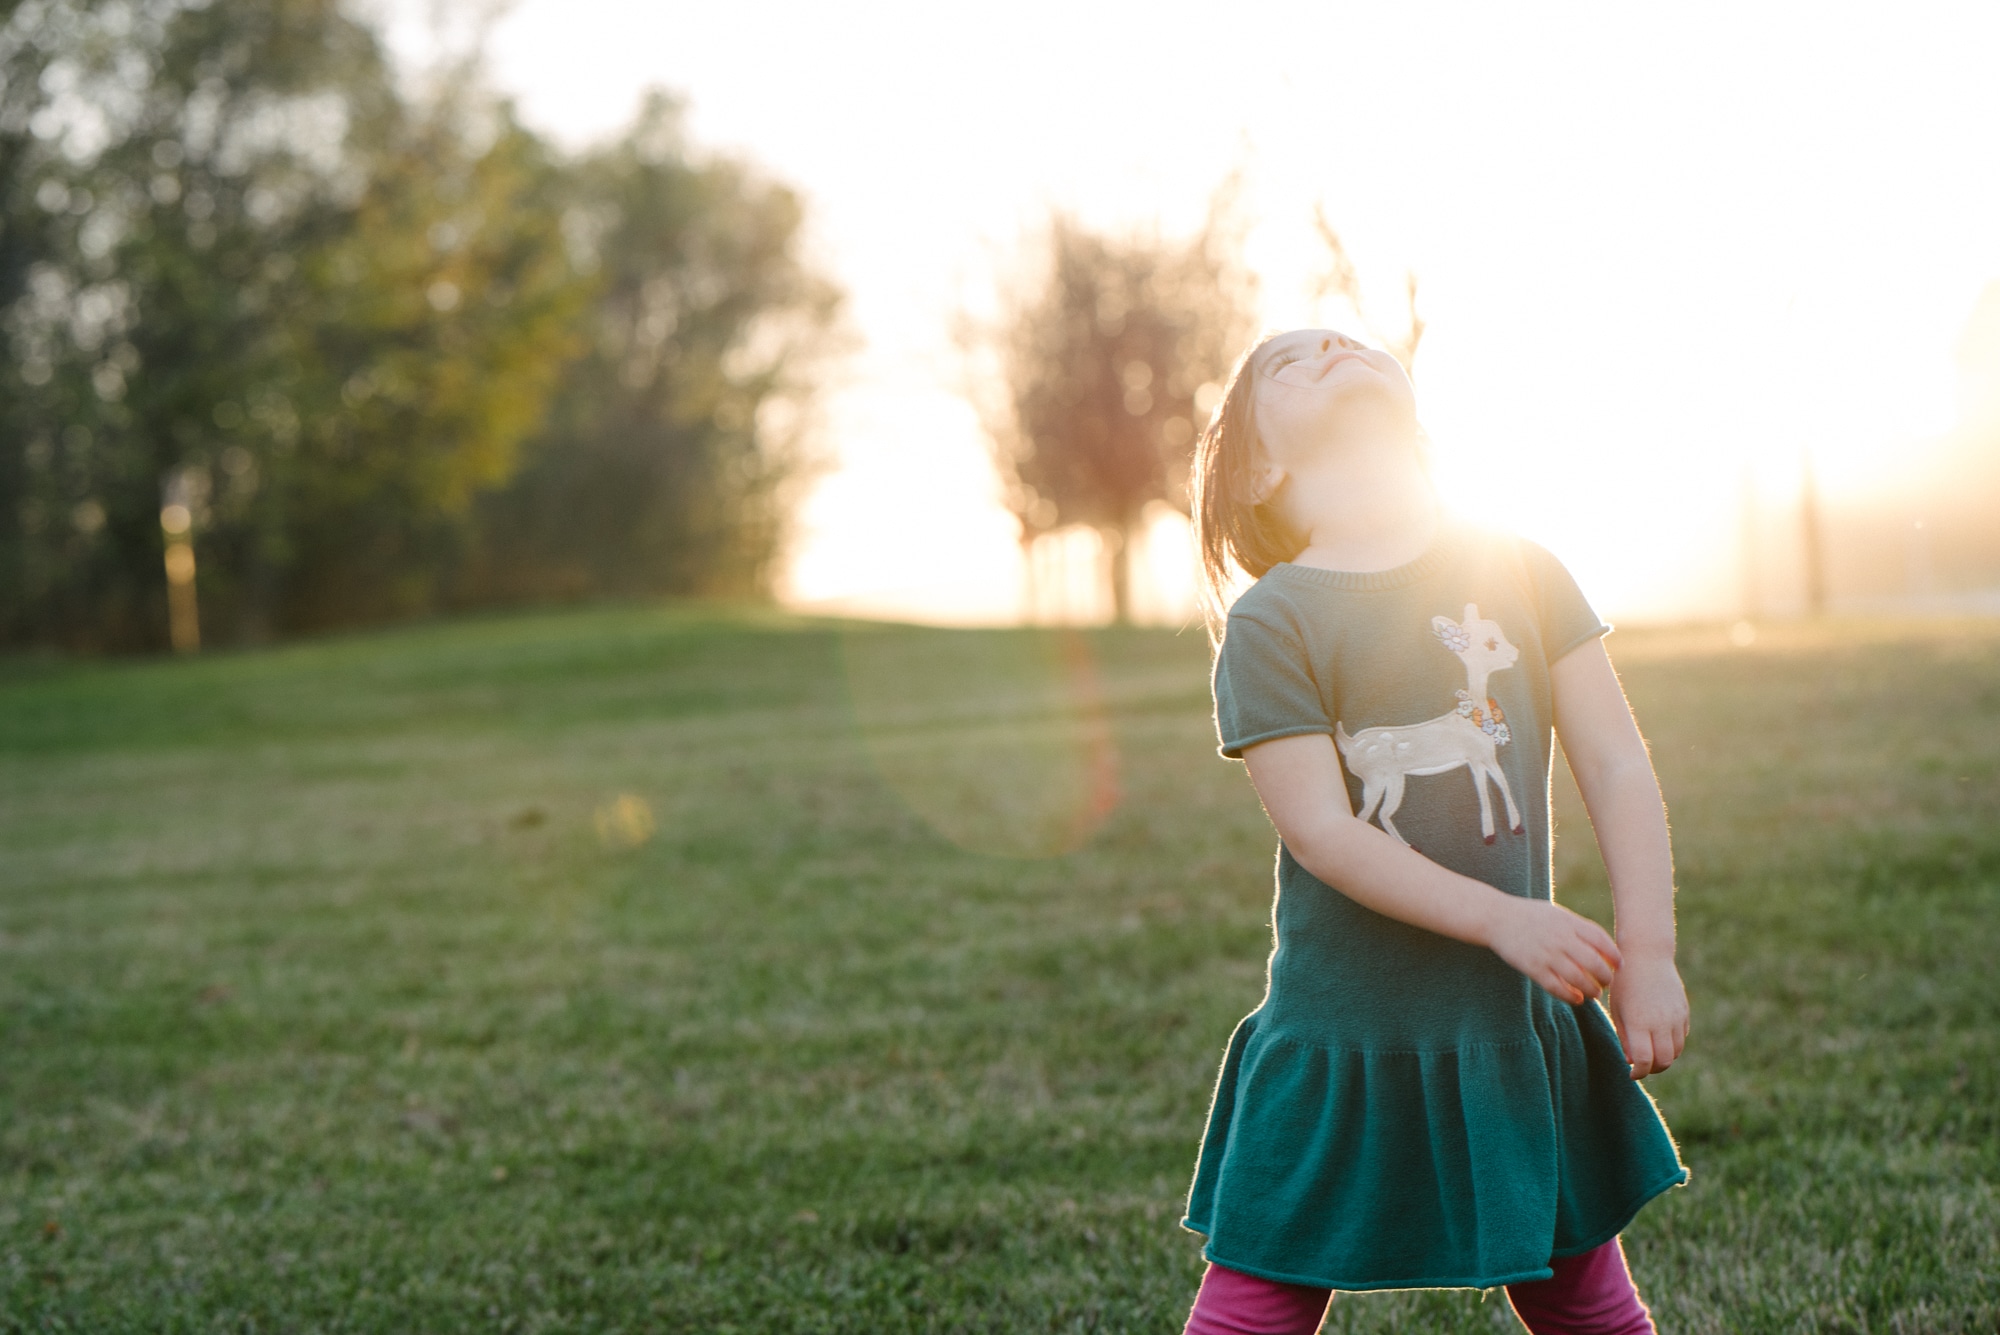
Where to put your subject for backlighting photography
Backlighting is used when you place your subject in front of the light source. For example the sun is setting and you place your subject in front of the sunset where the light is coming in from behind the subject.
Using this compostion technique will really change the look of your photo. You can also try this when you’re out on a sunny day at the beach, put the sun behind your subject and you wont have closed eyes!
This will create a separation from your subject and the background. This can be used to create a bigger sense of depth in your photo.
Backlight photography tip for settings
There are a few different techniques for backlighting photography which we will dive into in just a bit. With that in mind each technqiue you will expose for different subjects or techniques you are going for.
You do want to properly expose! Don’t be afraid to raise your ISO. Lastly remember to not purposely point your camera directly at the sun so you don’t end up damaging your lens.
Here is a bit more on manual mode if you aren’t used to it quite yet!

How do you master backlight?
Once you have tried your hand at backlighting you might find that you really love it, I know I do. Now is your chance to master it. Here are a few tips to help!
Creating Silhouettes Backlighting Photography tip
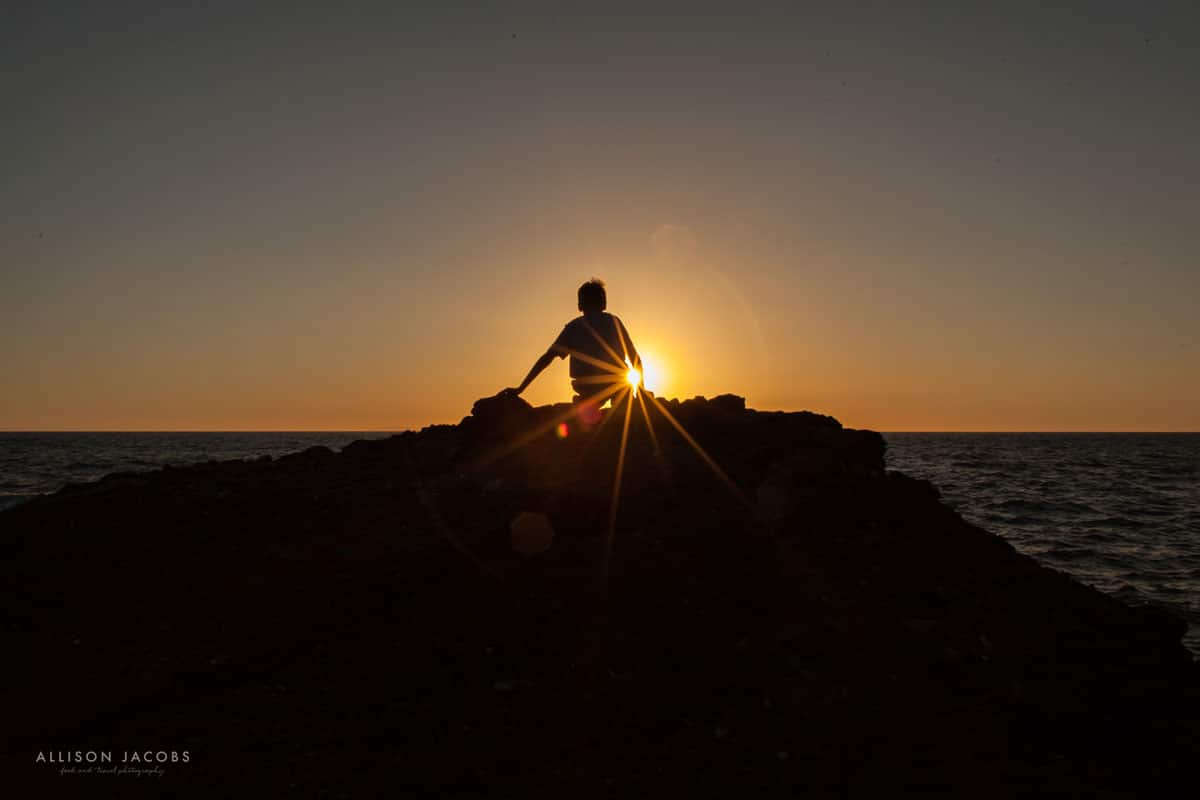
Silhouettes are a great way to use backlighting to create fun and unique photos. There are a few things you need to keep in mind when creating a silhouette photo.
First, you want to look for a background where your subject is against the sky without anything behind them (it helps if you get down really low and shoot up towards your subject if you need more sky). This could be your subject standing on a hill, on the beach, just about anywhere with open sky behind them.
Second, tell your subjects to spread apart if you have more than one person in the photo (for example, have them stretch their arms out holding hands with each other). If you have just one person make sure that they have space between their arms & legs otherwise you end up with more of a blob silhouette.
Third, you will want to meter off the sky to set your exposure so that they sky is in color & the person is underexposed which is what gives the silhouette look.
Play around with the positioning of the subject and experiment with this — you can add in objects like umbrellas to add extra detail to the story, use varying perspectives, and end up with creative photos!
Read more: Everything You Need to Know to Capture & Edit a Stunning Sunset Silhouette
Backlighting for Sunflare
One really intriguing way to play with backlighting is with sun flares. When trying to achieve a sun flare, I find it best to move my camera until I get just the right amount of sun that I desire peeking from behind.
For this image, I kept moving my body and camera until just the right amount of sun was peeking from behind the window frame to create the look I was going for. My settings for this image were ISO 640, f/1.8, 1/125ss. Because I wanted a sun flare instead of a sunburst, I used a small aperture of f/1.8.

Read more: 6 Tips to fully embrace shooting in hard light.
Rim Light
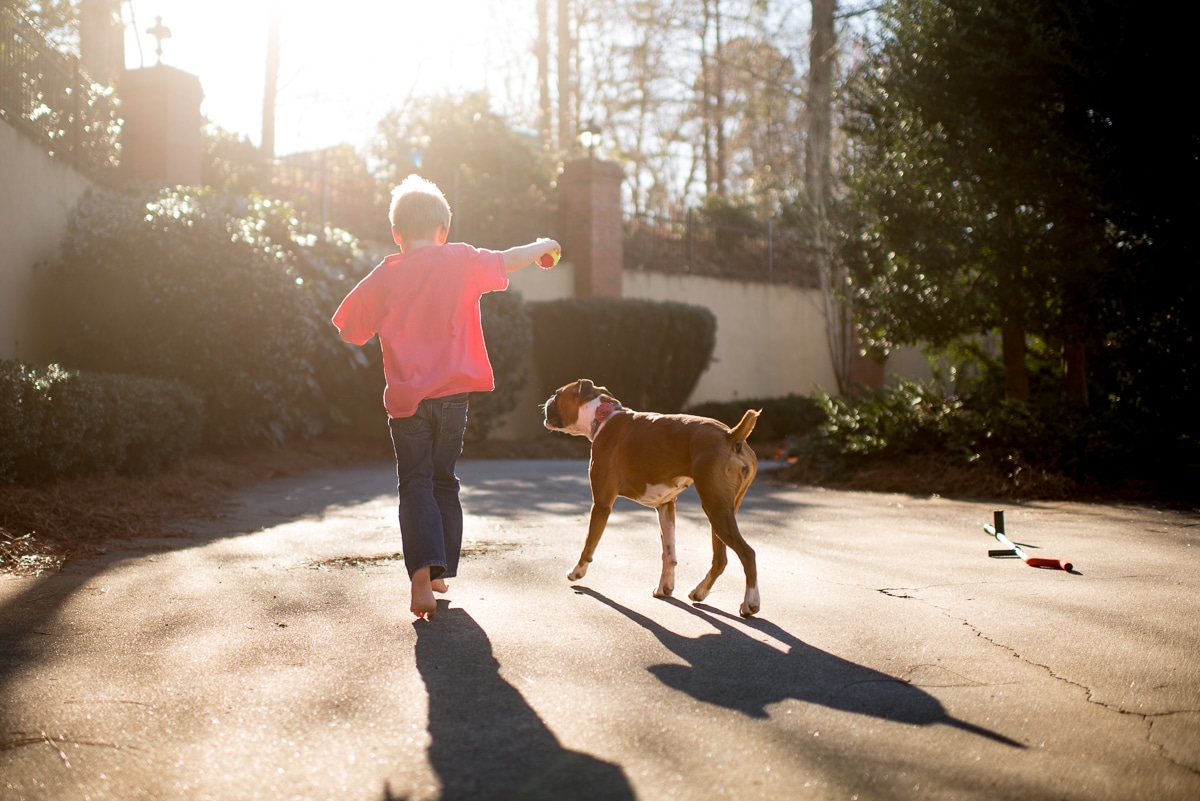
Backlighting is my favorite type of lighting, It is so much fun! One of my favorite types of backlight is rim light. When using rim lighting, allow your subject to block the light source so that the light is shining from completely behind your subject and accentuating just the edges of your subject.
Often I even underexpose or meter for the highlights to allow the rim light to take center stage. I love that it can add a bit more interest to an otherwise ordinary moment. Another tip is to try converting these images to black and white. The extra contrast makes for a beautiful conversion!
Artificial Backlight Photography
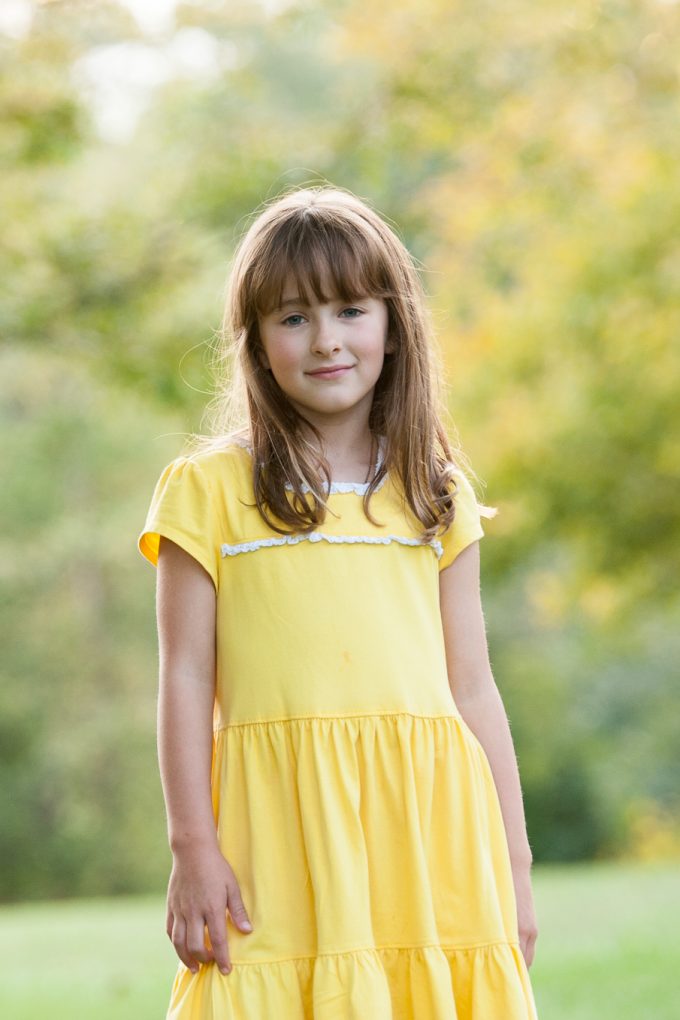
I love a little bit of rim lighting when shooting into backlight. However, I sometimes find it difficult to shoot during golden hour with my kids. As my kids get older, golden hour has gotten more and more elusive and now I find myself reaching for my studio lights instead.
I really wanted a dark background in this portrait, but my daughter’s hair is also really dark. I didn’t want her to blend into the background, so I added a strobe behind her. Typically, I’d angle my key light and back light at 45 degree angles on the same side or place a strobe directly behind my subject.
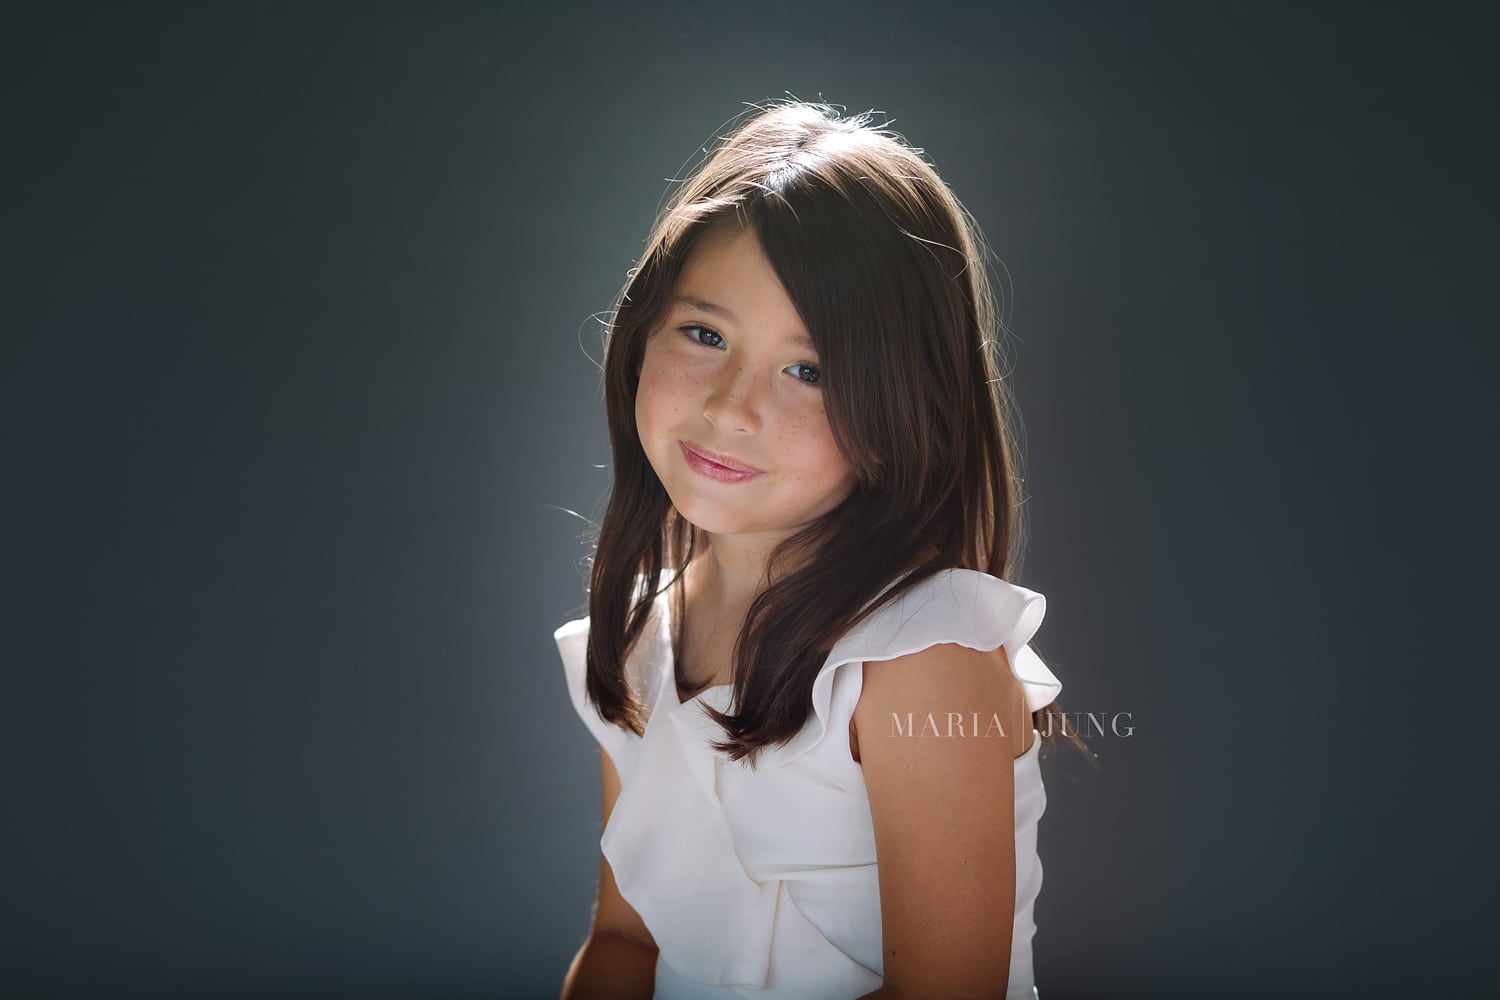
For this image, I wanted a more “angelic” feel, so I had the strobe behind her, but about 8 feet up. This gives more of a halo effect on the backdrop and her hair.
Here is a very helpful video if you want to learn a little more about studio lighting indoors.
Indoor Backlit Photography Tip
Often times when people think of backlighting they do not think about how to use it indoors. However, understanding how to use backlit photos indoors can add depth and interest to your photos. This is especially true if you combine backlit photos with sun flare indoors.
Although most people shoot outdoors during golden hour, I encourage you to try it indoors as well. When the light spills in your window you can create stunning images.
Just for you: How to Master Indoor Photography Light
What time of day is best for backlighting?
If you are looking to use backlighting in your photo you want to head outside during golden hour, the hour before sunset.
Backlighting photography tips with Dust
If you have trees blocking the horizon you may want to head out at the beginning of golden hour as the sun will set behind the trees and makes it harder for you to have the sun come pouring into your image. On this evening, I had my kids standing in front of a tree with the sun peeking in through the leaves.
However, as we started to walk home I found this empty spot and ask them to stop. Little did I know that a car would drive down the dirt road kicking up dirt which created the most beautiful haze behind my subject.
Once the dust settled down it lost some of the glow I had with the dirt. I couldn’t believe how beautiful dirt in the air with the sun coming in behind it could be.
Here is how to master low light photography!
I hope this explaination and these backlighting photography tips have helped you. I hope they have given you a better understanding of a creative way to use this type of lighting. Backlight Photography is intimidating at first but beautiful when it is mastered. I can’t wait to see what you create!


[…] you get warmer tones this time of day. This may require you taking a few practice shots of just the backlighting to get it right. Once the backlighting looks as vibrant as you see it without being blown out, keep […]