There have been so many lessons that I have learned over the last five years as I continued to push myself in the area of food photography. Just want to say from the start, that while I love to cook, I am not a recipe creator. I can follow a recipe step by step and usually even get great tasting results. But, I don’t come up with the recipes myself and most of the time the final meal isn’t super photogenic. 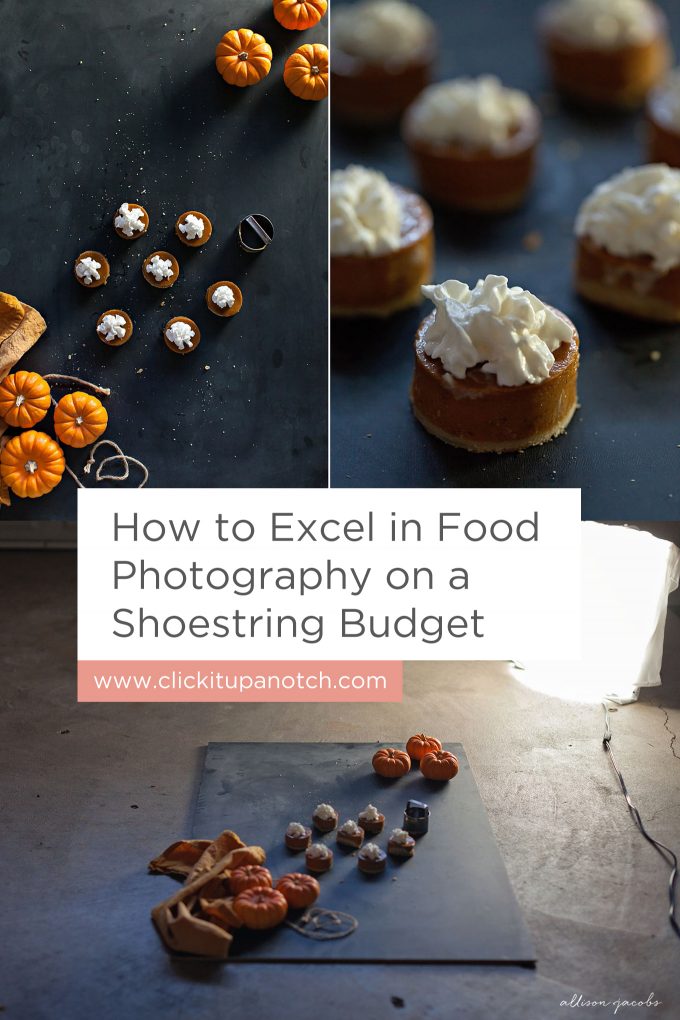 Read more – 7 Must Read Food Photography Tutorials I say all that, just to encourage you in case you are interested in shooting food but you find yourself thinking, I don’t even really cook! I buy lots of prepared bakery type foods, use some frozen food items as a base then add in extras to finish the styling of a dish (like putting fresh herbs on top of soup). This gives me the opportunity to focus on the styling and photography without having to spend hours in the kitchen too. Now, to jump right into the ways I have been able to increase my food photography skills without spending a ton of money!
-
No.01Use your backgrounds and “tabletops” more than once.
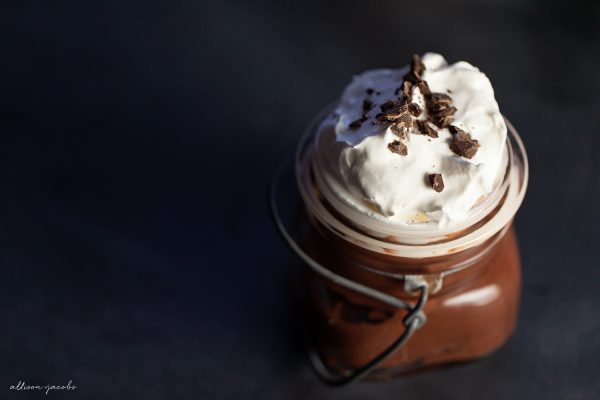
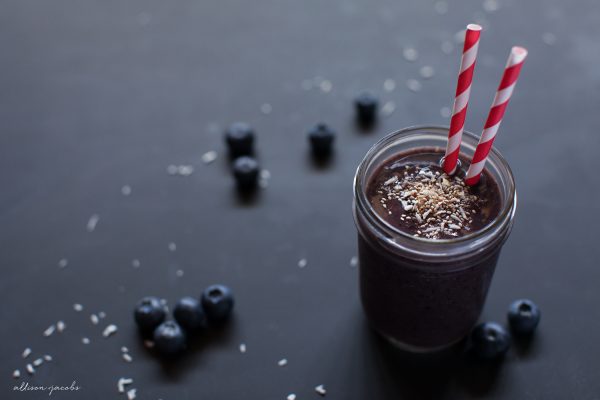
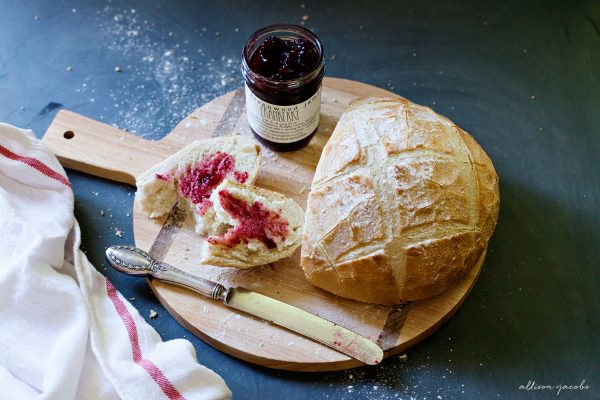
I have tried all kinds of surfaces as tabletops but there are two that I have continued to use over and over. If I had to choose, then I know that I could even get by with just one of these “tabletops”. My absolute hands down fave is the chalkboard surface that I bought for like $10 at Home Depot (in the wood section). It is a perfect size (3ft x 2ft), is lightweight, and already has the chalkboard surface on one side. You can use this surface without any chalk on it and it will give a modern, clean look to the images. It is also a darker color without any chalk. Then you can add the chalk and it will give a more rustic look. Depending on the light you use, it can be moody or cheerful. Finally, once you add in the food and props, you have the opportunity to allow the food to be the star and have the tabletop fall into the background. Here are some images all using the same background but with different results.
Read more: The MUST-HAVE best lens for food photography
-
No.02Look for props that you can use more than once.
I don’t buy new props very often. And when I do, I try to look for things that I can use with different kinds of food and in multiple ways. Another tip would be to look in the sale section of stores especially if you like to use seasonal items. You don’t need a whole set of plates, just one or two. So it’s okay if it is the last plate or cup from the past season. I also like to run in thrift stores and take a quick look around. There is one nearby me that always has a collections of mis-matched silverware and you can buy like 1 fork for $0.50. You don’t need multiple full sets of silverware, sometimes it is just a couple of spoons or one knife. Look for neutral colors that will help you add layers when you are styling your food but that can be used more than once. And don’t forget to check your kitchen cabinets. The cookie sheets I use for food photography are the ones that we use to cook with. The ice cream scoop I use in photos is also the one we use in the kitchen. I have a box of antique silver things from my grandmother that I use for props. It’s amazing what you already have in your house that you can use without buying anything new. Here are some examples of props that I have used more than once but if you didn’t see them side by side, I don’t think the are props that would really stand out. The props are the extra help, the sidekick to the food. kitchen towel
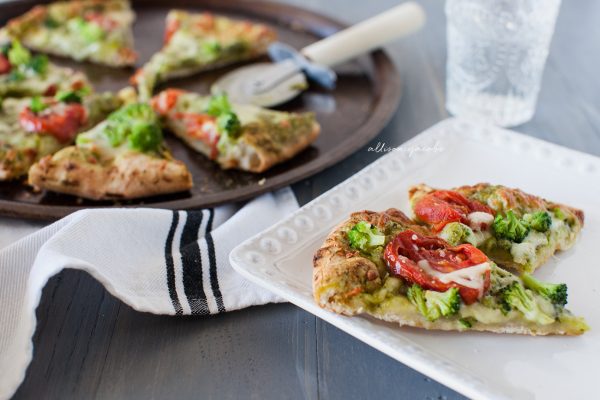
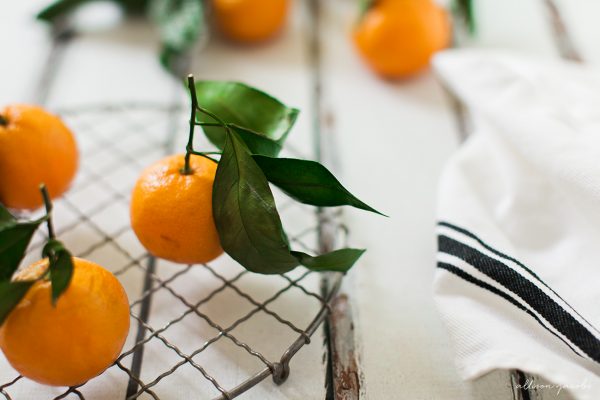 flour sifter and the knife
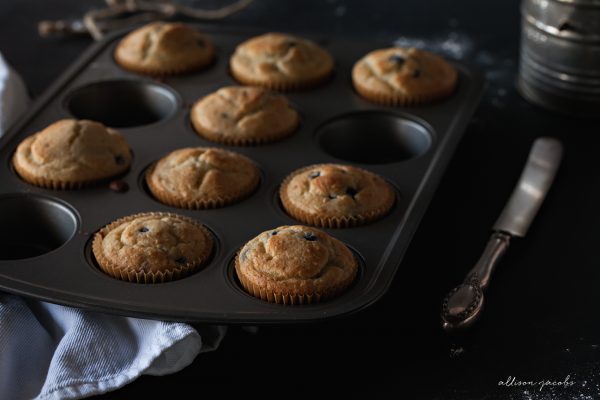
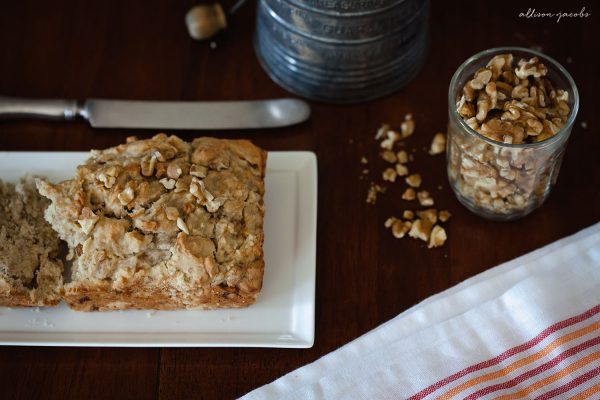 ice cream scoop
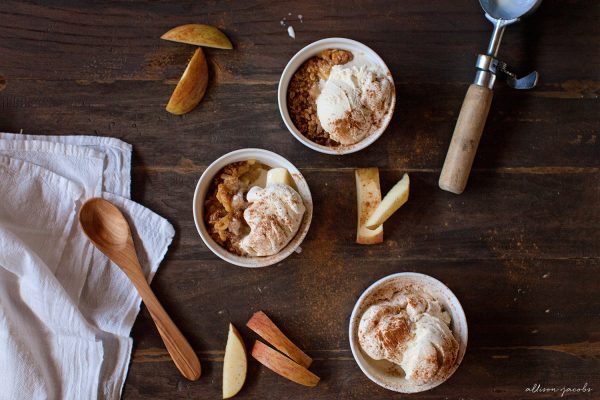
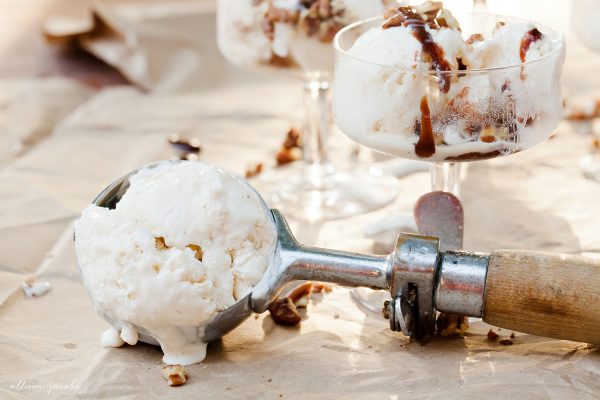
-
No.03Vary the light you use when shooting food.
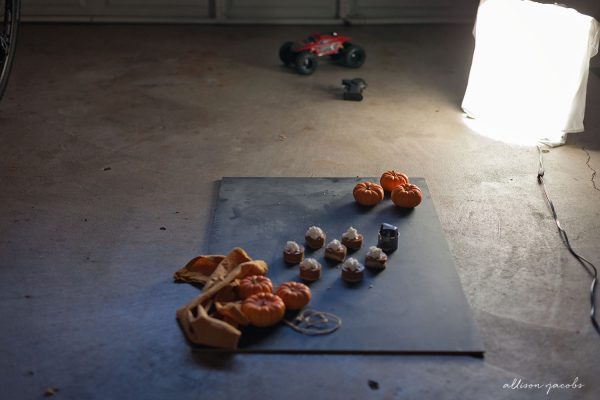
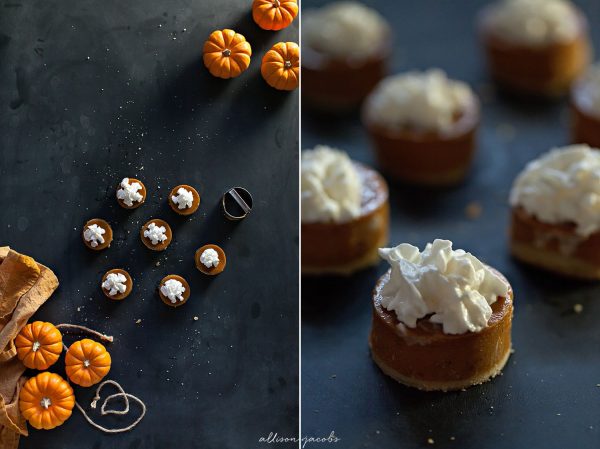
For years, I used only natural light when shooting food. It made keeping my white balance and exposure consistent. Plus, I didn’t need any special equipment, lighting or off camera flashes. I finally invested about $100 on a table light that I can use on the shorter winter days when I have almost no light when I get home from work. But, natural light is still my favorite. And even if you stick with using natural light you can use the light you have to shape the style and mood of your food photography. If you want a bright and cheerful photo, then use lots of diffused light to give an airy feel to the photo. If you want a more moody photo, then use the light to add in more shadows and create a deeper feel to the photo. Here are a few examples with pullbacks to show where the light was coming from when I create the photo. bright and cheerful
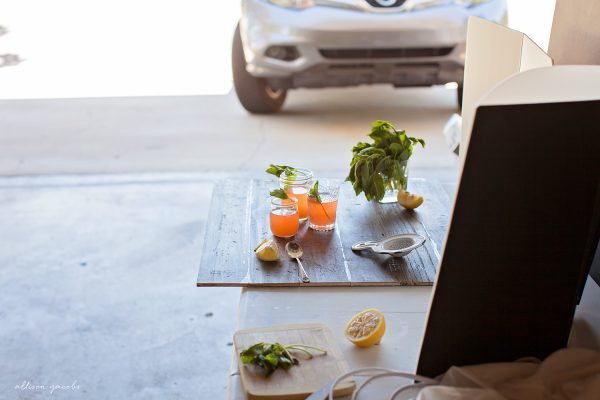
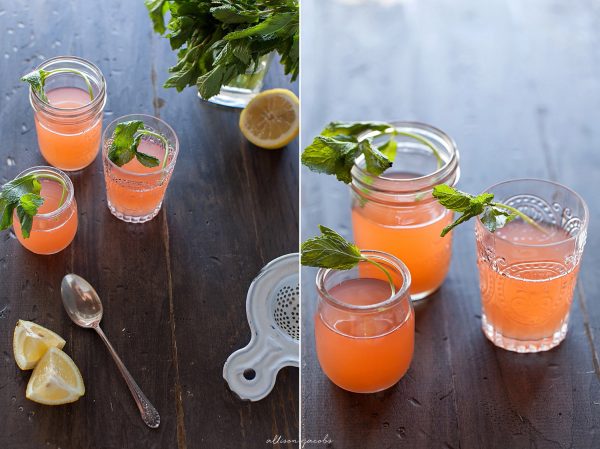 darker and more moody
 Read more – Food Photography Lighting
Hopefully these ideas and examples have inspired you to check your kitchen cabinets and get started with shooting food photography! I would love to know how you have used what you have to shoot food so please share your ideas & tips in the comments too!


Thank you for sharing these tips, Allison! I’ll definitely be trying some of these, especially purchasing bakery type foods instead of baking and photographing at the same time!
Thank you Nadeen! I am so glad you thought it was helpful!
Super helpful! Thanks for showing the ‘behind the scenes’ of what you had set up.