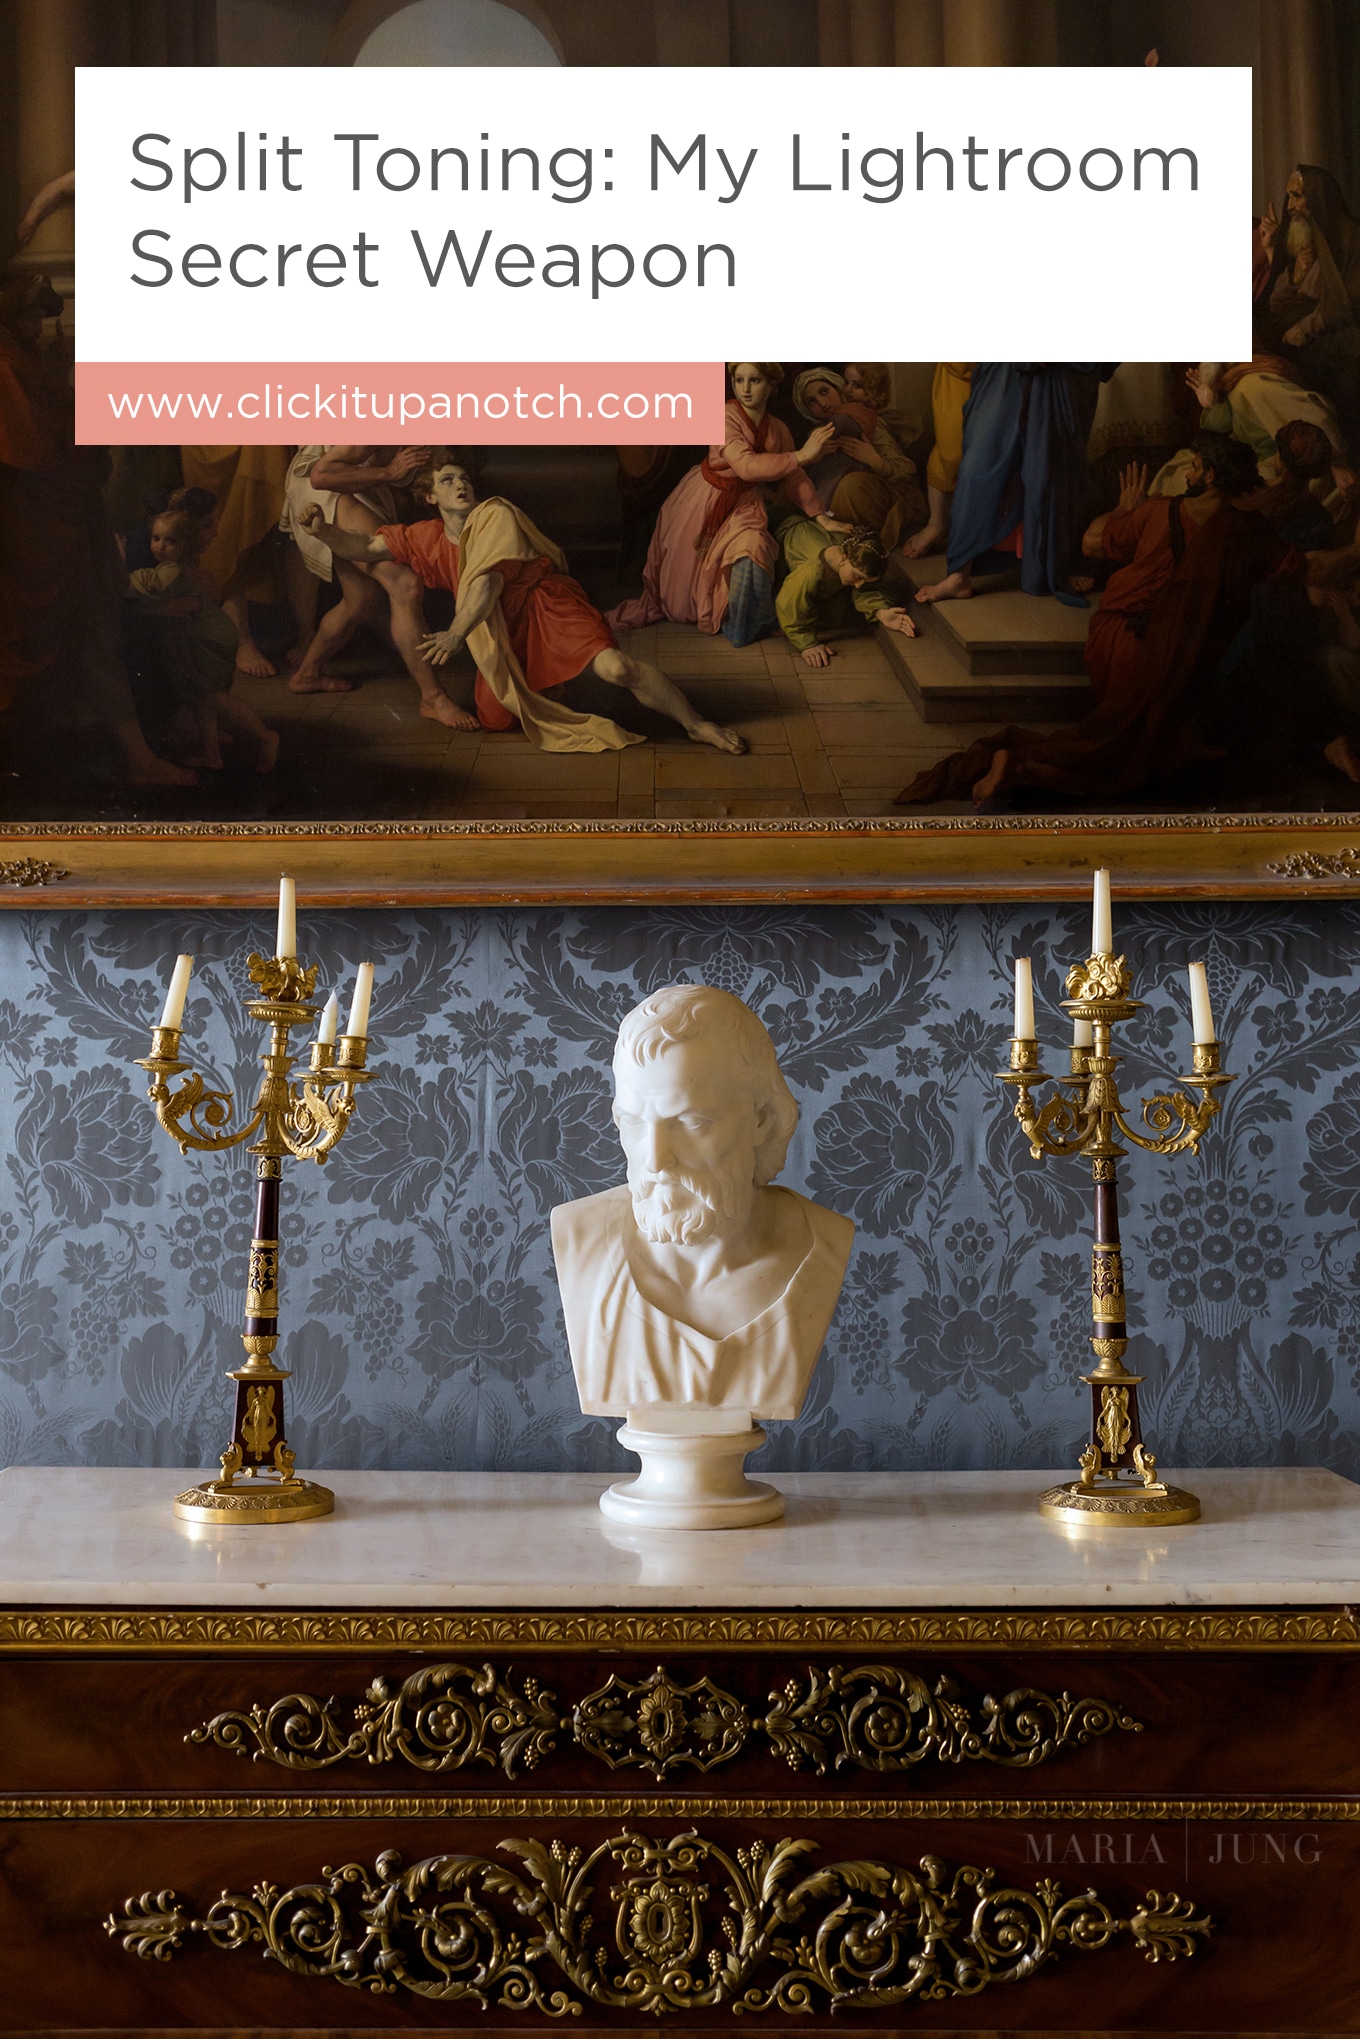
I absolutely love all the amazing capabilities of Lightroom. Although I use every single panel when I edit, I have one that I like to call my (not so) secret weapon.
Have you ever looked at your photo and just couldn’t quite get the white balance correct? Color casts and artificial lighting are usually the biggest culprits, but thankfully the split toning panel can help you fix that!
Read more: 3 Lightroom Tricks You Did Not Know About
Split toning helps adjust the highlights and shadows tones in your images. For example, if your highlights are a little too warm, add blue to the highlights. Think complementary colors when you’re trying to neutralize unwanted tones.
Split toning is also great for creating a style. Instead of neutralizing unwanted tones, you can create tones that were not there to begin with.
-
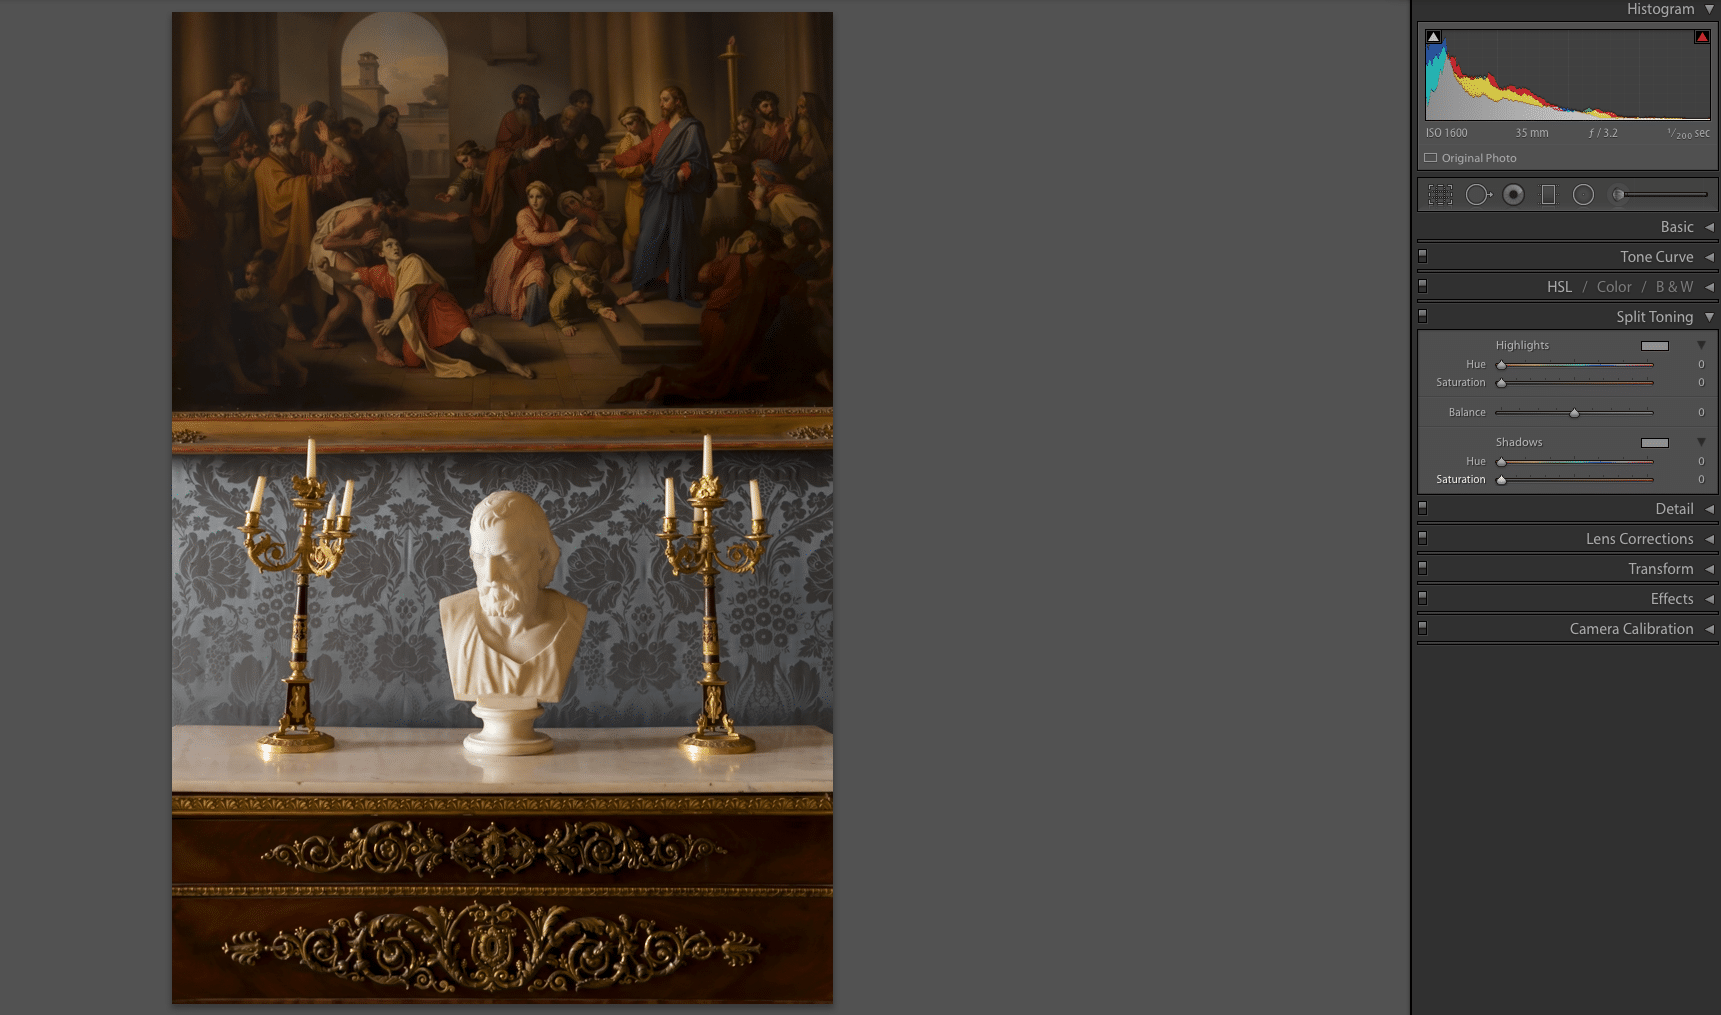
No.01Before
The crooked candlesticks drive me crazy almost as much as the wonky white balance. Although I’d say the white balance isn’t terrible, you can notice that the marble bust is a little on the warm side when it’s supposed to be white.
Tweaking the white balance made the dresser and painting a little too cool for my liking. So I applied my preset and left my white balance as shot.
I wanted to keep the warm tones of the wood and golds, so I opted to use split toning.
-
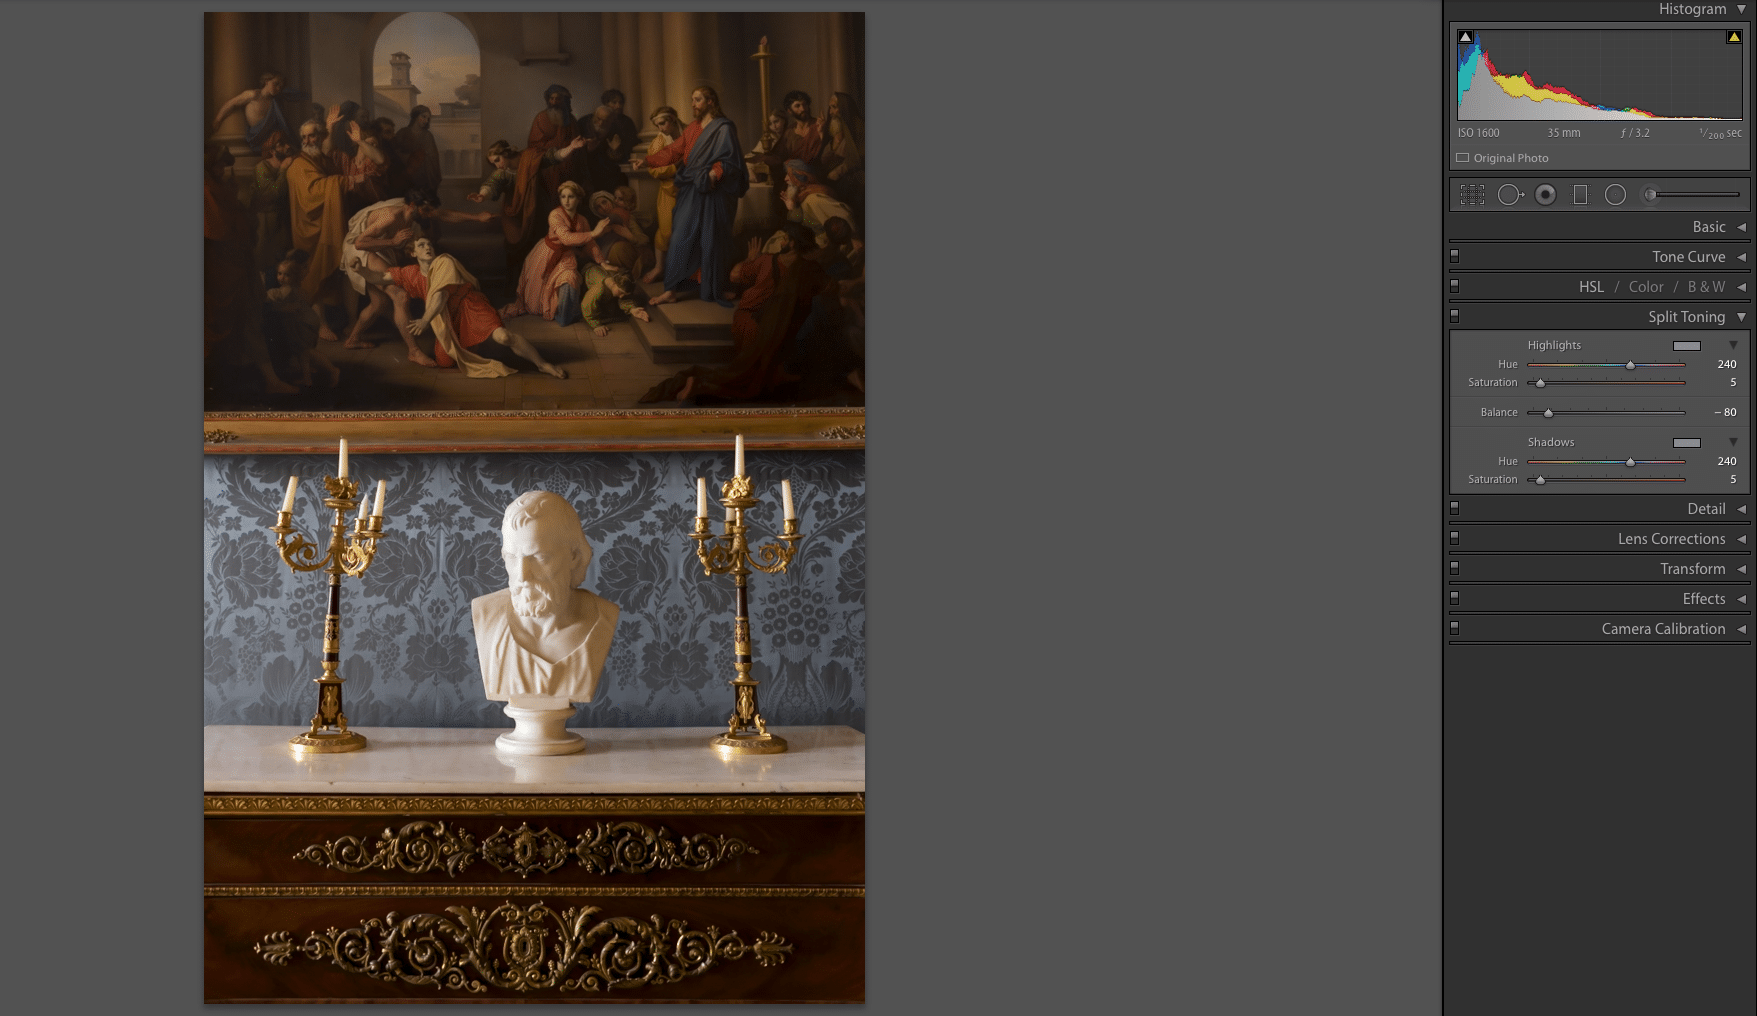
No.02After
I chose to use blues in the highlights and shadows to neutralize the warm tones and adjusted the balance slider more towards the highlights.
Adjusting the balance slider lets you fine tune your split toning. Say for instance that you want to apply the split toning more towards your shadows, you slide it left. The opposite for highlights.
The change is subtle, but it makes all the difference.
After split toning, I’m able to make a few main white balance tweaks before exporting. If you haven’t used split toning before, I hope you give it a try!
Read more about using Lightroom:
– 8 Foolproof Lightroom Tips for Editing Your Photos


Thank you for sharing your tip! I’ll give it a try soon!