Back in March, to celebrate the St. Patrick’s Day/rainbow theme, I joined friends on Instagram in a 30-day photography color challenge called #buildingarainbow2017 (search that hashtag on IG for more inspiration). The goal was to photograph a different color of the rainbow each day, starting with red and going in order of the rainbow, then repeating until the end of the month.
Read more: How to Start Your Own Monthly Personal Project
At the time I wasn’t picking up my camera much and I needed a creative challenge to get me shooting again. I laugh now because I literally had a dream about what I could photograph in red the next day. I was so excited to get started! I want to share with you how this color challenge improved my photography and offer 6 tips on completing the project yourself.
-
No.01Use color as the subject of your image
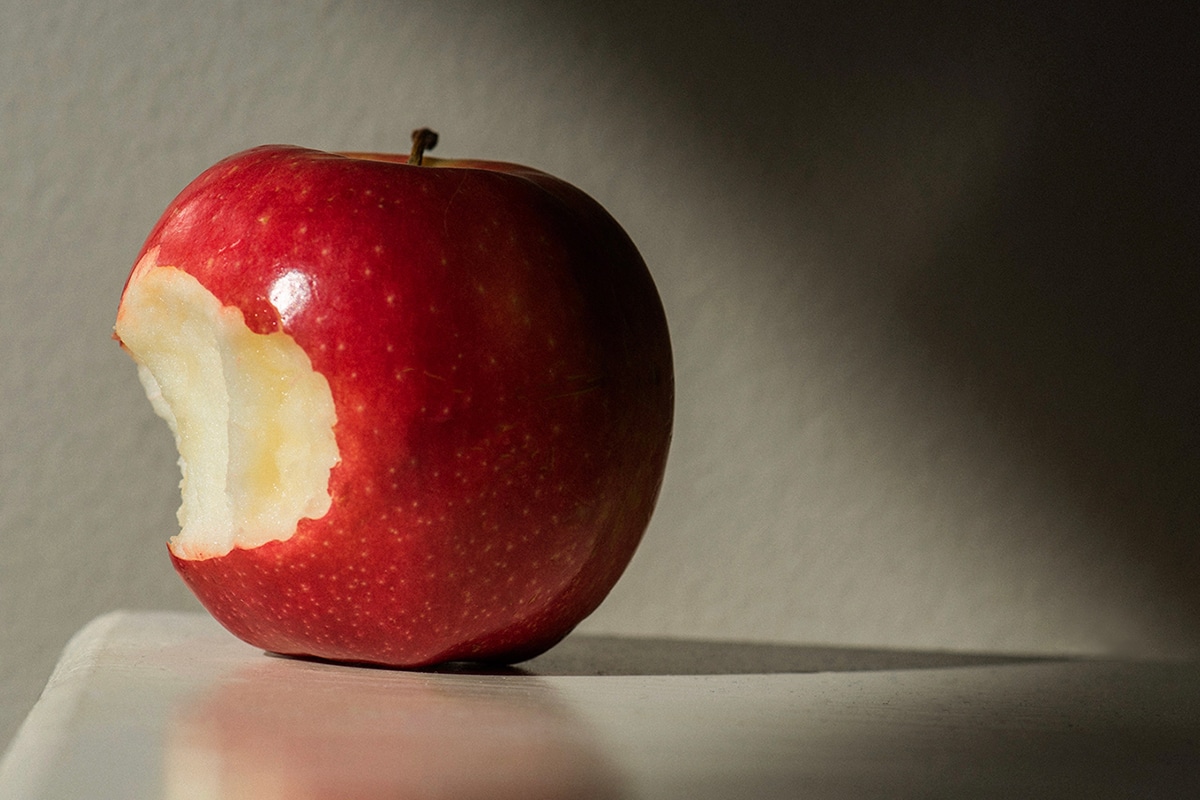
The goal is to not only identify a particular color and use it in the image, but also to make that color one of the first elements to catch the viewer’s eye. Make it clear that your image is all about that certain color!
-
No.02Use color to fill most or all of the frame
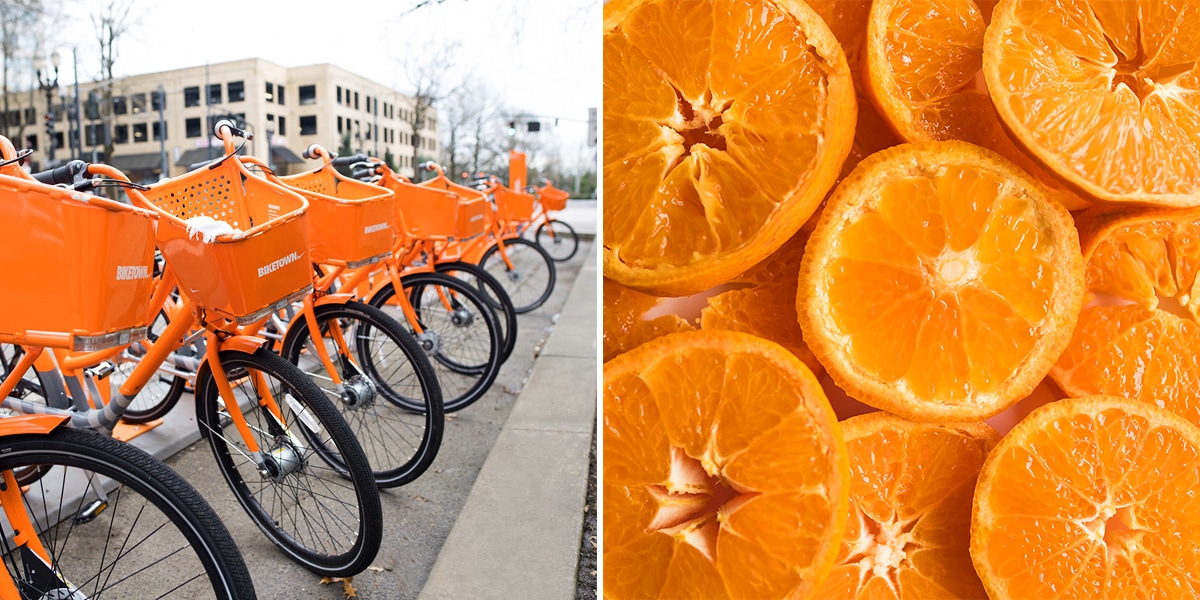
If you want the color to make a statement, eliminate most or all other colors in the frame that might distract. This can be accomplished by either zooming in close to fill the whole frame, or by adding a colored piece of paper or object in that same color as the background.
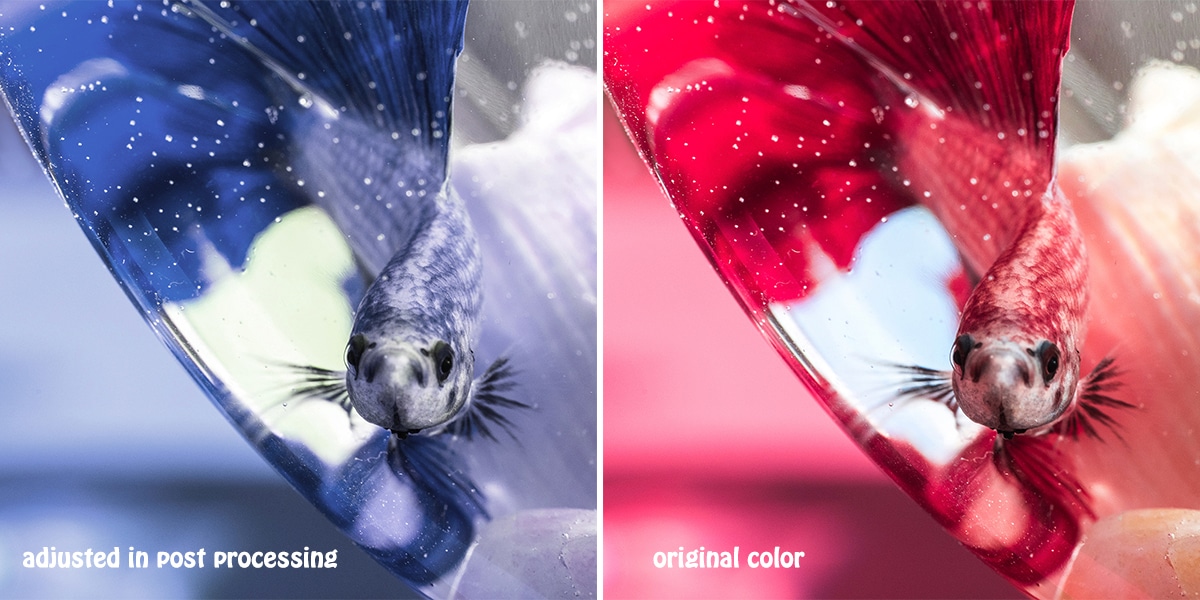
You can also get creative in post processing and change the color completely from the original to match your color of the day. Here’s my fish image in red (original) and blue. I preferred it in the original color of red, but to illustrate how this can be done I adjusted the hue/saturation in Photoshop to change the color of the fish to blue.
-
No.03Isolate a certain color by setting it in a backdrop of neutrals
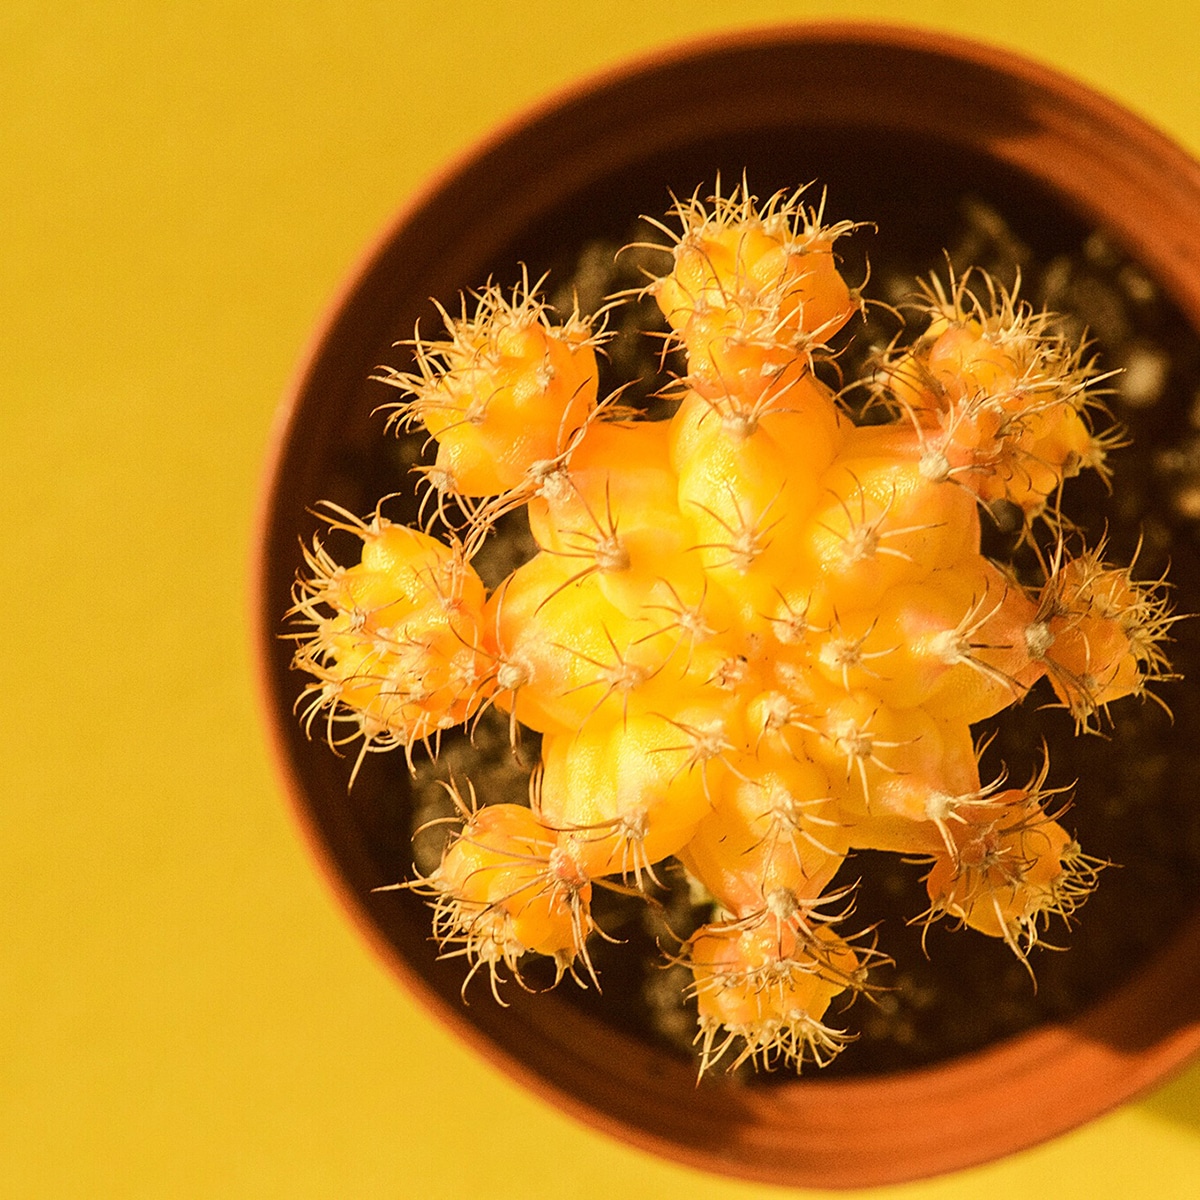
The viewer’s eye goes directly to the most colorful part of the image. By placing something colorful in a neutral toned background it will immediately become the star of the image.
-
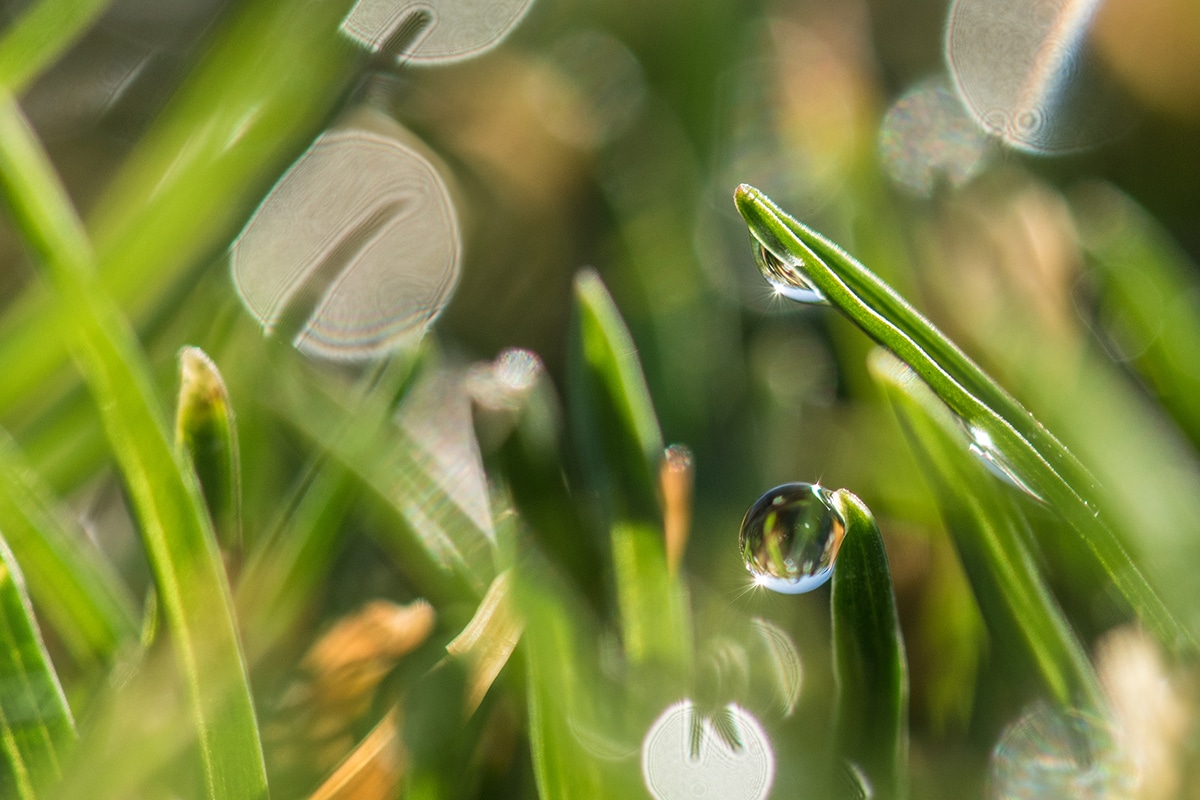
No.04Use a macro lens to capture the details that draws your eye to the color
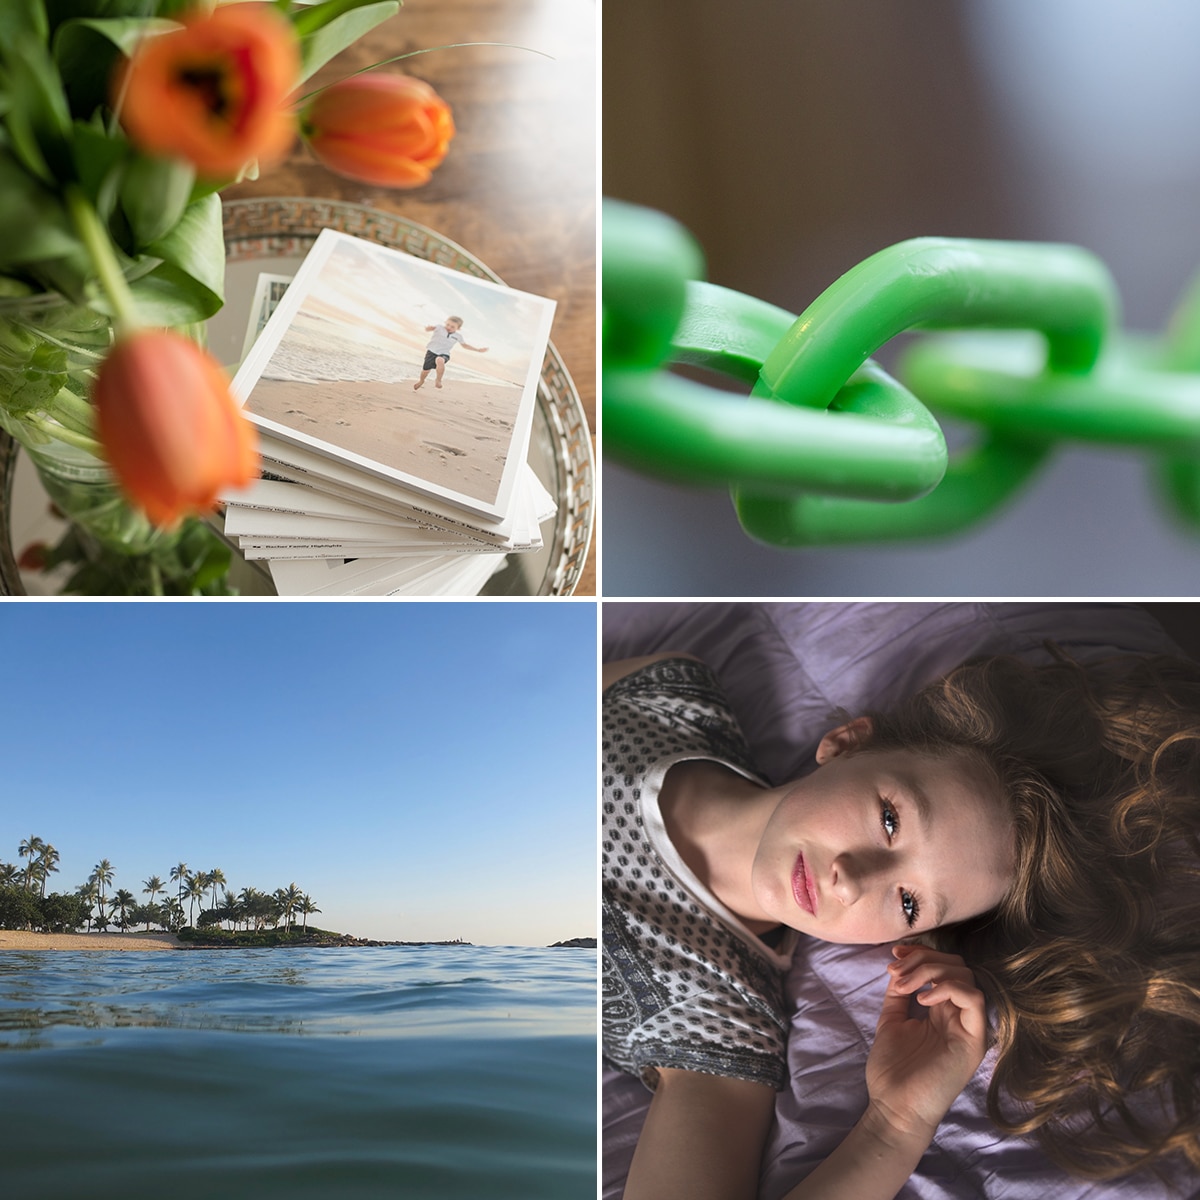
Several people who participated in the challenge did the entire month in macro images. What a great way to practice shooting macro! And it makes a beautiful grid at the end of the month! I’d like to do this again all in macro and frame the 30-image grid as artwork in my home.
-
No.05Shoot for a square crop, and apply what you know about composition
I don’t normally crop my images square, but I wanted a pretty calendar grid at the end of the month with 30 squares. I also wanted my instagram grid to flow well. However, feel free to ignore this tip if you are simply shooting the challenge for fun, or if you plan on printing them in a book for example.
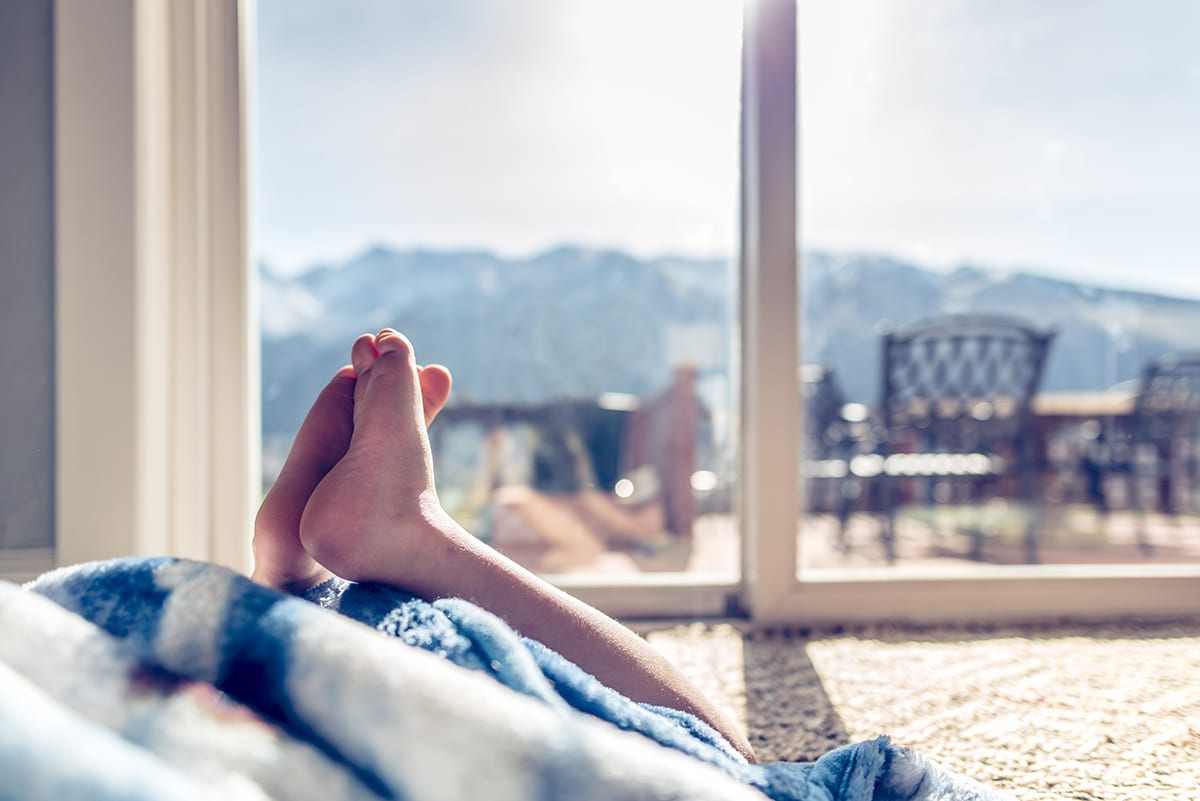
You can also strengthen your image through good composition and light. Incorporating elements such as leading lines, framing, rule of thirds, or dramatic light will give those squares that extra wow factor!
-
No.06Allow yourself flexibility
Just like other daily shooting projects, if you set too many rules you most likely will want to quit! If I struggled to find my color one day, I would try again the next day and get caught up when I could. I tried my best to post daily to IG, but skipped a day here or there…and that’s ok! Remember you are doing this for YOU!
Read more: 30 day photo challenge (become an EVEN BETTER Photographer)
As a result of this challenge I learned to notice and appreciate color more in the world around me. Now I can easily identify a dominate color in a scene and showcase it in my images. It also helped strengthen my eye for composition and light, as well as gave me extra practice in applying my technical knowledge.
I also realized things like how easy it was to find green because it’s found in nature. Or how difficult it was to find purple. It was my hardest color to find! Ultimately I found it in cosmetics, clothing and interior decorating items. This project also helped me identify my favorite color…blue! It was everywhere in my home and the color that made me the happiest to photograph!




No comments yet.