
I first discovered double exposures this past Christmas when my Instagram feed was flooded with magical double exposures from Christmas lights. I knew I had to try it out for myself, and needless to say I was hooked, maybe even borderline obsessed!
Since then I have created bokeh overlays from Christmas tree lights, bubbles, as well as illuminated rain on a window. These bokeh overlays have inspired some of my more creative edits which are what I’m going to share with you today!

Read more: 4 Fun Ways to Create Foreground Bokeh
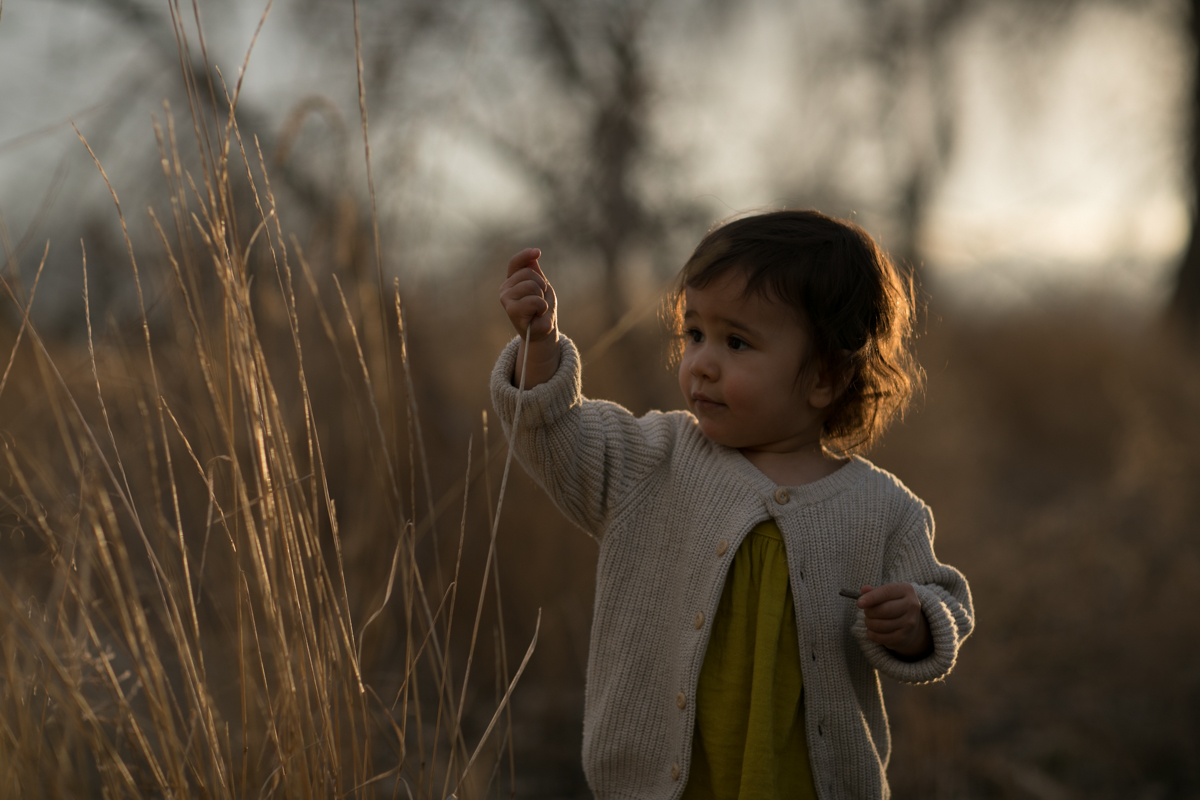
I have to give credit to Mindy (@hopefeathers) and her incredible image of her little one in front of a rain illuminated window. That image is what inspired me to create a bokeh overlay from rain being illuminated by a streetlight on the window. Below is a favorite that I captured from that night.

The key for me when shooting with bokeh overlays in mind is to create as black of a background as possible, which can also be adjusted in Lightroom by dropping the shadows and black sliders.
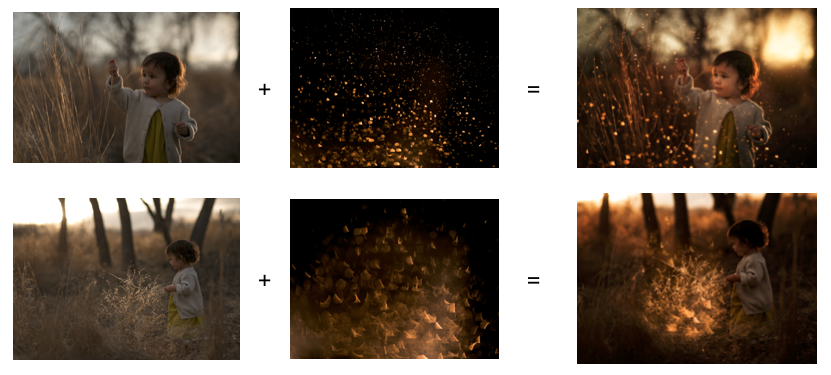
Typically, when I’m shooting for bokeh overlays, the bokeh shot and the base shot are completely separate. There is a way to do multiple exposures in-camera, but this requires you to shoot one photo after another (which I, admittedly have never actually attempted.) For me, the creativity comes from being able to experiment with different shot/overlay combinations later in Photoshop.
Below are two SOOC (straight out of camera) shots that were taken the same evening.
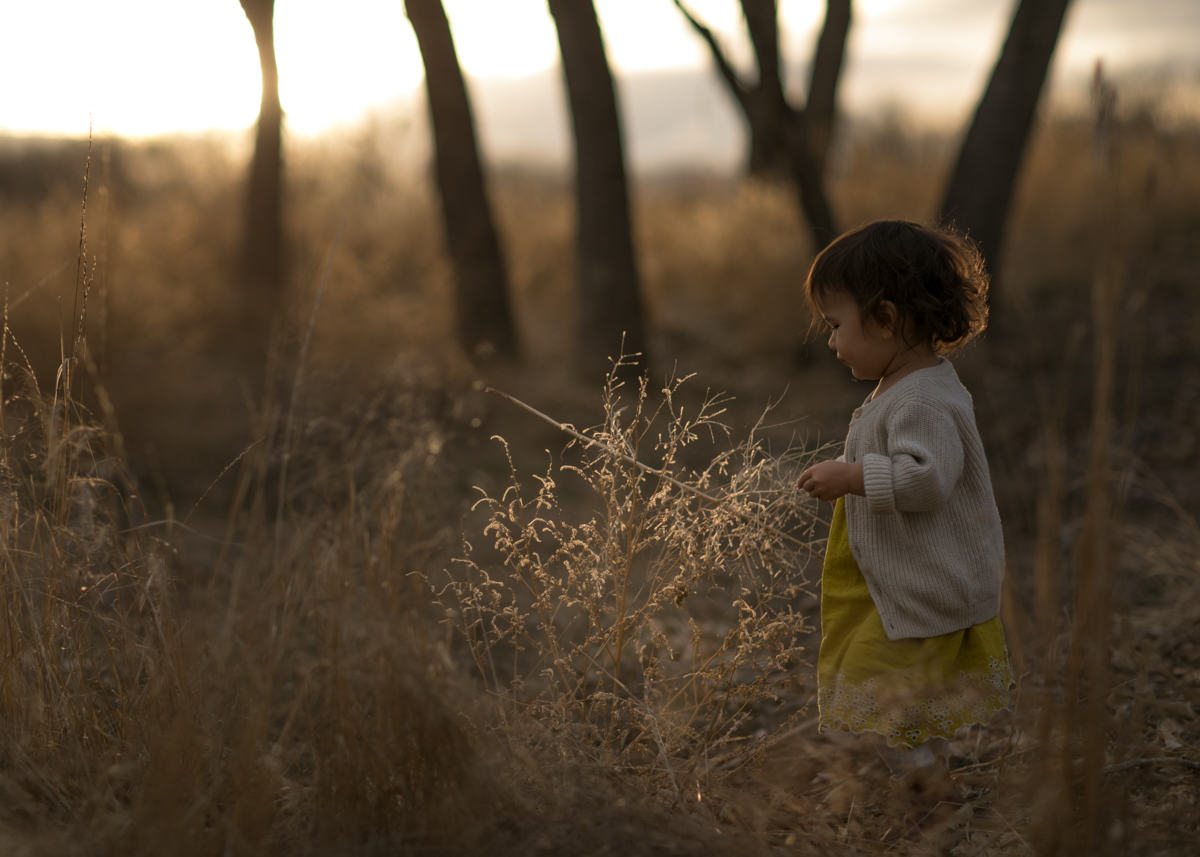
I shoot in RAW and like to underexpose my shots in order to avoid blowing any highlights. I can always adjust my exposure later in Lightroom but you can’t recover any detail in completely blown highlights.
I also like to use Kelvin to set my white balance. I typically shoot around 5800 K at golden hour which I find gives me a very neutral base to start with.
Read more: How to use Kelvin for White Balance
I did not initially capture these shots with the intention of adding a bokeh overlay, It is usually something comes to me after I shoot, and when I sat down at my computer to edit these, I was so inspired to get creative!
In the first capture, I loved her interaction with the plant, so I wanted to play that up and make it magical. In the second one, I was inspired by the way the light was illuminating the tumble weed and when saw that one of my rain captures looked like flames, I knew I wanted to get a bit more creative and ended up combining the two shots to make it look like the tumble weed was on fire!
I also want to share my editing process with you.
-
No.01Edit Separately in Lightroom
When editing for a bokeh overlay, I start by editing each element separately. I will start with the base image and edit it with my typical editing workflow. I begin in Lightroom and make any global adjustment the image needs such as white balance, exposure and I also like to bring down my highlights to recover any lost details in the sky.
For the bokeh overlays, I want to create a black of a background as I can. To do this, I will bring down the exposure, shadows and blacks and add some contrast. I also play with the temperature, tone, and HSL sliders until I get it to the right color I want it to be in my final image.
-
No.02Move to Photoshop
I do several hand edits depending on what the base photo needs and what I want to “feel” from the image.
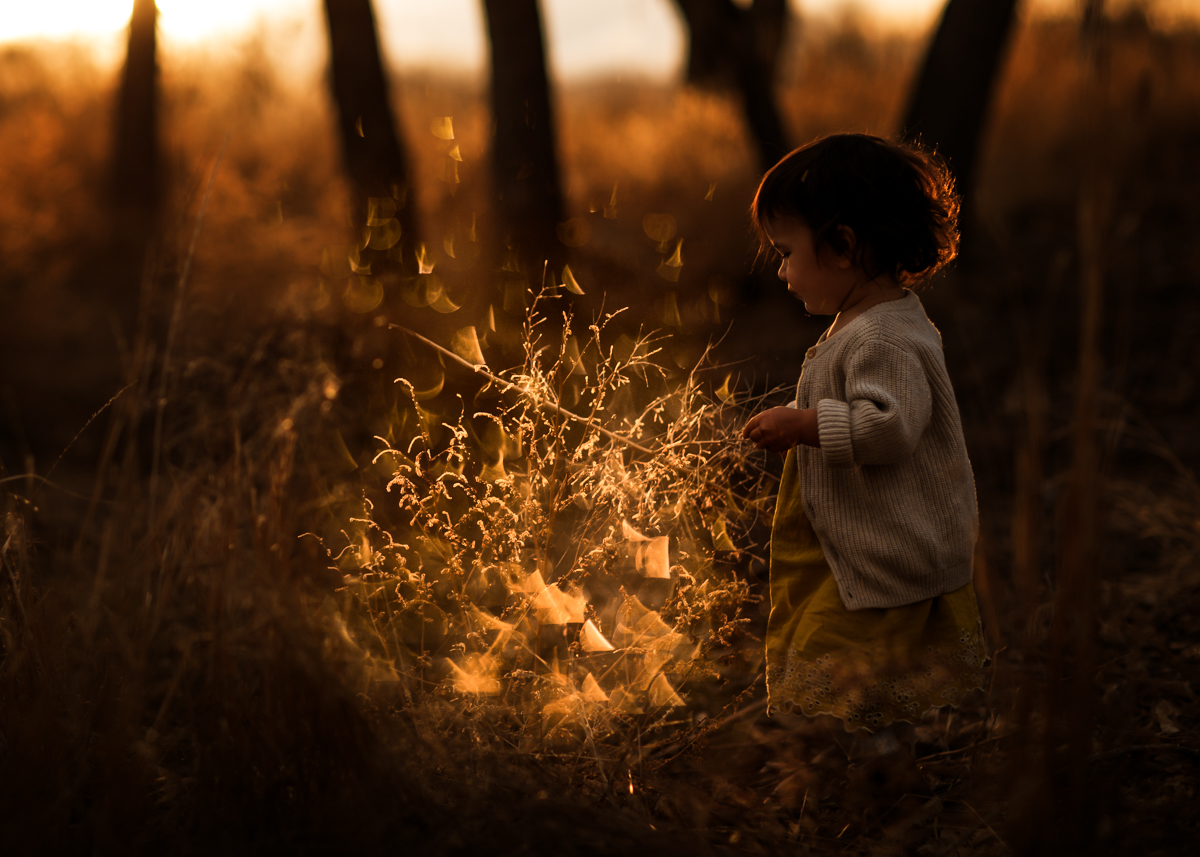
From there, I will set the overlay image to “screen” mode on top of the base image which basically eliminates the dark areas of the image and you are just left with all the pretty bokeh! I will then position the overlay where I want it and I often enlarge it and rotate it until it feels right to me.
I then create a layer mask and mask off any areas of the overlay that I don’t want, such as my subject’s face. Finally, I make any other adjustments I feel are necessary.
Here are the final results:


That is basically it! The concept is fairly simple and the possibilities are absolutely endless! I love to create multiple exposures when I’m feeling extra inspired to create something a bit out of the ordinary, or even when I’m in a bit of a creative rut. It always gets my creative juices flowing again! I would love to see what others create and where your creativity takes you!
Thank you so much to Click It up a Notch for having me and it was a pleasure to share bokeh overlay tips with you!
Find out more creative ways to use bokeh:


Thank you for sharing your beautiful photos and your fun techniques! I’m looking forward to trying this!
[…] Download Plan More @ clickitupanotch.com […]