
Chromatic aberration can be a pain, especially in high key images. I’m able to fix most chromatic aberration in Lightroom with the click of a couple buttons and it’s an easy fix. However, sometimes the color fringing is so strong and Lightroom doesn’t give me the final look I want. So, I pull my image into Photoshop and clean in up with more precision.
Read more: How to Fix Chromatic Aberration in Lightroom
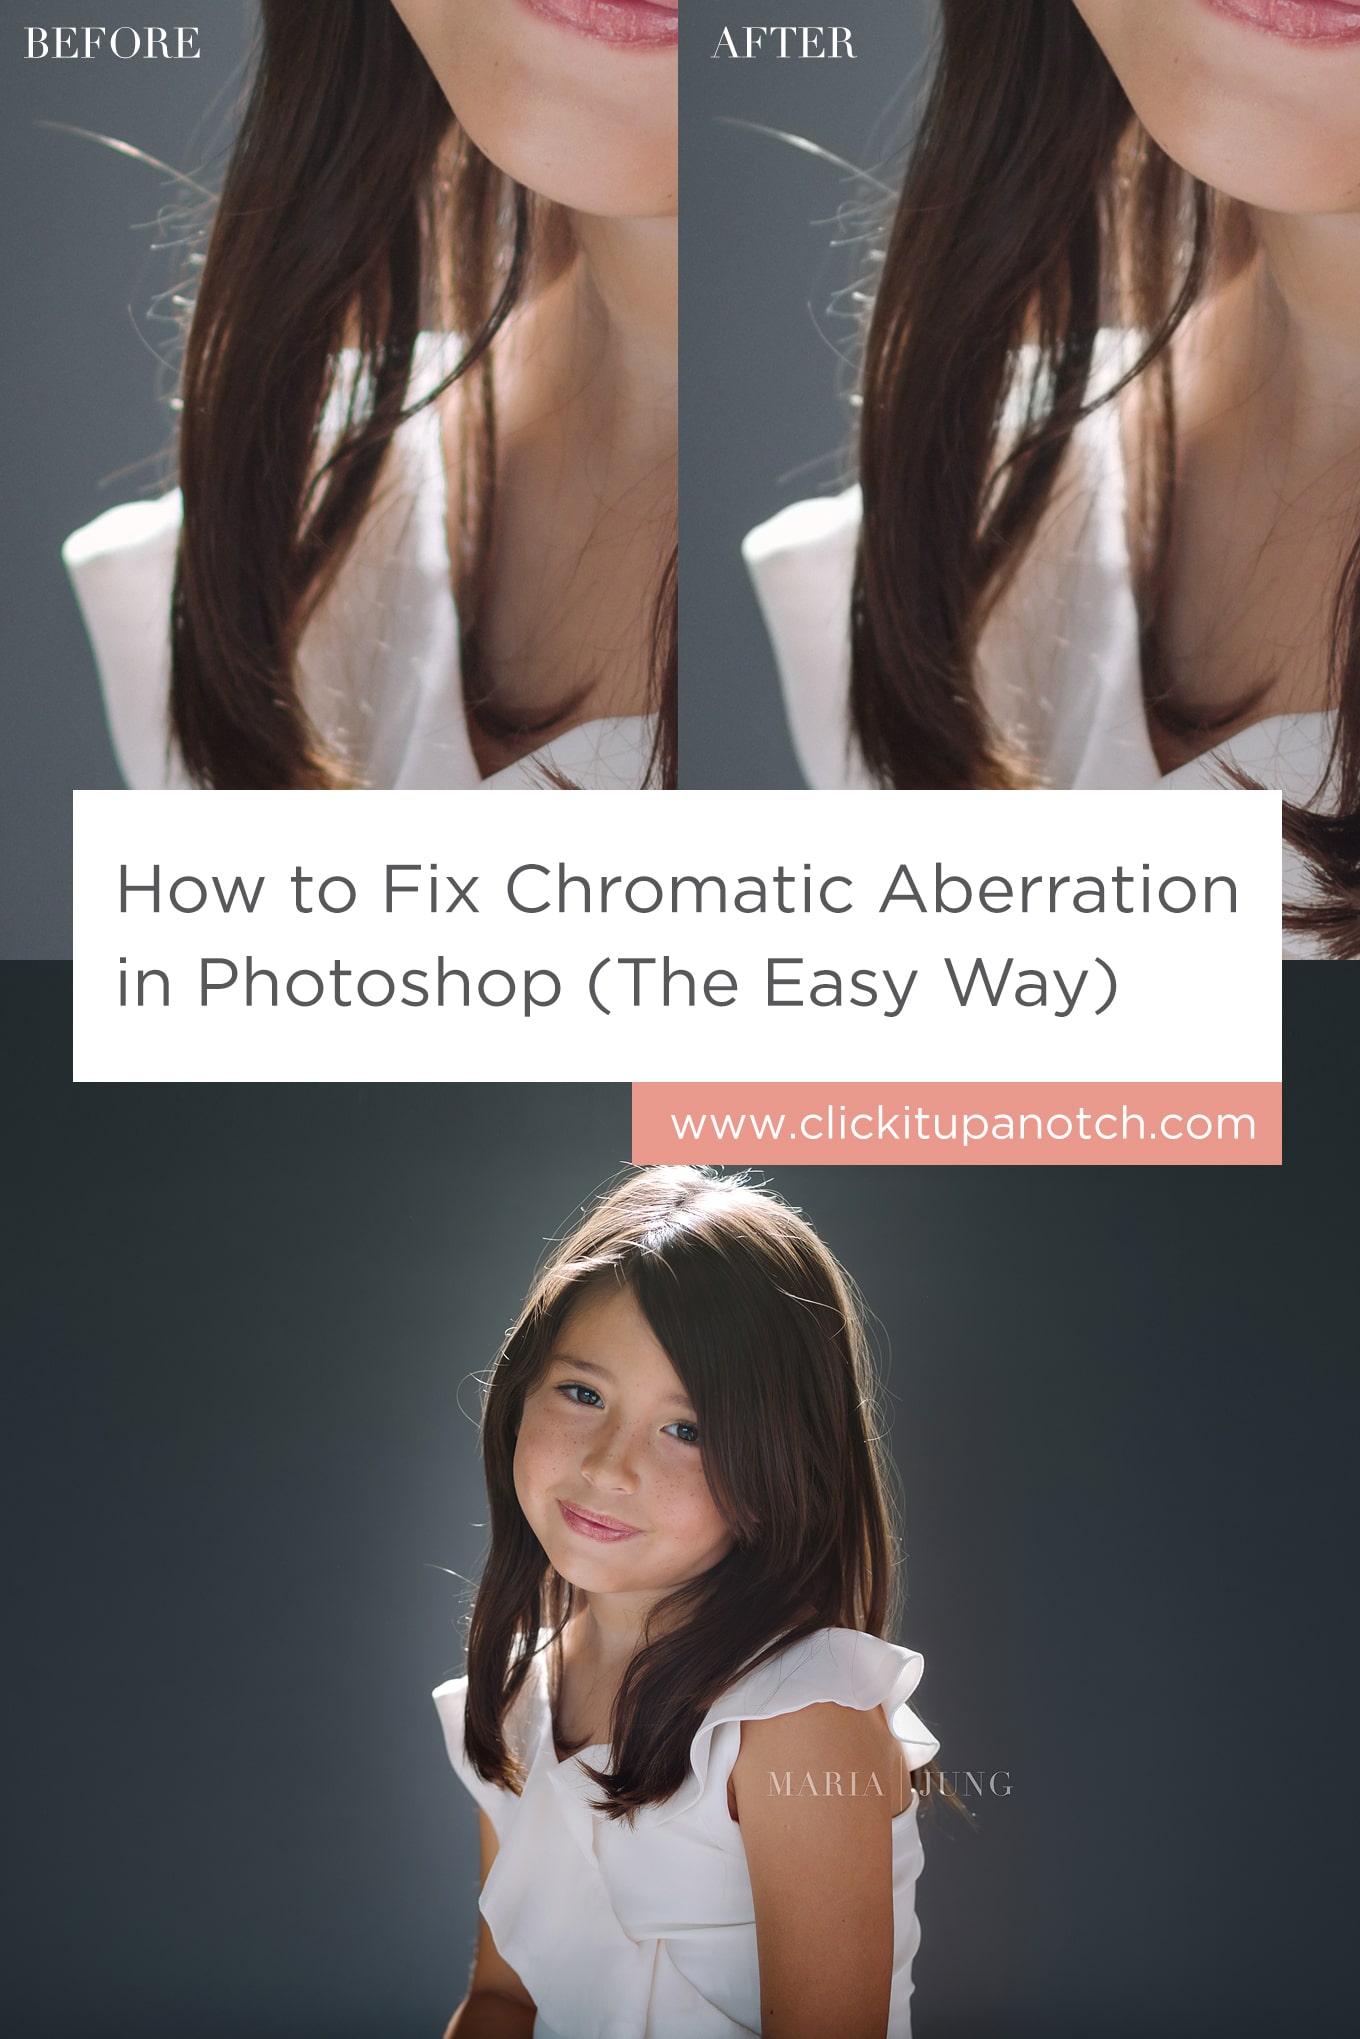
There are several ways retouchers remove chromatic aberration in an image. They’re very similar, but I prefer this method for my personal images over the rest. This tutorial shows you how I fix chromatic aberration in Photoshop the quick and easy way.
-
No.01Duplicate
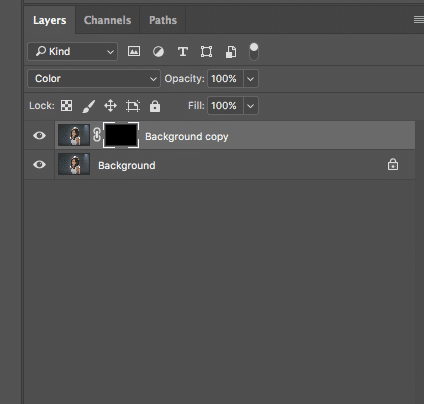
You always want to make sure you have an untouched copy of your base image in case you need to go back and make adjustments. I ALWAYS add a layer mask as well.
It’s easier to fix a mistake when you have a layer mask attached to your duplicate. I can also just “brush on” the adjustments I need. (More on that in a little bit.)

-
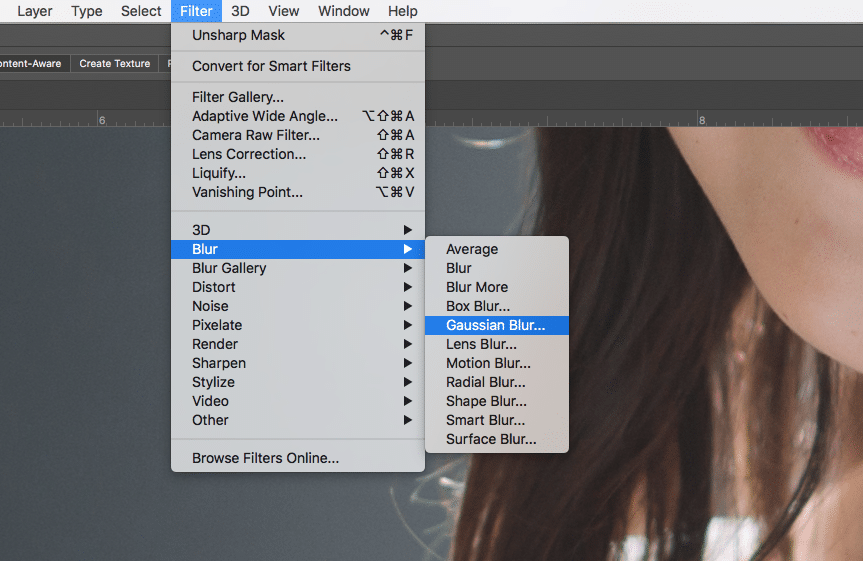
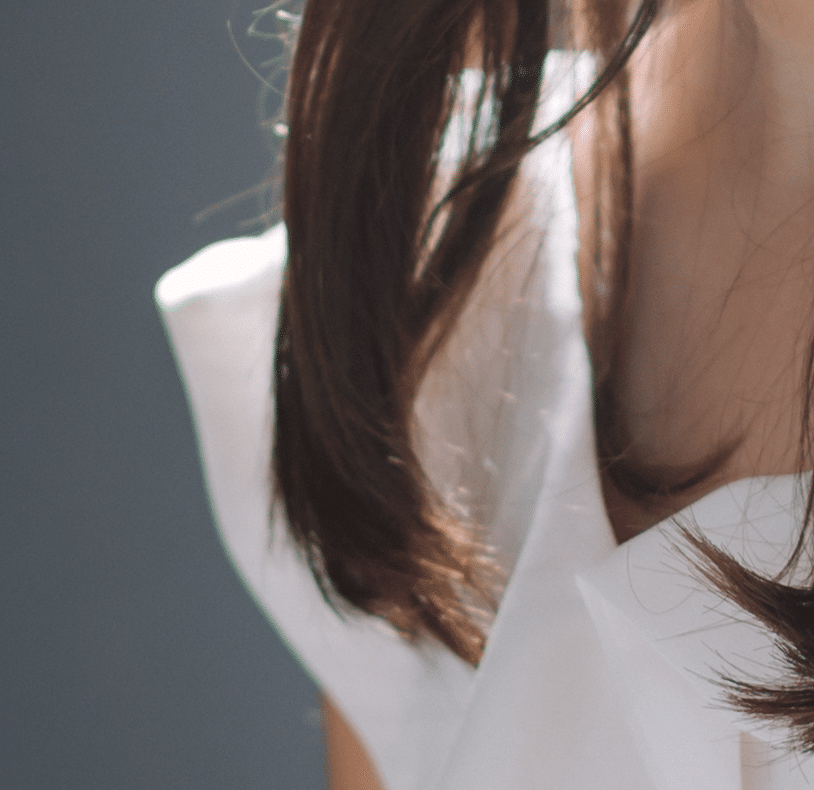
No.02Add Blur
I know, it seems crazy, but adding gaussian blur is the secret.

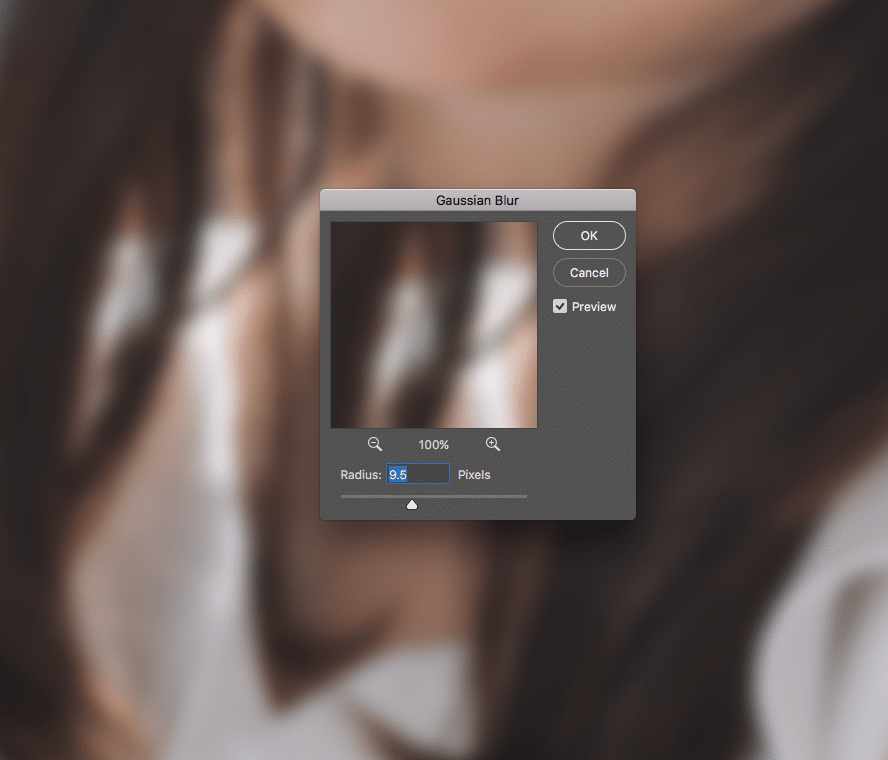
You’ll need to adjust the radius of the blur until it looks like the chromatic aberration is gone. I typically stay between 9 and 12.

-
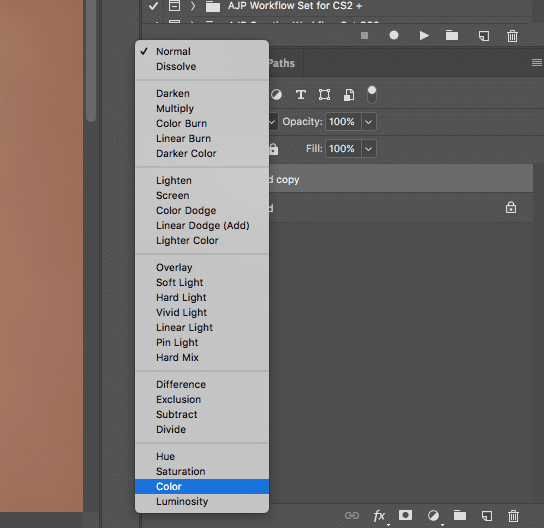
No.03Change Blending Mode
Change the blending mode of your duplicate layer from Normal to Color.

-
No.04Brush
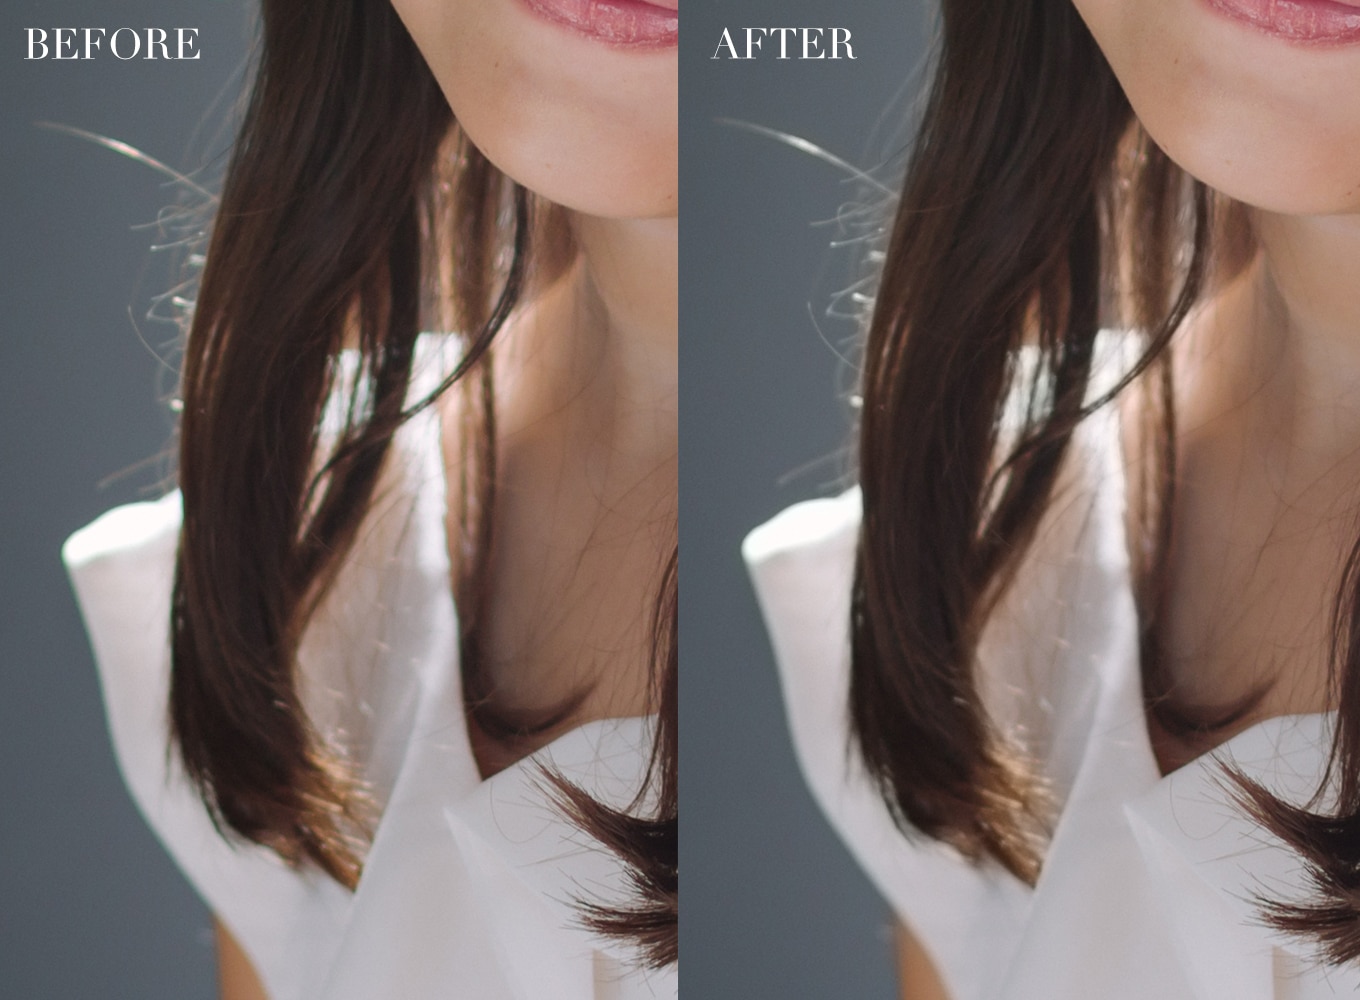
Zoom into the areas where you want to remove the chromatic aberration. Make sure to work on your duplicate’s layer mask and use a small brush to remove the chromatic aberration.

Toggle the duplicate layer on and off to make sure nothing looks out of place. Admire your before and after.

If you have a lot of time, you can really fine tune your edit by using a very small brush and making sure you only remove the color. For most images, a brush slightly larger than the affected area works great. You can easily turn this into an action and save yourself even more time post processing.
Find more Photoshop tutorials:
– Quick Guide to Photoshop: 6 Features You Need to Know About


I must be blind. I can see no difference at all.
In the zoomed in picture on step four, you can see the green fringing on the outline of her dress and a bit around the hair. It could also depend on what device you’re viewing the image on.
I agree, I can not see a difference either. Not something I would worry about.
This process is rather destructive. A better way is to open the image in Lightroom, select the Edit menu and then select Optics. Check the Remove Chromatic Aberration box and you’re done, without any inadvertent blurring or any real time taken doing brushwork.
Simple. Amazing. Thank you!