As a lifestyle photographer, I enjoy telling people stories –their story. I keep this in mind from the moment a client contacts me to the moment I submit their images, whether it be online or in print. I have noticed many lifestyle photographers display their images online using storyboards, or photo collages. They all have one thing in common: they tell a story! Early in my photography journey, I admired these photographers, but never did think of approaching them with my “newbie” questions. Since then, I have found various approaches, but only one that works for me. Let’s face it, if it doesn’t work for you, chances are that no matter how good the ideal, it won’t be implemented.
First of all, open PSE and the images that will be included in your storyboard. I use PSE 11, but the steps should be the same for other versions.
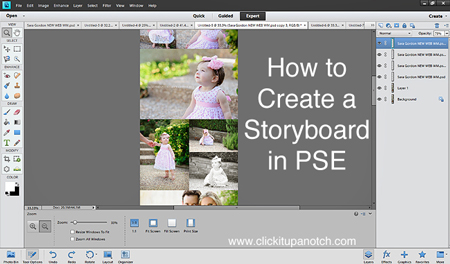
Creating a Storyboard in Photoshop Elements
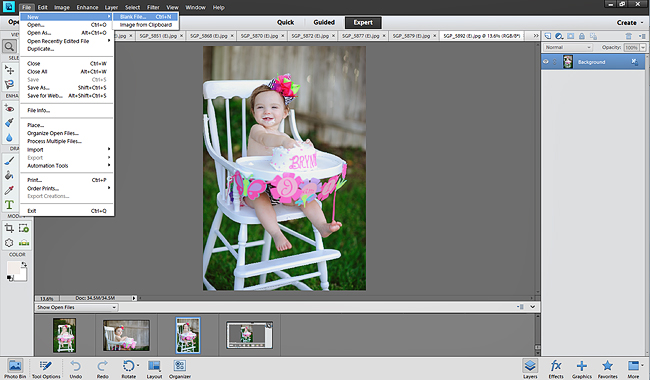
Create a new document: File > New > Blank File
You will then see the following screen:
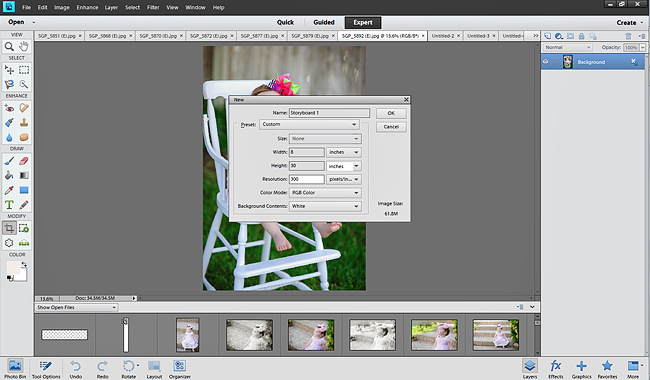
I size my original document at a width of 8 inches to help when dragging full resolution images into it without a need to resize them at this point.
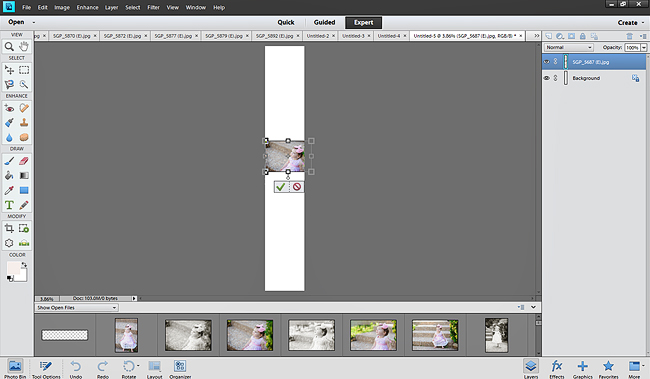
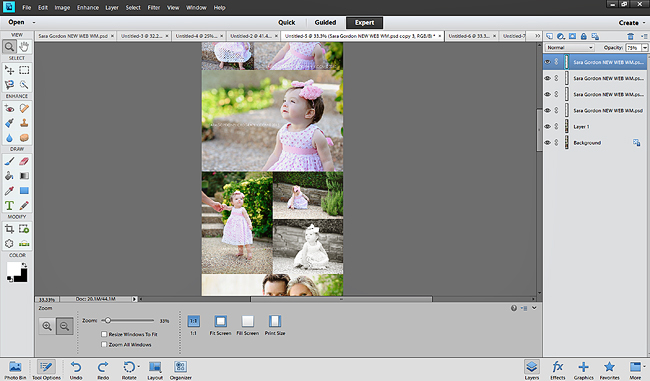
Once your document opens, begin by dragging images from your photo bin and rearranging them until you are satisfied with the result. You can resize the image to fit by simply clicking on each corner, resizing, and clicking on the green arrow when complete.
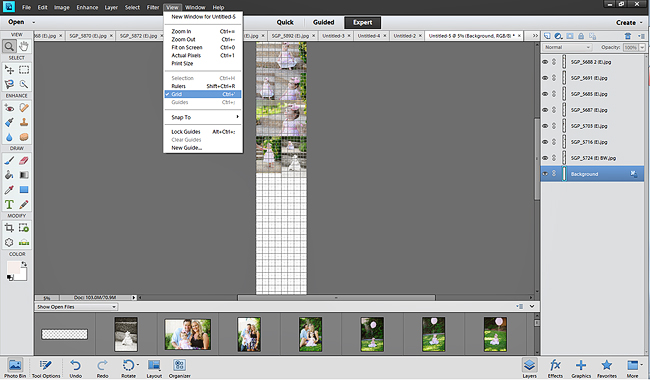
This is where your creativity takes over. There are probably thousands of ways of doing this. I like to keep it simple. You may zoom in and out when arranging the images. I find it easier to see the document as a whole. I also find it helpful to view a grid.
You can do so by going to View > Grid.
When you are finished organizing the images on the document, zoom in and make sure none of the background is showing and that images line up. You can always right click on an image and Send to Back or Send to Front. This helps speed up the process a lot!
Finally, flatten your image by right clicking on the background layer. Resize your document for the web. Feel free to play around with these settings and find what works best for your images and your blog site. I currently use Pro Photo. My blog displays images at a width of 1000 pixels. I use an action to simplify the process. It also sharpens for the web. After the image is resized, I open my watermark and drag into the storyboard. It’s very easy to resize to my liking and then duplicate the layer for the various images.
You can view the complete board on my blog at Sara Gordon Photography.
In summary:
1. Open new document and images to use. File > New > Blank File (I usually start mine at 8 in X 20 in and then resize as needed).
2. Drag images into the document and rearrange to your liking. View > Grid
3. Zoom in to make sure everything lines up and flatten image.
4. Resize document for the web (usually about 1000 px).
5. Sharpen.
6. Apply your watermark.
7. Save
Again, there are various ways of displaying your images online. You can purchase premade templates or create these templates yourself using clipping masks. I find this way gives me the freedom to use my images to tell a story without having the restriction of a premade template – it also helps cost as it is free.


Sara this is SO HELPFUL, thanks so much. I love using templates created with clipping masks but this is so much easier, faster and FREEING! as I am not limited by a template.
THANKS!!!
Thank you, Daniela! I felt the same way when one day it just clicked! :)
Ug! I can’t figure it out! I can’t drag my images up!
What do you mean you aren’t able to drag your images up? Let’s see if we can help you :)
Well, I click “new>Blank file>then the box pops up and I have it on width 8, height 20, res. 300. But it just comes up a little white box, about a cm big. I go down to my photo bin, and drag up a photo into the box, but the photo just blows up regular size in the screen, and I try to drag another one up there, and it just replaces the current photo. I’m probably doing it completely wrong, but there’s my story-lol. Thanks! :)
But thank you for this post….I’m sure it’ll be very helpful once a figure it out :)
great post! any tips for us LR users? :)
If we do, I’ll be sure to let you know :)
Chelsea, sometimes, PSE changes inches to pixels (whichever is the default). When the box pops up, simply change it to INCHES. I can’t think of another issue and i’ve done that before…! Try it and let me know how it goes. :)
IT WORKED!!!!! Thank you so much! :D
Chelsea, sometimes, PSE changes inches to pixels (whichever is the default). When the box pops up, simply change it to INCHES. I can’t think of another issue and i’ve done that before…! Try it and let me know how it goes. :)
Yay! That’s great to know, Chelsea! =)
Please help!!! When I drag my first picture in thd new blank file, it opens up and I can’t resize it. The corners are way out if it and there is nothing else to touch the image. Obviously I’m missing something!
Weird. Make sure you are clicking on the ‘arrow’ so that you are able to resize the image. Let me know if that doesn’t work.
Andreea, sorry I missed your comment and never replied. This happens because the photo is so much larger than the file you created. You need to drag the image until you see one of the corners and re-size it from there. Hope you were able to figure it out! Again, I’m sorry I just saw this! :/
Thank you so much for this post. I was just thinking about learning this earlier this morning & then I ran across this!! Can’t wait to start making my own storyboards!!
Thanks again,
Emily Santome
Awesome! So glad we could help!
Thank you for the PSE tutorial, I often can only find info or tutorials for Photoshop and light room! Cheers!
Sam, the same concept can be used in Photoshop. You are simply creating a document and dragging images into it. Hope that helps! ;)
Thank you so much! This is very helpful! Do you have any ideas on how to create templates to use over again?
Cheers!
Annie
Annie, in order to create your own templates, you must have the full Photoshop version. However, there are tons of freebies out there! Simply search for “PSE story board templates.” Hope that helps!