*Post contains affiliate links. Thanks in advance for supporting Click it Up a Notch.
I have always loved to see how people set up their shots for all areas of photography. I like to see the food photography behind the scenes and often it is a nice reminder that not everyone has a beautiful natural light studio. I think it helps show that you don’t need a large space or a studio to start with food photography. You just need a little space & some good light. So I have been trying to remember to take a pullback image of how I have set up the food for the image to show the variety of locations you may have never considered before that are right there at your house.
I am going to show one pullback & one final image from a variety of places all around my house. As you will see, I like to experiment with different places and different backgrounds for food photography. I rarely shoot in my actual kitchen and I often set up things on the floor to help get a variety of angles when I shooting.
Food photography – Behind the scenes
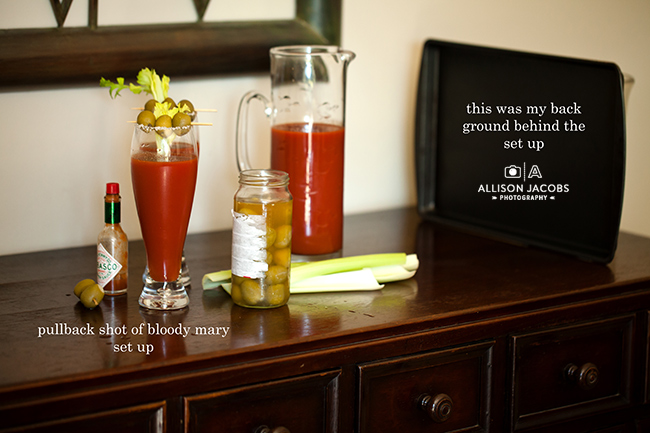
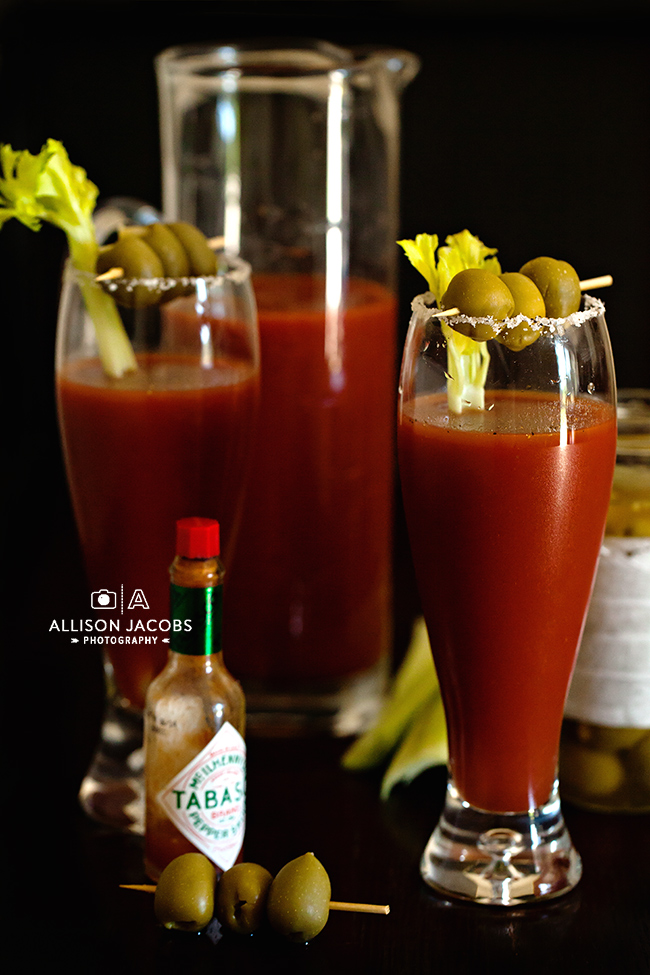
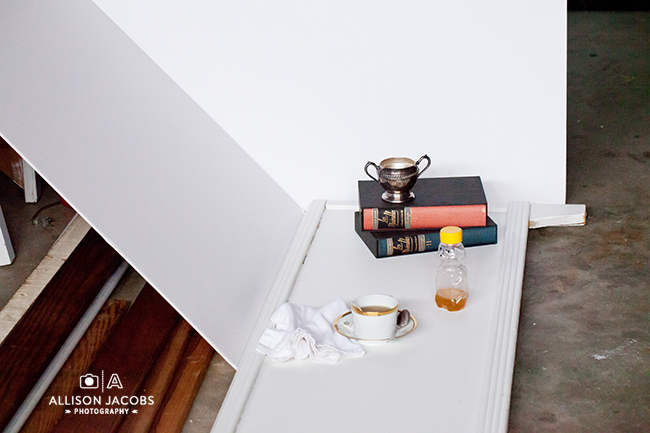
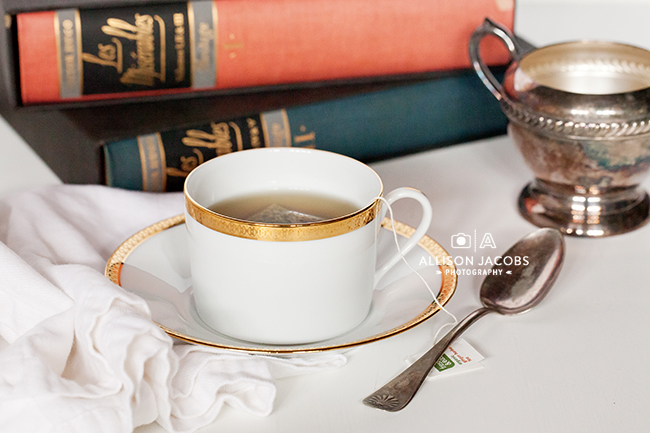
As you can see, for these images, I was set up on my dining room buffet for my “table” with an aluminum baking sheet for the background. I chose the baking sheet behind to give the image a darker more moody look overall.
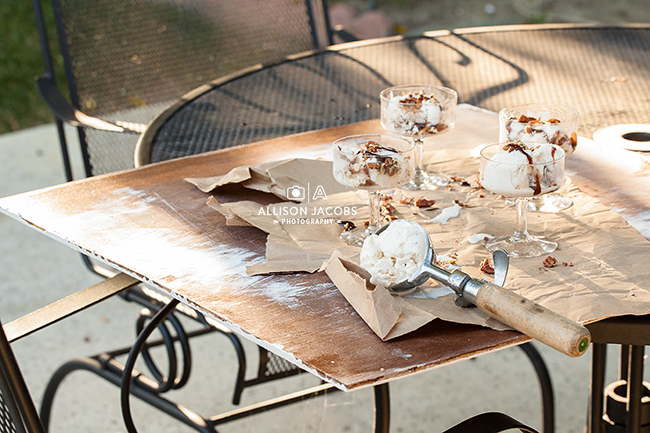
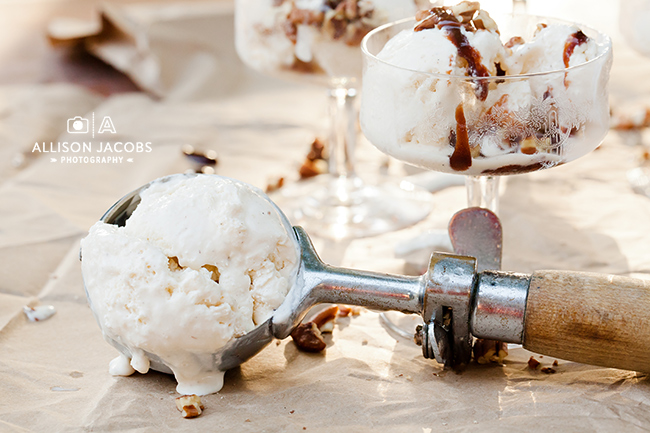
This is one I shot outside in the late afternoon on my patio outside. It was late enough that I wasn’t get a lot of direct sun on the food but I could still use the light to enhance the image. I wanted the light to add to the feeling of it being like the end of a summer day with the ice cream starting to melt. I had a 36″x36″ board that I painted with a stain & some white paint. I added a torn paper bag to add to the story of the image under the ice cream.
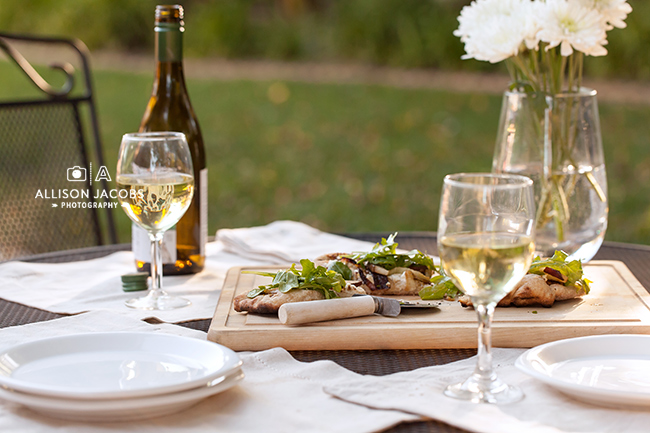
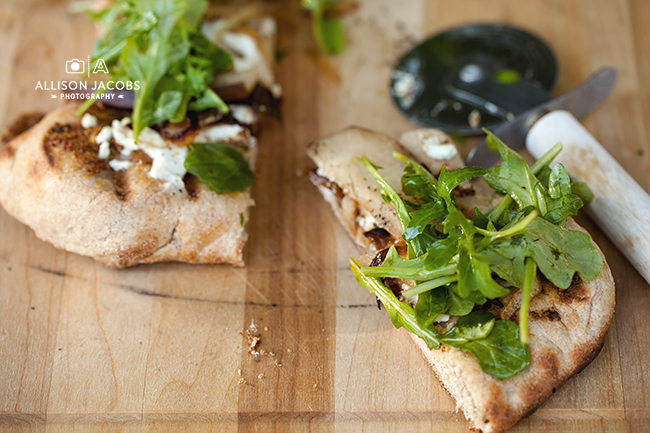
Here is another one that I shot in my backyard. In this image, you can see that I was photographing our actual dinner. Sometimes I will set up a food shot just to shoot it, but more often I am planning ahead & I know I want to shoot something before we eat it. In the evening when the sun gets right behind the trees in our yard it leaves a nice soft light which is what I wanted to capture here for this pizza. So I took the photo of it on the table right before we sat down to eat. I knew I wanted a close up shot that showed the detail of the pizza and had the cutting board so I wasn’t too concerned about having already set the table.
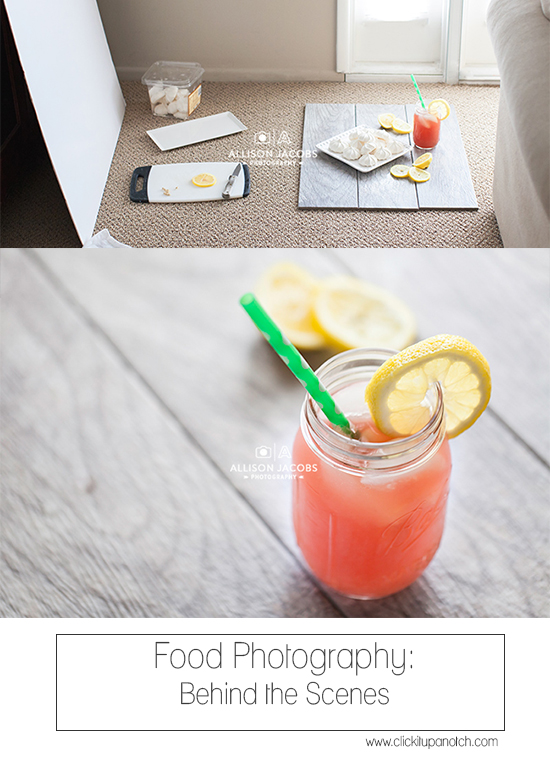
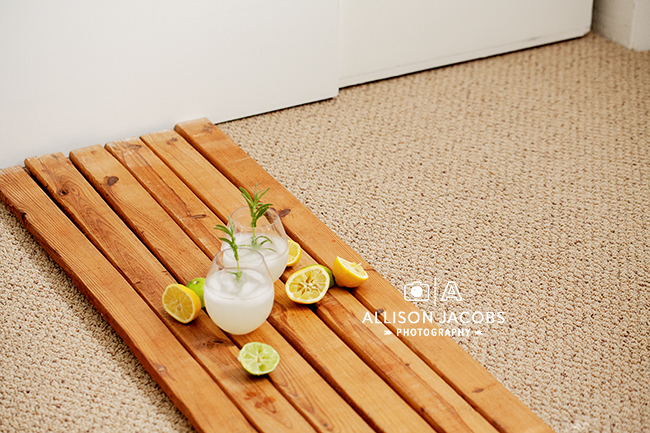
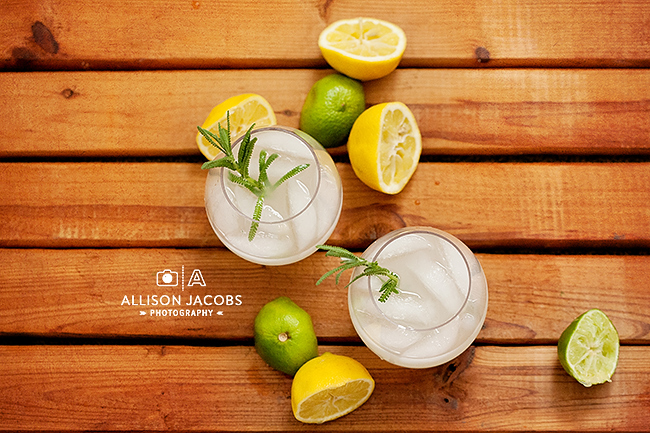
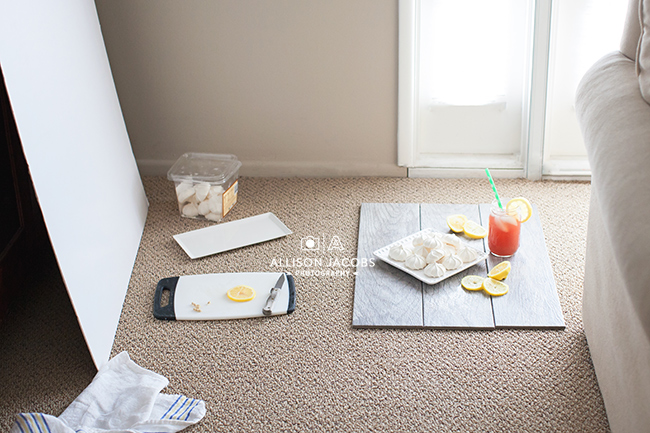
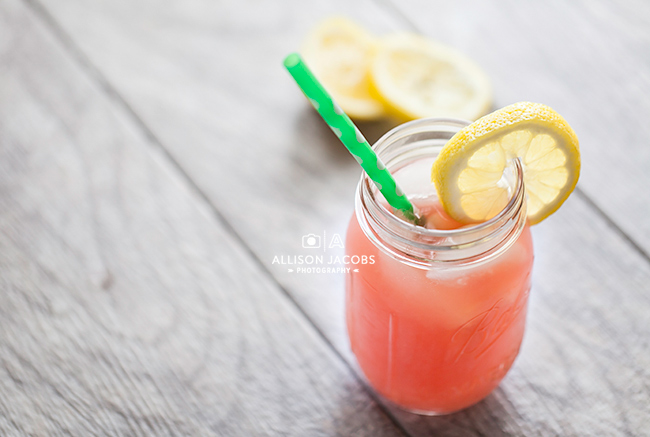
The fun part about this lemonade set up is that I was on the floor in my son’s room because it has really great light {you have to find the good light, right?}. In this image, the window was along the wall to the right of the set up. As you can see from the pull back, I was using a set of skinny wood planks as a “table”. The space between the boards was a little more than I liked but I am always up for experimenting to see how things will work as a background for food photography. You just never know unless you try!
This was set up in my garage and as you can see, I got creative with my “tabletop” by using a white headboard we were storing in there. I set up the white foam board to the side & back of the actual food to reflect the light back towards the subject. My light was coming from the garage door which was open behind me.
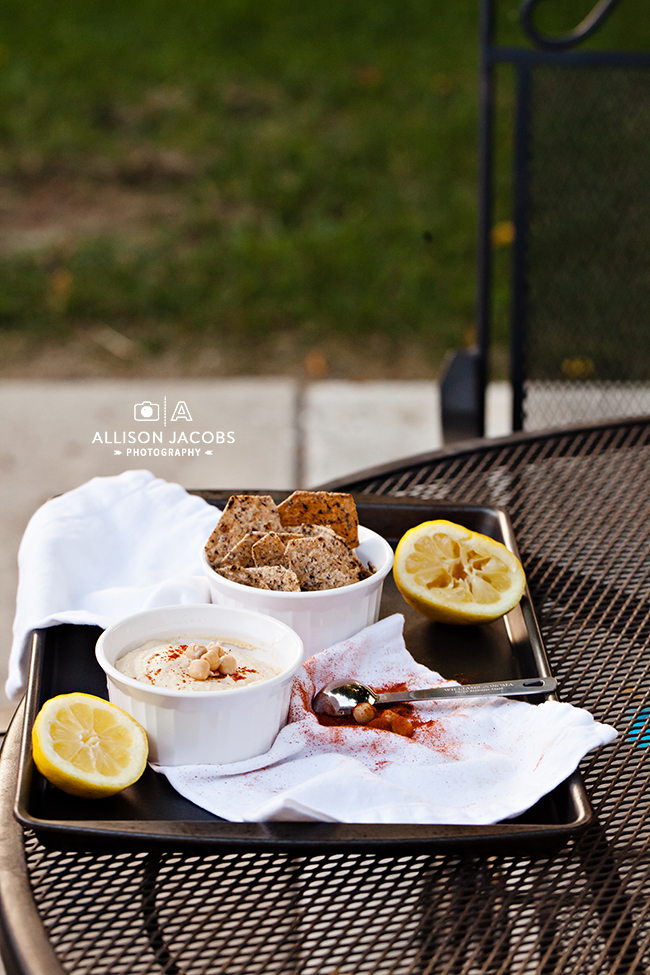
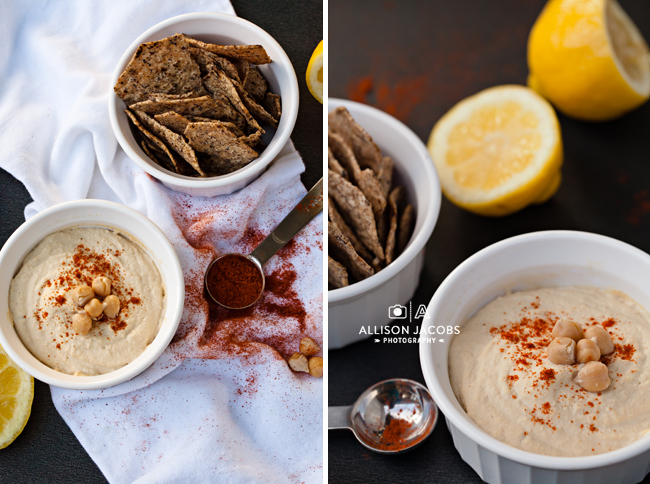
When I wanted to set up this hummus and chips shot, I headed back out to the patio. The light was nice and even with some clouds on this late afternoon which acted as sort of a softbox for the images. I had everything styled on the baking sheet how I wanted and knew ahead of time that I planned to shoot close in without including the background if possible.
In this shot of raspberry lemonade, I set it up on tiles by a wall of windows. I wanted the images to be backlit to show off the lemonade and create a light and airy image. I had the white foam board to the left to fill in some shadows.
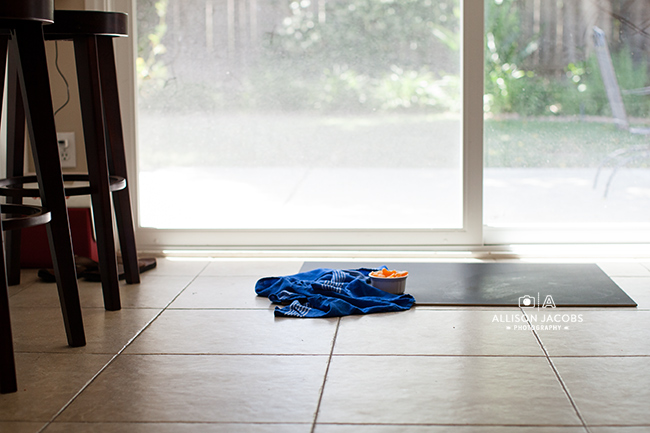
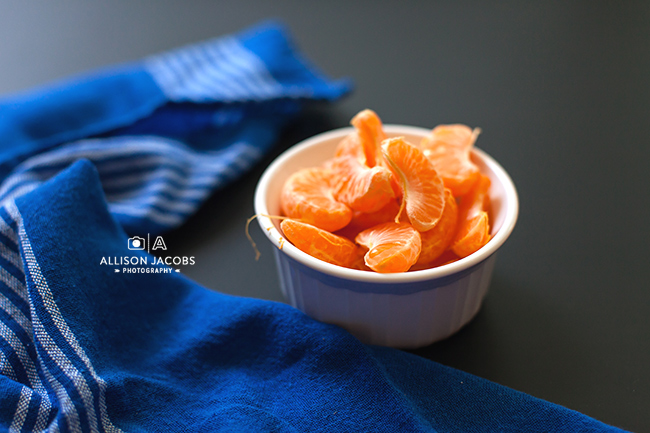
I shot this image on a whim after peeling an orange for snack. I just put the black chalkboard piece down on the ground in front of the sliding glass doors in our kitchen, added the orange slices & a kitchen towel then took the shot. As you can see it wasn’t direct light coming through the window because the sun was already high enough in the sky but it did give a really nice bright even look to the final image.



what a wonderful post. THere is so much content in here and I appreciate it! So appetizing!
I would love to know what settings you used and what lens to get these awesome shots! Fantastic photos!!!
I know with each visit here I will leave a bit smarter! I am a behind the scenes kinda’ gal and this post has my juices flowing now. Garage… who would have thought….. and plain ole wood planks!… Interesting,
I know I now will be searching the garage and attic for interesing displays.
Thank you for the post.
Love this thank you as always for sharing
Thank you!
I was wondering if the Bloody Mary shot was done with a tilt shift lens?
No, I shot the Bloody Mary with the Canon 100 mm 2.8L lens. I would love to try a tilt-shift lens sometime, but at this point I haven’t used one.
I love this post. It’s really intersting to see how the shots are built.
Thanks so much for sharing all these pull backs and your thoughts behind the shots Allison! Gorgeous drool worthy work (as always!!)
Gave me some new ideas! Beautiful work; that ice cream shot makes me want some right now. :)
Hi are you always shooting food with the macro 100mm 2.8? Thanks
Love it! Thanks for this post!
Wow, Allison, these are simply stunning. You have such an eye for this–I’m always blown away! Thank you for sharing!
First, I just came across this sight on Pinterest! I can’t wait to delve into previous posts and learn some stuff as a newbie photographer! I loved the simplicity of using what’s around the house to practice food photography. All it took was a little thoughtful planning and consideration. My favorite pictures was the tea and books and the ice cream.
http://www.mysimplesignificance.blogspot.com
These are amazing! I love your creativity and ability to spot light and mask the background creatively to get a great photo. Very inspiring. Your pullbacks are so instructive and helpful! Thanks for sharing Allison!
I love seeing behind-the-scenes images of food photography. Love the boards you used for the base in the raspberry lemonade image. Is the chalkboard background a real chalkboard? I’m asking because I just found chalkboard foamcore at Micheal’s this weekend and am excited to try shooting with it — I hope it turns out as nice as the real thing because foamcore is so nice and portable.
Yes, it is a real chalkboard but it isn’t a finished piece. I picked it up at a home improvement store & I am sure that it is meant to be made into something or at least have a frame added to it. It is heavier than foam core but not by much. It is still easy to drag around to different spots. But, I bet the chalkboard foam core would work just the same!
Love this sneak peek. Thanks!
Loved seeing your behind the scenes look! I thought I was the only one who shot food on the floor. Glad to see all your makeshift props and how they work together to make gorgeous pics. This just goes to show that you don’t have to break the bank to take beautifully styled food pics. Thanks so much, Allison!
Such a wonderful post!
I really need to invest in some backdrop type settings I think, because lately all of my food posts just seem to use my chopping board! It is amazing the difference a piece of card or wood can make to the whole atmosphere of the shot.
So inspiring… I’m always forgetting that just a little bit of resourcefulness and creativity with where you take the photo can go such a long way. Thanks for reminding me! Beautiful pictures!
Hello! I came across your site recently and have really been enjoying your posts! I’m wondering which lens or lenses you recommend (or find yourself using the most for food photography)? I have a food blog and normally use a 50mm but I’m hoping to pick up another lens to improve my photos.
Beautiful pictures by the way, I love the ice-cream shot!
Great tips for food photography! I’ve pinned yours in my Pinterest. Anyway, thank you for sharing! Merry Christmas :)
Thanks for this post !
these are all fantastic! can i ask…if you don’t mind. what lens did you use for the raspberry lemonade one? thanks in advance.
Wow I feel like these is as much skill here in arranging and choosing the food as there is in the photography. what an eye for composition!
Thanks for sharing! I love your images and it is always so fun to see the pullbacks and how the shot was created!
Oh! I love these behind the scenes. It is so easy to think that photographers have all these fab gadgets and lighting but in reality many times use “props” that can easily be found around the house. These are wonderful examples. I guess the key is just keep trying different props and locations and one will eventually be “the spot.” Beautiful photos!
Thank you for Sharing! You are truly gifted!
I am not a photographer, nor do I hope to be one. But this post is just so impressive in demonstrating what a clever and creative mind can come up with to produce amazing food shots. Kudos to your talent!
Thanks for this post, really informative and helpful. Wish u a lot of creativity, have a nice day
Wow. Very informative. Love your post.