Recently, I was trying to pick a photo to use for my son’s 5th grade yearbook ad and I came across tons of photos that I took as a newbie. I ooh’d and ah’d at some of those photos with memories rushing back to how and when those photos were taken.
My oldest, quickly approaching middle school, was then around 3 or 4 and I had just begun my photography journey.
It seems like forever ago and just yesterday. But, even then, I knew what I wanted out of an image. I still sometimes shoot with one specific image in mind that I have etched into my brain.
So, anyway, while looking through a particular session, trying to find the perfect photo for the ad, I noticed that very typically to myself today, I had shot a bunch of photos, picked my favorites, and edited the few that moved me, and moved on.
Or so I thought.
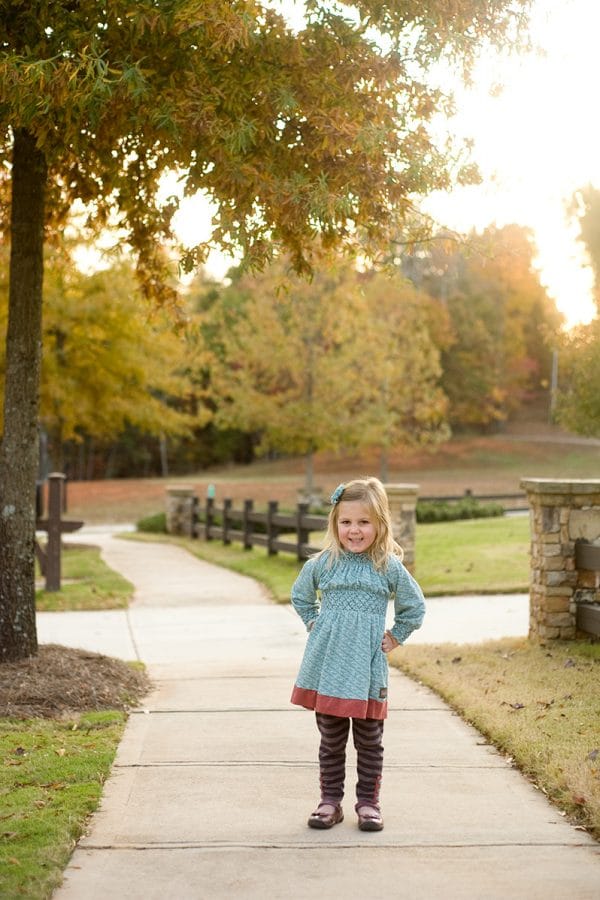
Those moments between moments, those are the most interesting.

What surprised me were the images that I hadn’t even bothered to touch, that were better than the original edits. The in between moments are what tend to resonate more with me now, and luckily I still have those images to edit now, because of the way I pick and choose those to keep and delete.
Read more: 5 Reasons You Should Stop Overshooting
So, today, I would like to share a few steps of how I culled my images back then and still cull the images I take today to ensure that I don’t delete anything important.
-
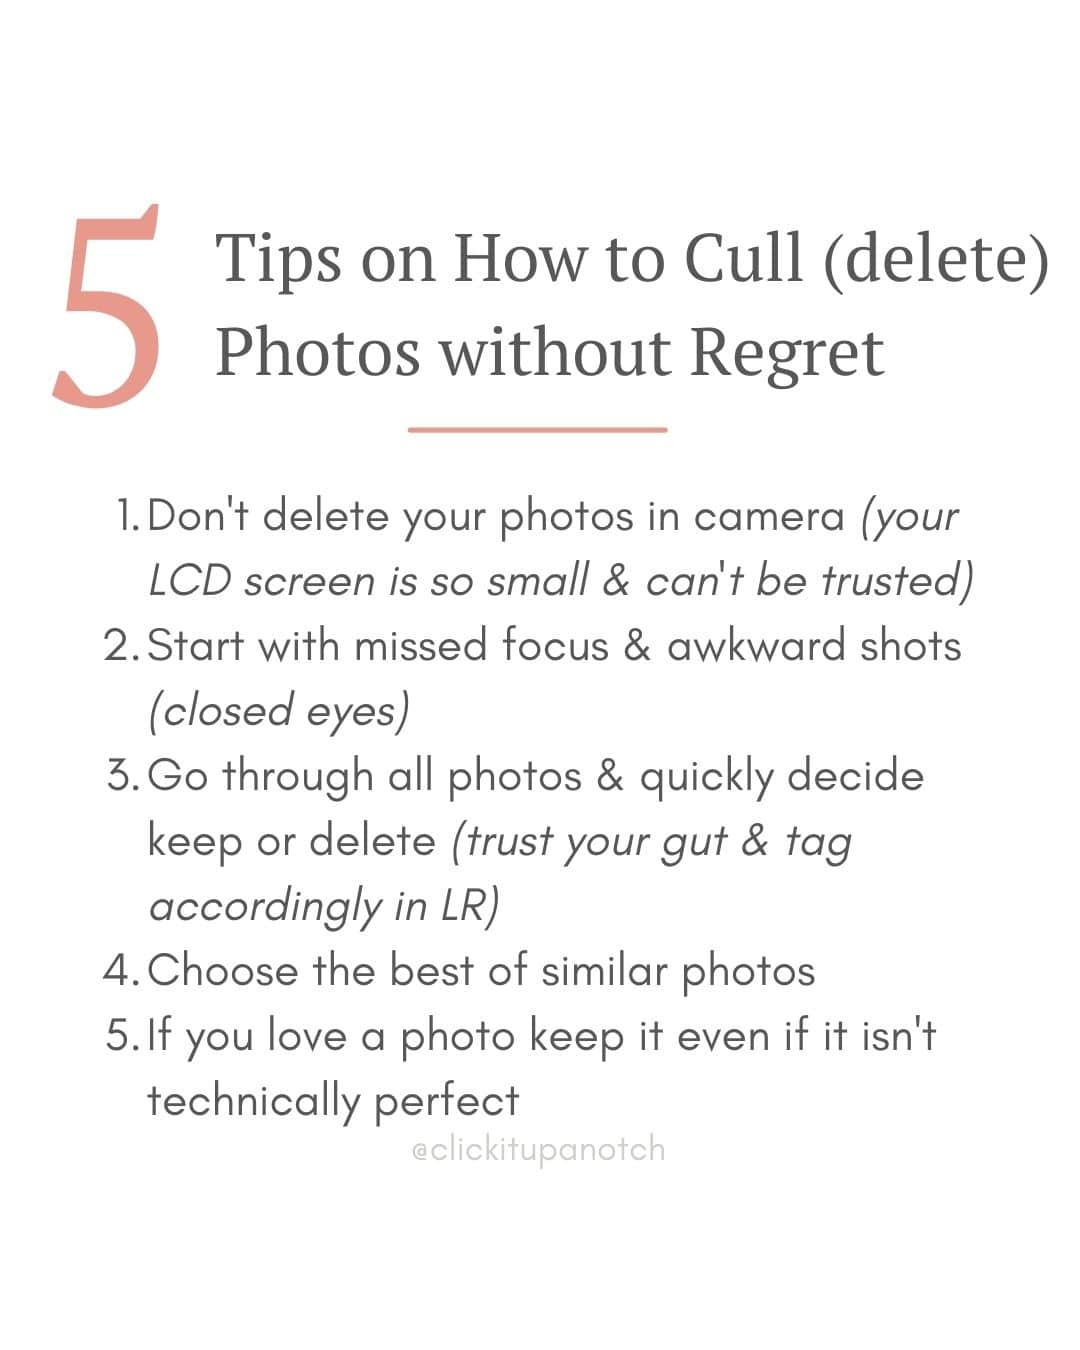
No.01Don't Delete In-Camera
I wrote a little about this in my last post. It isn’t healthy for your memory card…and what can you really tell about the image anyway?
Save deleting for later when you can see the image large.
-
No.02Weed Out Missed Focus and Technically Unacceptable
I am a big stickler for a technically sound image. If it is a tiny bit out of focus, it is still out of focus, and I’ll delete it.
You can’t save an image out of focus. Overexposed, underexposed, misfire, weed out those pretty quickly in the first run through of the images. There are some images that just aren’t salvageable, and aren’t worth the extra time in post processing.
In this pass through, I’ll also delete images that aren’t great and the reason is out of my control…subject blinked, body parts in awkward positions, etc.
-
No.03Choose the Best of Similar Images
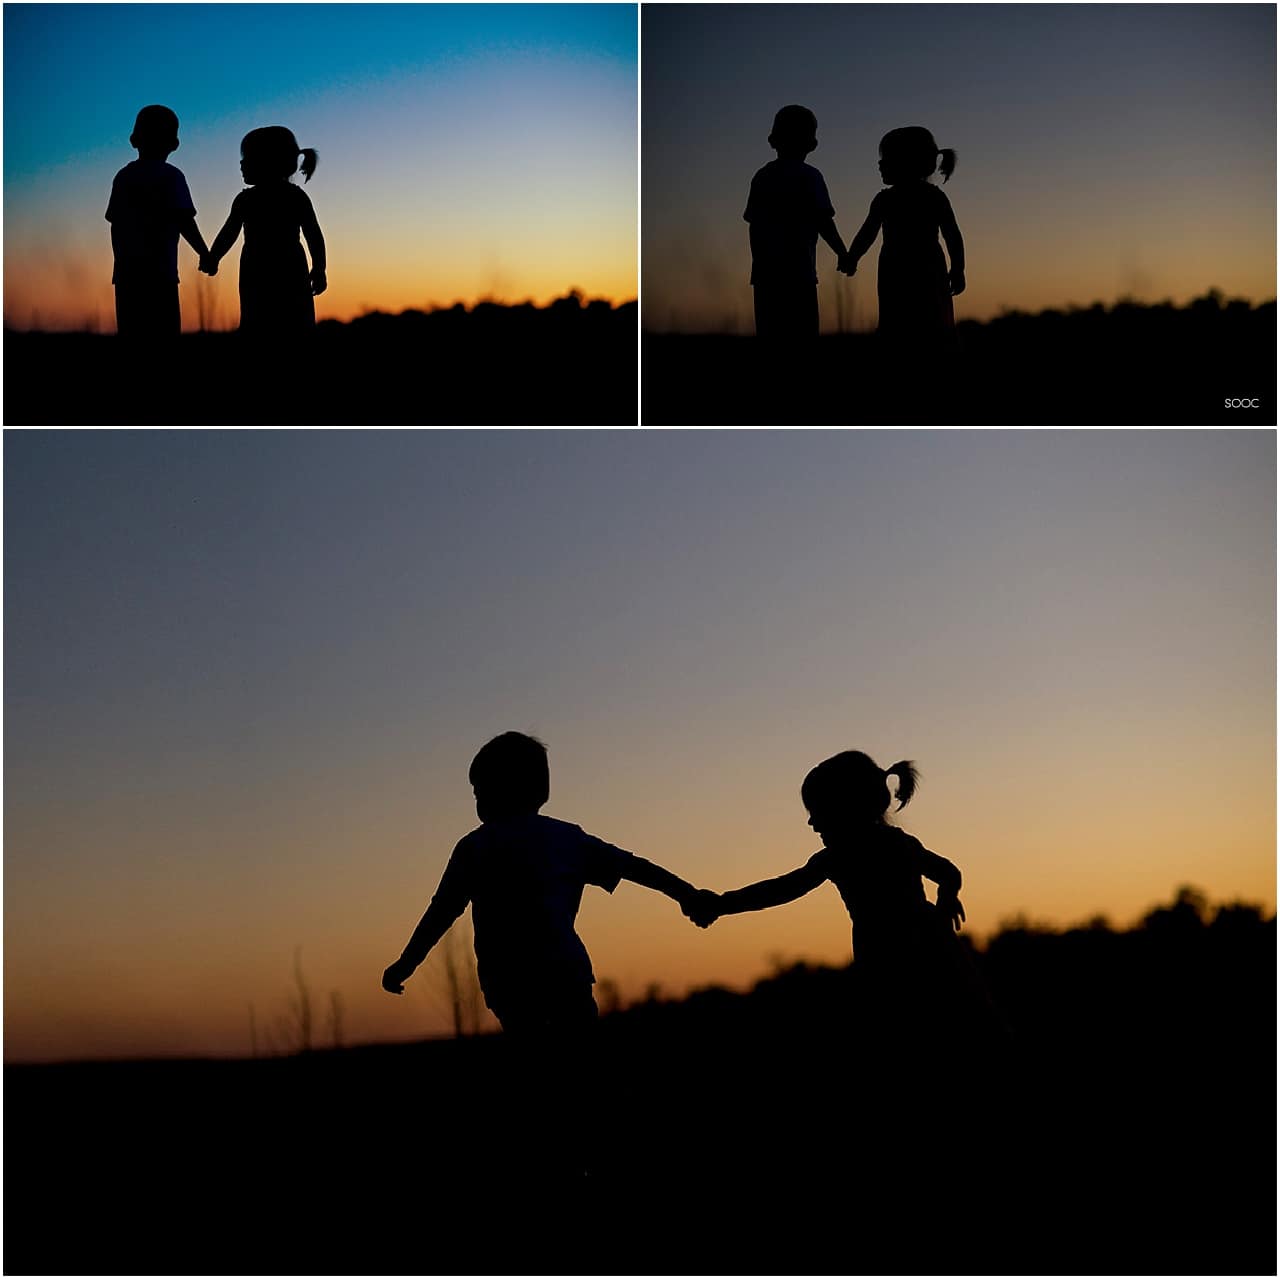
Next, I choose the best of similar images and decide which one to keep and which one to toss. Two images that are almost the same, I usually won’t keep both, unless both really speak to me in different ways. Save the different compositions, or those that may be helpful in case of a head swap.
Be sure to keep your mind open. If an image evokes a feeling for you, it may for your viewers too, whether it be clients or others admiring your work on social media.
-
No.04Step Away & Come Back
And allow yourself to look at the images with new eyes. Try to think outside of the box a little.
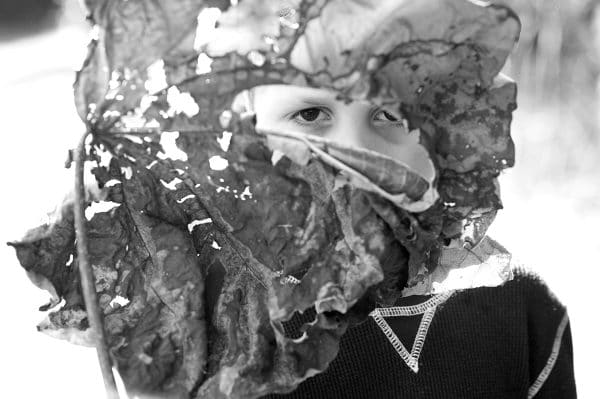
So, you got “the shot”…are there other images that you got in the process that don’t meet your vision, but inspire you in some other way? An out of focus shot (I’m talking out of focus, bokeh-like shot) that captures the feeling of the shoot, or adds to the other images in some way?
Could it be movement or a point of view that you didn’t expect that on second look speaks to you more than your vision? Sometimes just the act of acquiring the image you are looking for allows for more creativity to flow or allows your subjects to relax and let go a little.
Don’t discount those moments. Look for them.
I hope these few steps if nothing else, inspire you to go through and look at some of your old sessions anew. And keep you eyes peeled for a few gems.
Ask yourself what is the same, and what has changed? Has your editing changed? Um, mine has, thank goodness!
Has your vision changed? Is there anything new you can learn from your old self?
What would you tell the photographer in you years ago? I would tell myself to stop being so hard on myself and let go a little and have more fun. To enjoy the moments in between.
Read more about streamlining your editing:
– Photography Editing Workflow
– 3 Ways to Speed Up Your Editing Workflow
– Lightroom Workflow Tutorial Video







[…] How To Cull Photos Easily Click It Up A Notch […]