Nothing beats a good black and white photograph. I love the simplicity of them, and am constantly drawn towards monochromes when processing. There are several ways to convert an image to black and white in Lightroom. Once you have an image in monochrome though, how take you create the “wow factor”?
Lighting Editing: Contrast and Luminance
The keys to stunning black and white images is your use of light, and the tonal range within the frame. The way you utilize light is determined as you shoot, while the tonal range can be adjusted in post processing to draw attention to where you want it. Yes, factors within the frame do affect tones (such as clothing and background colours), but post processing ultimately puts the final touches that make black and white images more effective than colour. P.S. Can you tell I’m canadian? I like to say colour, not color, eh?
A general guideline to great black and white images is:
* Good use of light when you capture your image
* In processing: global contrast, local contrast, luminance
The following concepts are described for lightroom, but can be applied with any processing software. Please note these are also based on the assumption that your exposure and white balance were either correct sooc, or have already been corrected. If you are following along and haven’t done that, go and do it now!
Contrast
What exactly is contrast? It’s the relative difference between the dark and light areas of your image. In other words, and image with good contrast has both dark shadows and bright highlights.
Some images may be considered high or low key, and may have have all tones represented, but you can still ask – Are the dark areas as dark as they are supposed to be? Do you want to make them darker to enhance the mood of your image? Do you want to make them a little lighter to soften the mood of your image? Essentially, for a “clean” black and white edit, you want your shadows to be true shadows, and your highlights to be bright. Dull highlights can make your picture look washed out, while a lack of shadows can lead to that dreaded word… muddy.
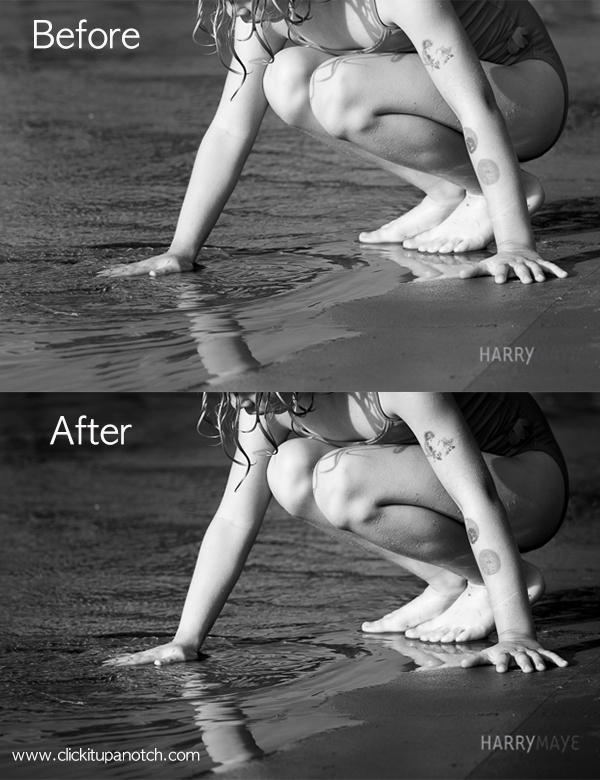
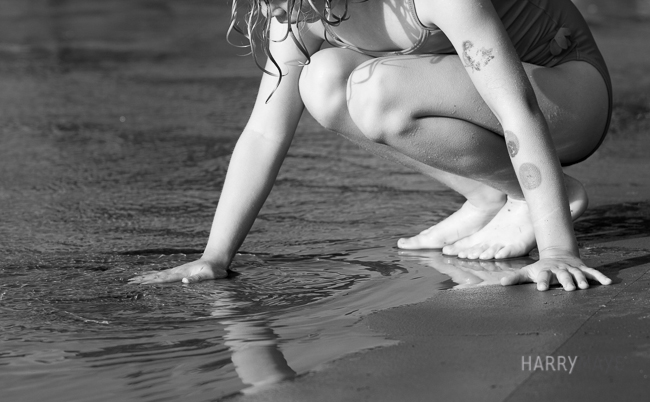
So how can you go about taking this:
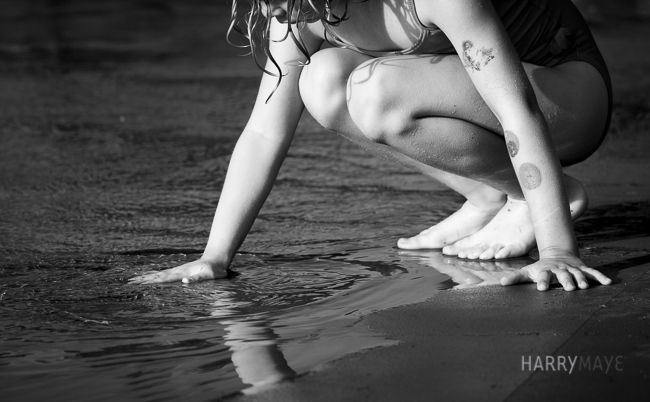
to this?
First, adjust the overall image.
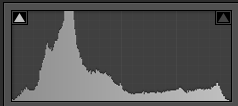
Set your black and white points, using the sliders. Slide the “blacks” to the left slightly to pull your histogram towards the left. Then pull the white slider to the right.
If you have correct exposure, then by slightly darkening the blacks and brightening the white can make it pop nicely!
Notice how this stretches my histogram out more?
Tip: To check for clipping, hold down the alt key while making your adjustments.
Next you’re going to make slightly more aggressive changes to the overall contrast. You can do this with the contrast slider. This makes the changes across the full tonal range. I prefer setting the black and white points independently, so I don’t personally use this option often, but be aware that it is an option.
Instead, use the tone curve. I prefer this method because I can select where I want contrast.
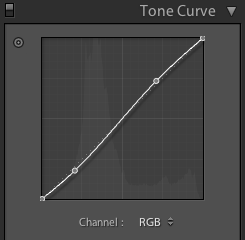
The steeper the slope, the more contrast at that range.
A simple “s” curve will create more contrast through the midtones, leaving the black and white points untouched.
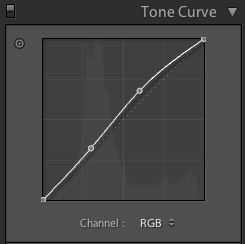
Creating a “bump” increases the brighter areas of the midtones, but notice how the lighter midtones are slightly flatter? This means there is more contrast right in the mid-range (steeper slope) and slightly less contrast at the upper end. Why does this matter? This is usually the range that skin falls into, and a slight decrease in contrast here can minimize wrinkles (hint – great for selfies!)
You’ll need to stick with the combined RGB channel for this section. Using individual channels will create a colour tint.
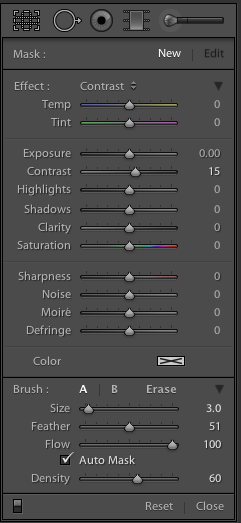
As another option, you can use the adjustment brush and increase contrast slightly there. This will create contrast on full tonal range, but only where you brush it on, and you can be subtle l with the opacity here too.
You can even play around with vignettes. While this isn’t “true” contrast, darkening the edges of the frame slightly will draw viewers in and creates a subtle change in tones to direct the eye. However, don’t be heavy-handed with this one! A vignette done well should look like no vignette was done!
Luminance
Luminance comes from the latin word for light, and is “the quantitative measure of brightness of a light source or an illuminated surface.” Basically, it’s a fancy word for brightness.
Increasing the exposure will increase the overall brightness. Adjusting the tone curve will only affect certain tonal ranges, but the effect will apply to all RGB channels at that point.
But, the B & W colour sliders in the HSL panel can increase the luminance for just one specific colour. It’s a great way to make skin look gorgeous, to create lush lips, and also to minimize distractions such as clothing.
Want to brighten skin up a little?
Or, use the dropper to select a specific area, which might increase a few colours (i.e. skin might be both the red and orange slider).
Not all skin is the same! So keep in mind there are no set rules for where to move the sliders to!
Is your child wearing an obnoxiously patterned shirt? Because mine do that all.the.time. You can darken some areas and brighten others to minimize this. Or, play it up if that’s part of their personality.
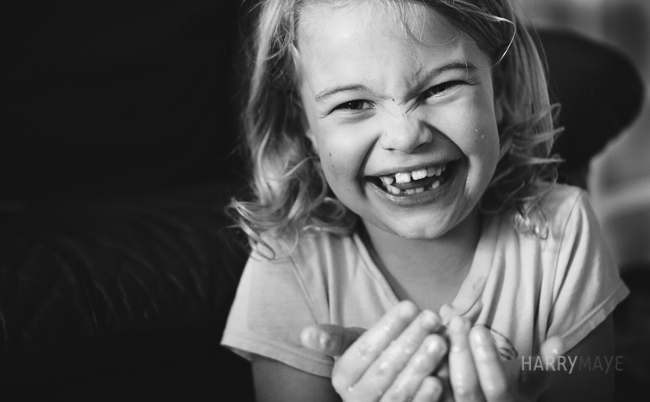
I used the droppers here to tone down the patterns in her clothes. I try to make sure that it’s still there a little, because I think that they way kids dress themselves adds to the story, but that’s a personal choice and you may prefer to minimize it even more.
So to recap, a good strategy is to get a full tonal range with the black and white points, adjust global contrast, then selectively adjust local contrast using either the tone curve or adjustment brush. Tweak your colour sliders to increase luminance as desired and voila! Your images have a little extra sparkle now.




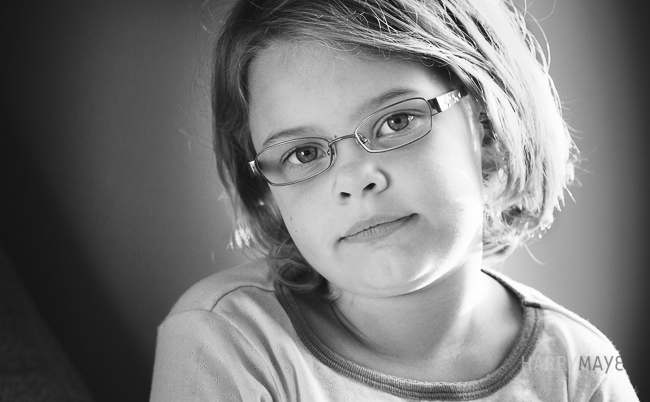
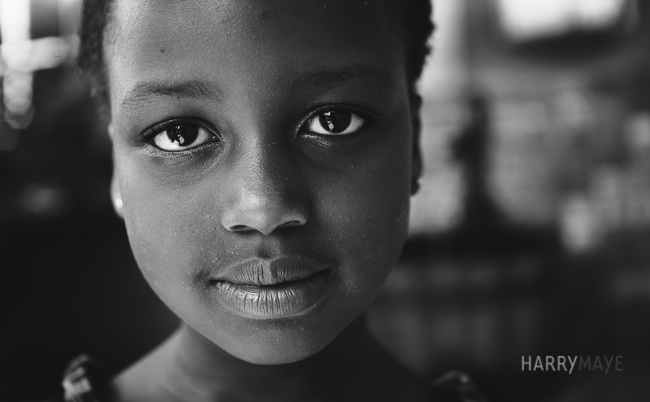
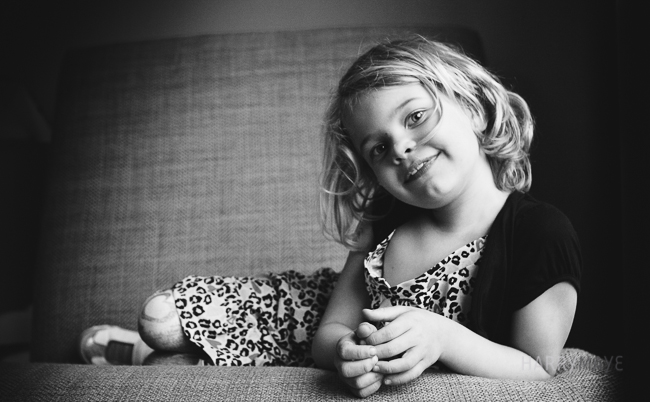



Great post, Danika! I learned a few tricks to add to my b&w processing… thank you! Is that last shot Long Beach? I’m from Victoria :-)
Ebony, it’s actually White Rock beach :) The land across the water is Bellingham, USA.
That was my next guess! haha
Great info. Thanks for sharing. I am going to play with this today :)
Well done! I have read a number of tutorials on this subject and yours is my fav :). Thank you for sharing! Can’t wait to try out these tips…
Really helpful, thank you.
OMG danika, thank you so very much for this post and the wonderfully, easy-to-understand way you have of explaining it. I am currently in the process of mastering black and white and this is just what i needed to read! thank you!
so this is how you get that look. i love it… now, all i need is lightroom :)
thank you very much. it is so simple and gives such a great result. i just edited a portrait using this tutorial and it is amazing how much difference it makes.
This is so helpful! What version of LR are you using? I don’t see where the first adjustment is to be made – is that also under tone curve? (Under tone curve, my version says highlights, lights, darks, shadows not blacks and whites- is this where you mean?). There is also nothing about channel: rgb – mine says point curve: linear, medium and strong contrast. I’m wondering if I am using a different version or if I’m missing a step somewhere. i adjusted the lights and darks under tone curve and saw a big difference, but then making further adjustments to the curve changes that… any suggestions or insights?
Ooh, can’t wait to play. I learned a few new things here that I’m anxious to try in LR.
AWESOME tips…thanks for sharing can’t wait to give them a go!!
Great information helping me to do it better once again…thanks for sharing!
Thank you for writing out this fabulous tutorial. It’s the best LR tutorial I’ve ever seen. Can’t wait to go home and play!
sorta new to lightroom here…I was just fiddling with some pictures and I don’t see how to use the brush tool with luminance to brighten cheeks like you say…I tried but didn’t seem to do anything. Not sure if I did it correctly…and when I try the dropper it’s just adjusting my white balance. thanks.
Thank you very much for the information, very good
Very good information, but I’m distracted by that ad for “5 actionable tips…”
That’s a common misuse of the word “actionable.” What it really means is “providing grounds for a lawsuit.” I’m pretty sure that’s not what you have in mind.