
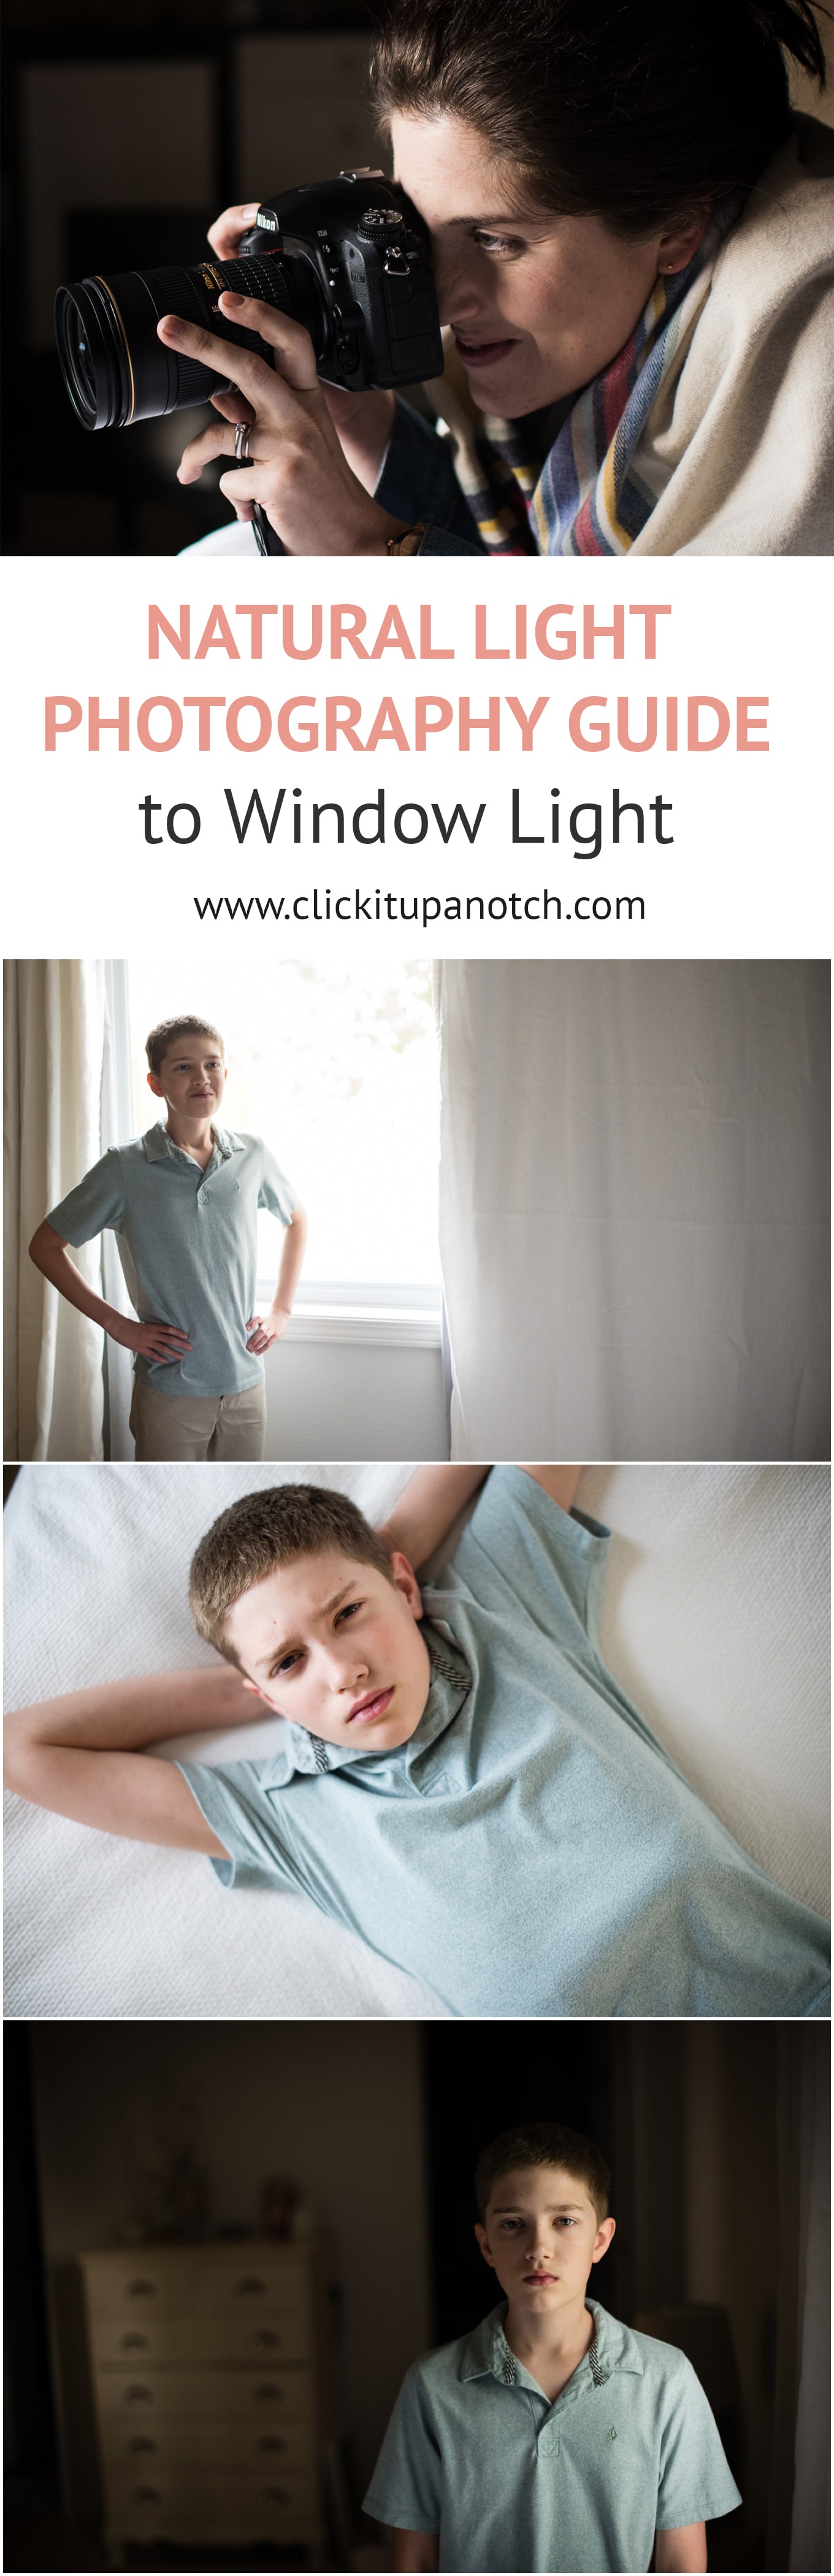
Natural light photography goes beyond shooting outdoors. Explore how to use and manipulate indoor photography light with one window to create a variety of images when shooting indoors.
A single room can hold a huge amount of potential for variety within photography. My family recently moved into a new house and so I have been watching the light in our rooms. As a natural light photographer, I like to know what the light looks like at various times of day. One of the first mornings, I woke up to dappled sunlight dancing on the wall beside my bed and made a mental note of the opportunity to work with contrasty light first thing in the morning when the sun hits that East facing window. The set of images accompanying this piece were shot in under 10 minutes, with 2 windows and blackout shades.
 Ream more: 5 Facts About Natural Light
Thinking through a few simple concepts can help you make the most of any space within your home, or a client’s home.
Indoor Photography Light Tips:
Move your subject around
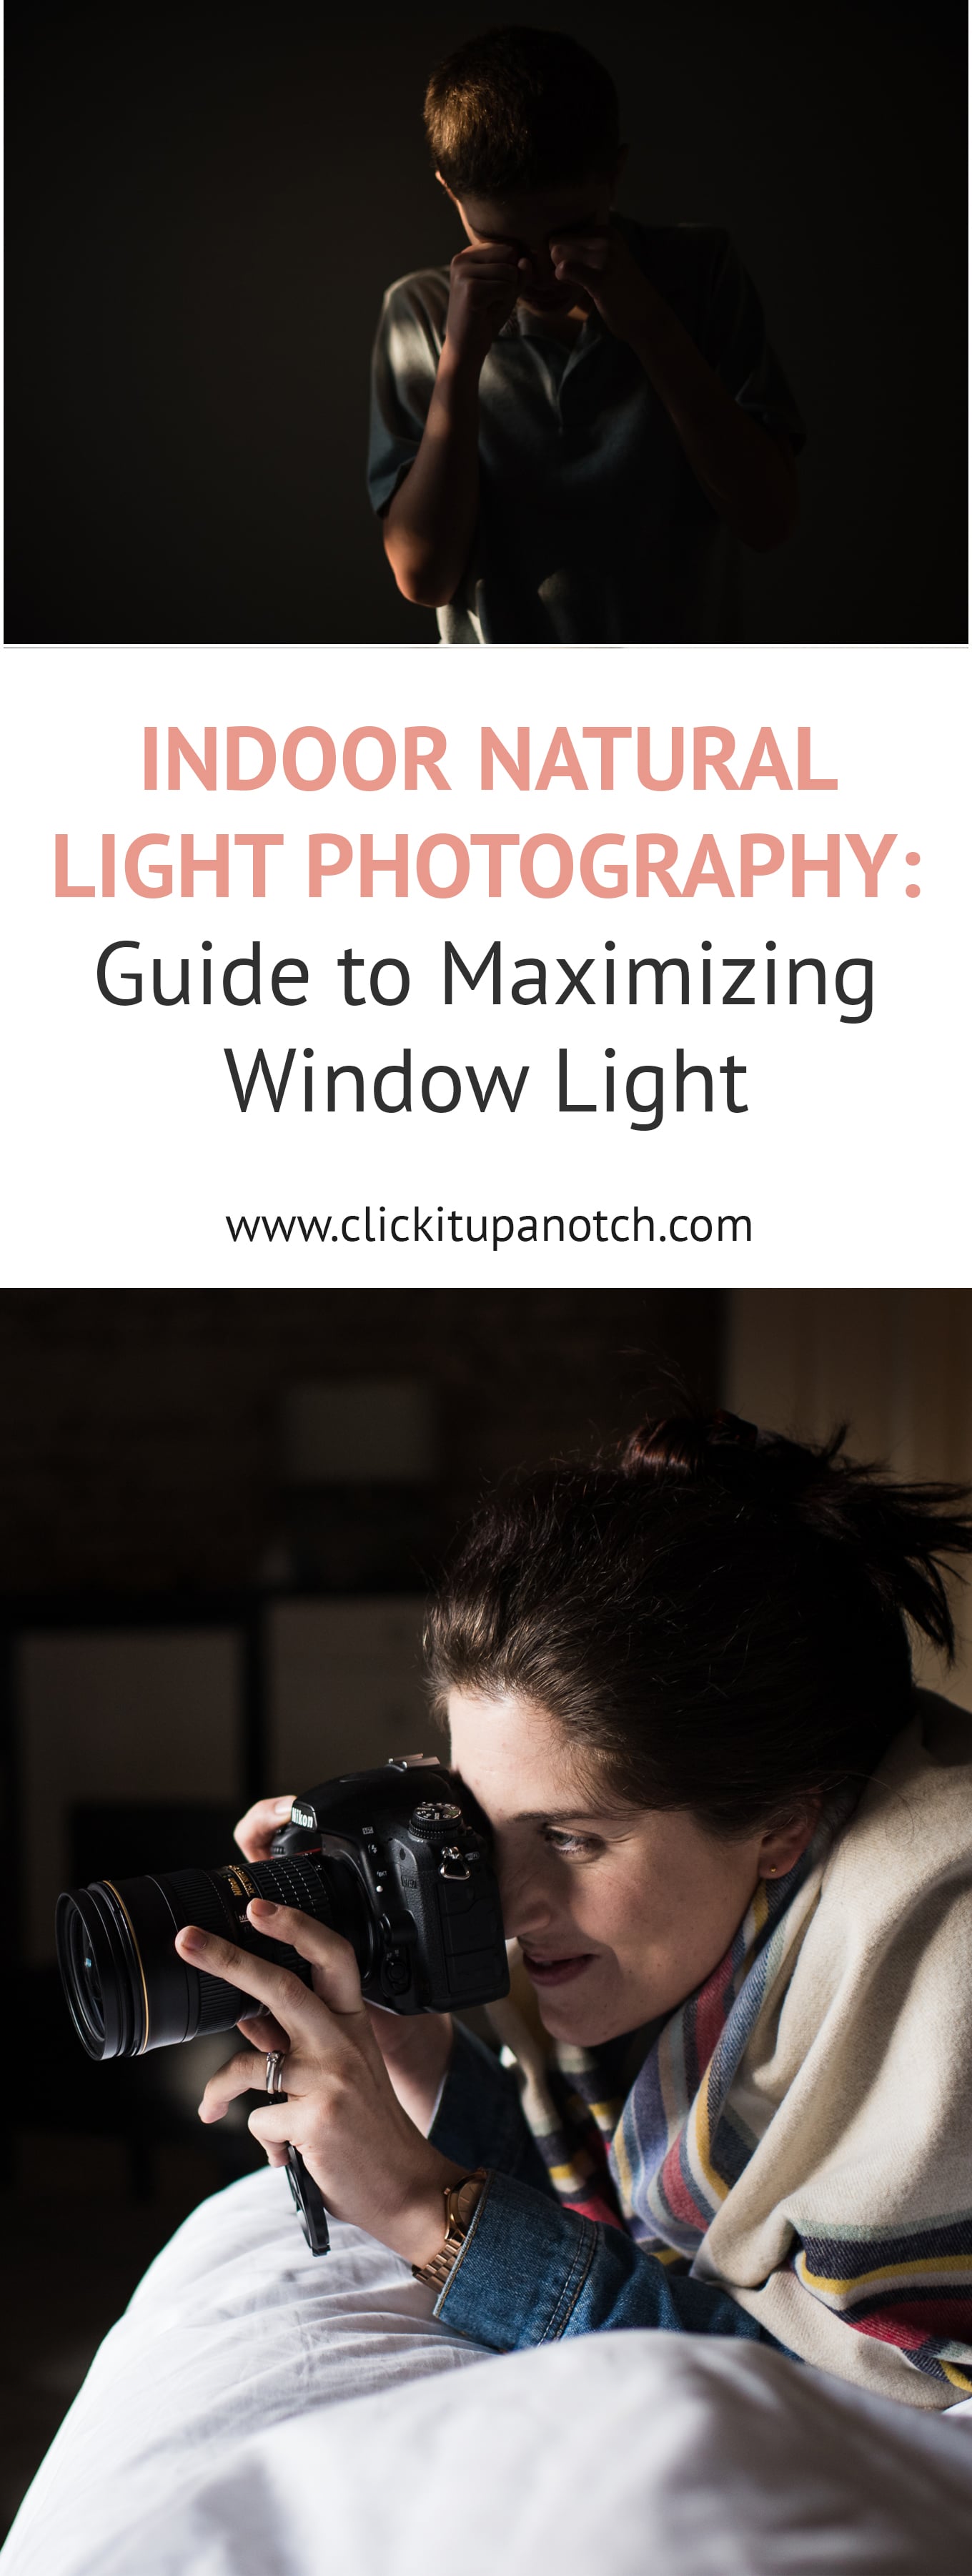
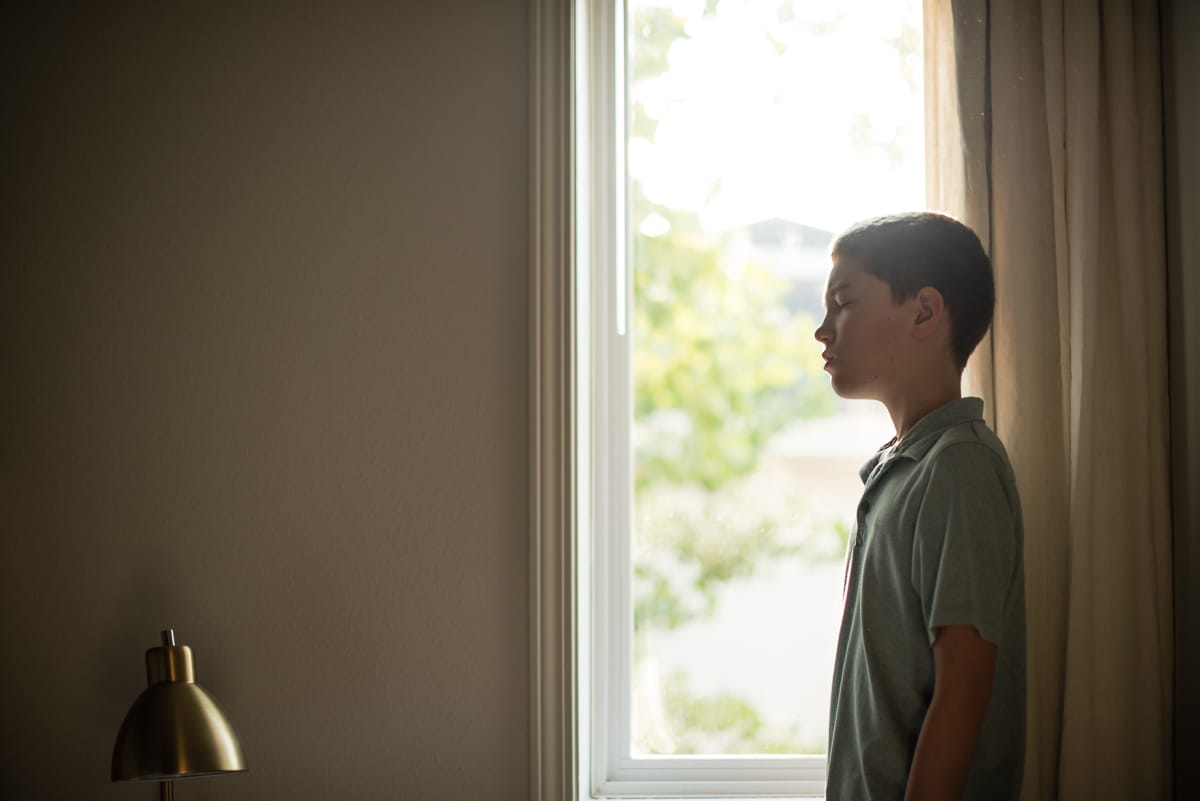
The first concept makes a huge difference in the variety you will be able to achieve with regard to light use. It can be easy to fall into the trap of thinking that your camera settings will make all the difference with regards to light use, and they are important (as a reaction to the play between subject position and light source). But moving your subject is actually the key to creating variety. When photographing inside, you will almost always be able to find a deeper contrast between light and dark by moving your subject closer to the light source.
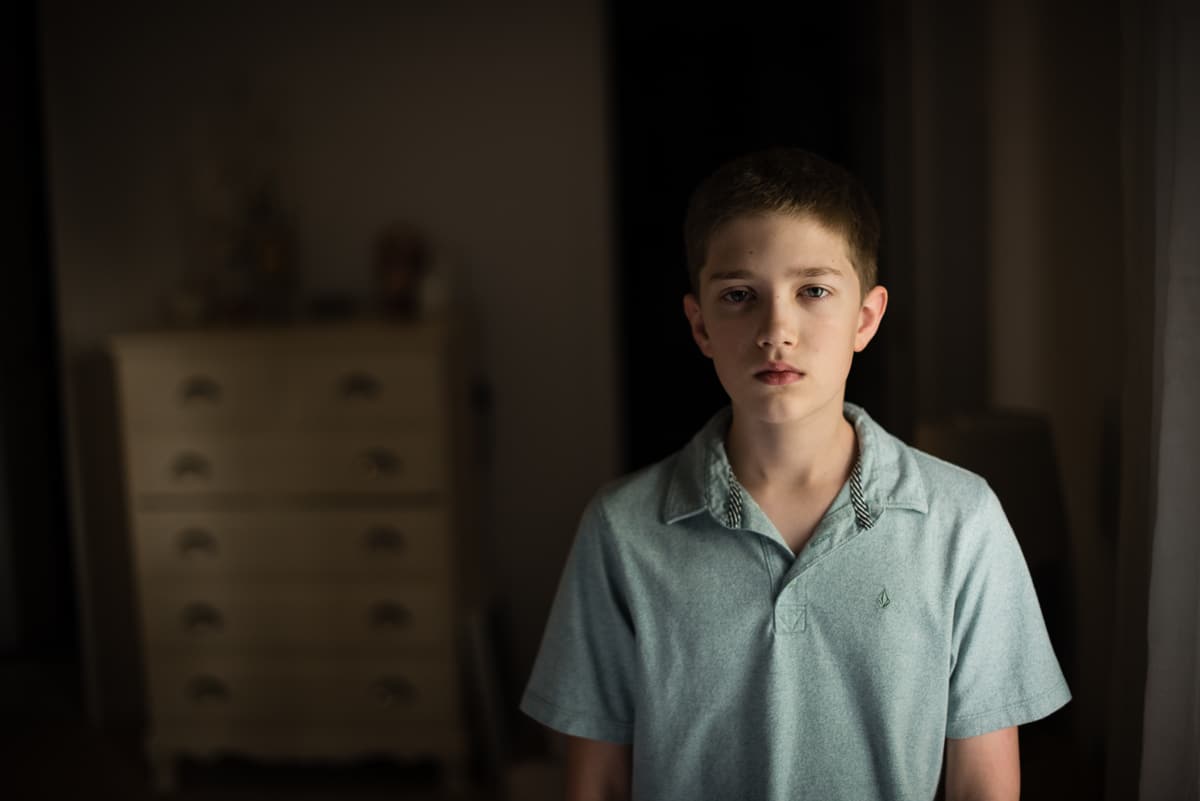
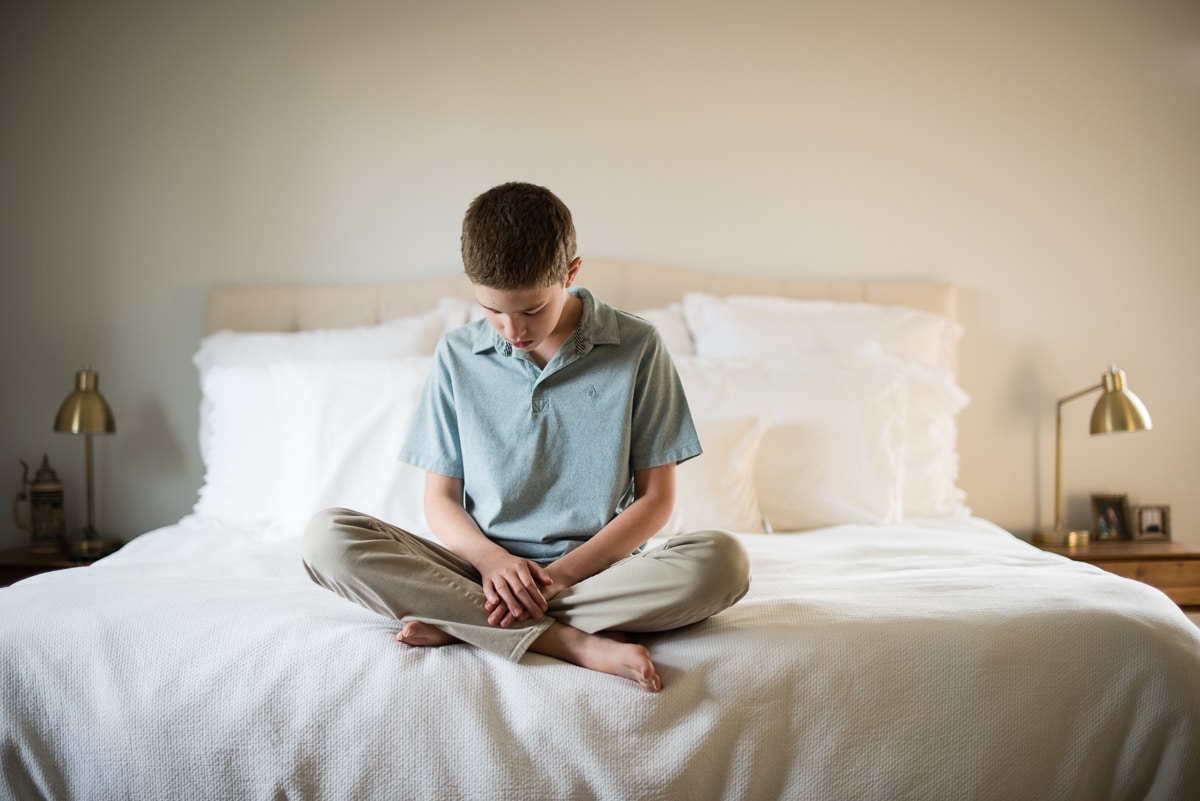
The further you move them away from the light, the dimmer and more even the light will be. Use this to your advantage by deciding if you’d like dramatic or flat light. Light use should support the story or mood of the image you are creating.
This is a fun skill to practice for both young and old. Children can learn photography too: Photography for Kids
Read more: How Dramatic Natural Light Can Inspire Your Photography
Move yourself
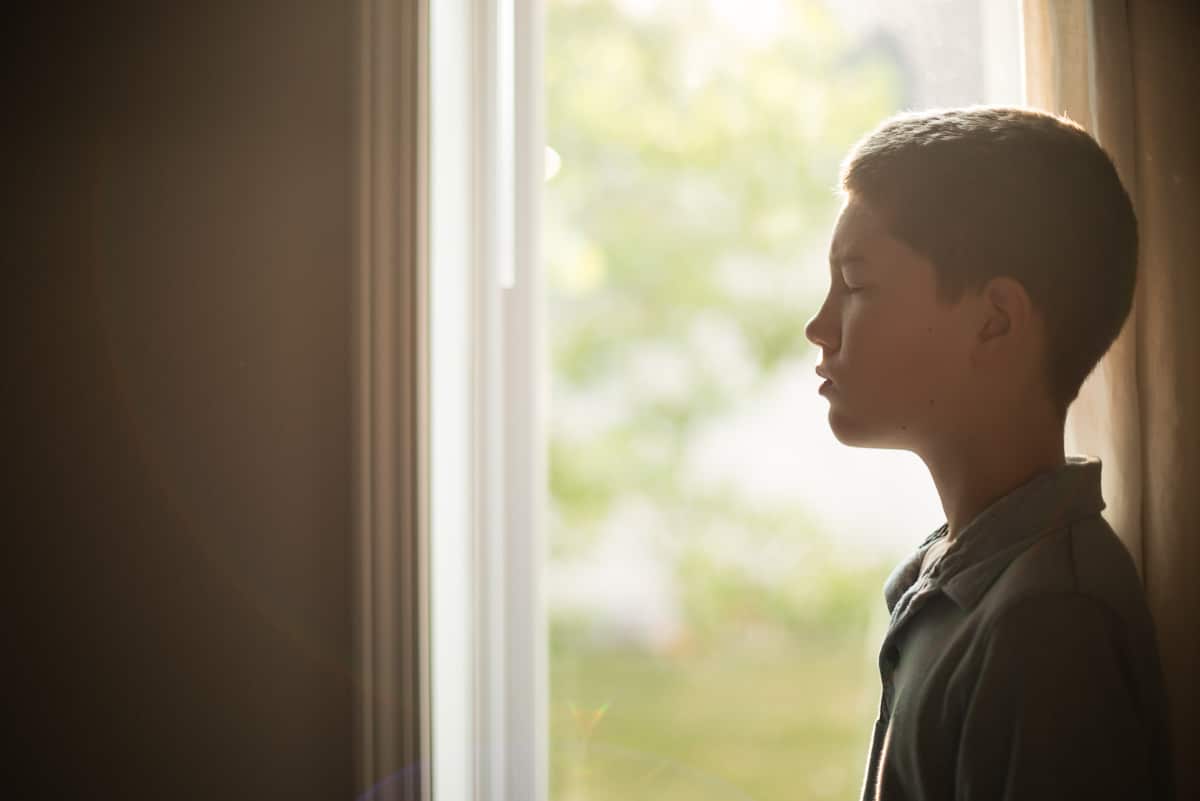
Your position relative to the light and subject also makes a big difference with regards to light use. Placing the subject between the light and yourself allows for the soft glow of backlight. Then, moving yourself/the camera up and down can greatly effect the haze/glow of the light recorded by the camera.
If the sun is directly visible to the camera, you can create a lot of haze and sometimes flare. To avoid significant haze and/or flare, remove the direct sunlight from the camera. You can do this by shifting your position, or using a lens hood (or your hand) to block the direct sunlight.
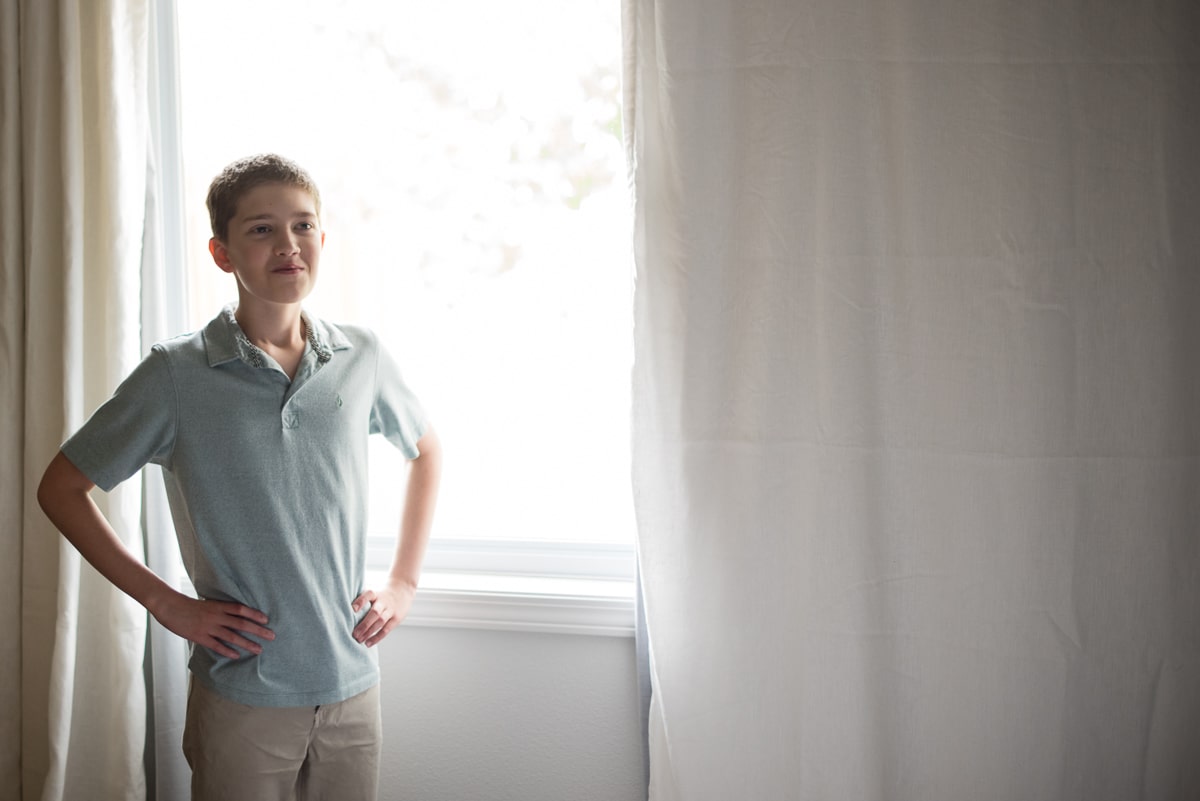
Once you’ve tried shooting your subject from an initial vantage point, make it a point to always shoot the same set up from a different vantage point. Moving your position, while the subject stays in the same place, often allows for a new creative take on the scene. We tend to initially shoot from the expected vantage point. Forcing yourself to choose a different way to see the subject can create something unexpected and memorable.
Read more: How to use your f-stop to create amazing photos
Modify the light
This is the secret to making any light source your own. We don’t always have to use the light exactly as we find it. Modification is readily achievable.
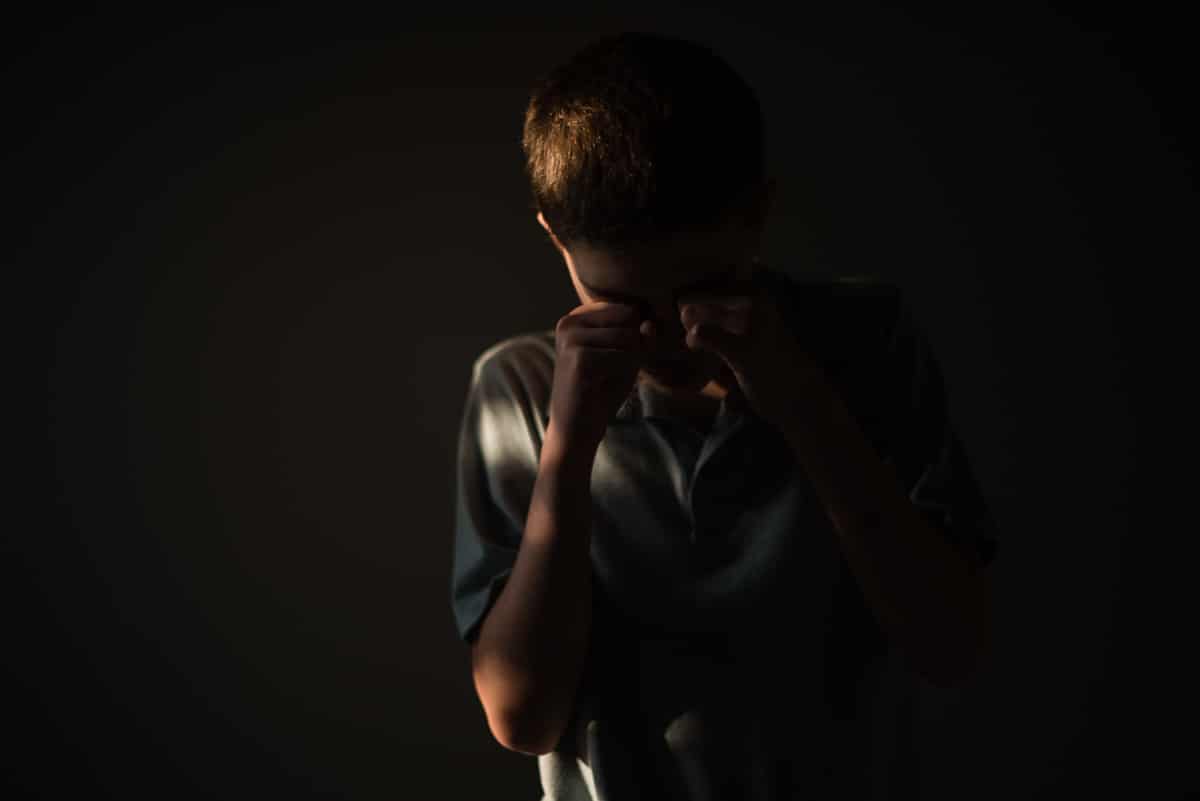
One type of modifier that is often already available within a home is blackout shades. Blackout shades completely block the light and allow you to very precisely shape and place light within a scene. Sheers are another commonly available modifier. Pulling sheers across a window can softly filter light, softening the mood and lessening the intensity of contrast between shadow and highlight.

Read more: 6 Lighting Patterns Using Only Natural Light
Through the use of thoughtful subject movement, self/camera movement and modification of the light you can easily create a set of images with variety in a short amount of time.
Learn more about natural light photography:
–What you need to know about photographing with indoor natural light
– 7 Natural Light Photography Mistakes You May be Making
– Ways to Use Window Light
–5 Reasons to Embrace Low Light Photography


Hi, thanks for sharing. I wanted to let you know that all the links under the photos, the ones that say “read more“, link to the the top of this same article. This is very useful info.
Thank You for these tips.
Such great tips! I love that you included examples of each type of light! So good!!