Recently, my family and I moved across town into a new home. As a photographer, one of the most exciting things about moving is new locations to shoot in! Today, I would like to let you know how I go about scanning new spaces for photographic opportunities. I always like to walk around a location prior to taking images of my family there. It saves time for me and as the session moves along I can anticipate images that occur spontaneously more easily. I like more of a lifestyle approach when taking pictures of the kids, so knowing my location helps a ton.
It takes more than a good eye to find a good location. Combining what you learn from tutorials or classes and then taking it to the next step can push your photography forward. So, the rules of photography are always spinning in my head while studying my environment.
-
No.01Light!
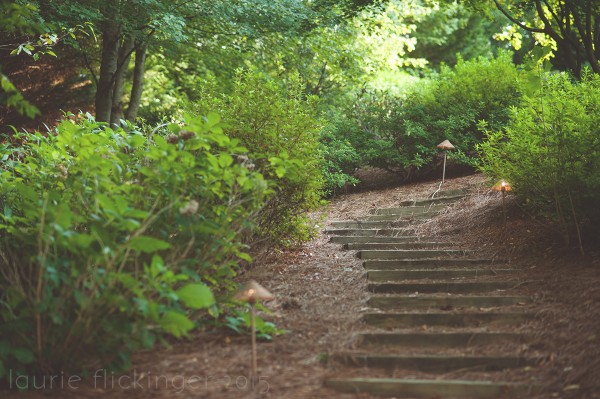
Always look for beautiful light first! Think of the type of lighting you like to shoot in and look for areas that will complete your vision. For backlighting, are there structures that will block enough light to achieve the amount of haze in the image? Is the background of your subject placed to where the sun will be pleasing? I like to find little pockets of light to light up my subject. Had this been a real session and not a walk through of my location, I would have come out a bit earlier and used a bit more light in the images. The lightened area surrounded by shadow would be where I would place my subject. Also notice the use of lines in the image to lead to the “subject”.
-
No.02Lines
Not only does a beautiful space enhance your images, looking for additional structures (either manmade or nature made) can add interest to your images. I look for lines….whether it be leading lines or curves that can break the frame up and add interest or frame my subject. Walk your space frontward and backward looking for opportunities.
-
No.03Repetition
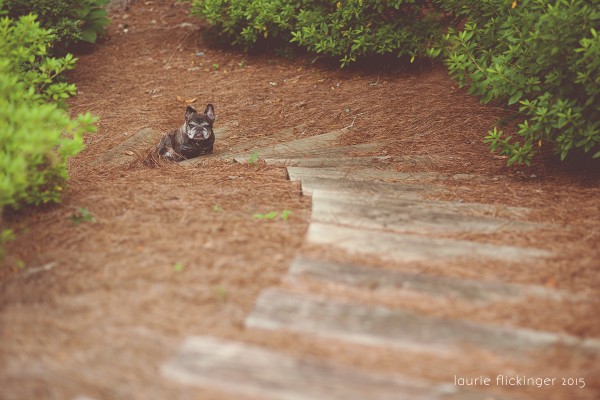
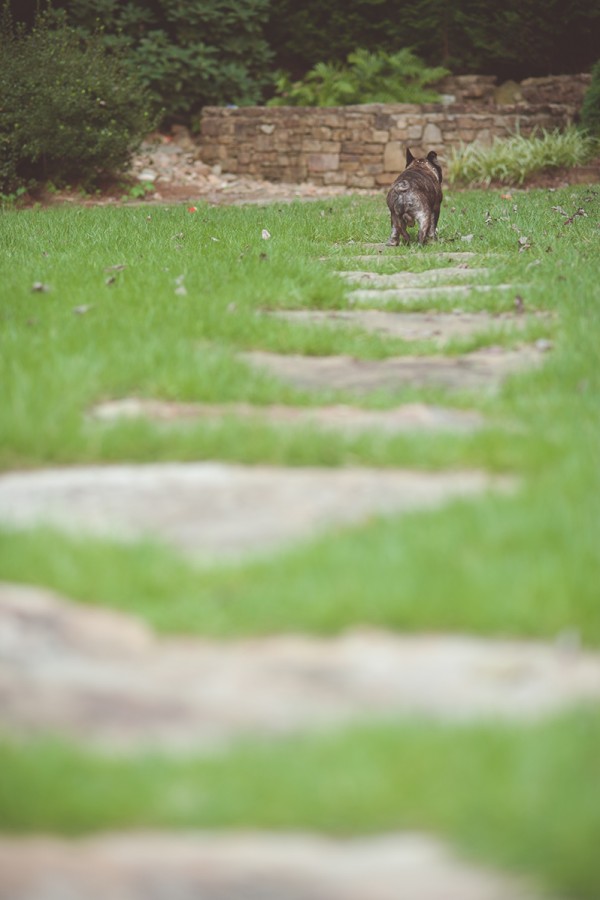
Anything in nature that repeats itself is pleasing to the eye. Same goes for photography. Repetition works as well as leading lines to draw your subject into the frame. Here, the stones repeat forming a path. Steps downhill repeat and form pleasing lines and curves. Placing the subject in the correct area of the image will add more impact and result in a stronger overall image. I can’t wait to get a spontaneous picture of the kids running through here :)
-
No.04Background
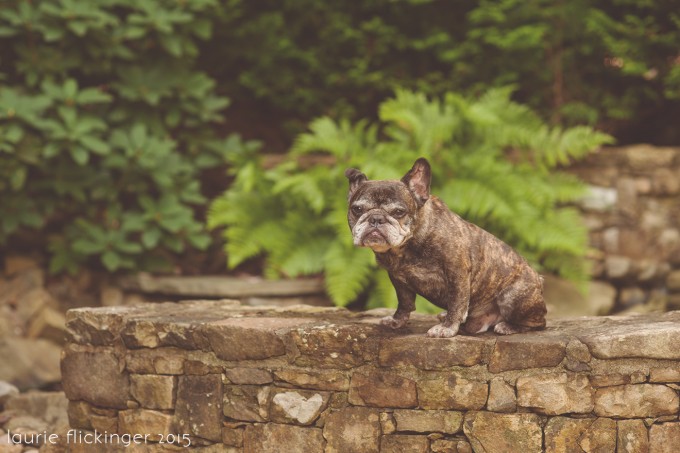
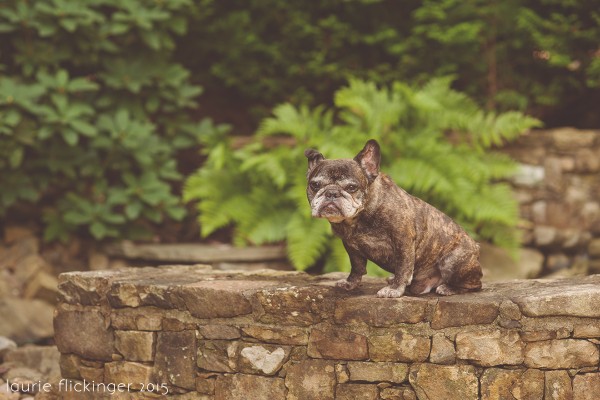
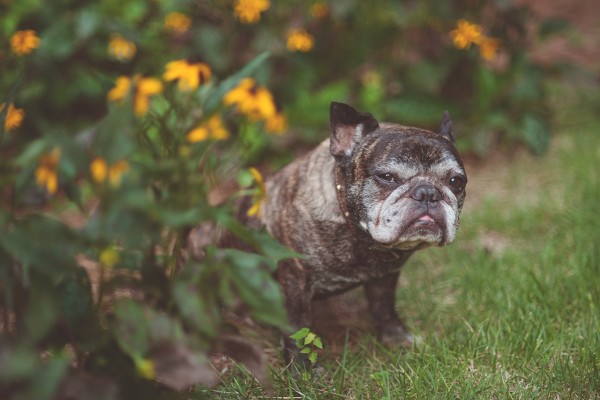
For portraits, I enjoy shooting into a darker background than my subject. This makes my subject pop, so I look for areas that will help me achieve that vision. It will also make for a stunning black and white image. In this image, because my subject is dark, I chose too look for a brighter background to frame his body.
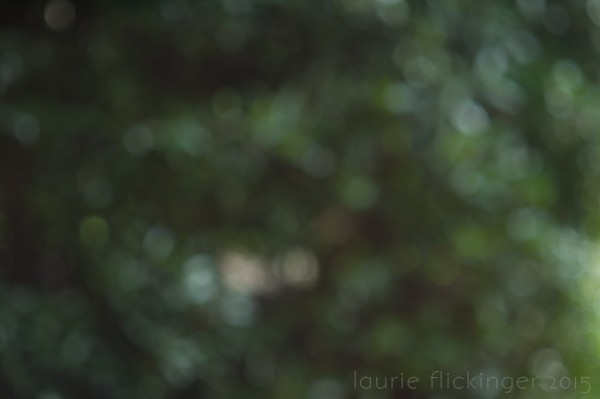
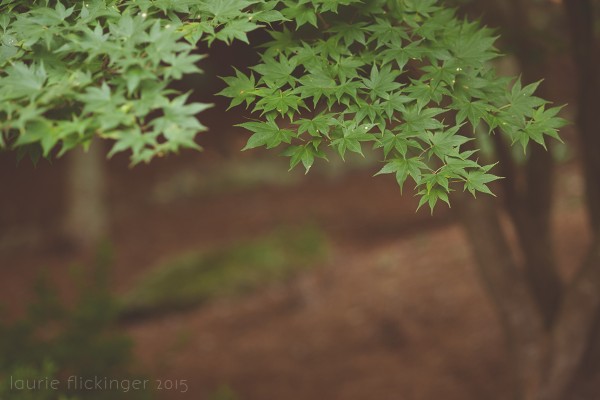
Bokeh is beautiful to me, so I looked for an area where I would find a bit bokeh in the background. This tree, that isn’t exactly beautiful up close, has a pretty bokeh pattern that I like. A light subject would look great with this background.
-
No.05Color
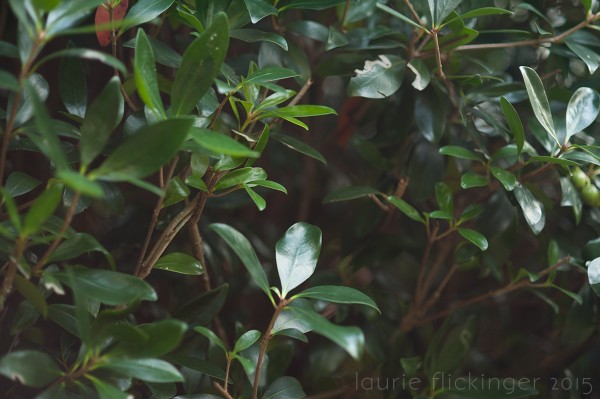
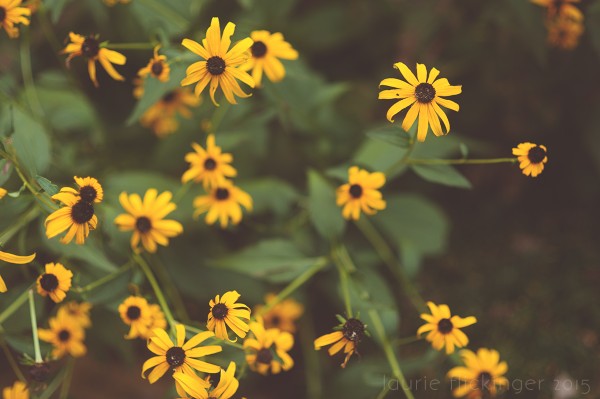
Look for color! Dark colors or light colors. Colors that will make for beautiful bokeh. Colors that compliment your subject. Or think of colors as a way to convey a feeling. Think of all of the ways color impact us and use that knowledge when scouting a location. Knowing ahead of time what color your subject will be wearing is a good idea. Look for colors in the environment that will enhance your images. Green in this area would probably be a bad idea. But skin tones agains a green background are great!
-
No.06Framing
I love finding areas that will frame my subject. It is a quick and easy way to add another of layer to your image. Think of a way to cut your frame in half or surround your subject external environmental factors.
We have and abundance of trees here in the South which are always great for framing. I would place the subject in the negative space of this image and perhaps get a bit closer to said subject.



Great article!!!!!! Thanks
Always nice to know :)
Kisses from Portugal
Love these articles and look forward to more.
Love reading these. Thank you!!
Thanks for this article. I am an amateur want-to-be photographer. Articles such as this give me ideas of what to do to improve my pictures.
Thank you for the tips on better shooting! I have been taking photos for 30+ years but am an amateur – very much so! The help you give us is greatly appreciated! Hello from Missouri!
Thanks for the article. It has opened my photography eyes.
came at the perfect time as I’m scouting for new locations for upcoming fall season! Thank you!
Framing…the one that I often forget while taking pictures. Thanks Laurie for your article.
Thank you, Courtney, for simplifying important elements to help us find and take better shots and better understand the what and how’s and whys of photography….I also love your examples of what we are learning and reading… it’s so much more helpful to be shown what that equates to in a picture… THANK YOU SO SO MUCH for breaking it all down so wonderfully for us…. Pamela
I agree with Pamela, the pictures really help bring things into perspective when reading about the techniques. Some of these were familiar, but I’m always so happy being reminded about them, for I get so consumed and frustrated with trying to figure out the camera settings that composition doesn’t even enter my mind.
I like when the author describes in laymen terms (or explains the jargon) what they are thinking when looking for a shot. It’s great when they take a couple picks at different angles or different camera settings or field depths, etc. and describe what they were thinking and how these different things affect the same shot.
Thanks for the article…..Loy
Great info!! Thank you! And your pup is so cute.