When I first started to learn about photography I didn’t understand why some people had an amazing black and white photo and mine looked…well…blah! I often used to turn a crappy picture into a black and white thinking that would “save” my photo. Little did I know! I would even ask some photographer friends which “action/preset” they used. I thought if I could just get my hands on that action/preset than my pictures will look like that as well. Nope!
Would you like to know the secret to a great black and white photo? Come a little closer…closer…okay, here it is…a well exposed photo. That is right! Don’t try and save a bad, underexposed, poor white balance picture by converting it to a black and white. You will end up with a muddy and flat photo.
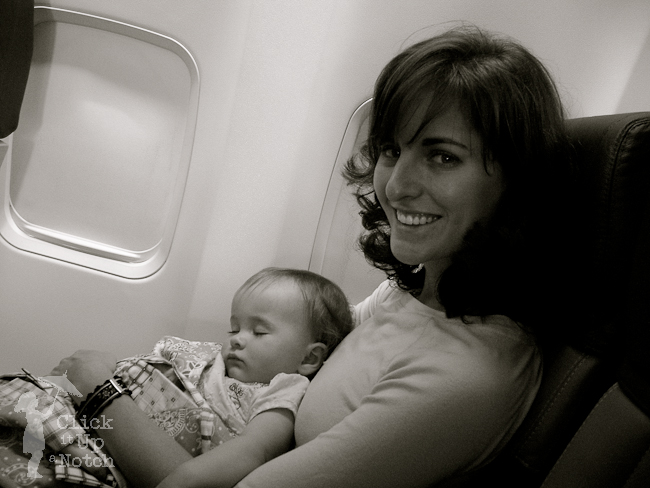
Check out these TERRIBLE conversions!!!
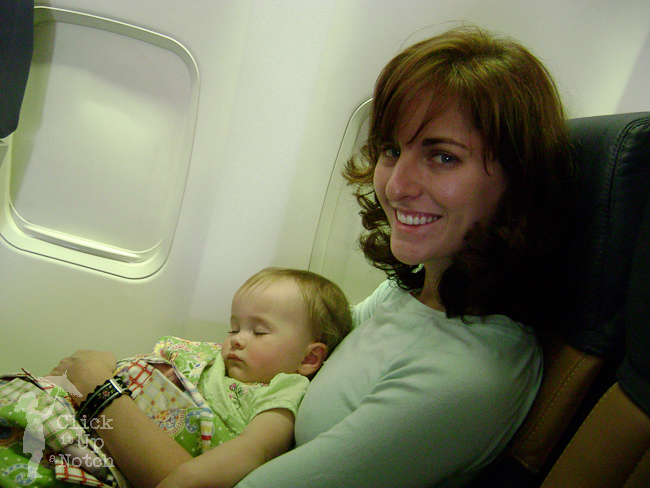
This first one is completely underexposed with terrible airplane lighting.
I took this photo WAY before I had a DSLR or knew how to use it. I used to think this was the most beautiful black and white and needed to be on canvas somewhere in my house :O) he he Notice how her face is underexposed and she has blown out spots on her head.
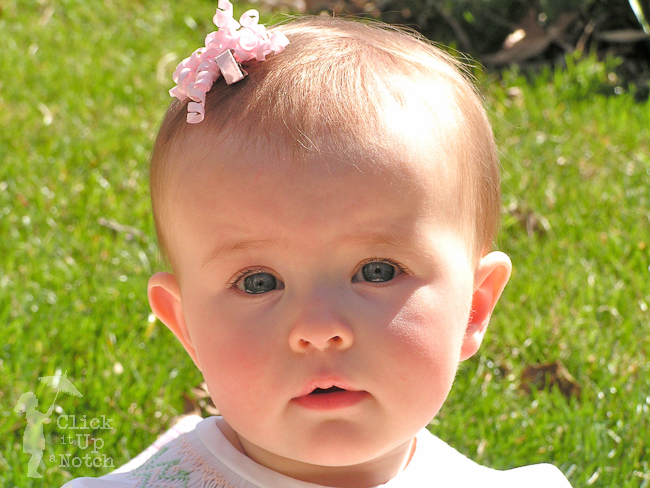
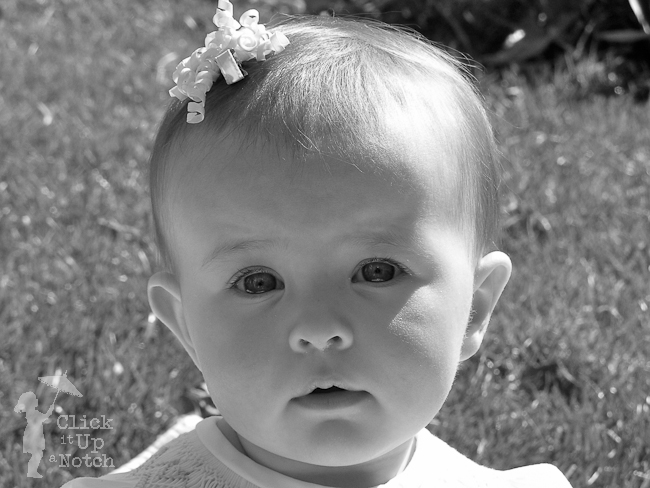
Now, that was painful! Here is a much stronger black and white conversion. Notice how it’s not muddy or flat! Notice the difference in the original photo! This one is properly exposed.
Remember it doesn’t matter what action/preset you use, if your photo isn’t properly exposed it won’t look great! Check back soon to see how I convert a photo to black and white and created my own preset for Lightroom.


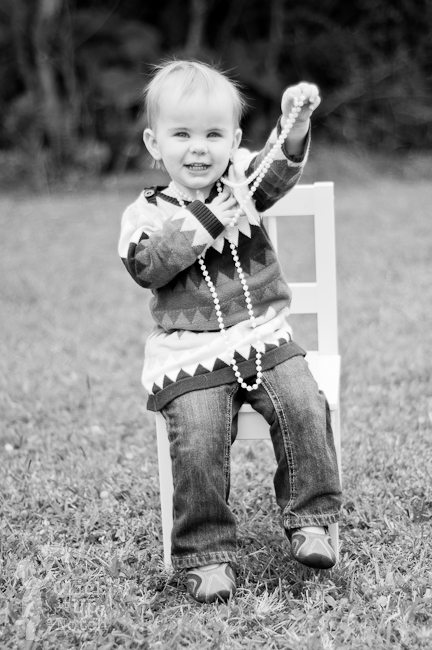


it is painful for me sometimes to look back two years ago at photos i thought were good. love the last shot and the 1st one is a wonderful memory.
hugs and blessings – jill
Thanks for the lesson. The difference is very dramatic!
I’m so excited for your next post! I’ve been struggling with conversions.
I could not agree more! Exposure is critical for all editing!! Love that loast picture in color and BW!
Awesome tips and so true! Thanks. :)
You just TOTALLY called me out ;-)
In other news, I tried out shooting in RAW and JPEG today and compared them…I might be a convert! Honestly I didn’t think that my pictures were good enough (or my free Picasa editing software was good enough) to benefit much from RAW, but now I know what everyone’s been raving about.
Thanks for the good thoughts….More info for the learning curve.
Although it is sometimes painful to look backwards-I think we all have to be kind to ourselves. Isn’t it nice that practices improves us? I have plenty of room to grow, but can see the growth too…and it helps to look backwards to see the beauty of now.
I do that all the time!! Thanks for sharing this info. I am working hard on shooting in manual these days and have been trying to salvage some photos that I like but aren’t great quality by converting them. Btw, I love your blog. It always has such useful information that is easily understood! Thanks :)
This is a great post. I will fully admit I am one to turn a photo black and white to “save it.” Then get upset because it still doesn’t look beautiful. I notice the only time I want to go black and white is to save it and all my properly exposed images I keep color. lol I really need to get over that becasue I’m learning B&W is not that scary! :)
Yep! Can SO relate!
Only the ones I convert are ones that were cloudy and cases in which the sky is already blown out or devoid of detail like pretty clouds or something. I’m only successful @ 50% of the time with the conversion lol.
Great article!
Love your blog!
Continued Success and Warmest Regards,
T~
Thanks! It is amazing the difference of a properly exposed photo turned black and white vs. trying to save it :O)
You didn’t mention how you convert them. Although in PS 4 and later the black and white mode is better, it’s best to use the color channels. You can alter your new black and white based on what the original color was, make grey areas darker or lighter, etc. Between that and the highlight/shadow adjuster and contrast you can even save some of your badly exposed photos.