Black and white photography has always drawn me in since I first picked up a camera when I was six. Black and white images can help remove the distractions provided by color, to really focus on your subject. This helps to concentrate more on the emotion in the image.
Read more: Black and White Photography Tips
Over the last couple years, I have really worked at studying the light everywhere. My inspiration most often comes from finding dramatic light in unexpected places.
Here are my 5 tips to creating stronger black and white imagery.
-
No.01Shoot in Raw
I always shoot in Raw and convert to black and white in post processing. This way you have the option of choosing color or black and white later.
This is especially helpful when shooting at sunset. The colors at sunset can be amazing, but if you look at it in black and white, you can see something unexpected. Raw gives you this option.
-
No.02Contrast
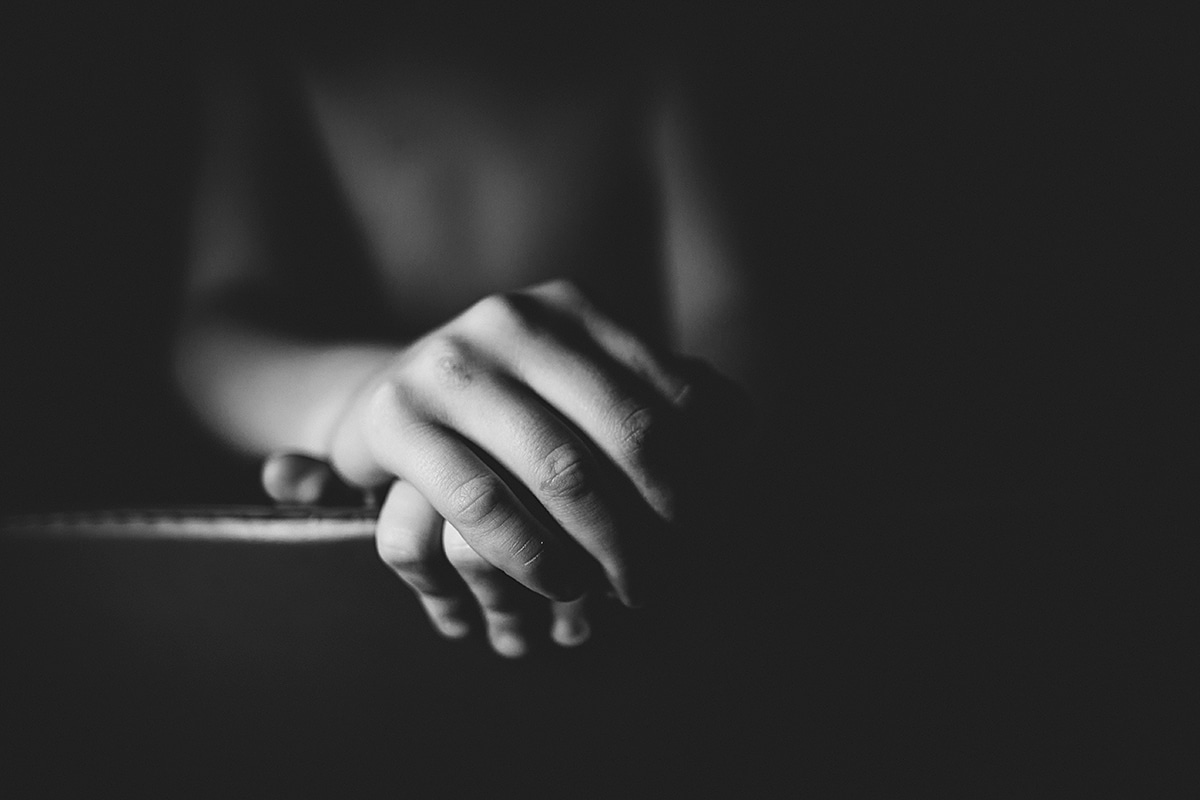
Always start by looking for scenes that offer a wide range of tonal contrast. All colors are converted to shades of grey and the differences between these shades is tonal contrast.
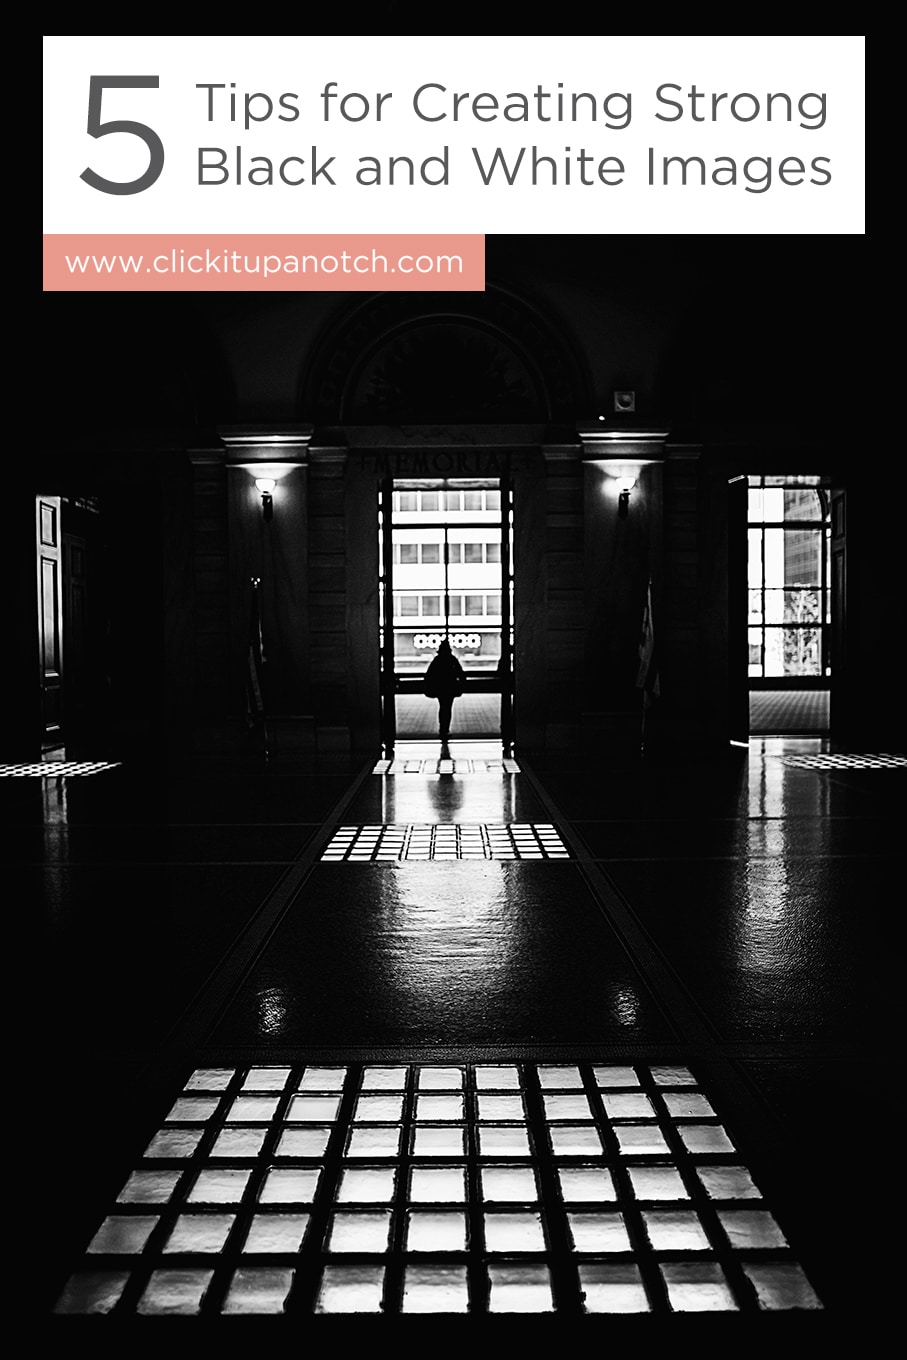
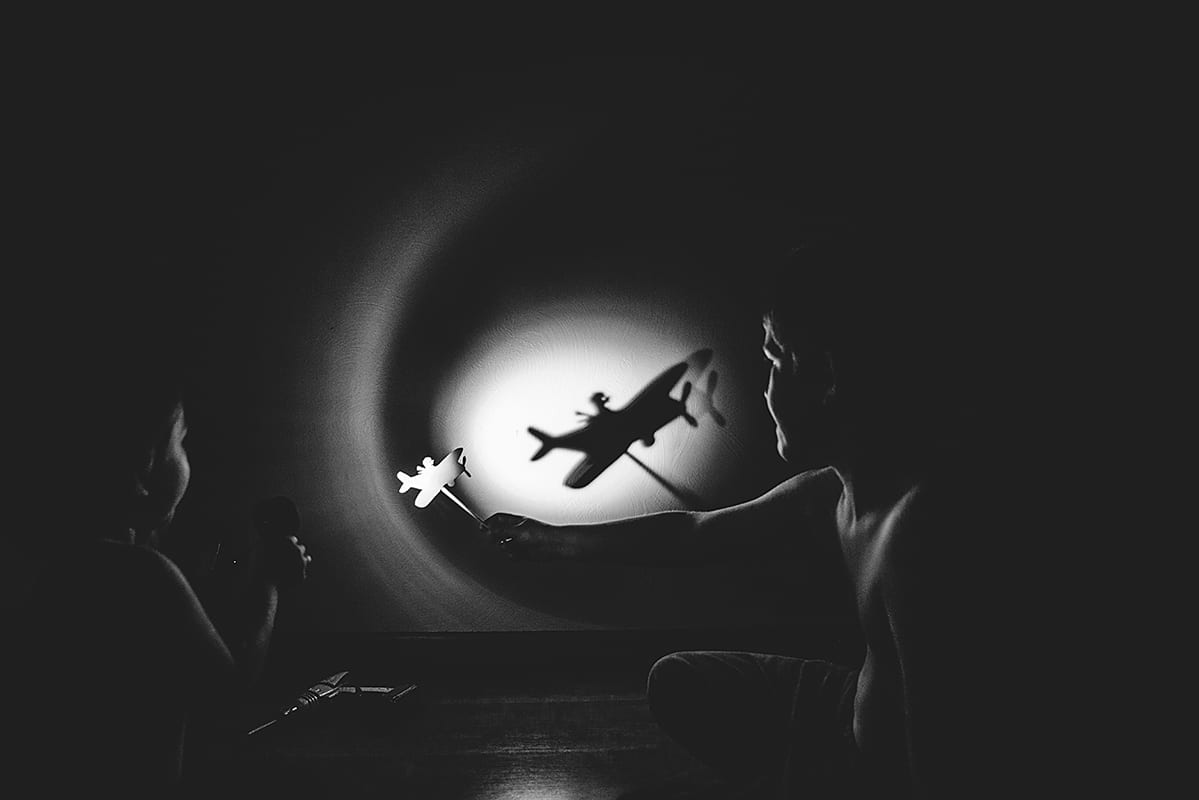
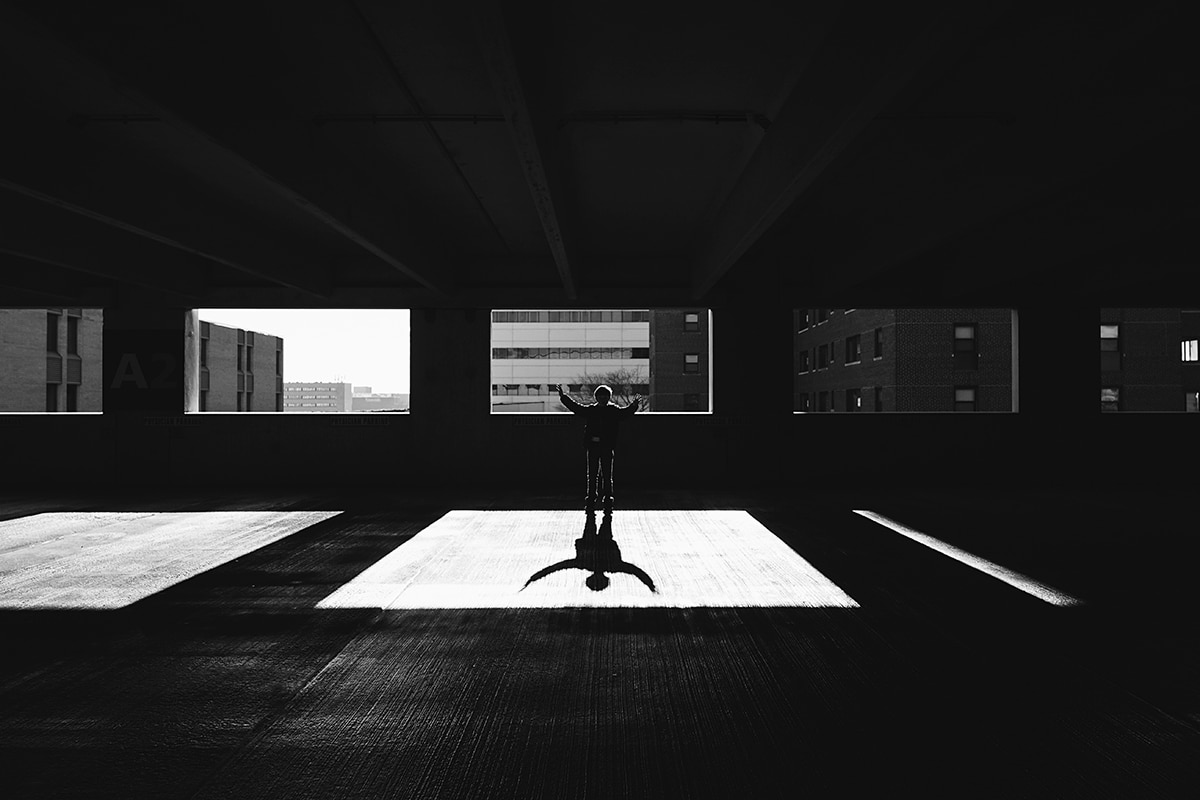
The deeper blacks and whiter whites provide a more dramatic image. Look for dramatic sources of light that create a wider range:
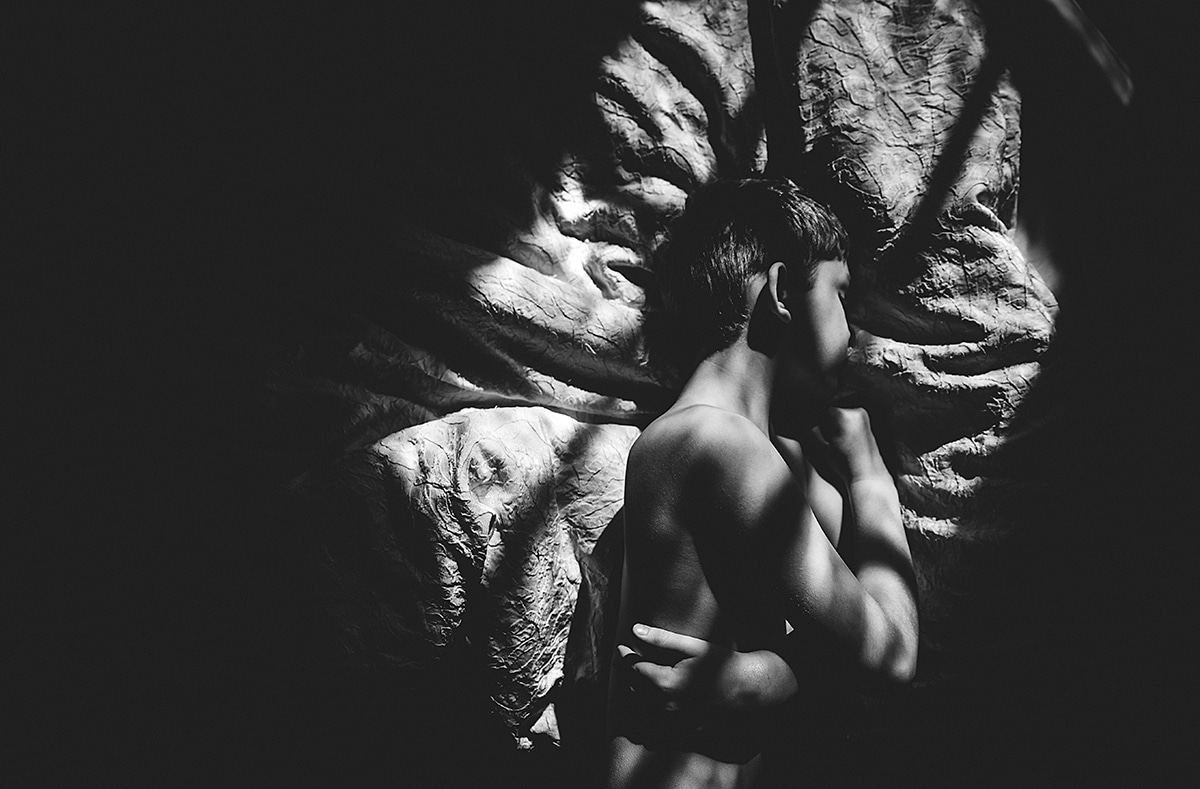
-Dappled/Pockets of light
-Harsh streaming light
-Backlight -
No.03Textures
Besides finding natural texture on your subjects in their environment, I use a lot of tools to add texture and depth to images. The more depth, the more visually pleasing your image can be. These can include:
-Fog
-Water droplets/Rain
-Snow
-Reflections
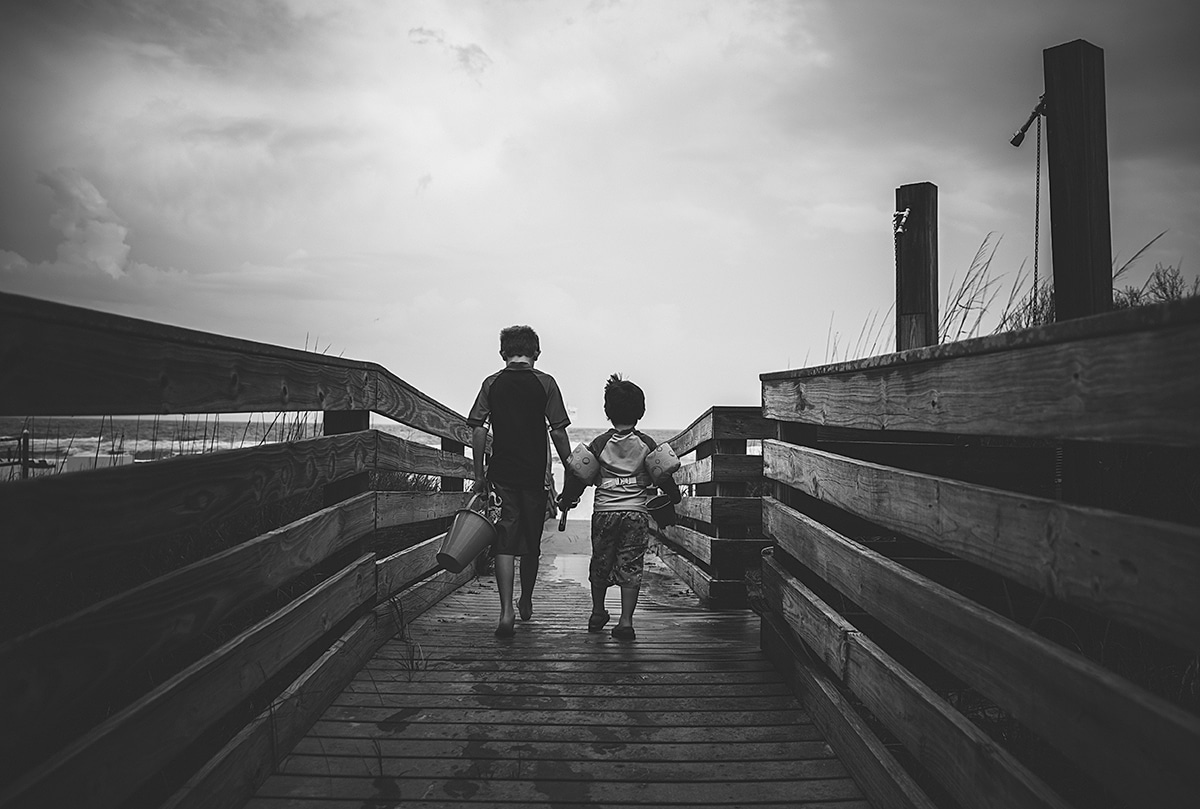
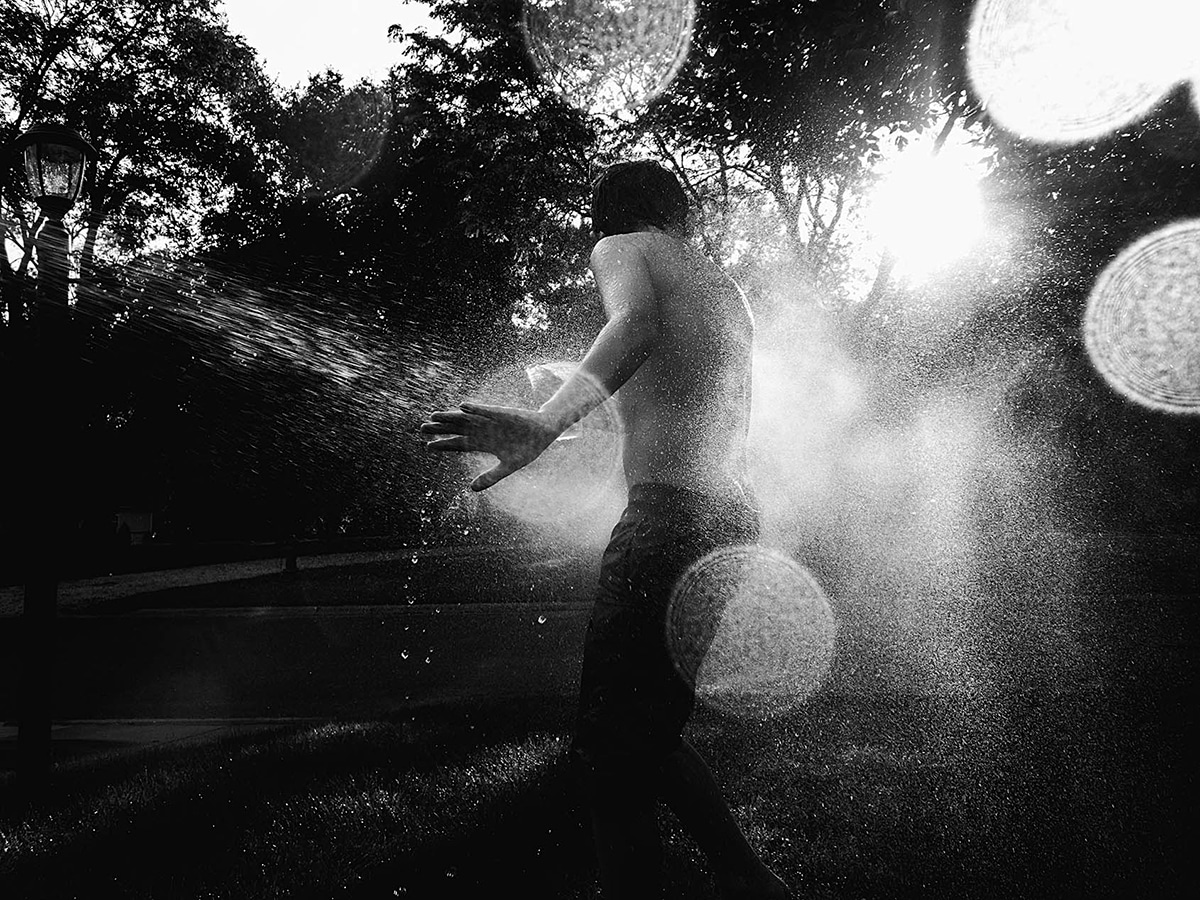
-CloudsYou can add these elements in organically, or in the case of fog, invest in a fog machine. I find my kids are enthralled with it and it gives me a little more time with them to shoot. When using water, make sure to position yourself in the light to where its reflecting off the water itself.
I find I’m more successful when using water where there is light streaming in, for example, through tree branches. This little bit of harsh light really reflects nicely on the water.
-
No.04Patterns, Shapes and Lines
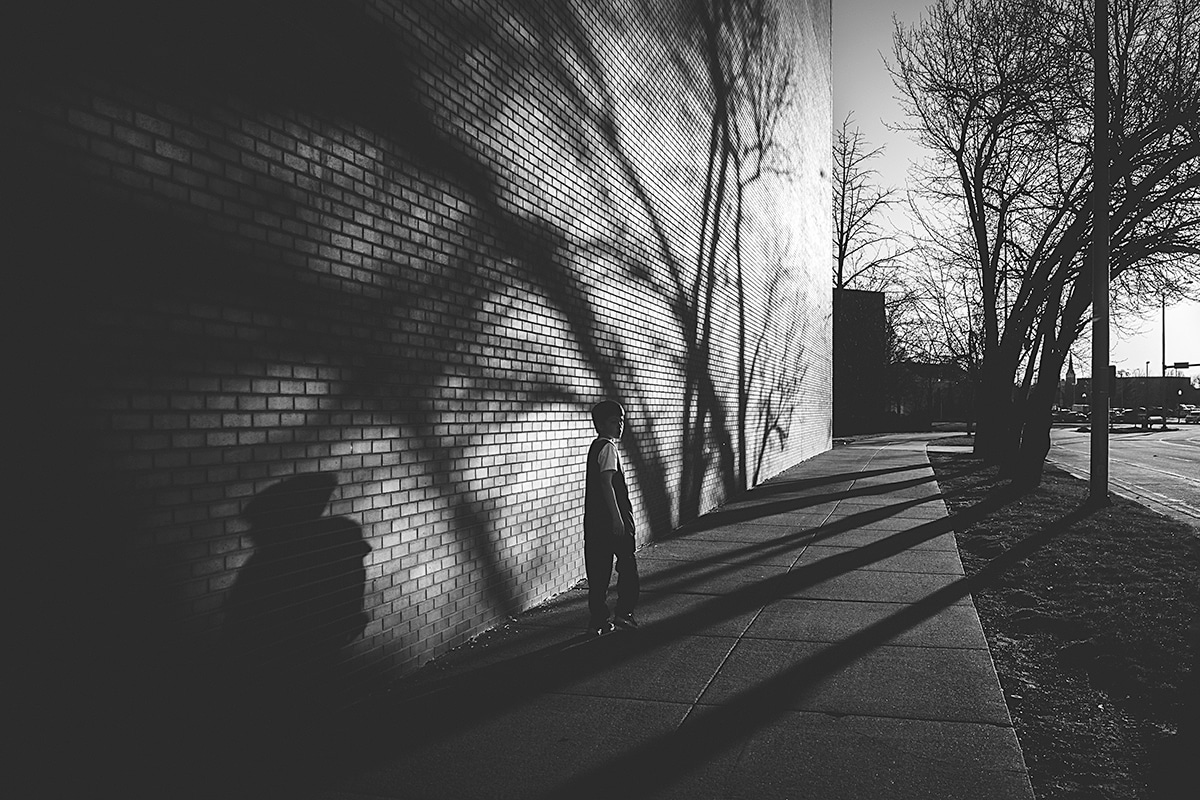
Patterns, shapes, and lines that are created by shadows and light are my favorite to use in my images. Once I find something that will look amazing, I place my subject into the scene.
Always be looking for this everywhere you go. You may consider keeping a light journal in case you find a fabulous location where the light is perfect and creating something spectacular. I can go back to this location with my kids around the same time and date. O
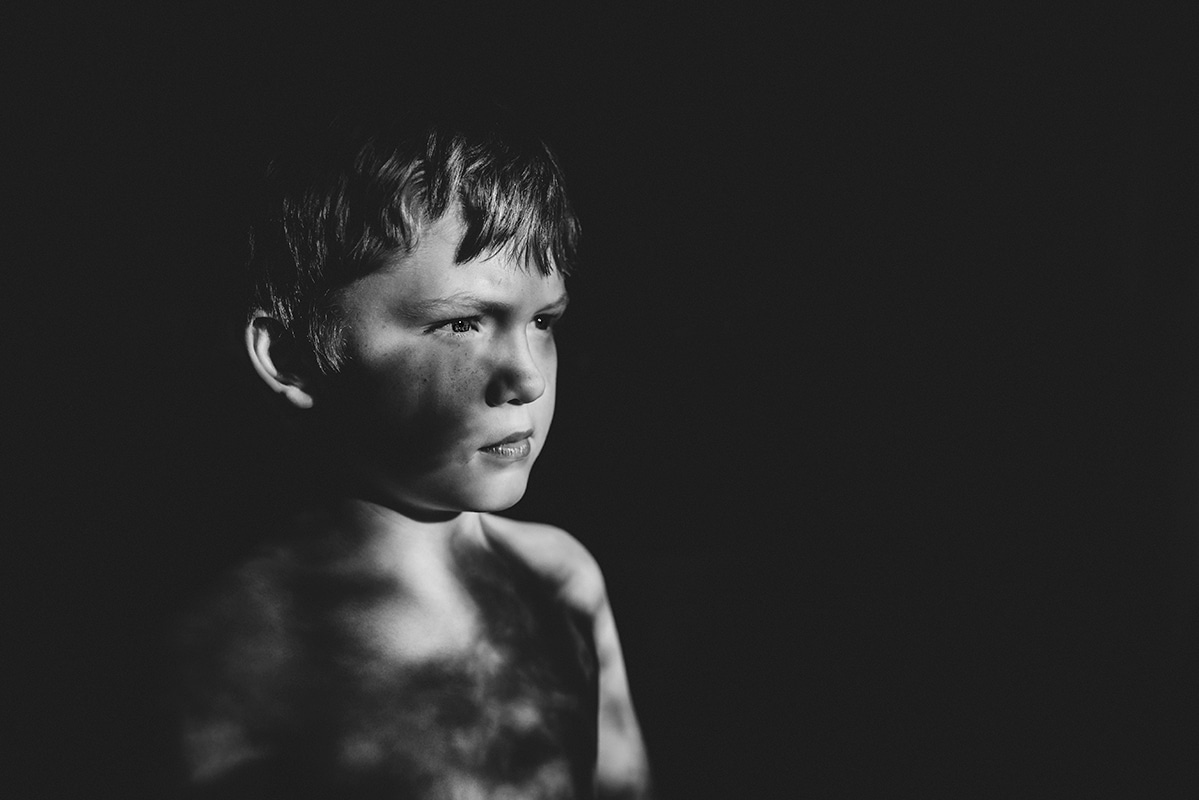
Once I find a location, I will place my subject into the light and maneuver them to make the light or shadows fall on them just how I envision. Sometimes I want a line running across their face or just their face to fall outside of the patterns.
-
No.05Processing
In post processing, after adjusting exposure, add more contrast if needed to get deeper blacks. I also play with whites and highlights to get my whites on the other side of the spectrum. Clarity is also important as it adds mid-tone contrast.
Don’t go overboard on clarity however, because it can cause the image to look overly sharpened. I especially watch this closely if its a portrait.
In the end, you can find beautiful light anywhere to produce more dramatic black and whites. Once you start seeing the light in patterns and shapes you will find it literally everywhere.
Discover more about black and white photography:
– Black and White Photography Tips
– Convert an Image to Black & White in ACR
– Lightroom Editing: Using Contrast and Luminance for Black & White Images




Great tips!
GREAT tips!!
Thanks for these ideas!! You are a master at B&W and I look forward to practicing your tips!
This is wonderful! Great tips!
Oh, these tips are super helpful! Jennifer, I have learned so much from just following you on Instagram, and now I am excited to try some of these ideas. Thanks!!
P.S. These images are GORGEOUS.
Beautiful job.
Awesome tips for black and white photography!! I’m always so inspired by Jennifer’s monochrome images!!
So great to hear how you create such beautiful Black and White! Thanks so much for sharing!
Great tips as always…love this
Hello,
Your posts are so beautiful and effective. Enjoyed it. Your blog provide me great knowledge related.
Thanks for sharing.
http://www.gj-retouching.com/
Srry but I still dont understand how to shoot raw or even put settings on my camera i have a T3 Rebel with an extra lenses. I half to shoot my pics in automatic because i dont know what my settings should b on. I need a one on one