Download Tips and Tricks to Photographing Food by Jen Bacher
CAMERA/TECHNICAL
Like I said previously, shooting in manual mode works the best with food photography because you have the ability to control your aperture, which controls the depth of field. Using a wide open aperture in the range of f/2.8 to f/4 gives you that nice blurred background and will help draw attention to details.
Manual focus is also good to use. Having the ability to focus the camera where you want to gives you a little more creative freedom to emphasize the part of the plate that you’re trying to highlight.
Use your focus points in your camera to your advantage. Whether it’s a melted, gooey chocolate chip, a drip on a bubbling, fresh-out-of-the-oven pie, or the variety of colors mixed together in your salad…that’s what you want to capture. What is it about the food that you love the most? Make that your focus point!
If handheld, keep your camera’s shutter speed above 1/125 sec. in order to get a clearer shot. And if you are working with low light and slower shutter speeds, definitely use a tripod. Each time I shoot food I actually do some with a tripod and some without. A tripod allows you to more fully “build” and refine your picture as you move lighting and props around. It’s nice to be able to move your camera “one inch to left” and get a totally different picture. But I also enjoy the freedom of using creative angles that I can only get hand-held.
Don’t’ be afraid to also try some creative cropping where only part of the plate or food is showing. After all, in most cases, the tighter the crop the better. The closer you are to the food, the more appetizing it usually appears.
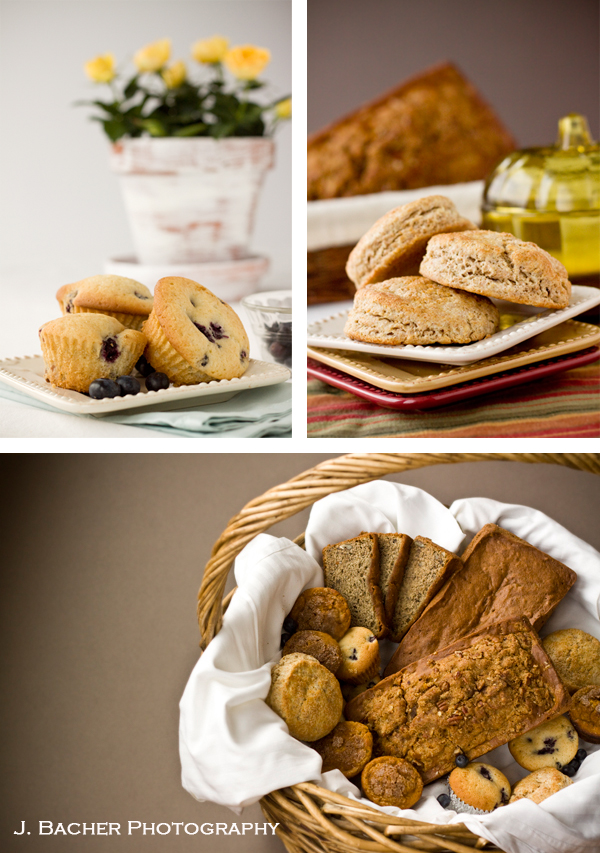
Camera angles: a ¾ shot (like the breads in the collage below) is the most popular and flattering. A ¾ shot is great for capturing the depth of the bowls or dishes the food is placed in, as well as the depth in the food itself. Overhead shots (like the breads in the basket below) often work well in a design collage or to show off a spread, but don’t always highlight the food, especially in its volume and depth. If you move your camera angle lower than the normal “eaters” point of view, food will look “taller” and more three-dimensional. Yes, you can get too low, but sometimes, extreme angles make the photo really interesting.
If you are using two different surfaces for your background (i.e. egg shot with napkin underneath and blue paper in the back) make sure the “horizon line” where the two surfaces meet is positioned either in the upper third or lower third (rule of thirds) of your shot.
It also looks nice if you can hide that horizon line behind your food or a prop in the background (see eggs image and pumpkin spice cake image).
You can eliminate the horizon line all together simply by using the same background underneath AND behind your food (see muffins image above). You can use the clone tool in Photoshop to clone the line out where the two surfaces meet if it’s not blurred enough in the original composition. Or, you can create a seamless background by placing a tablecloth underneath the plate and bending the fabric upward for the background as well.
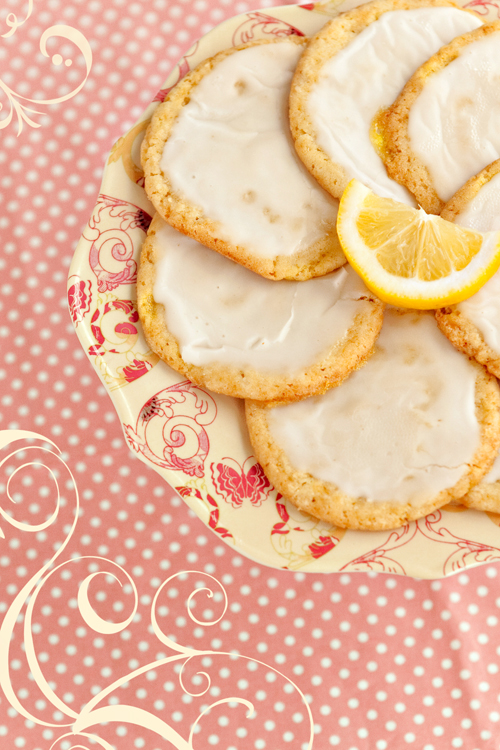
As you compose your shot, look for leading lines and interesting linear perspectives that will draw you into the photo. For example, a perspective of cookies lined up in rows, candy apples lined up and ready for dipping, ice cream toppings lined up in bowls, etc.
And finally, in post-processing, DO NOT over-saturate your image or the food will look un-realistically colorful. The idea is to keep the food looking natural! The only adjustments I usually make in Photoshop or Lightroom is slight exposure fixes if needed and sharpening to really make the details pop.
FOOD TIPS
I’ll end with 5 of my favorite tips for working with food:
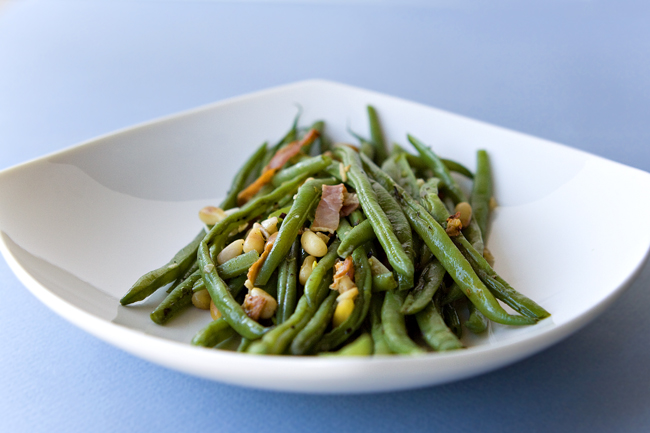
1. Make sure your food is always fresh. If it’s a hot dish, capture it while it’s hot and the juices are flowing. With hot vegetables or meat, if time has elapsed and they no longer look juicy, spray them with a squirt bottle right before you take the shot. If you want the water to bead up on your food, mix glycerin and water together in the squirt bottle.
2. Use chopsticks to move food around into just the right position.
3. Sometimes it’s fun to stack your food. I do this a lot with cookies and baked goods to show off their thickness/chewiness and depth a little better.
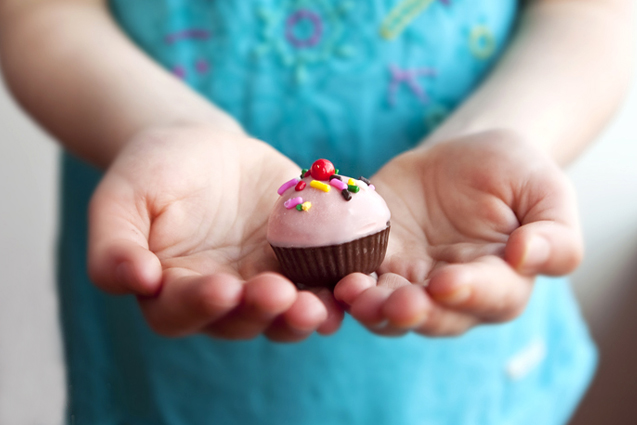
4. If it’s a small food, have someone hold it in their hands or compose the shot with hands or fingers nearby to portray its size more realistically (see tiny cake ball image below).
5. Stick a fork or spoon into your food to show how it looks just before you take a bite.
Thanks for hanging in there with me. There was so much I wanted to share! Hope this will help your skills improve. Food is one of my favorite subjects to photograph. It doesn’t give me attitude and it generally behaves and does whatever I want it to! With a little practice I’m sure you will grow to love it too.


Thanks for all the tips! Love love love food photography!
I really enjoyed these posts.
Jennifer and Courtney, how long did it take you to get good. I mean really good. I know you may not feel like you are, but I think you are. Did you take photos everyday?
I feel like I read and read and shoot and shoot, but I don’t know if my photos are really get better.
Cheers for the interesting read. I must query a couple of points. Should I post them here or should I pm you.
Thanks so much for the tips! I blog about dating and so often I want to take photos of the food I’m eating, but my photography skills are not the best. I’m definitely going to keep working on it and your tips have been very helpful! Thanks again!
[…] Do you love food photography also? I would love to hear from you! I hope these tips will help you as you practice taking better food photos. Experiment and try one or several of these tips next time you are shooting food. For more advice and helpful tips on shooting food, check out my previous posts on this blog. Tips and Tricks for Food Photography: Part 1 Tips and Tricks for Food Photography: Part 2 […]
[…] Tips and tricks for food photography | Part 2 – Food photography – 10 tips for […]
Came across this while looking for ways to deal with horizon line, thanks the recommendations.