I’m super excited to have another guest post this week! Megan Cieloha is the person who made inspired me to learn how to shoot on manual mode. I owe Megan BIG TIME!! Thank you for the encouragement!! Her photos continue to inspire everyday through her Project 365. Thank you, Megan, for these wonderful tips!!
I am falling in love with the photojournalistic style. Don’t get me wrong, I still absolutely adore a good portrait with creamy bokeh, beautiful skin tones and soulful eye contact. But there is definitely something to be said for a photo that tells a story. As a mom, I want to capture the everyday moments of life in such a way that once my kids are grown, I will be able to look back on the pictures I’m taking today and remind myself of their sweet smiles and chubby fingers and cheeks… doing adorable things like building a block tower or helping me make brownies, but I also want to remember the not so adorable moments. (Such as when my younger, newly mobile child pulled the tank off of the humidifier and soaked his carpet. Ugh. )
Sometimes a single image can encapsulate an entire story, but at other times it is a good idea to follow a subject around and take multiple pictures to really capture an experience.
Here are some tips for capturing your own photo essay:
– Think before you shoot.
Just because you are working with a candid style of photography doesn’t mean that you get a free pass to forget about the way your settings will effect your final image! You are also still responsible for deciding what is included or excluded from the image due to the way that you frame the shot. Take some time to think about how you can shoot to most fully bring your vision for the photo essay to life. Do you want a large ap/ shallow dof to isolate a subject or object or do you want to close down the ap to bring more of the background into the frame to help tell your story? How can you adjust your settings to help realize your vision?
– Shoot for a beginning, middle and end.
Before you start shooting think of how you could provide the viewer with both an introduction and conclusion to your essay. Examples of introductions could be a picture of a sign if you are out at a destination (park, market, concert, etc) or an image showing all of the ingredients lined up if you are making cookies. Your conclusive image should wrap it all up. Think of an image of tired concert goers happily making their way down the street to their car or little bakers enjoying a plate full of warm cookies.
– Don’t forget about composition.
Strong composition helps your images to feel powerful and dynamic. The rule of thirds is a great stepping off place, but do some reading on alternative compositions and see if you can include some of them as well. Variety in composition allows each image to feel unique and interesting to a viewer.
-Try a variety of angles.
Shoot from at, above and below the subject. Which vantage point allows you to capture the story best? For example, if you are capturing your small child at playtime it can be a good idea to get down on your stomach and shoot from their point of view. It allows the viewer a chance to enter right into the child’s world. Conversely, if you were to stand on something and shoot directly down you could illustrate the smallness of the child. In this situation the most boring POV would be from an adult’s standing height, as that is the way we see the scene everyday.
– Include detail shots.
Really think about what parts of the story are significant and see if you can capture those details. A macro lens can be handy here, but it’s not essential. (Well, unless you’re wanting a macro for Christmas… that would make it an absolute necessity. Definitely.)
-Try to use available light.
In an effort to keep things as simple as possible, try to use natural light. This often means you need to push your ISO over a level you’re normally comfortable with. When I’m doing portraiture in good light I don’t like to take my ISO past 400. However, I regularly shoot at ISO 1600-3200 when I’m shooting candidly. An important tip is to overexpose a bit to avoid noise. There is more information in overexposed pixels than underexposed ones, so if you are shooting in RAW (which isn’t scary, I promise!) you can often selectively pull back on overexposed areas of the image in LR or ACR, use a little noise reduction and end up with an awesome image. Whereas, if you’d been afraid to use a high ISO and instead used a slow shutter speed, you’d probably have an image with both motion blur and noise. Don’t be afraid of those high ISOs!
-Allow emotionally in focus shots, too.
When you’re shooting candidly, you can’t always be perfect. Enough said. Don’t trash an image if it speaks to you!
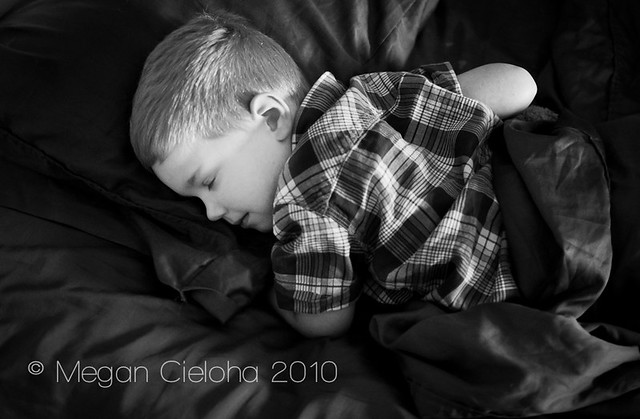
-Think about converting to B&W.
B&W images just have a way of focusing the viewers attention on the story. Lack of color seems to help us connect to the emotion or story in the image. Also, when shooting candidly you will oftentimes end up in a situation where there are a bunch of colors going on that might not all play nicely together. If the color is not an important part of the story (it would be important if you were shooting a football game party, for example) consider converting to B&W. An important note to remember about B&W imagery is that you want to have a nice amount of contrast. Your image should show a good range of tonalities from shadows to highlights. If everything looks kind of gray and drab it probably means that you have a lot of midtones in the image (skin, beige walls, blue sky, concrete, etc) You may be able to push the contrast in post-processing, but if you can’t tweak it satisfactorily it might just mean you need to keep the image in color. In that case try to process all of the images in the essay with the same white balance and creative techniques to help the essay feel cohesive.
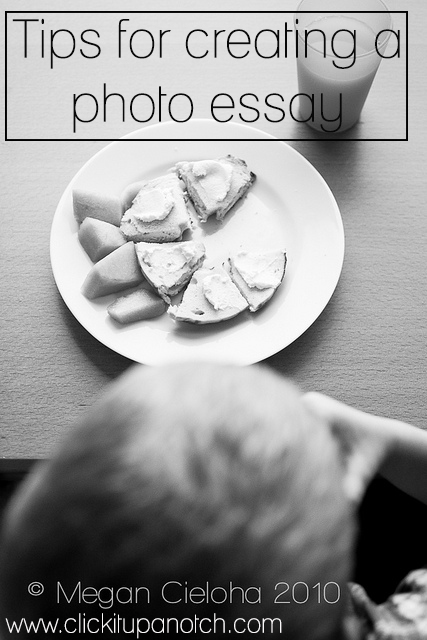
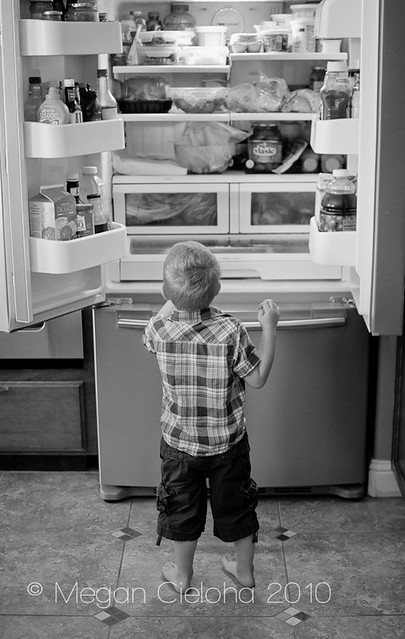
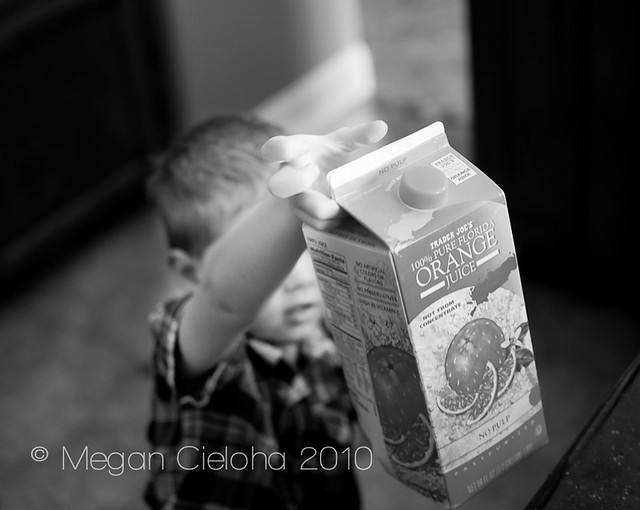
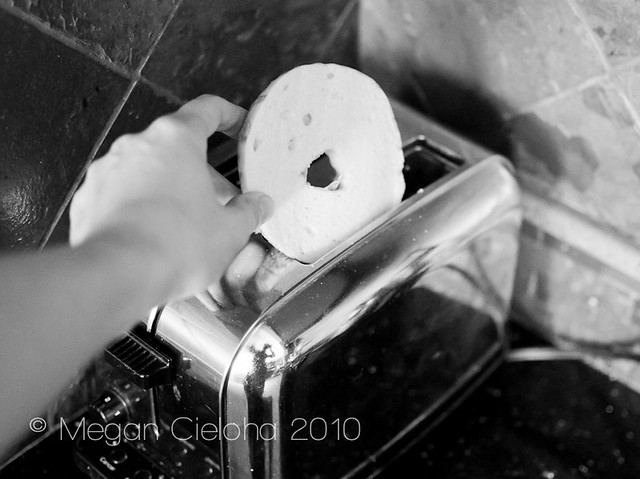
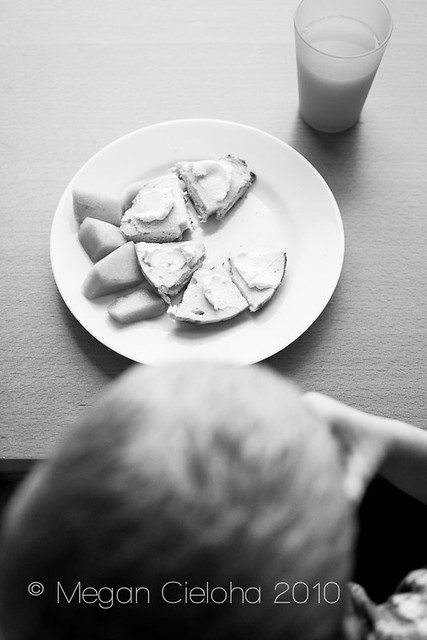
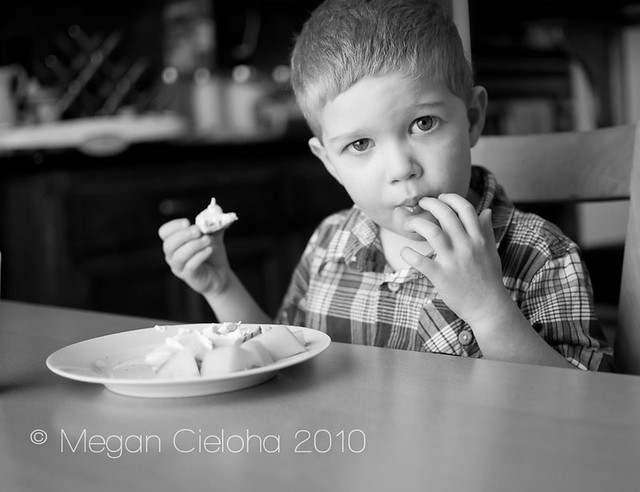
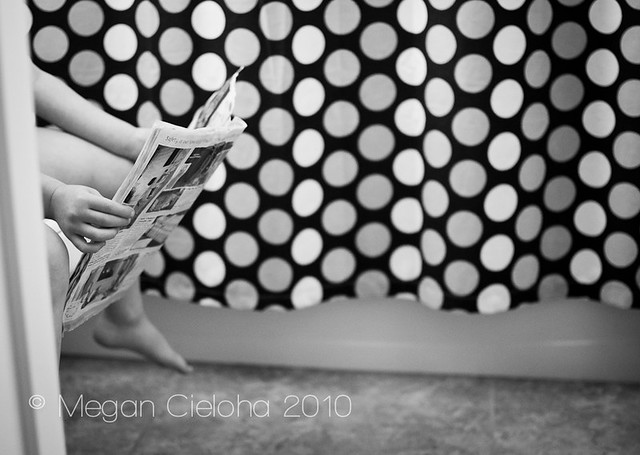
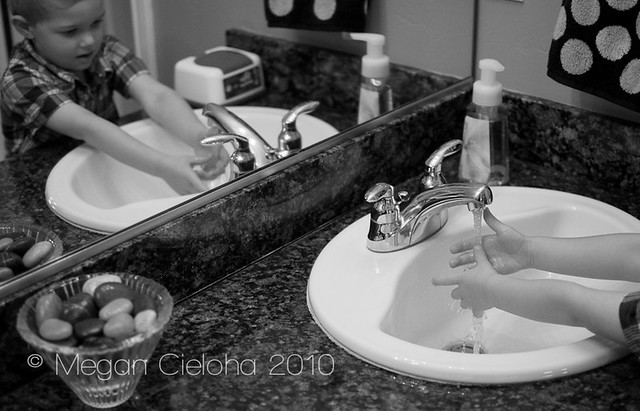
Lunch with a 3 Year Old
(All shot with a 35mm)
f/1.8, ss 1/100, ISO 800



What a great piece – I’m excited to read more from her. These are great pointers and perfect for this time of year.
Oh my gosh what a grea post for me! I am a huge fan of the photojournalistic style and those were some great tips. I’m so scared of the higher ISO!!!!
With my husband being deployed I think these tips are going to be used in our day to day so we can send daddy images that make him feel like he’s home with his family :)
Thank you!
Thanks Megan! What great ideas. Now I just need a bigger kitchen so I can take a picture of Jackson in front of the fridge. :) I look forward to giving this a go.
Megan- I love your pictures! I love all your ideas for a Christmas card! I will have to use those ideas for next year. Thank You!
awesome post, love the pictures. I love photojournalist style pictures.
I love, love, love photo essays. I do this often with Bennett. Like Megan, I want to remember the details of our day when he gets older. These are fantastic tips. I have been bumping up the ISO, but I think I need to go a little higher.
I tried the B and W in today’s blog post and it is so true. It helps focus on the story.
Thanks for the post. I had to use a higher ISO (1600) for my baby’s 1st birthday and I still got some motion blur. I was afraid to use 3200. But now I know that it’s not such a bad thing :). I love the picture of your son reading a magazine on the John. HOW FUN!
Such a useful and very informative article! :)
Great article full of helpful tips. I was glad to see “Don’t trash an image if it speaks to you”. I have a few I just couldn’t part with. The ‘Lunch with a 3 year old’ photojournalism (with settings) is inspiring. Thanks for sharing.
My brother recommended I might like this website. He was
totally right. This post actually made my day. You can not
imagine simply how much time I had spent for this info! Thanks!
Fantastic! I’m so in love with photojournalism! Mainly cause well that’s what I do in the military but also because it’s so wonderful and fun to do strong and powerful story telling! Great job Megan! I love this article!!
I wish I read these tips this weekend as I JUST posted my Weekend In The Life kind of my hand at photojournalism….I will definitely try again and try more black and white
This piece was very informative. I will be using your suggestions in the coming future.
I love you photographs! I capture in black & white whenever I can, and you are right, it helps to focus on the STORY.
Thank you for sharing.
I have a question. You say, “All shot with a 35mm” what do you mean? Is this the lens you are referring to? And can you tell me what camera you do use?
Thank you so much!
Pam
Hey Pam,
This was written by a guest writer but to answer your question, she took these images with a 35mm 1.8 on a Nikon D90.