Items needed:
Fast Prime lens (I used a 50mm 1.4) **The main thing is to use a fast, wide open aperture, such as 1.8 or 1.4. **
Black cardstock or construction paper
Scissors
Exacto knife (optional)
Shaped whole punches (optional)
Pencil
Tape
-
No.01Step 1
-
No.02Step 2
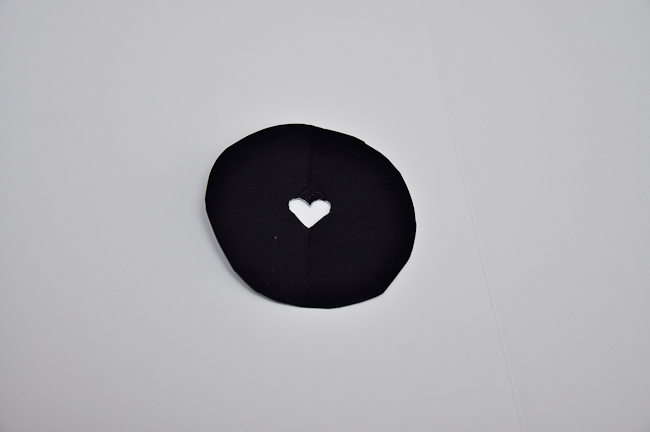
Measure and cut a circle around the size of the circumference of the band. It should be able to cover the band you just made. You can use a circle cutter or do what I did and just traced around my lens cap. I then cut it just slightly larger than what I traced.
-
No.03Step 3
-
No.04Step 4
-
No.05Step 5
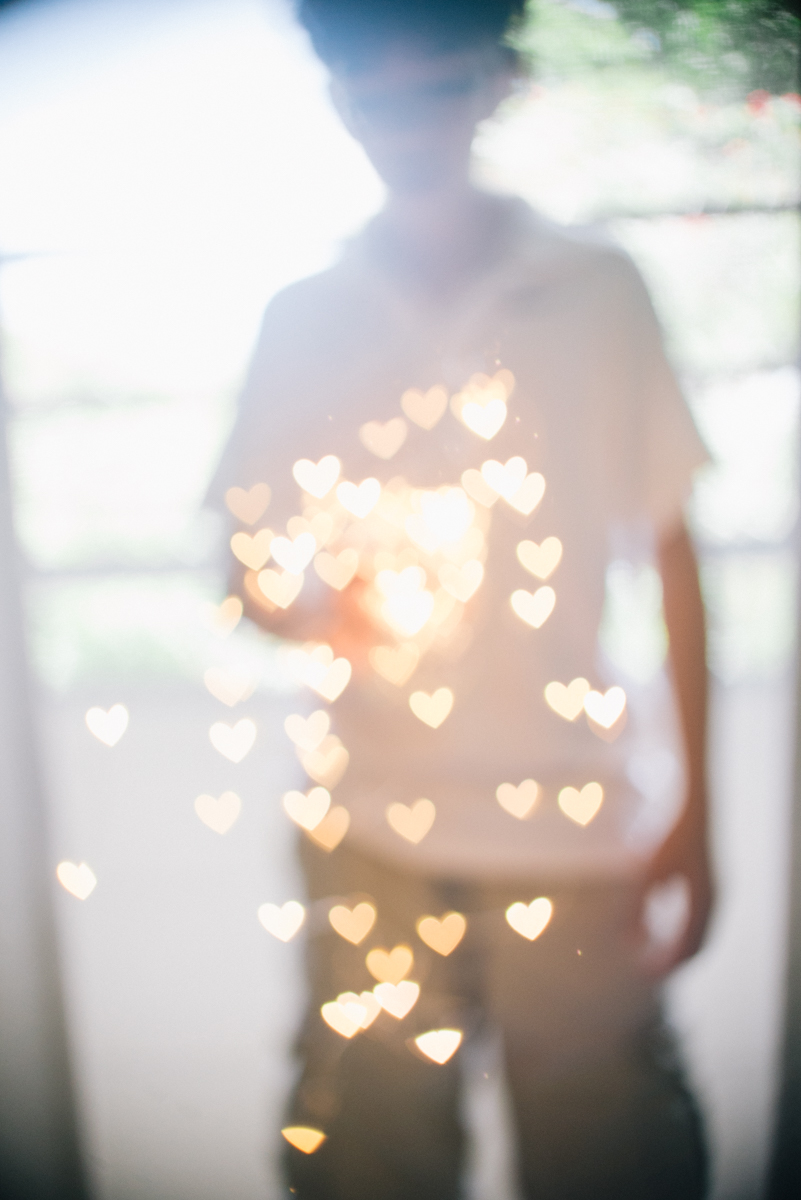
Using your widest aperture, find something that will give you nice bokeh (like Christmas lights or street lights) and manually “unfocus” until you see the lights start to take shape! Or, focus on something close to you with the bokeh lights in the background. Here are some pictures of some bokeh coming through the dappled light of the tree outside our yard.
**Helpful tips**
-You may need to use a tripod since the bokeh hood will let in less light.
-If you want to focus on something, try to have it as far away from the lights as possible, to make the bokeh stand out more.
-Experiment with different shapes and sizes!


Love this! Very easy to follow. I can’t wait to experiment. The coffee mug is so fun.
Thank you so much for taking the time to write this! Very easy to follow!
Oh my goodness, this is awesome! That shot of the mug sums up nicely how I feel about my morning (and midmorning and lunchtime…) coffee.
Janell, You’re the BOMB. So glad we’re related. ;)) I can’t wait to try this out.
ahh thanks for the sweet intro! I really wish I had gotten better bokeh pictures for you!
This is great! Love the little heart bokeh. . .totally on my list to try!
How fun is that? I’ve seen custom shaped bokeh before but I never knew how to do it. Awesome!
Catherine :)
How awesome! I love this simple idea and it creates such beautiful pictures! Thanks Janell!
I cannot wait to try this!! How cool!
Thank you so much for this write-up! :)
Great tutorial. Thanks! :)
Awesome tutorial…
Janell, you totally are the bomb. Now I have something else on my list to try. I may try this one first and leave the reversed lens/macro tutorial (you sent me) for later.
Courtney, thanks for sharing!!!
Can’t wait to try this one out! :-)
Awesome! I’ve never tried this out. I keep meaning to. Now I really have no excuse!
This is awesome. Thanks. I will try it this week. I tried it last year with my granddaughters, hoping to get a valentine shot, but it was a disaster. I know more this year…I’ll try it again…how can I fail with thse great instructions??
i love this! i think i might try to make a butterfly. do you think that will work as well?
I think so! I would love to see your end result!
Thank you so much for sharing this. I can’t wait to give it a try!
ohh love it! trying this right now!
Hope you had fun playing with bokeh!
Fun post! I love playing with bokeh this time of year. I just posted about it here:
http://www.serendipityissweet.com/2012/12/holiday-bokeh-fun.html?m=1
Love your hearts! Very cool ;)
How fun!! Love the one of your daughter sleeping!
This is by far the best tutorial I’ve seen for this. I have been meaning to try it for two years, and you made it seem so simple! Thanks for posting and I am looking forward to trying it.
Awesome! I hope you will post your photos on our Facebook wall once you try it :)
Wonderful write up! I look forward to trying it for myself soon!
Great! We would love to see your photos!
Awesome! Will have to try this, thanks!
Amazing! Although, I tried this after reading your article and I was wondering how you got the cup so clear with the lights in the background??
~new at this~
Hey Candace,
If you place you focal point on the cup/subject it should be in focus :)
Janell, this is awesome!
This is awesome . Thank you .