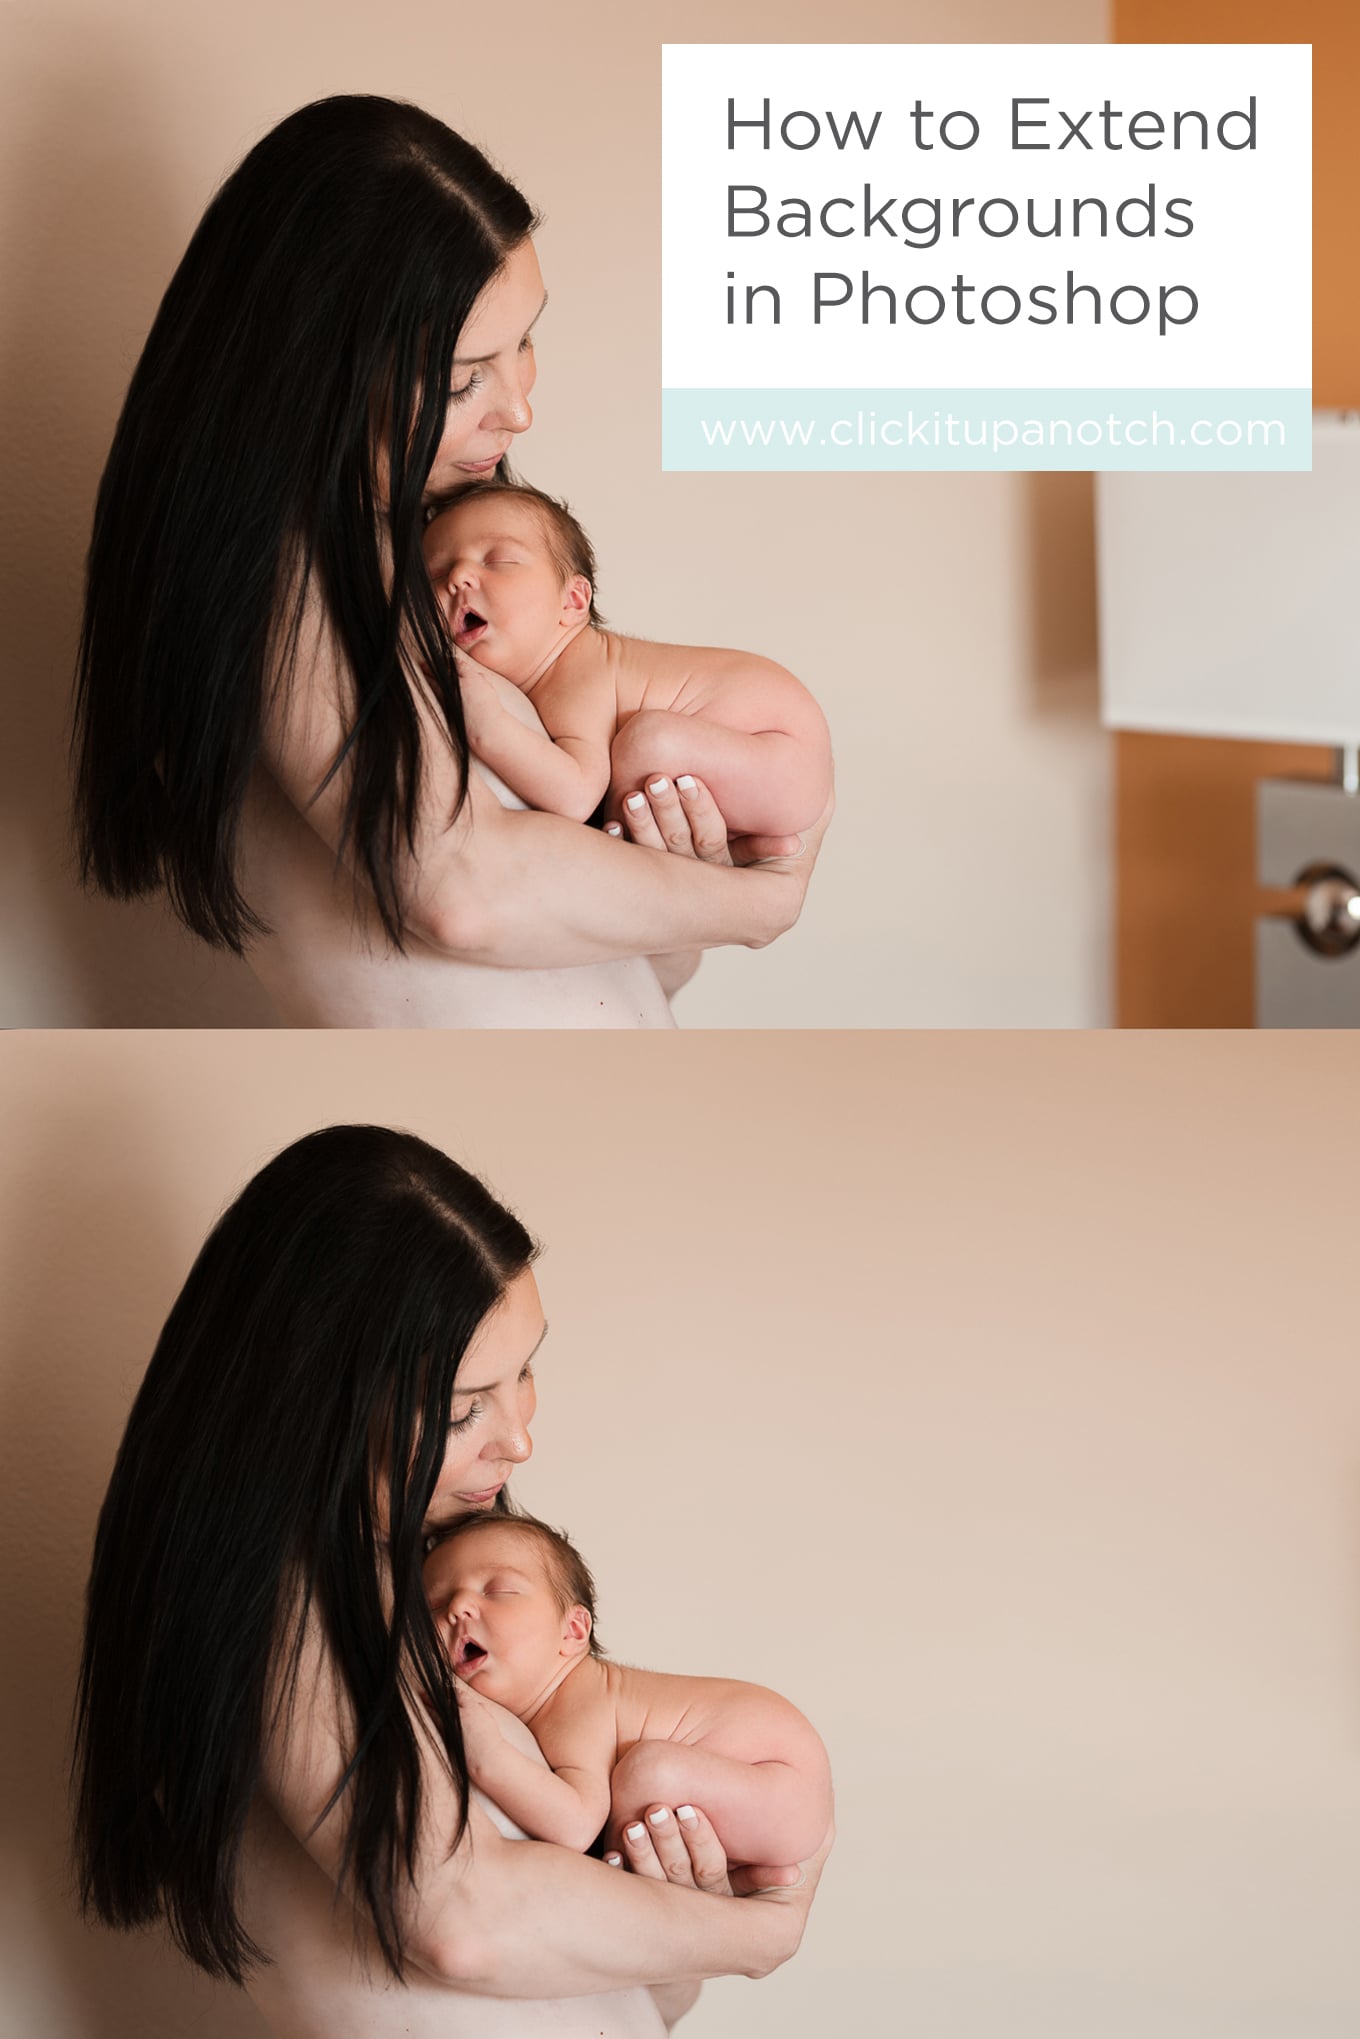
Do you ever want that smooth seamless background in your images? But either there wasn’t a big enough wall or the room was too cluttered? Well, thanks to the magic of Photoshop, it’s very simple to make your vision a reality. As with any editing, there are many ways to do this but I’ve found this to be the simplest (and quickest!)
Read more: 10 Second Edit Using Content-Aware Fill
Get your image opened in Photoshop and you’ll be ready to go!
-
No.01The Marquee Tool
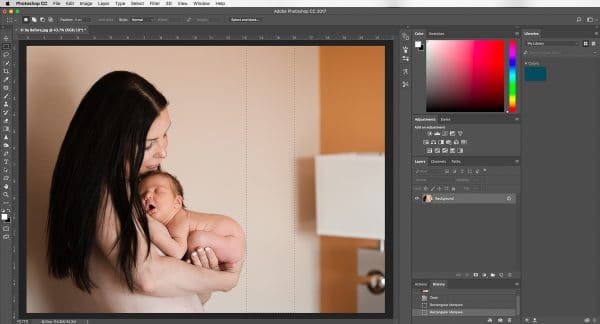
Rather than focus on what we don’t have in our image, let’s capitalize on what we do have and enclose it with the marquee tool. For jobs like this, I use the rectangular marquee. The goal is to highlight the blank space of wall that you want the rest of your background to look like.
Using the marquee tool, take it from the very top of your image and extend all the way down to bottom. It’s ok to go beyond the border, it will settle along the edges of your image.
If you don’t get your rectangle right the first time, either move it around until the placement is correct, or simply “undo” and retry until it fits.
-
No.02Free Transform
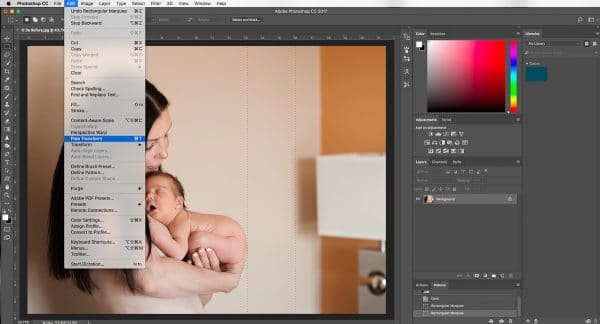
With the marquee still highlighted, go to your edit menu and drop down until you see “Free Transform.” Select this option. You should see markings appear along the marquee.
-
No.03Fill the Space
Using the markers that appeared with the “Free Transform” command, click on one and pull the clean wall in the direction you want to cover.
Continue to pull until the entire space is covered. You can pull past the point of the frame if you are trying to eliminate something that may have been in the original marquee (like the shadow from the lampshade in my image.)
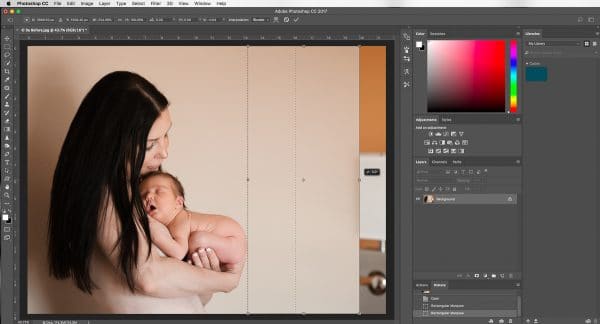
That’s it!! I told you it was easy!
From here you’ll deselect the marquee.
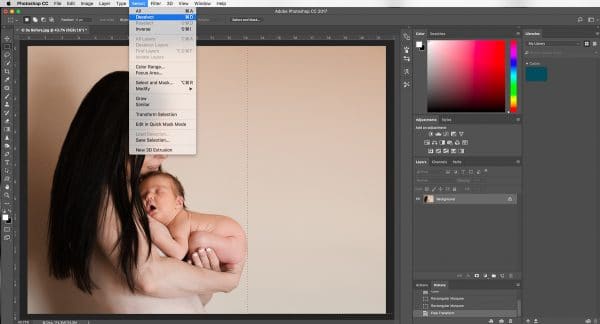
And, of course, don’t forget to save your image. (But if you do forget, take comfort that it will take you less than 30 seconds to do it again.)

A final before and after. Happy editing!
Discover more Photoshop tips:
– Quick Guide to Photoshop: 6 Features You Need to Know About




No comments yet.