
You are ready to take on the next step in mastering photography and tackle manual mode. I promise, you’re ready. A lot of new and big words are going to be thrown around like exposure triangle, depth of field, focal planes etc.
The first thing I want you to understand is the mysterious exposure triangle. OK OK it’s actually not mysterious at all. I will break this down for you step by step and by the end of this post you will be an exposure triangle master. No more mysteries, let’s get going!
Table to Contents
What is the exposure triangle?
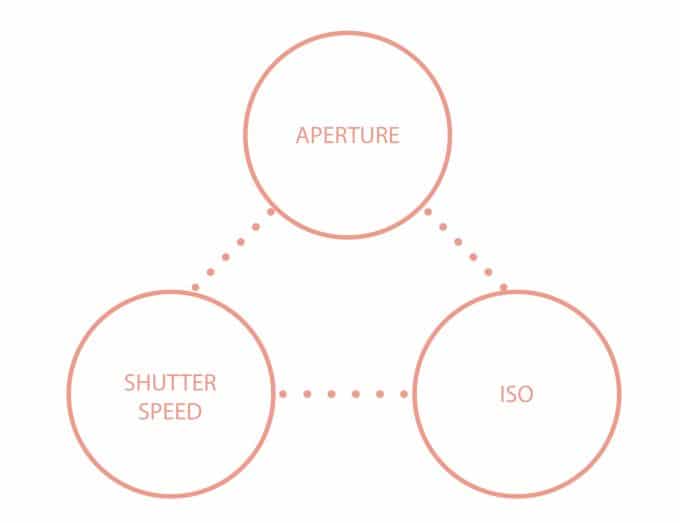
When shooting in manual mode you will be utilizing the exposure triangle. This is made up of 3 (hence the name triangle) different settings; aperture, shutter speed, and ISO.
You will need to adjust these three settings each and every time you pick up your camera. It is not as simple as set it and forget it. You will likely adjust these multiple times when you are shooting if the light changes.
Not sure how these three work together? Keep reading…
Not sure how to use manual mode on your camera? I have a whole Beginners Guide to Manual Mode, check it out!
How does the exposure triangle work?
The three each are quite different and each have a specific role but work together as a great team to properly expose a photo. Each one tells the camera and lens how much light to let in as well as affects how much or how little of your photo will be in focus. We will go deeper into that in a little bit.
When you adjust one, you will then have to adjust the other two accordingly since they all work together.
Read more about exposure: 3 Steps for Perfect Exposure for Every Photo
How to use the exposure triangle
First look through the view finder on your camera. Along the bottom of the screen, you will see a meter. This is what you will be using to properly expose your image.
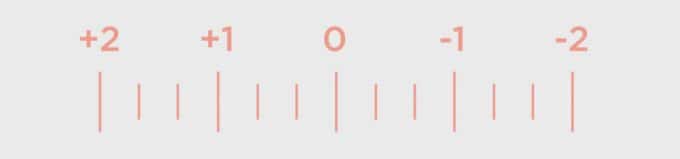
Your goal is to get the meter to zero. Find your subject, half press your shutter button and then start to adjust settings.
What are the 3 elements of the exposure triangle?
Aperture
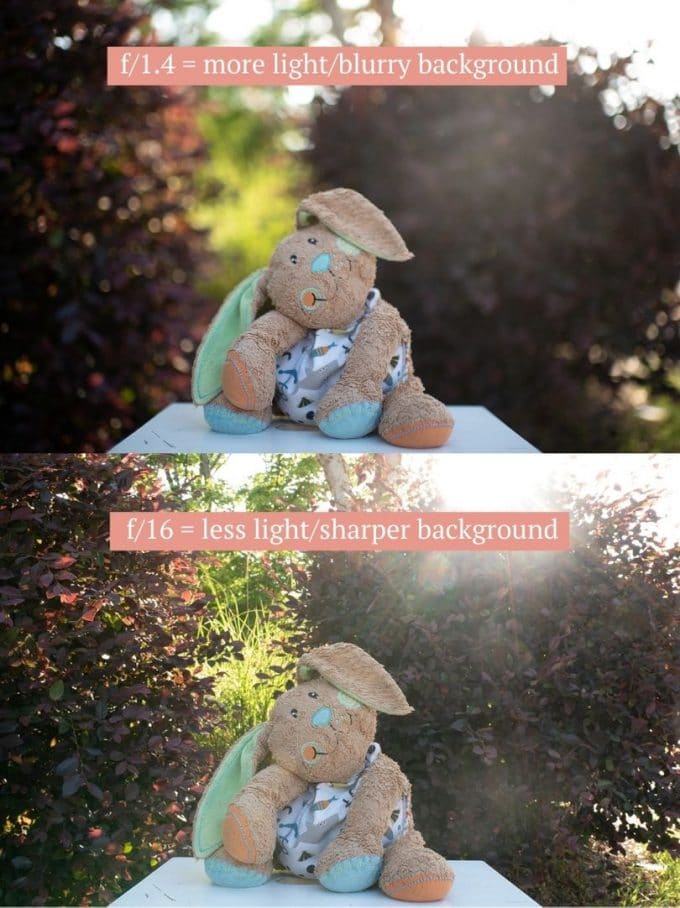
Aperture also known as f-stop or f/ controls how much of your photo will be in focus as well as how much light will be in the photo. This is what gives you that beautiful blurry background with a sharp subject in focus.
Wider your aperture (smaller number) = more light/less in focus
Narrow aperture (larger number) = less light/more in focus
Read more: How to Use Your F-Stop to Create Amazing Photos
Shutter Speed
Adjusting your shutter speed controls how much light comes in. If your shutter speed is slower, the more light will be allowed to come in. If it is a faster shutter speed, less light will be able to come in.
My golden rule for SS (shutter speed) is if your subject is a person, try not to go below 1/125 of a second. You may even find that when capturing children 1/125 is still too slow because they move… a lot.
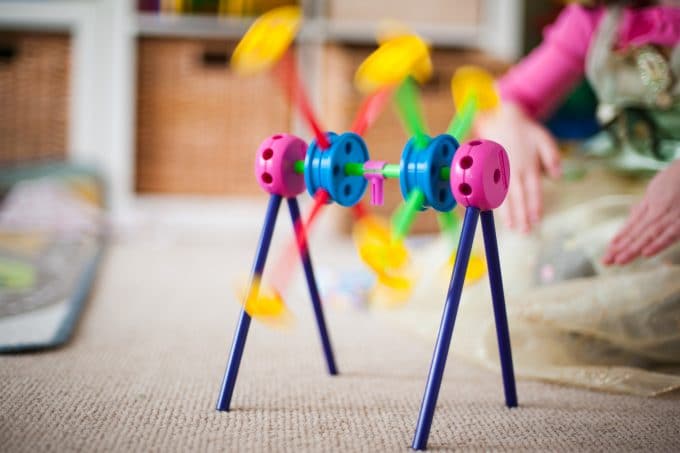
If you are shooting something stationary or not moving, you can go lower but just remember to account for camera shake. Using a tripod will help keep your images more sharp if you are shooting at a lower shutter speed.
Don’t let your shutter speed go below 1/125
Read more on shutter speed:
How You Should be Freezing Motion in Your Photos
How to take Unique Photos that WOW Using Slow Shutter Speed
ISO
ISO is a setting that changes your cameras sensitivity to light. You will see the ISO in numbers like 100, 400, 1600 etc. Each camera varies on how high it’s ISO capabilities are.
Bryan Peterson had a great example of thinking of the ISO as little worker bees. If your ISO is set at 100, then 100 bees goes out. But if you need more light then you will need more bees going to search so you raise your ISO.
Something to know about ISO is that it can affect the quality of your image. The higher the ISO number, the more noise it could have. It is better to raise your ISO and have a little noise than to keep your ISO low in hopes of eliminating the noise.
You are more likely to have noise in an underexposed image.
Read more: ISO- The Basics
Order for setting the exposure triangle
Pick an order and stick to it
My biggest piece of advice is to pick an order of how you will adjust these three, and always use that order. Every photographer has a personal preference for order but it doesn’t matter what order you choose.
Aperture, shutter speed, ISO
For me I always set aperture first, then shutter speed, and last I set the ISO.
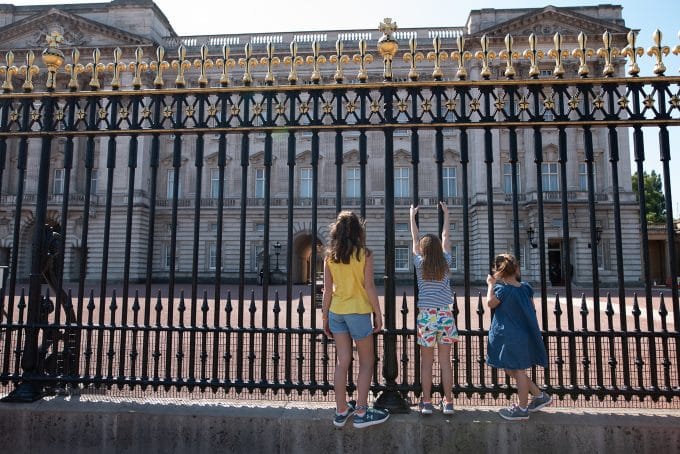
For example, if I am taking a picture of 3 daughters, I will set my aperture to f/3.2. That way I know they will all be in focus and I will still have a nice blur in the background. Then I set my shutter speed to at least 1/125. If they are running or playing I might move that up depending. Lastly, I set my ISO. If I am outdoors it will likely be around 100-200. Indoors it will probably be higher.
Using the same order every time you shoot will get you into a habit and then make using the exposure triangle a lot faster and easier. You’ll be a pro in no time.
Read more: How to Figure out the Perfect Settings for any Situation
Exposure triangle cheat sheets
I have some handy cheat sheets for you to help you understand this concept better. You can save them to your computer, screen shot, or print them off to keep on hand whenever you need a reminder of how the exposure triangle works.
FAQs on Exposure triangle
Use the meter on your camera, half press your shutter button when you have your subject in focus. Then adjust the aperture, shutter speed, and ISO to get the meter to zero.
You will need to be in manual mode to adjust the settings individually. Every camera model is different so refer to your camera’s user manual to see which buttons adjust each setting.
Using the meter on your camera you will be able to adjust your settings to get to zero. Set your aperture, shutter speed, and ISO until you get to zero then you will have perfect exposure.
The exposure triangle gives your a properly exposed image. This means your subject has the right amount of light. If your image is underexposed it will be too dark. If it is overexposed it will be too light, or blown out. You lose detail in your photos when the image isn’t properly exposed.
There is no best order except the one you chose. Whatever order you decide works best for you, just stick to it. That is what makes it the best. My personal order is aperture, shutter speed, then ISO.
You are on your way to being an expert, congratulations! I told you we would expose the mysterious exposure triangle together. Save the cheat sheets, practice your order, and soon you’ll be flying through those settings in any situation.
Read more about using manual mode:
How to Shoot in Manual Mode
5 Reasons to Shoot in Manual Mode
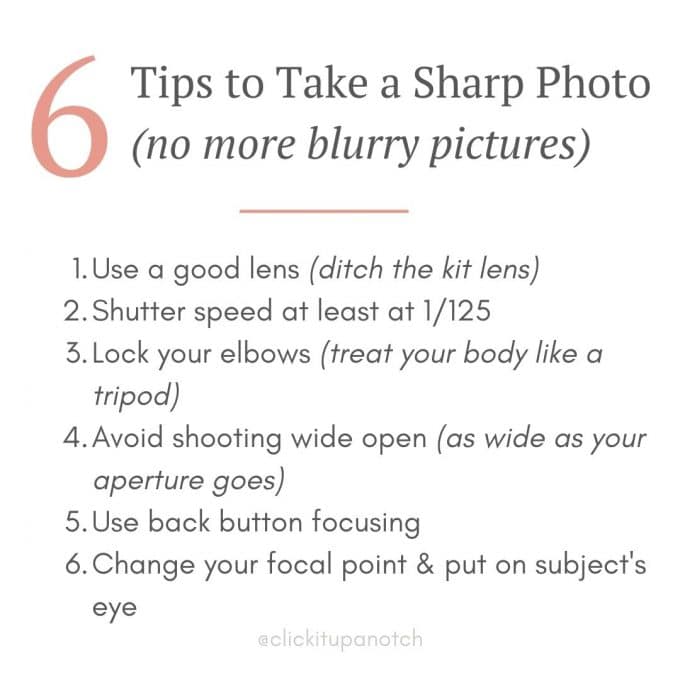
7 Tips to Take a Sharp Photo


No comments yet.