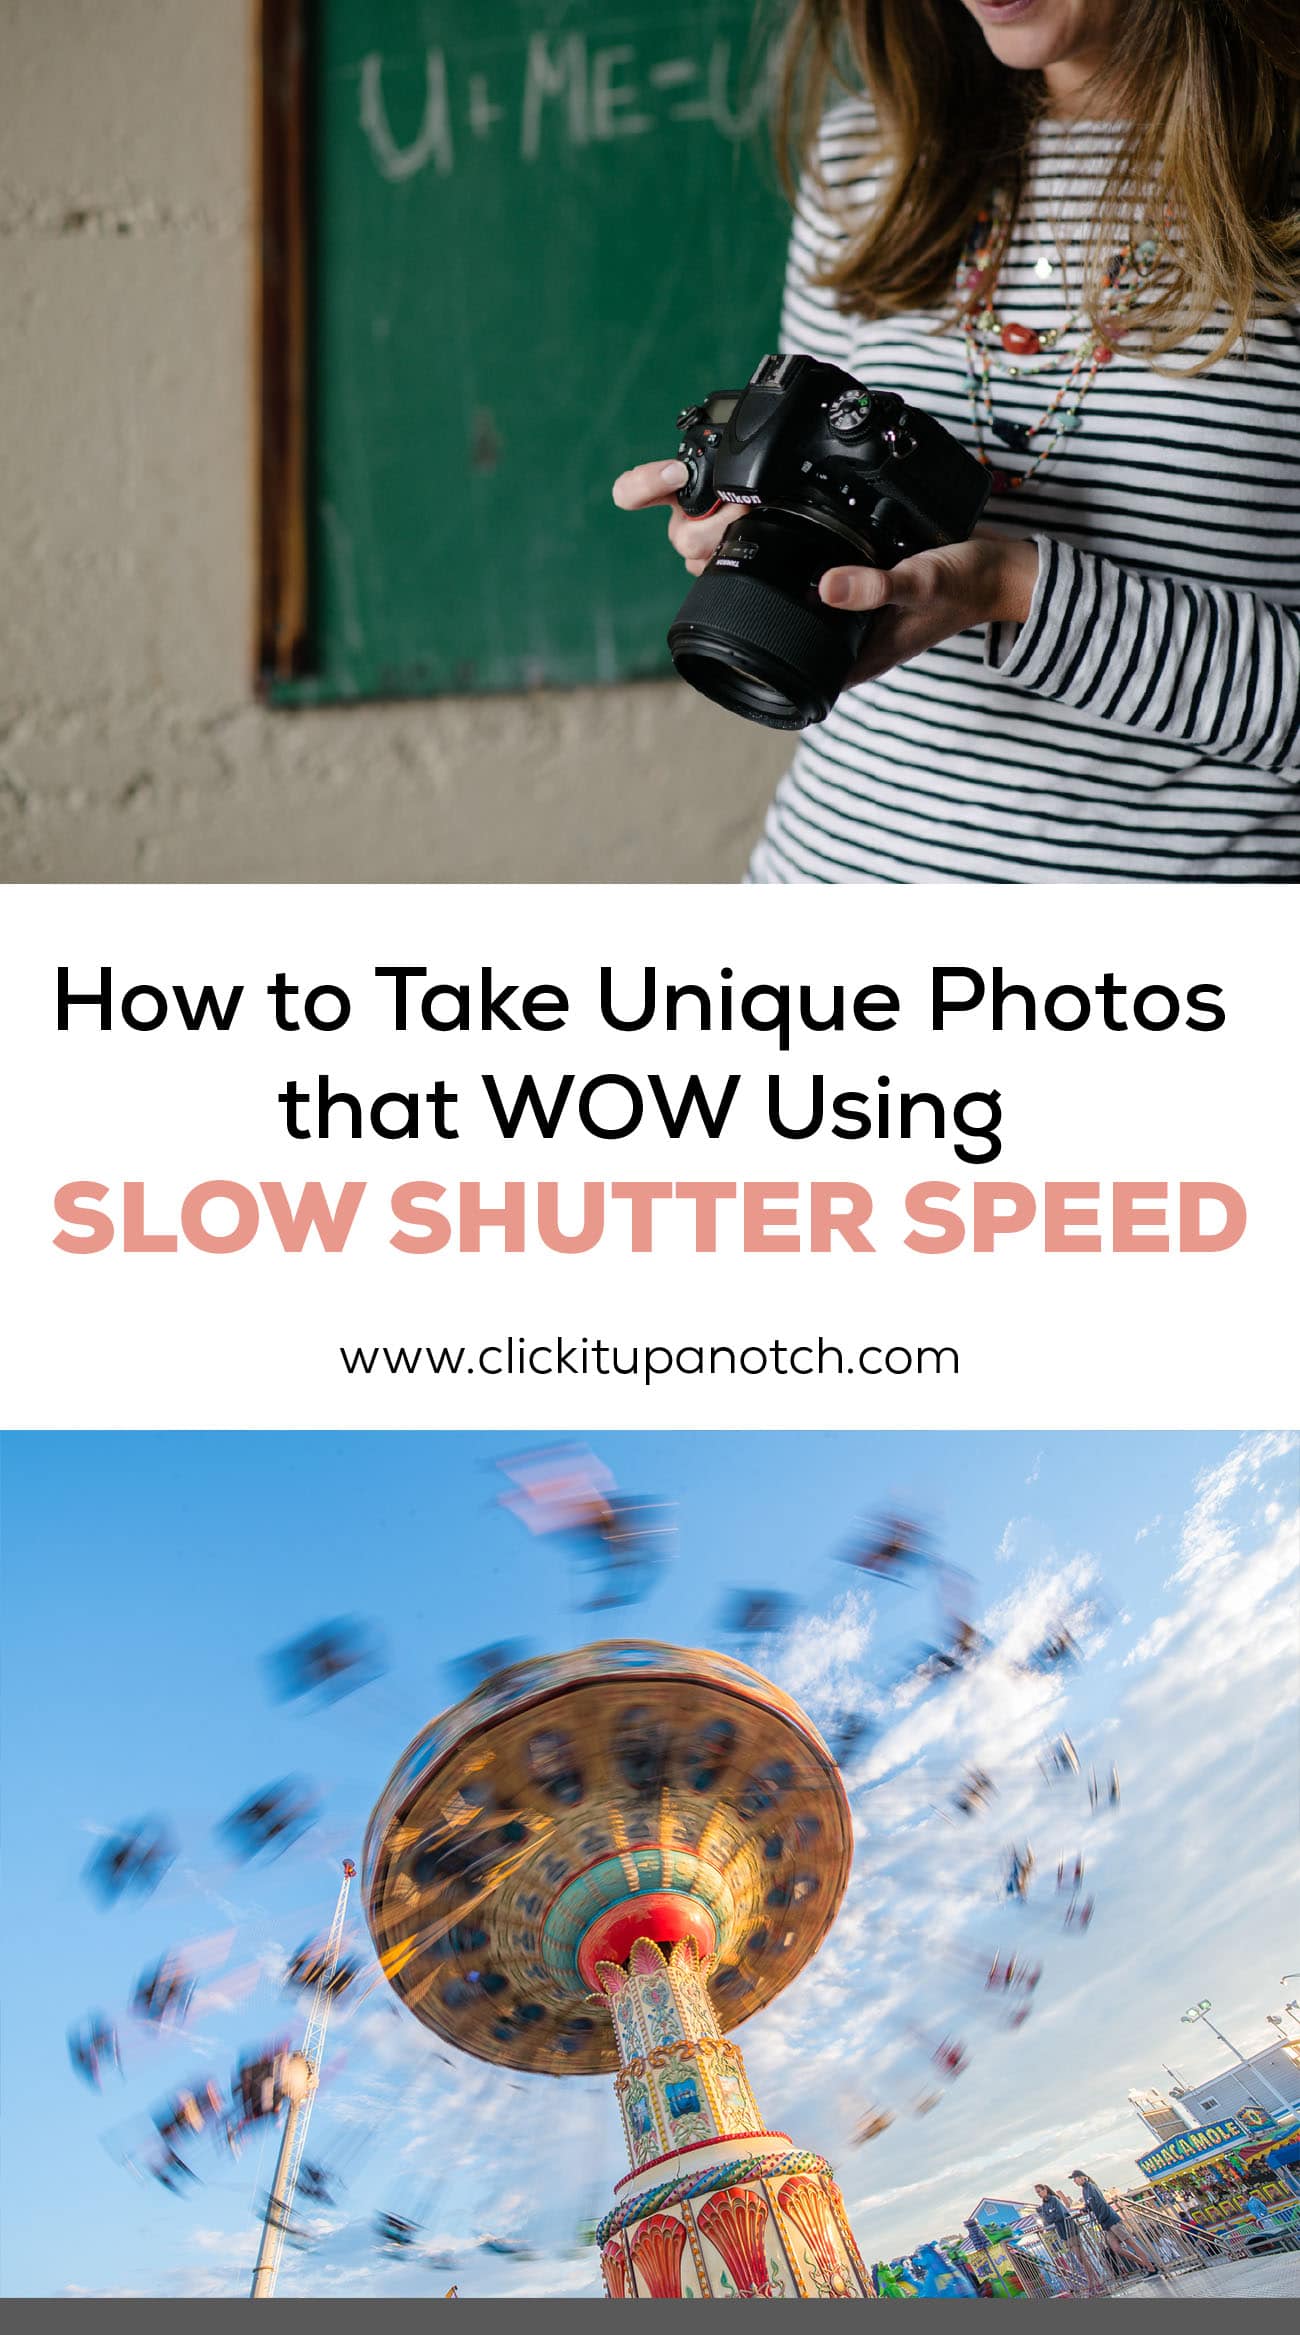
If you’ve been wondering how to create that motion blur in your photos, the key is using a slow shutter speed.
Remember when trying to create movement in photography and the motion blur you want, it’s best to be shooting in manual mode. This allows you to have complete control over all your settings including shutter speed.
credit: Dana Elyse Photography
What is slow shutter speed?
When you are learning how to shoot in manual mode one of the settings of the exposure triangle you need to keep an eye on is your shutter speed. Typically, you want to make sure this is fast enough to freeze the subject to create a tack sharp image. However, when you want to get creative, you can use a slow down your shutter speed to show movement.
Understanding shutter speed
Your shutter speed is how fast the shutter is open. The faster the shutter speed the faster the shutter closes thus giving you a sharper image. However, the slower your shutter speed than the slower your shutter will close giving you an image with motion blur. When done intentionally this is a great way to take your image to the next level. Unfortunately, if done incorrectly your photo can fall flat.
When you do this you are doing two things: creating motion blur & letting in more light. Which leads us to the next question.
How to use a slower shutter speed without overexposing?
Most people think of star trails or light trails from cars when they think of motion blur in photography. You may be wondering, can I use slow down my shutter speed in daylight?
Absolutely! There is a trick to make sure your images are not overexposed when shooting during the day. Since you are allowing a lot more sun, you need to use a different setting in the exposure triangle to cancel out some light. I recommend with starting with your ISO as low as possible. If you still have too much light, then I would stop down on your f-stop. By that I mean, raise your aperture number. The higher your aperture number the less light is coming in. This is a great way to even out your exposure.
Read more: Complete Guide to Understanding the Exposure Triangle
When & where should you use it?
Before you take any photo you need to think through what the finished photo will look like. If you want a tack sharp image, then use a fast shutter speed. I recommend no slower than 1/125 of a second if you want a sharp photo.
If you want to show movement then you need to slow your shutter speed. Image like water, waterfalls, car lights, fireworks, rollercoasters, waves, and so much more are ideal for showing motion in your photo.
See more- 8 Ways to Weave Intentional Design Into Documentary Photography
Tips for creating motion blur
Use a tripod
Make sure your camera is on a steady surface when you are creating motion blur. If your camera is not steady then the images may not look like the blur was intentional due to camera shake. Ideally, you want to use a tripod but that isn’t always an option. I have found that I like to take these kind of images while on vacation and I don’t like to travel with a tripod. This means I need to get creative. I will set my camera on the ground (if it isn’t crowded), a table, chair, or even balance it on my bag.
Without a tripod? Use a camera strap
If you are shooting without a tripod, I recommend using a camera strap around your neck. This is especially helpful if you are using a bridge or an unstable service to try to keep your camera still. You want to make sure if you accidentally drop your camera it is still safe.

Choose your focal point
When your subject is moving it makes it difficult to put your focal point on them. Instead, you need to pick an are of your photo that isn’t moving to place your focal point. Depending on what you are photographing it would make sense to pick something that is on the same focal plane as your subject. If you can’t find anything like that then, put it on something on a focal plane that is in front of your subject so the focus can fall backwards.
Use a remote or timer release
Since your camera may vibrate as you click the shutter button it’s a good idea to use the self-timer. This is what I like to do as it allows me to take a few practice shots then set the self-timer or in my case, the interval timer to take the images. Nikon offers the interval timer which allows you to select now only how many images to take but also how much time should be in between each image.
How to photograph waterfalls
When capturing water you need to be very aware of making sure you don’t overexpose your subject, which in this case is the waterfall. It’s very easy to expose the water as it often appears when. One trick I like to use is turning on my highlight indicators so when I look at my LCD screen on the back of my DSLR I am able to see which areas of my image I have blown out.
This shot was taken in Hawaii while we were swimming by this waterfall. I set my camera on the ground and put my focus on the lifeguard’s surfboard. I can be tough photograph a waterfall with people swimming around because you don’t want them to look blurry. Since this was shot in the daylight I knew I needed to cancel out some of the light with my aperture.
Read more: Essential Landscape Photography Tips for Breathtaking Photos
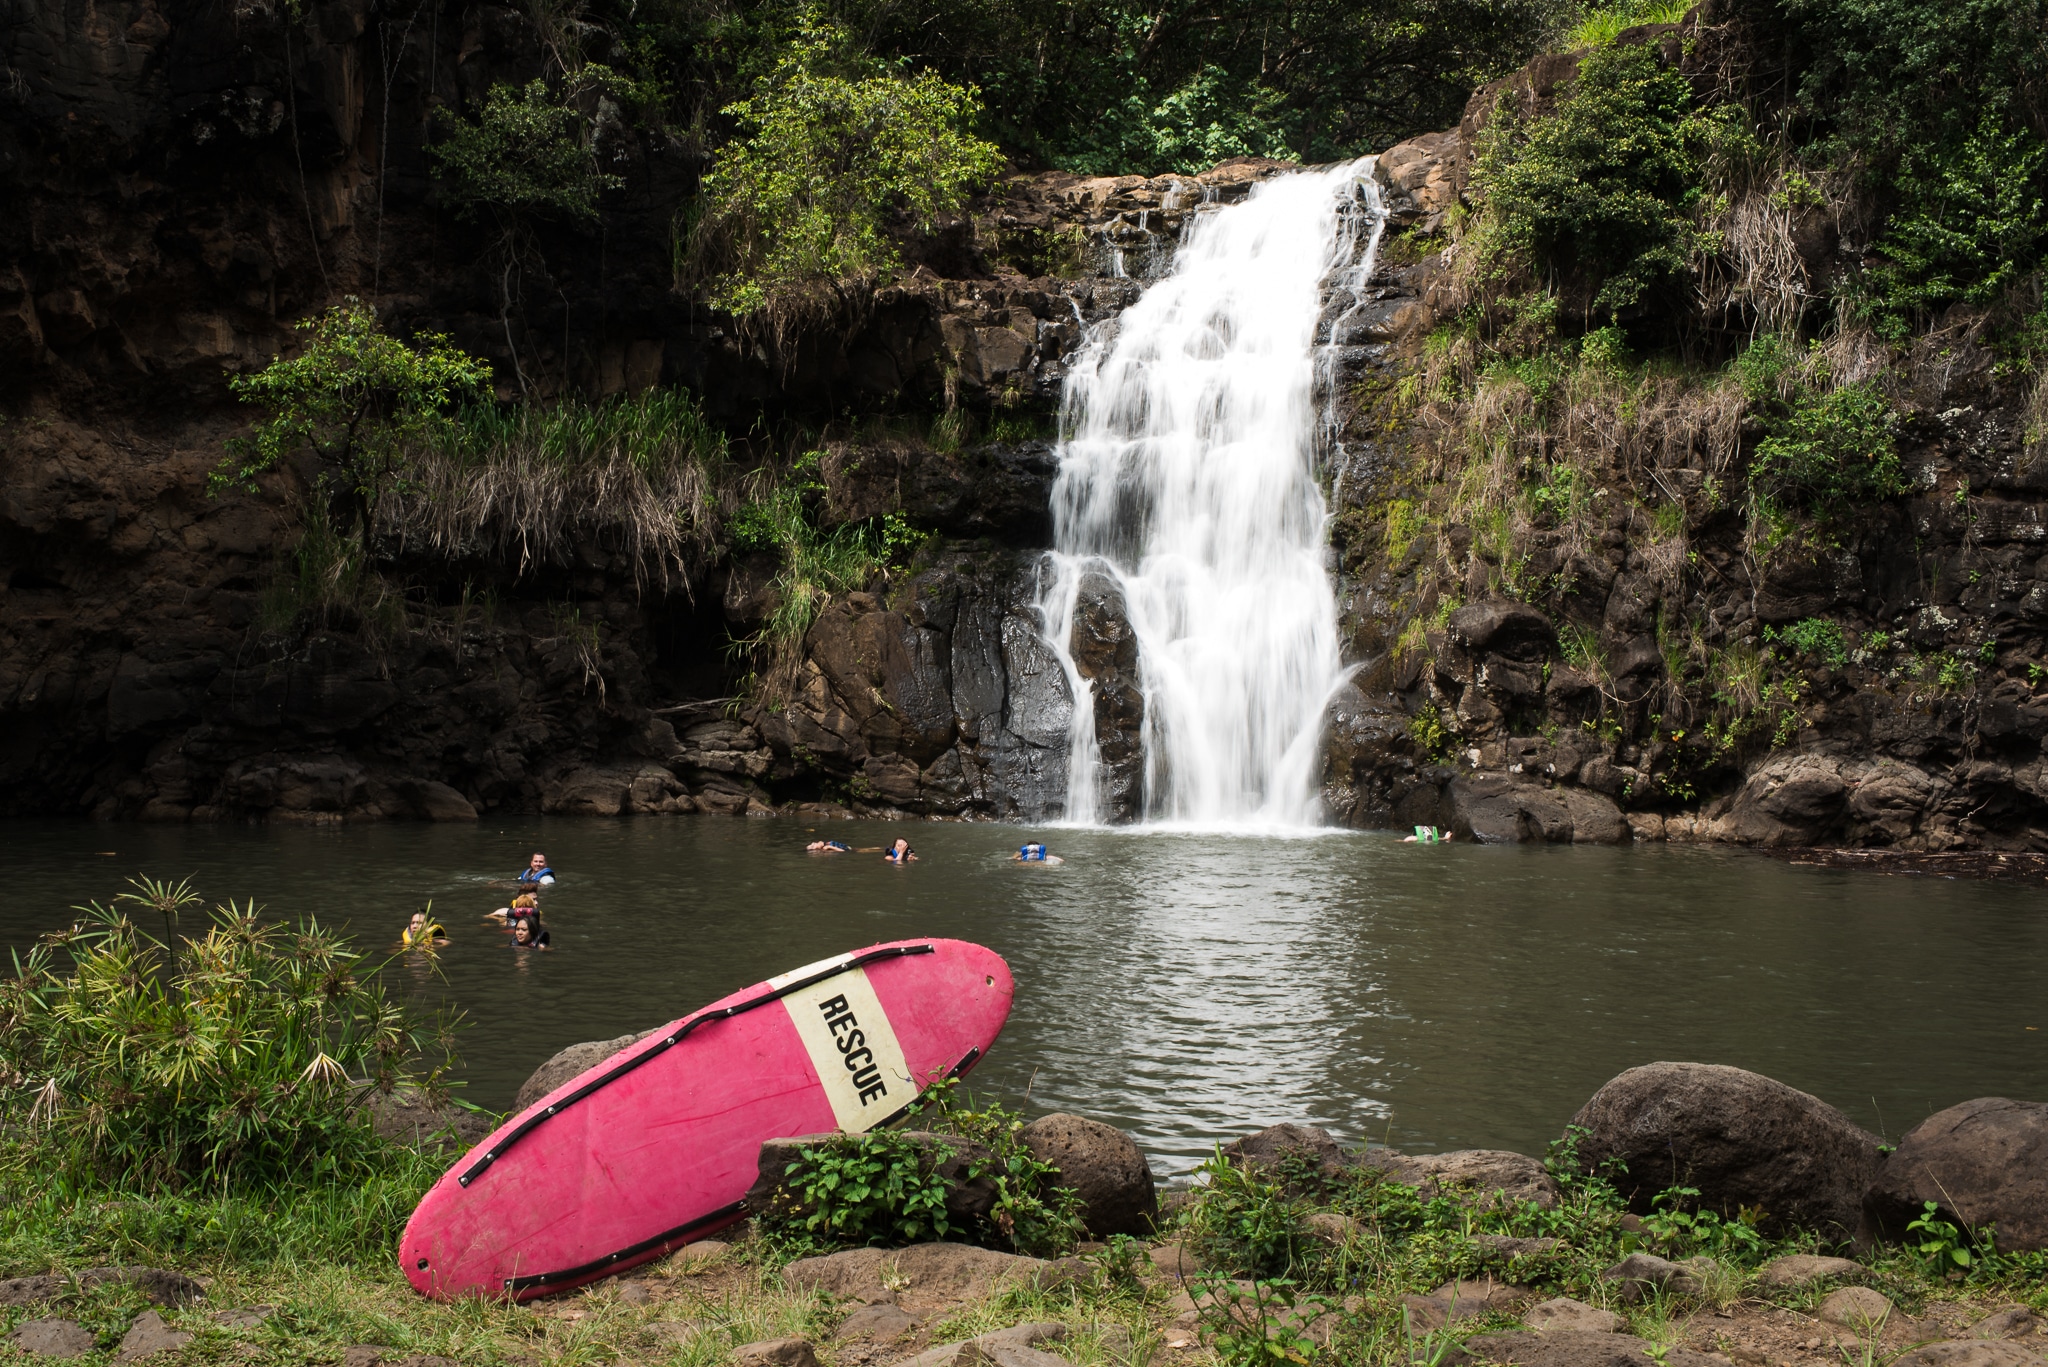
f/16 | SS 1/13 | ISO 50mm – Nikon 35mm
How to photograph fireworks
Hand holding your camera while using a longer shutter speed can be quite tricky. You need to spread your legs a bit to steady yourself and lock your elbows as if you are a tripod.
This shot was taken during the New Year’s Eve celebration at Disney World so you can image how crowded it was which made a tripod not an option. I did however want to capture some of the movement of the fireworks.
I decided I didn’t want to leave my open for too long because I did want the fireworks to appear sharp but still show some of the movement.
Read more: Easy Steps to Create a Starburst Photography Effect Day or Night
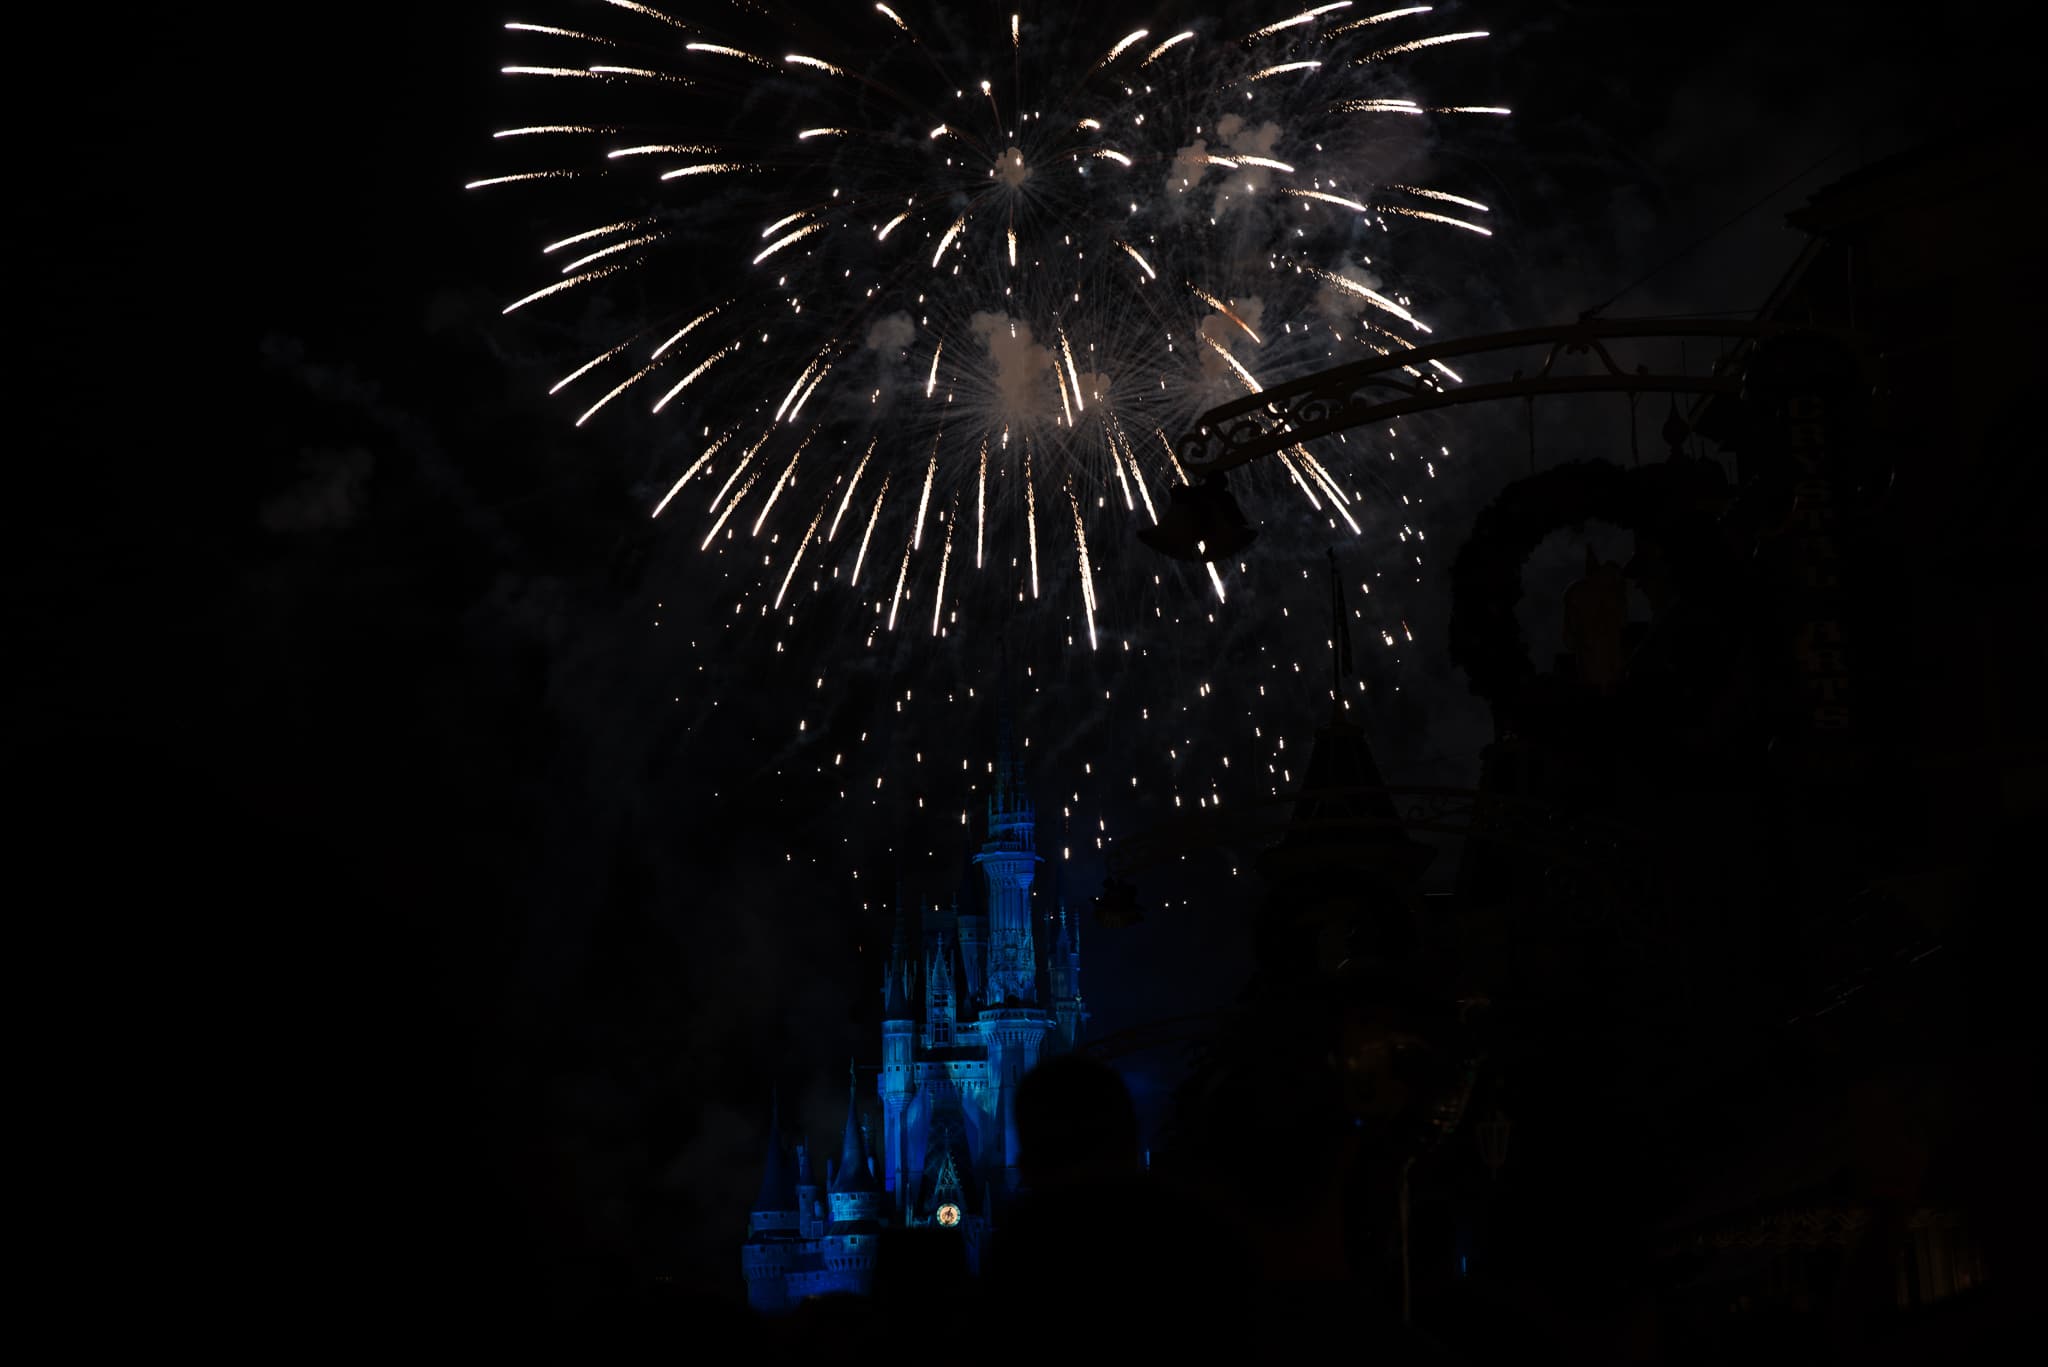
f/5.0 | SS 1/10 | ISO 100 – Tamron 24-70mm 2.8
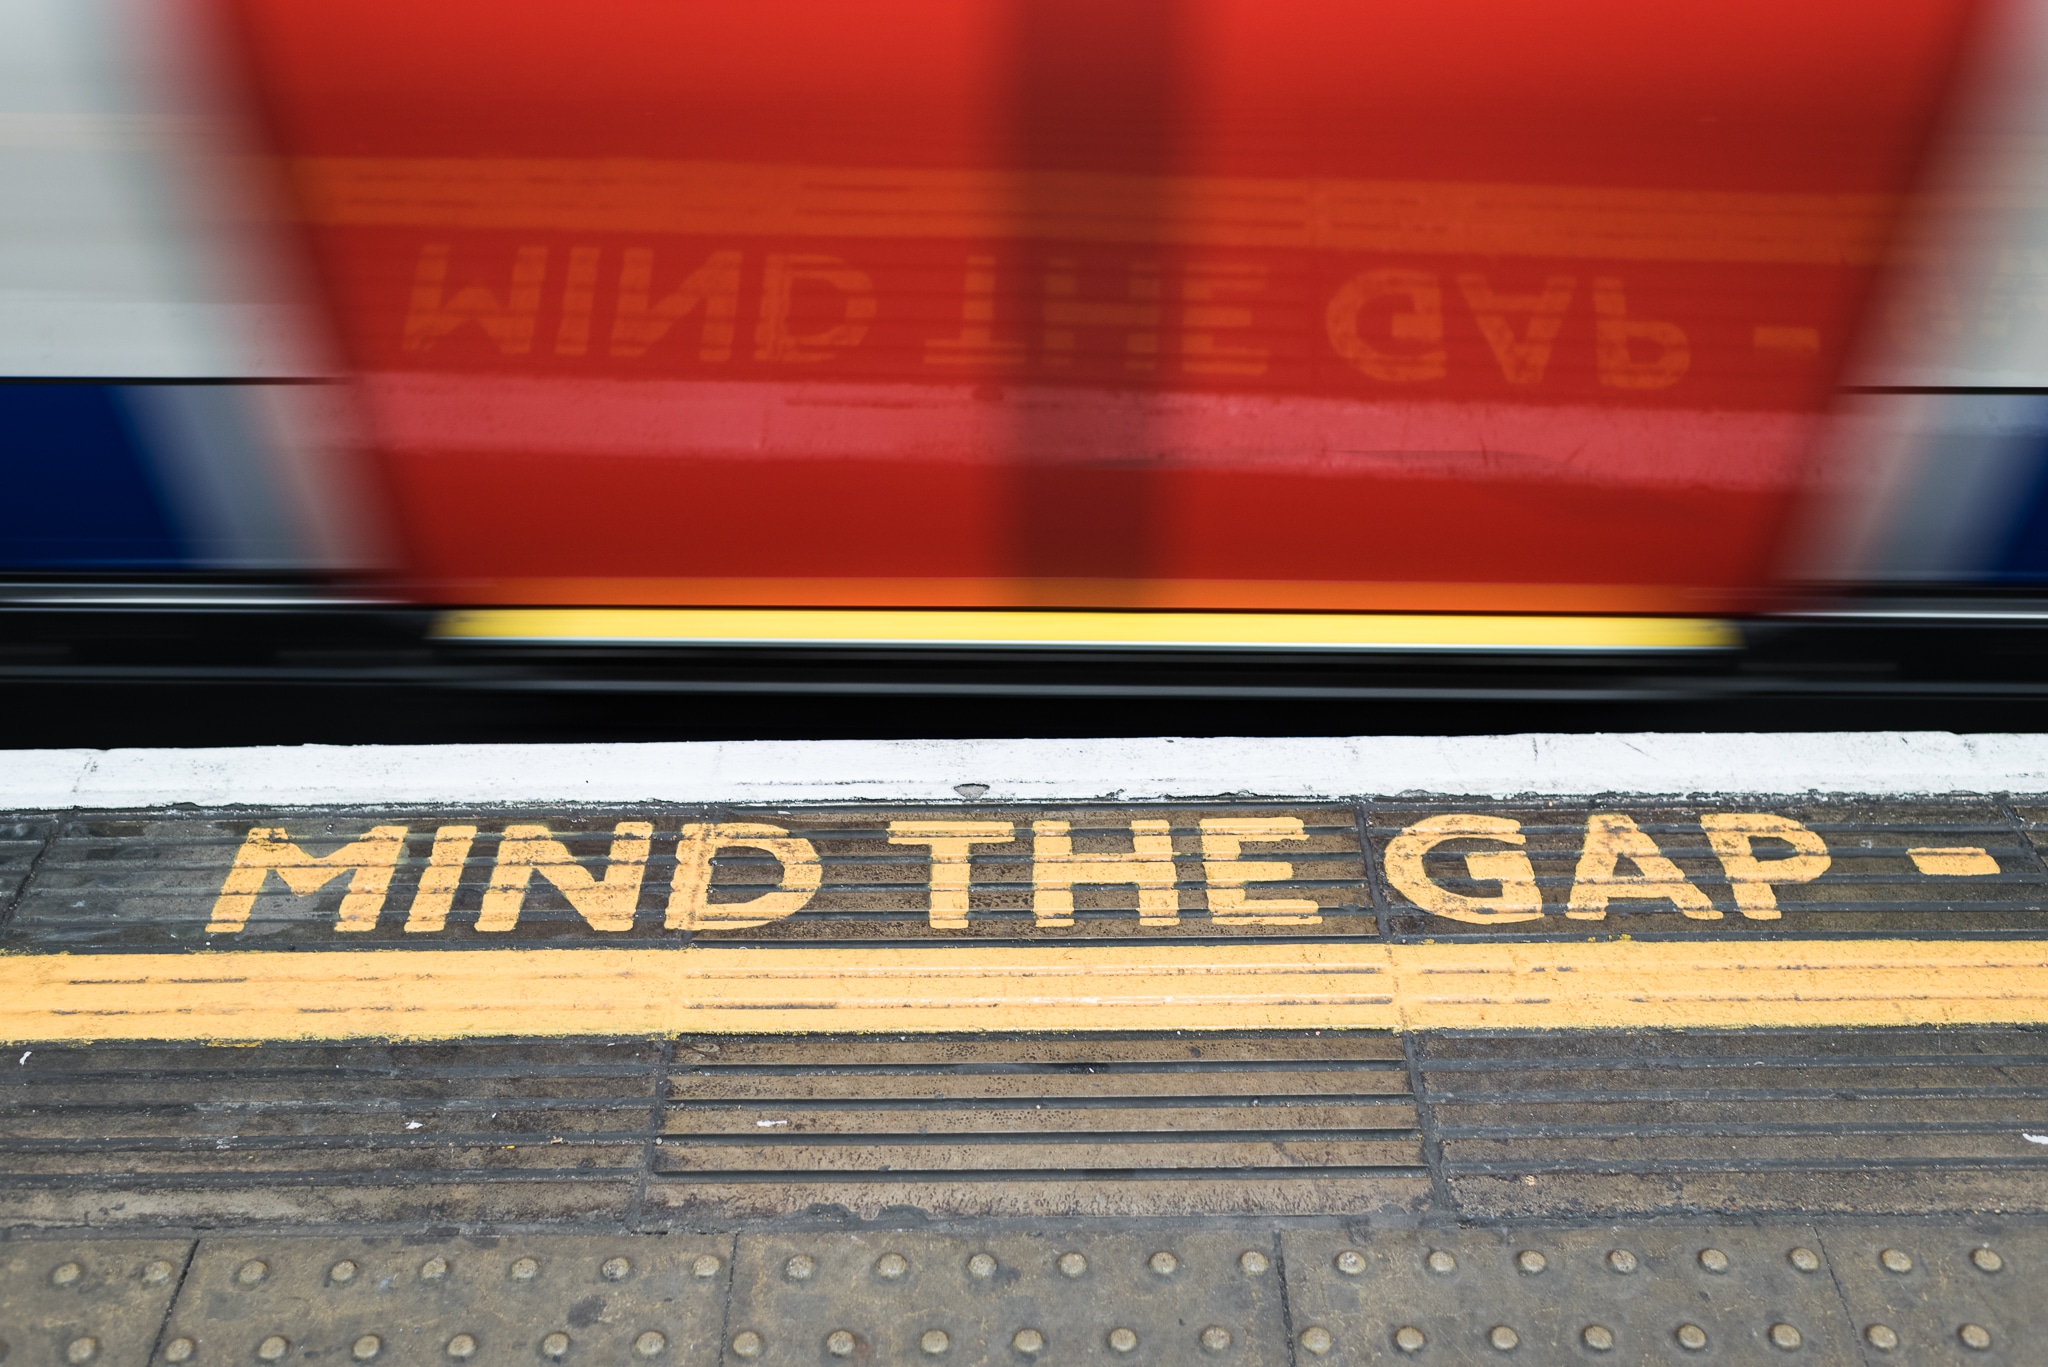
How to use slow shutter speed with street photography
When I’m traveling I love to show motion blur with my street photography. I love to capture the busyness of a city we may be visiting. There is something about showing that motion of people and cars passing by that help gives the feel of the hustle & bustle.
This shot was taken while we sat at a cafe in Paris. People were quickly walking past and I wanted to capture that. I steadied my camera on the table and adjusted my settings accordingly until I got the right amount of blur to show that it was people walking.
You’ll notice in my settings that my aperture is stopped down (high number). I did this to cancel out the amount of light the shutter speed was bringing in.
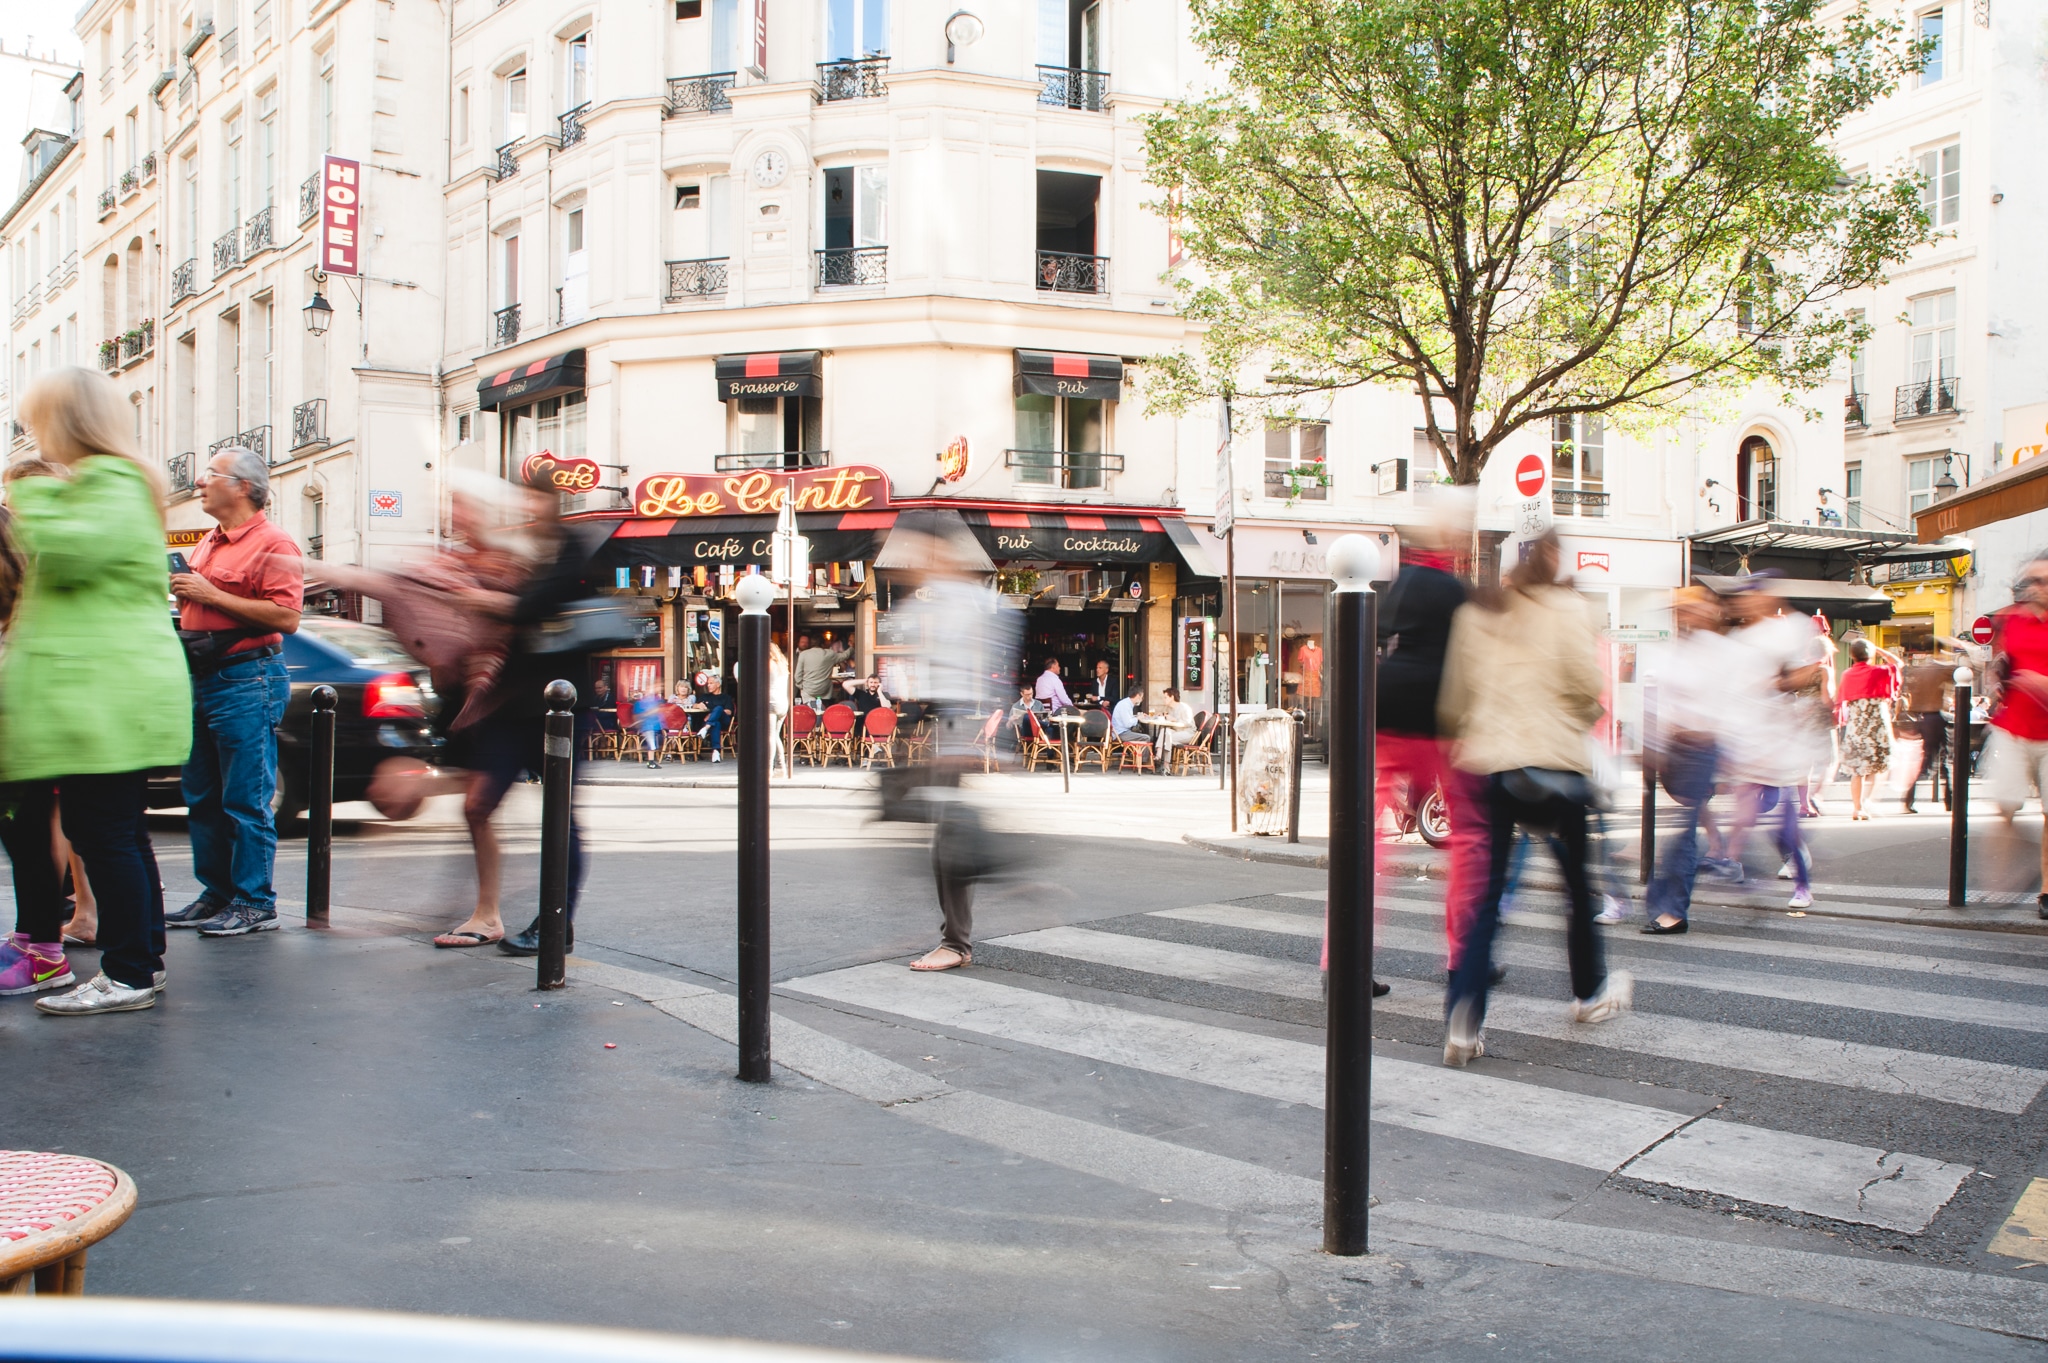
f/22 | ss ¼ | ISO 100 | Tamron 24-70mm 2.8
How to photograph star trails
Star trails require more of a long exposure than just slowing down your shutter speed. It would take anywhere from 30 minutes to several hours. Look for a dark location with something interesting in the foreground. This requires taking taking multiple shots for 30 seconds at a time. Don’t forget to use a remote or shutter release. This makes sure you don’t accidentally shake your camera when you push the shutter button.
You can read more about creating star trails photos.
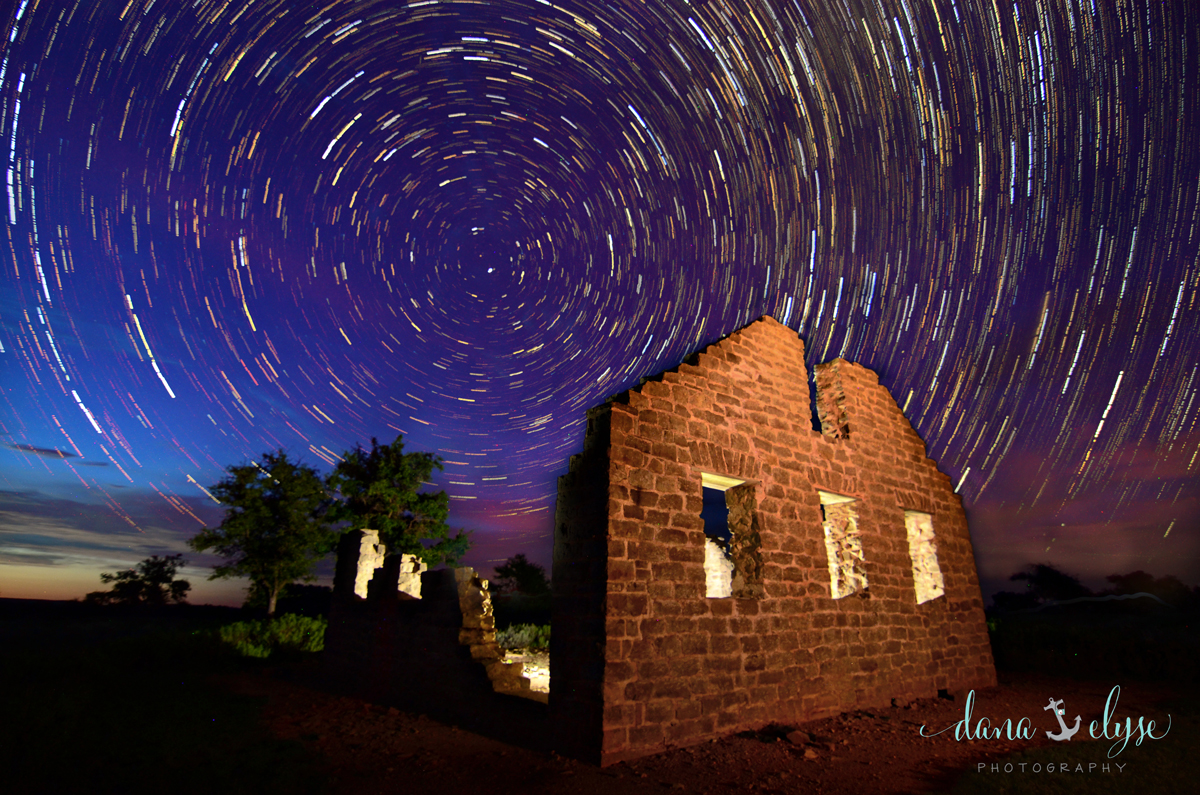
credit: Dana Elyse photography
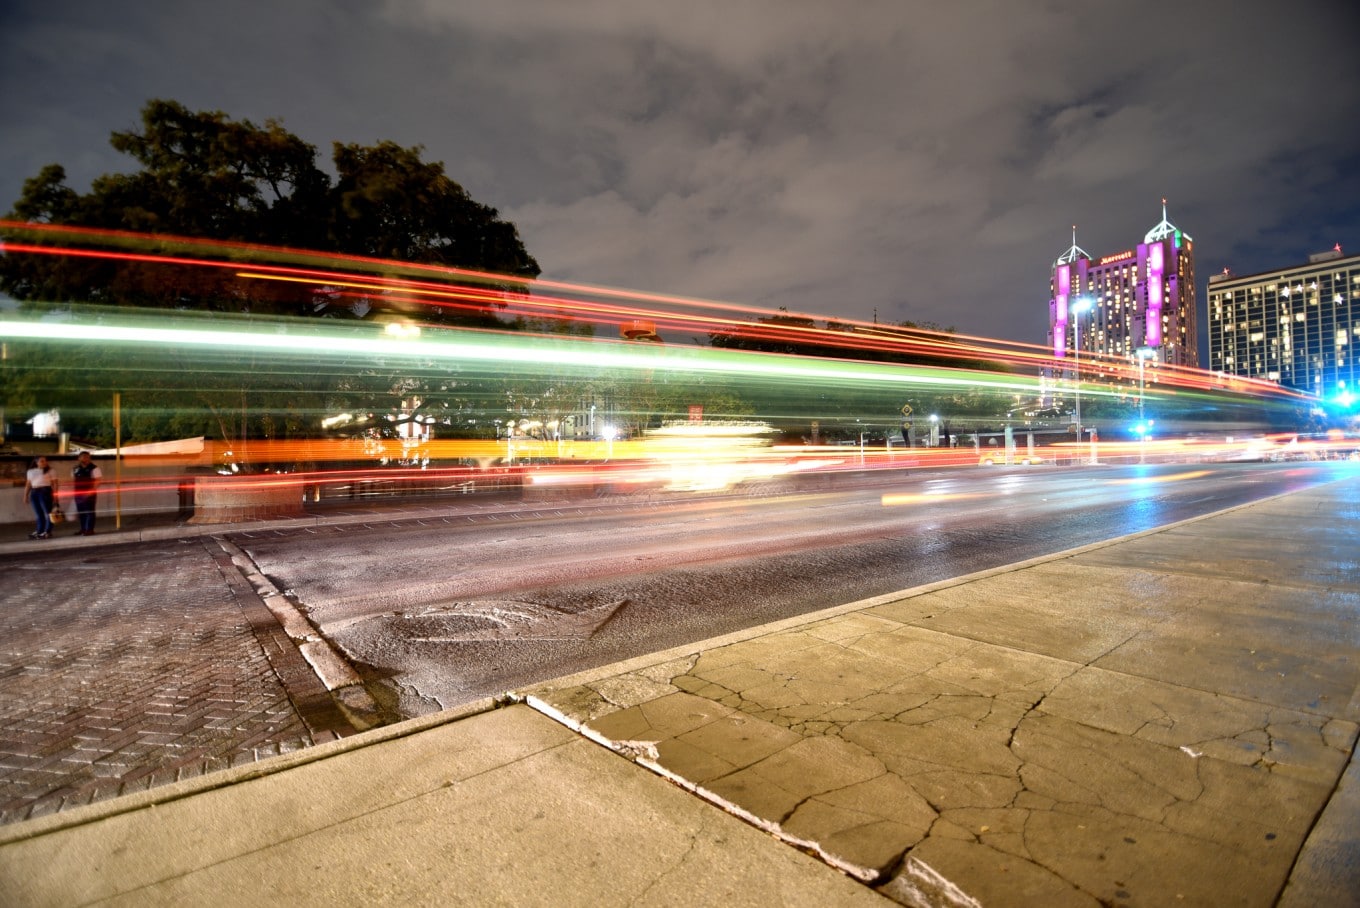
How to use slow shutter speed to photograph traffic?
Adjust your shutter speed until you get it slow enough to show the light trails. If it is too slow you can’t tell they are car lights. If it’s too fast then do you don’t create the trails. This may take a few test shots to get it right.

As you play with your shutter speed to photograph moving subjects keep all these tips in mind.
How do you decide on the exact number of your shutter?
That depends on each situation and the exposure time you want to capture. You may slow your shutter down but when you take the photo it was slowed down so much you couldn’t see your moving object any longer. At the same time, you could set your settings and realize the shutter isn’t open long enough as you didn’t capture the motion blur you were going for.
There is quite a bit of trial and error in finding the exact shutter speed you need for your photo. Don’t get discouraged!


I love this! I have been trying to find the right settings and now I finally have a nice tripod to be able to really work on this. Love this effect.
just bought glow sticks and will be trying this very soon! great shots – really beautiful!!!
blessings,
jill
This has been on my brain since your photo with the kids running through your kitchen. I tried the other day, but didn’t use my tripod, duh… Can’t wait to try again. Thanks for the tips!
Great photos. I really need to get out and take some night time photos. I love the one of you standing there and them running by you. So cute.
One of my favorite posts thus far. Maybe, it is due to the fact that I was thinking last week that I wanted to try a few photos, such as these. Maybe, that will be my goal this week.
I enjoyed them all!!!
oh, I LOVE doing these. However, I never do it! I really must make time for this. Nicely nicely done!
Love this, Courtney. Thanks for the tips! I want to do a traffic picture. . .maybe Paris this spring? Oooh!
thanks for the tips!!! so much I want to try!
picture number 5 is amazing good did it take many shots?
Yes, it took me a while to figure out I needed to pick a spot on the wall to start and stop at so the heart would meet in the same place!! It was fun though!
I meant parent in motion because you have mum standing so it would be so easy to have some blur but she is so crisp
I’m sorry! That is actually me…so yes it took some practice. I focused on an area of the wall where I thought my head would be. Set my camera and tripod up with a remote. Then I stood VERY still :O)
Inspired to try more of this!
Thanks for putting it all in a nutshell, easy & short, can’t wait to read the rest. This made my day! Thanks!
Fantastic! Have fun playing around with it!
I stumbled upon your blog because of the Favorite Things giveaway…but finding your blog was a gift :) I can’t wait to spend more time reading your helpful tips, in a way that I can understand! Thank you!
You are so sweet :) Thank you!
One of my favorite things to come up with I love using a slow shutter!
Me too :)
Great ideas! I need to venture over to the creative side :-)
Head over…you’ll love it ;)
During a 30-day project this summer, I played with this concept a bit. My favorites included a neighbor girl running (black and white), a flag flapping against the backdrop of a blue sky (daytime), and pictures of freeway cars at night. I stood on an overpass (it took a while to find one that didn’t have street lights), and took pictures both directions (facing east, and then facing west). Because the overpass has chain link to prevent falls/jumps, I had to wedge my camera lends between the links and make sure to focus beyond. I couldn’t use the tripod, so I had to brace the camera with the fence. My husband and I also found an app for our iPhones where you could turn the screen a solid color (and change the color between shots). Then he stood in the dark and made shapes. He made a sweet pink heart for me, and it is surrounded by complete blackness. I made sure he started the motion before I clicked, then kept moving u tip after the shutter closed so we didn’t get hotspots.
Sounds like fun :) Love that your husband was so helpful.
I also heard in a Tamron seminar that you can use shutter speed to render people invisible. The teacher was in New York and taking a picture of a balcony garden between two buildings. At the far end, you could see a few skyscrapers. It had great symmetry and leading lines and color – and then she revealed that 30 people were walking in the frame. Because the landscape wasn’t moving, so set it for a 30 sec exposure and since the people were always in motion, they didn’t show up in the final shot. It was a cool idea for not letting tourists/lots of people ruin your shot.
That is a great idea :)
Fantastic stuff! Another cool effect that is similar in result is panning. I love slowing down the shutter and following my son zooming by on his scooter or bike. It’s hard to nail it, but when you do, it really makes the speed and movement pop, because of the blurred lines of background sliding by.
Yes, panning can be a lot of fun :)
best articel
http://www.tarastika.pl
so happy to have come across your site
https://www.spreaker.com/user/ambientmusic/psychill-music-for-sacred-moments
Great write-up, I’m regular visitor of one’s website, maintain up the excellent operate, and It is going to be a regular visitor for a lengthy time.
wretye5ryabcd.com
So how do you choose these shutter speed numbers: The water 2.5 seconds, the cars 13 seconds, the light 6 seconds….
page}.
https://twitter.com/katekdesigns/status/988392651786473472
Hi Courtney
I love playing with slow shutter speeds for waterfalls and all sorts of other subjects. We had a session at the camera club I belong to in Bournemouth when we had a young lady performing with hula hoops with LED lights and various other things like glow sticks. I entered one of my shots in a club competition. It looks totally abstract and the judge couldn’t work out what it was or how it was done! Enjoy your time in the UK.
That’s a clever idea for slow shutter speed! Thanks!
Hi,
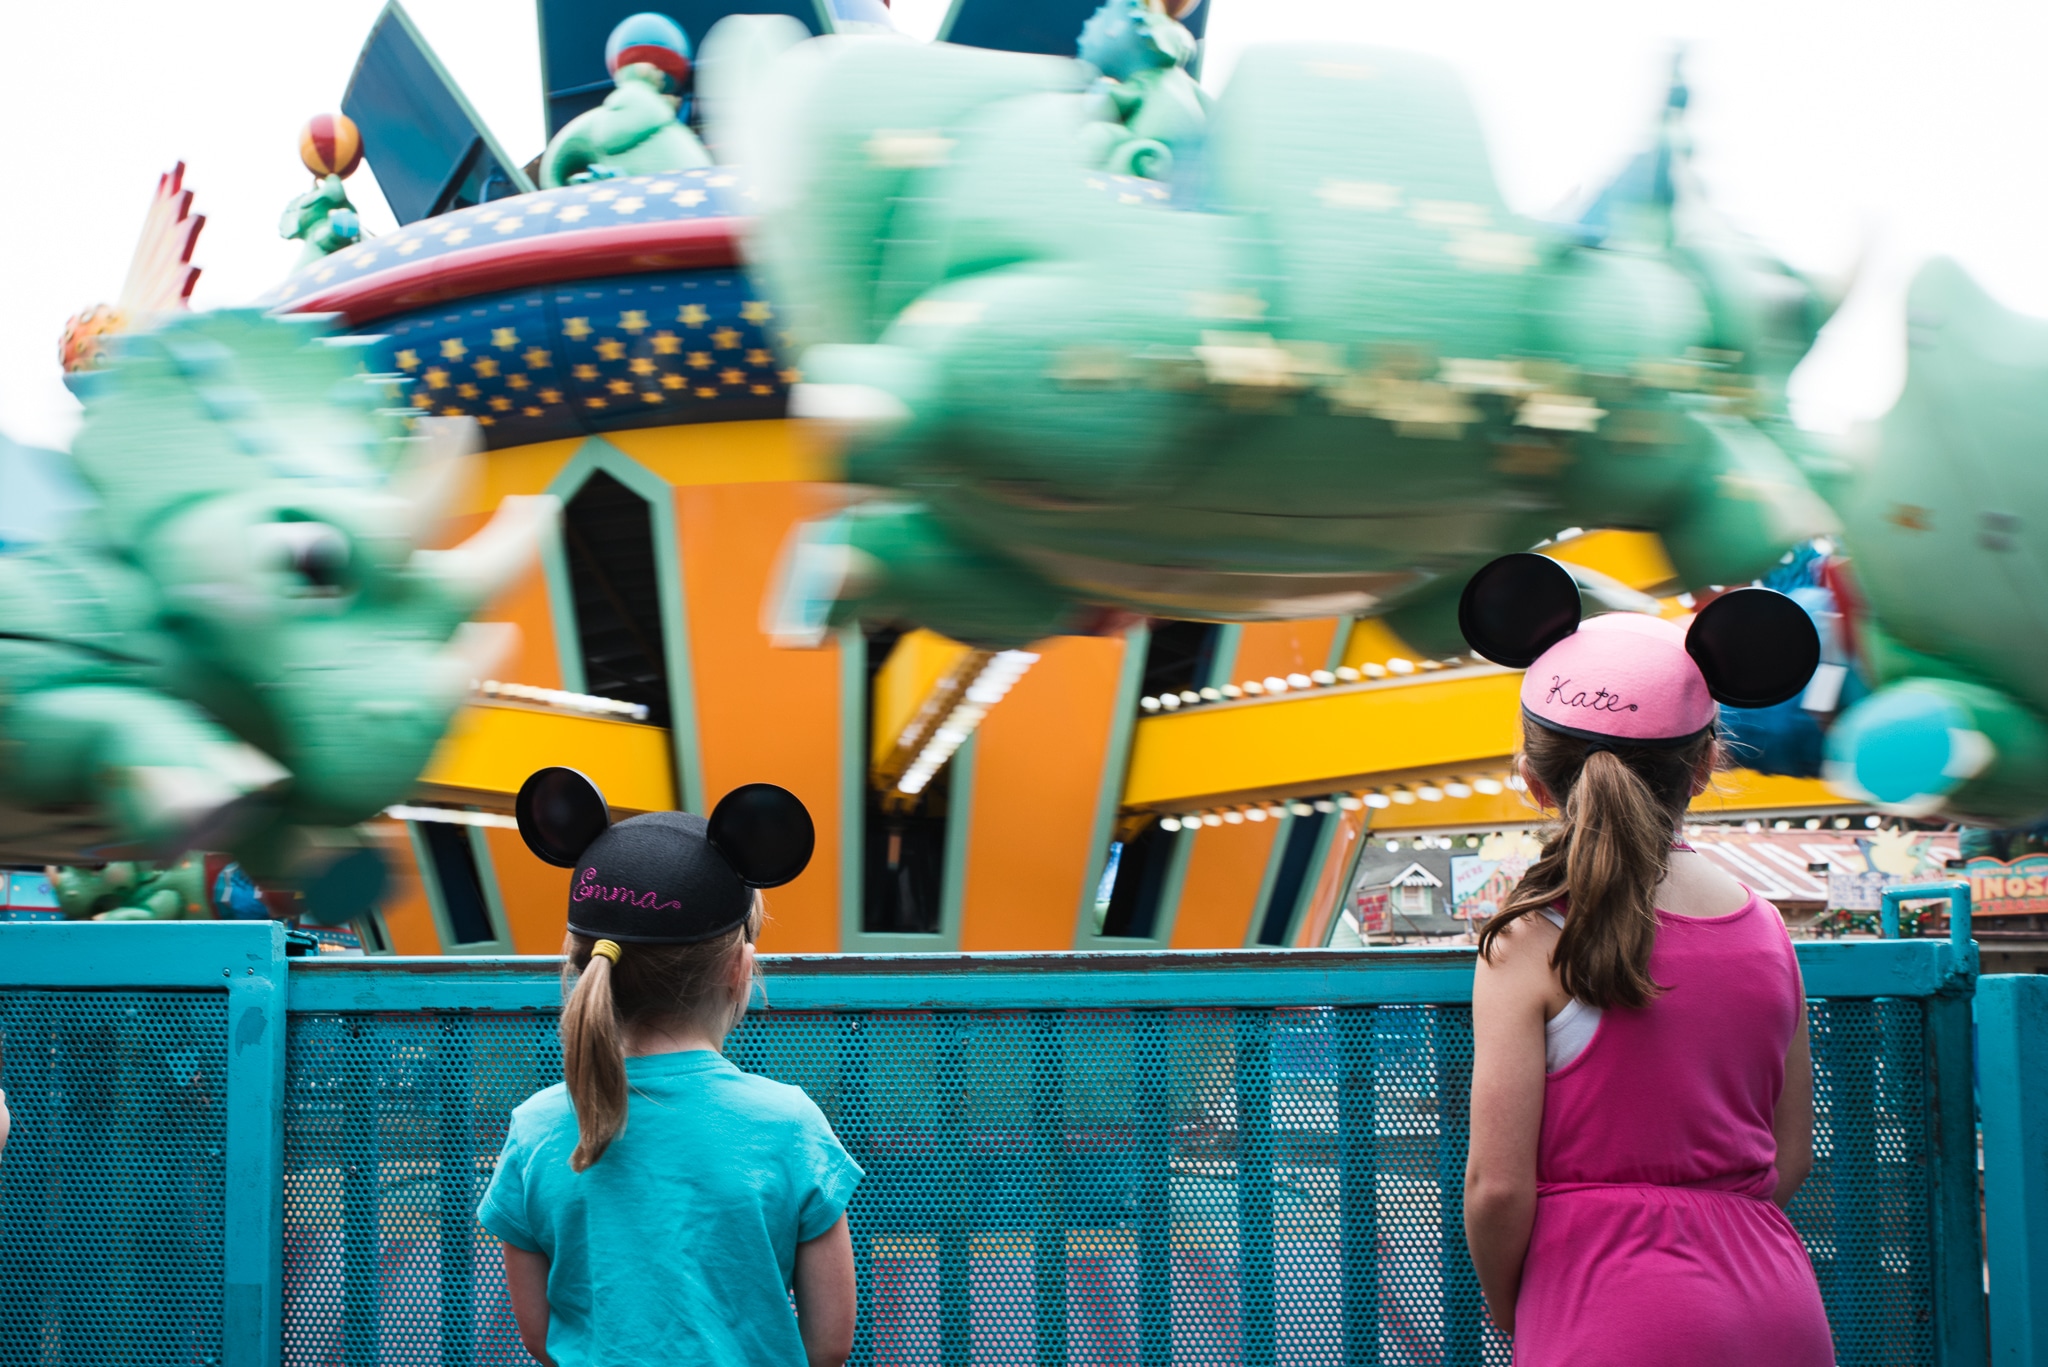
In the photo where your girls are watching the triceratops ride move, how did you blur the ride while still getting the girls sharp?
I focused on them and was very steady when I took the shot.
Thank you for enlighten on this. Tons of Info to share.