What is Calibration?
Calibration, in my opinion, is one of the most important steps to getting consistent final images on the web as well in print, and also one of the most forgotten.
Calibration is used by photographers, graphic designers, video editors, and any other profession that uses a computer monitor and needs to view colors in their true form. It is a way to control your color process in editing and then later in print. It improves consistency, which is a must for professionals.

For photographers, monitor calibration is important for several reasons:
- We usually share our images online. Because social media and website presence is almost mandatory in our time, monitor calibration is important to portray colors accurately.
- Accurate colors on a monitor ensures accurate colors in print. Calibrating a computer monitor is an easy way to ensure that what you see on your screen after editing an image will be what you see in your hand, once you have your images printed.
- Monitors see colors differently. From brand to brand, time of day, and even over time.
- You will see other’s work true to life. After calibrating, what you see is what you get. So whether surfing the web, or studying other’s work, you’ll see the colors as true.
- If you are in business and selling your work to clients, calibration is a must.
How Do I Calibrate?
Calibration is easy, but of course it requires more equipment. Insert eye roll here. What an expensive hobby/business!
Read more: Photography Business: Start Up Cost
*This post contains affiliate links. Thank you in advance for supporting Click it up a Notch!
-
No.01Acquire a Calibration Device
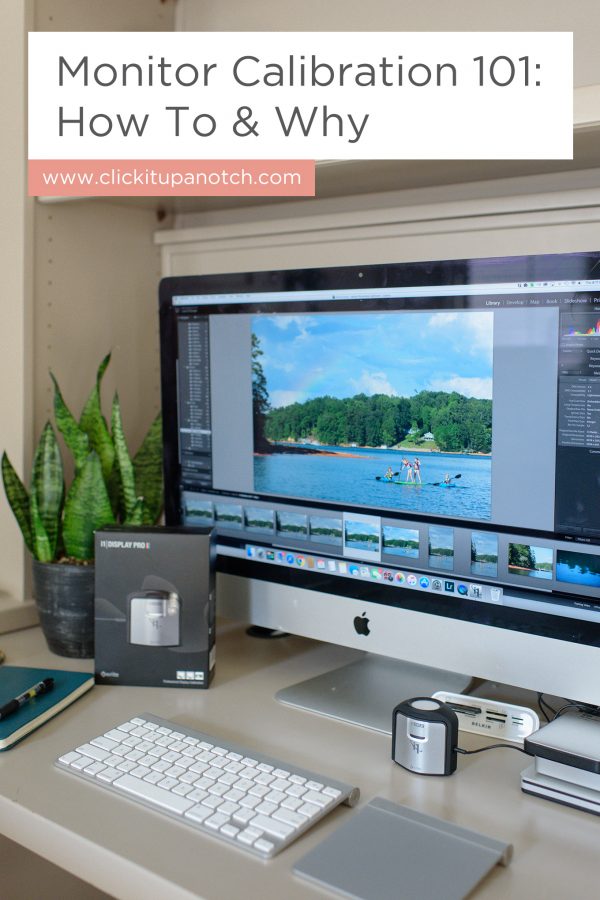
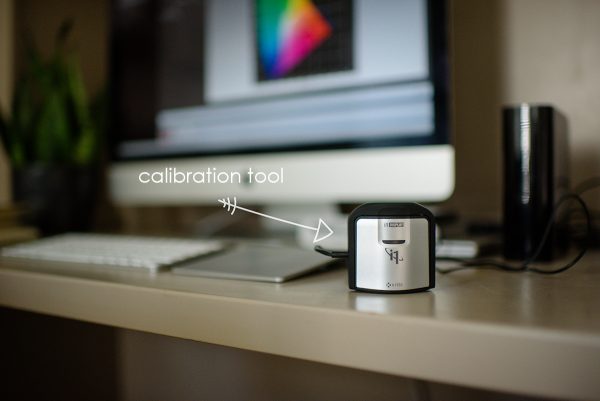
Currently, I use the X-Rite i1 Display Pro. I like it because not only does it calibrate the color of the monitor, it also adjusts the brightness of the monitor which can affect printed images. Also, it can monitor ambient light conditions which can affect how we see the monitor color. Last, the X-Rite can be used in conjunction with the X-Rite Colorchecker which is a tool to form a camera profile for Lightroom or ACR.

Other more affordable options include:
Datacolor Spyder Express (I have used this one in the past with good results)
-
No.02Let Your Monitor Warm UP
The monitor takes about 30 minutes to warm up and should be turned on for half an hour prior to calibrating.
The device will come with software. From there its a matter of following the directions on the screen. There are auto and advanced settings. I go with the most basic settings to get my monitor’s color, contrast, and brightness consistent.
-
No.03Monitor Type and Technology
This step may require a little research. Your device may need a little information about your computer monitor in order to proceed. You’ll need to know what type of monitor you have (white led, plasma, etc.), whether or not you would like to monitor ambience light (depending on the model of device, etc. A quick internet search or a visit to your monitor manufacture’s website should have the info you need.
-
No.04Calibrate!
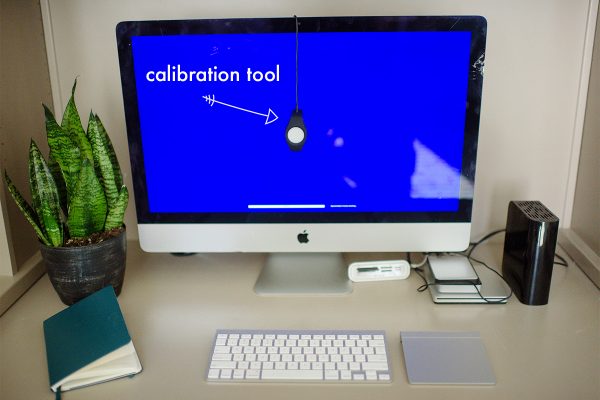
Place your tool on your screen (don’t worry, you’ll be prompted!) and start the process!

The software will take you through the steps and lasts only a couple of minutes! The screen will flash through different shades of colors and grays, while it sets up the profile.
-
No.05Approve the Results
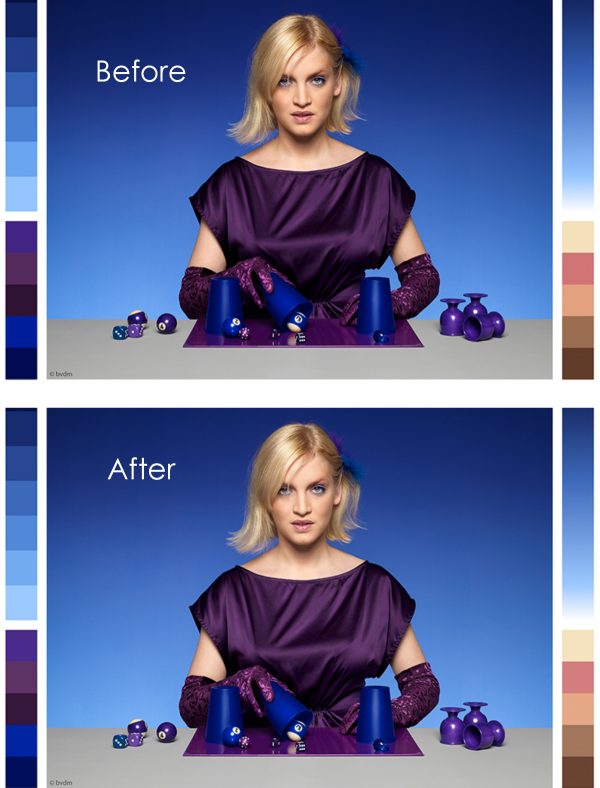
As you can see the before and afters are subtle for my computer. I’m using an iMac, so the colors tend to stay in a normal-ish range. The contrast, however looks like it was off, which can be seen most in the shadows. A laptop I had in the past was a drastic change in color and contrast after calibration. The screen would light in beautiful color and tones after calibration, which was an eye opener!

-
No.06Re-Calibrate
Because the monitor can shift over time, calibration is required every couple of weeks. Most devices will set up a reminder for you, so you don’t need to remember yourself!
What If I Don’t Want to Buy a New Device?
Photography is expensive. I get it! It seems like at every turn, there is something else to buy. Here are a couple of ways that you can determine how well your monitor’s brightness, contrast, and color are without spending a dime.
See if your monitor has built in calibration tools, which can allow you to change your gamma to 2.2 (if needed) and adjust brightness to determine if the full range of grays are present.
A quick google led to me to this great tool by Photo Friday.
Happy Calibrating!


It’s very important to professional phography to calibrate the monitor!
I have the Colormunk Display…
Thanks
http://www.pavaofotografia.com.br
I love all of your helpful posts!
Under the “Calibrate!” section there is a grammar error. I just wanted to let you know.
It says “…what you see is what YOU get.” ;)
YOUR* ^^^ sorry. My phone auto corrected it.
Note; on most Apple monitors one can calibrate the display by going to the Preferences and choosing Display and the Color.
Yes, that is a basic way to ensure your color is in the ballpark (with Apple computers and other brands as well). The problem is that changing the gamma doesn’t take into account that the monitor shifts over time (color, brightness, contrast). For hobbyists, just making sure the gamma set properly is fine, but for professionals looking for consistency between monitors and prints, I highly recommend some sort of calibration device that can monitor the colors we see externally and change the profile accordingly on a regular basis.
Hi Laurie,
Glad to say Hi to you. Thanks for your help. I need your help :-/ I just starting with mac platform, it is my 1st time editing (processing etc) in Mac. I bught the spider calibrator (following your advice)in order to have my monitor propertly calibrated, the thing is that my clients 99% of them have PC not Mac, and in Mac my finals pictures after lightroom, photoshop, etc, they look perfect in my screen but not in PC, when I pass them to PC omg the pictures change everything, light, shadows, saturation, colors etc… They look awful on PCs, what can I do? I can not give my pictures to my clients like that, it is because the color profile? Just because de monitor? Help me please, how can I do to make them look like in my Mac? Thanks!! Thank you so much in advance. Odmary
In a perfect world, everyone would be calibrated :) but they aren’t, especially people not in the photography/graffics world. All you can do is calibrate so that when the images are printed, they will be gorgeous and perfect. As for all those Unclaibrafed PC users, all of the colors will be off, everywhere on the web, so you just can’t worry about how they view them. They probably won’t know the difference, as their eyes aren’t as trained as ours are, and they are used to their screens. The only other options are: You could do in home sales where they see the images correctly, or proofs, other than that, what they see is what they get. If there are complaints, just make sure they print. :) Hopefully they won’t keep the images on their computer. Hope this helps! You aren’t alone. :)
Thanks for the info. , always appreciated :-)
Very interesting. I did use a Canon Pixma printer and I was lucky enough to have the prints exactly the same was what was on the screen. With my Mac there seems to be a slight difference, so I will have to seriously consider a calibrator.
[…] MONITOR CALIBRATION 101: HOW TO AND WHY by Click it Up a Notch […]
[…] MONITOR CALIBRATION 101: HOW TO AND WHY by Click it Up a Notch […]