As someone who processes the majority of her work in black and white, I’m often asked how I know what will make a good black and white image. Sometimes I’m asked if I “see” in black and white before I shoot as well as how do I convert to black and white. So that’s what I’m going to talk about today!
It took me a very long time to find my style. Frustratingly long! But between a few Clickin’ Moms courses over the past year as well as a lot of soul searching, I feel that I’m finally on the path to a distinct style. I have always loved black and white images and the majority of my images that I have printed and framed around my house are black and white. There is something so timeless about black and white and I love the way it removes the distraction of color and allows you to really get a feel for your subject and the emotion in the moment.
1. It’s all about the light
Before I pick up my camera to shoot, I like to observe the way the light is falling on my subject. Are they in evenly lit, flat light? Could I perhaps turn them so that the light falls across them in a more interesting way? This image of my baby pulling up on the bed is nice but the lighting is flat and her face lacks dimension.

I personally love shadows in my work. I love split lighting and the depth created by directional light. One of my favorite places to shoot is in a hotel room. There is usually lovely directional light to be found pouring in from the windows and you can often control the light by moving both the sheers and heavy curtains around. Some of my favorite images from last summer were of my daughter sleeping in our hotel room when we went to Disneyland. The room was nothing special, but the light was beautiful and allowed for some lovely shadows which gave the images depth.


A hotel room is nice, but directional light can be found almost anywhere as long as you are paying attention to the placement of your subject.
The little girl is sitting on the stairs in even light. There is a window just above her and a wall behind the camera that is reflecting light back onto her.

The image is sweet but it has a bit of a snapshot feel to me. In the next image the baby is sitting on the next step up from the little girl in the previous image. Light is streaming in from the window and illuminating this step creating beautiful directional light. In this case you want to properly expose for the brightest part of the skin. Note that the baby is perpendicular to the window. If she had been facing the window and I had been shooting from directly in front of her she would have been evenly lit.

2. Contrast is your friend
High contrast images tend to make good candidates for black and white conversions. When I was first beginning my photography journey and learning Lightroom, I would view almost every image with a black and white preset applied just to get an idea of how it would look converted. I credit this quirk with helping me learn to see in black and white before I shoot. I’m always looking for contrasting tones and lights and darks in a scene.
For example, a field of light pink flowers lit by an overcast sky would not be my first choice for a black and white conversion. I loved the contrast in the next image of the house with the branch hanging down from above. I took this on Halloween and I exposed for the sky so that the house and branch were underexposed yet still retaining detail.

3. Learn your processing software
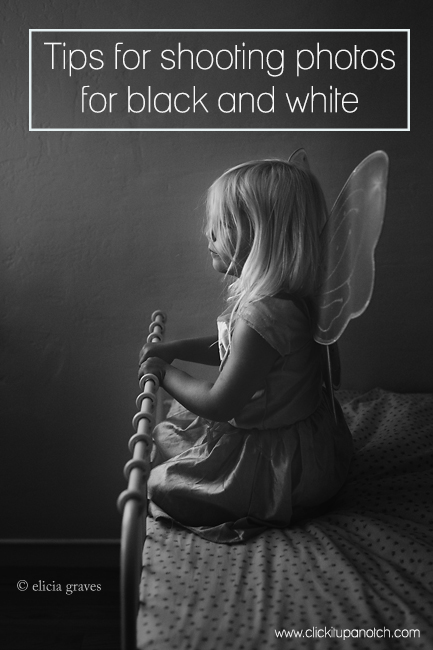
I personally like to do my conversions in Lightroom where I feel that I maintain a lot of control over my image. I will often use the Film Art Presets from Clickin Moms as my starting point. The sliders that I use the most when converting an image (either on my own by clicking “grayscale” or by tweaking a preset) include exposure, blacks, contrast and the tone curve where I play with the lights, highlights, shadows and darks individually. Sometimes if I want to add a bit of gritty contrast I will pull the image into Photoshop and add a curves layer set to soft light at about 20% opacity. Another Photoshop trick that I love is to “burn” the background a bit by adding a curves layer set to multiply, adding an inverted mask, and painting with a soft brush at 20% opacity on the background. I did just that in this image of my daughter on her bed. I wanted a melancholy feel to the image and darkening the background a bit helped bring about that feeling.

I challenge you to think about shooting for black and white images the next time you pick up your camera. Look at the way the light is falling on you subject, look for contrasting tones and work your post processing magic to bring about some lovely black and whites.
*Disclaimer: This post contains affiliate links. Thank you in advance if you purchase something and support Click it Up a Notch.
![]()


Love these photos. They are so elegant and timeless! Love love love
Aren’t they amazing!! Elicia is a very talented photographer!
this article is beatifully written! i want to be like yo when i grow up :) xoxo
I hear you! There are so many photographers I want to be when I grow up, including you Ms. Kelly :)
Beautiful article and what gorgeous images. LOVE!!!! :)
Didn’t Elicia do an amazing job! Such a talented lady!! :)
I loved this so much, your words are wonderful but the imagery is amazing! I am so glad to know you Elicia and call you a friend!! <3
Her imagery truly is amazing!! :)
Thank you so much for this beautiful article which has changed my world of black and white! The most important thing is now I thank those shadows which I hate before. Again, thanks a lot
I love that Elicia has inspired you to embrace and take advantage of the shadows! What a difference they can make in your images :)
[…] in full sun – Split lighting with easy with 5 steps – Creating dramatic light in small spaces – Shooting for black and white photographs – Dramatic light: Start to finish – Silhouette photos: 10 tips for capturing them – Finding light […]
Just found this site! Thank you! I love it!
Although many of these tips are way beyond where I am at today, I have gathered a wealth of understanding and have pinned this article to return to time and again. Thank you for showing me what is possible and inspiring me to grow as a photo taker.
That last picture is truly angelic! I call it a Wow Factor photo!
I love black and white photo’s. I used to spend hours in the dark room, completely addicted to b/w photos. Now with digital I have trouble with making a b/w photo that I really feel looks right. This article really gives some great tips that help me decide wether a photo should be b/w or not. Thanks so much for your insight.