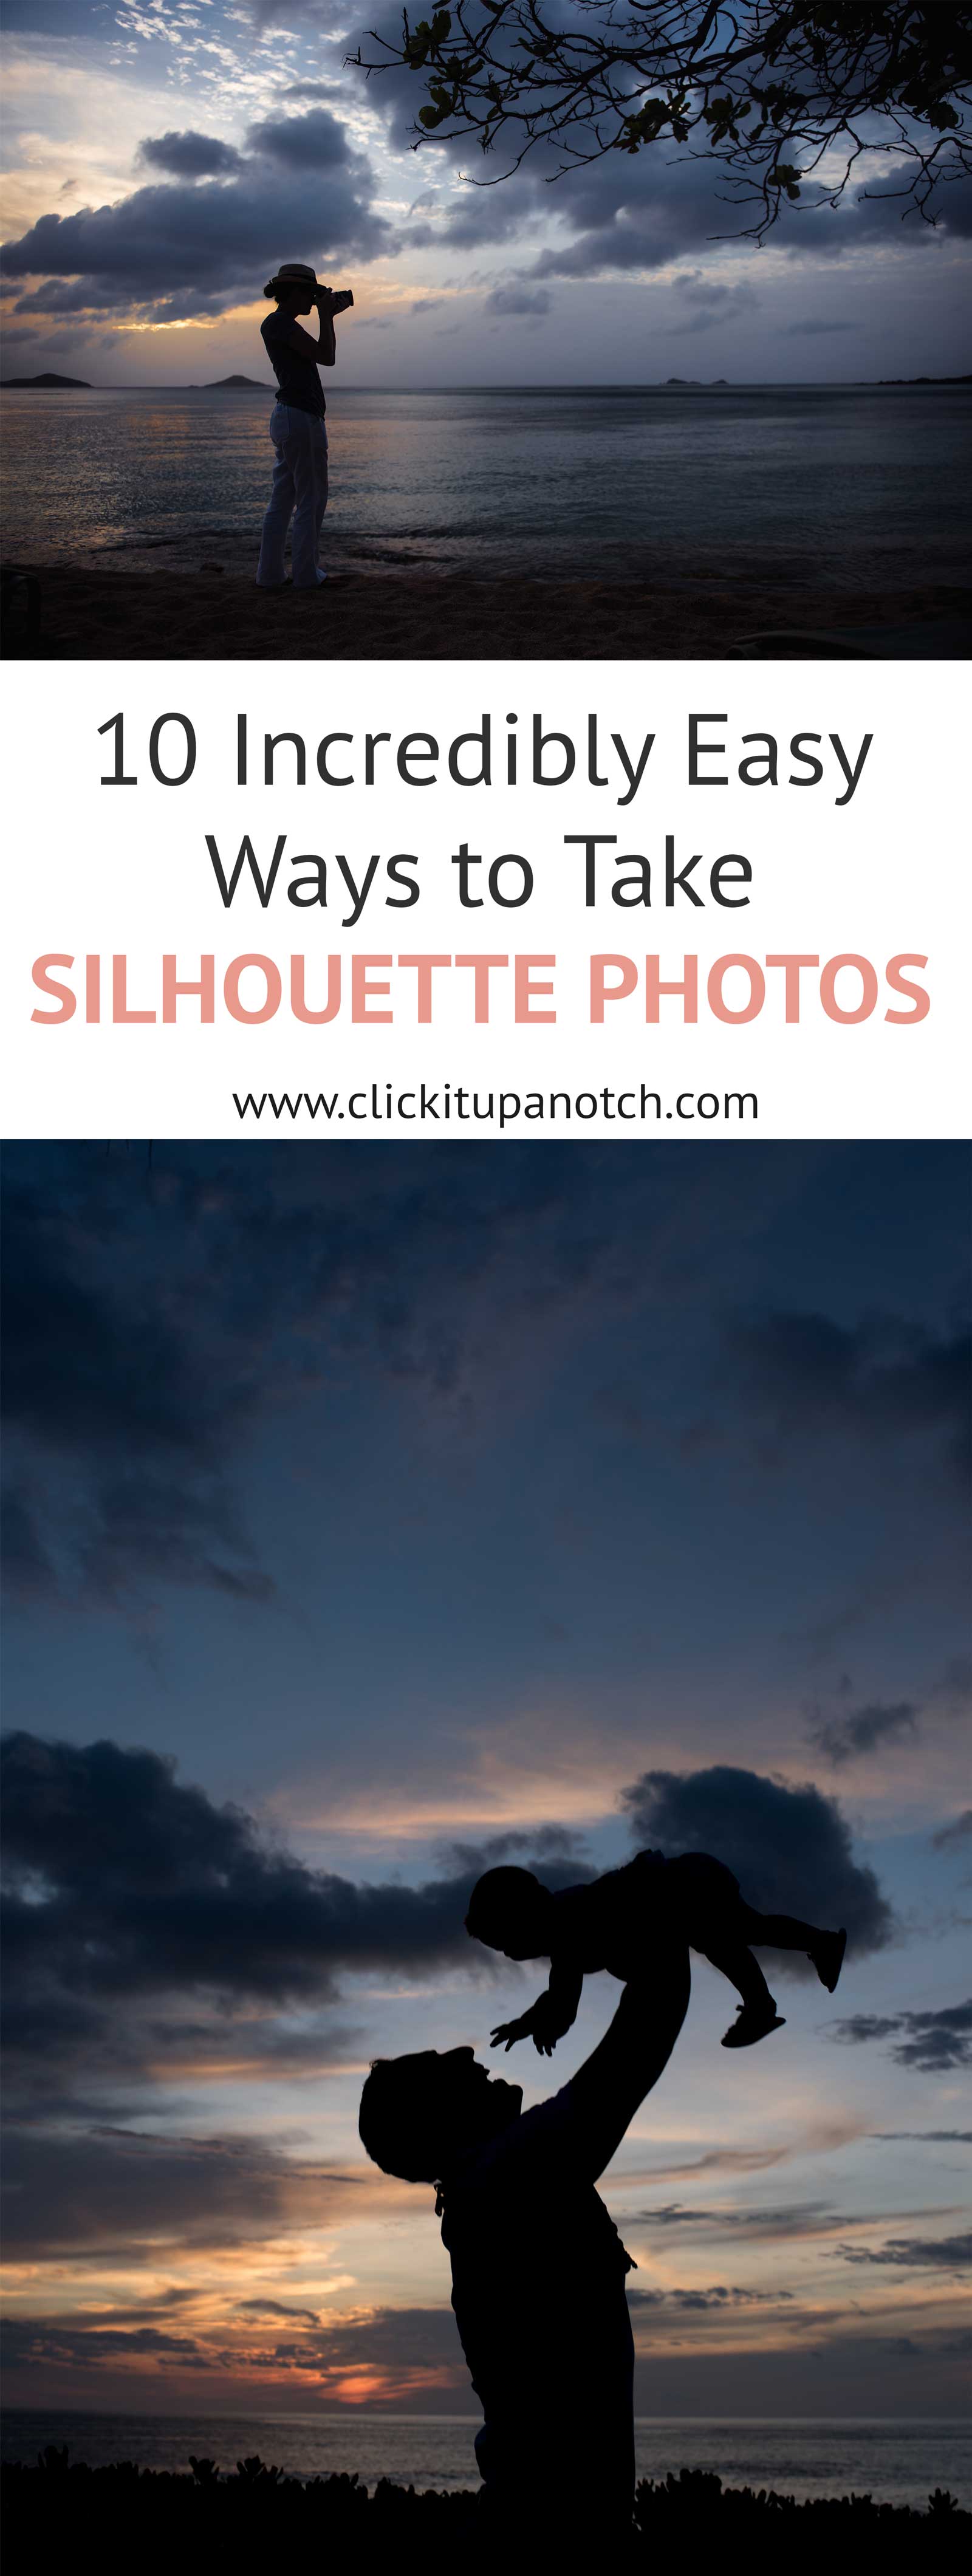
If you are looking to push your creativity & play with light, give silhouette photography a try. Silhouette pictures instantly grab your attention because of the contrast between dark and light. They share emotion and mystery which pulls the viewer in deeper to create a more meaningful connection to the image. And then a story is told. As photographers, that is our main objective. To capture and tell a story.

Read more: How to Shoot in Manual Mode
I need to be honest. Silhouette photography may look tricky and complex to capture. But they are not. Trust me. Follow a few simple tips, practice a little, and before you know it, you will be addicted to capturing silhouettes. I promise.
You may be wondering how to take silhouette photos? It is easier than you think. Follow these ten easy steps.

10 Tips on How to Master Silhouette Photography
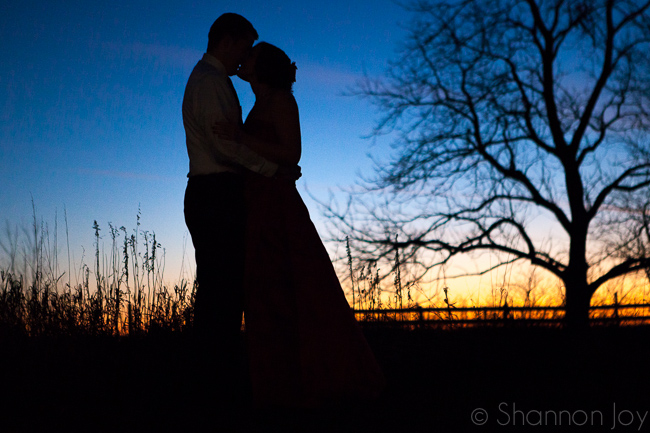
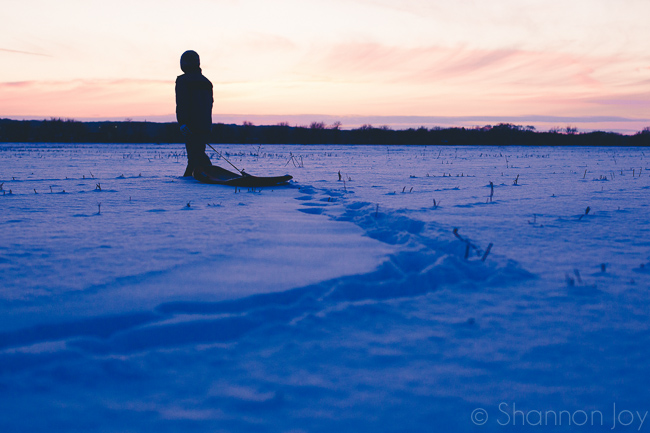
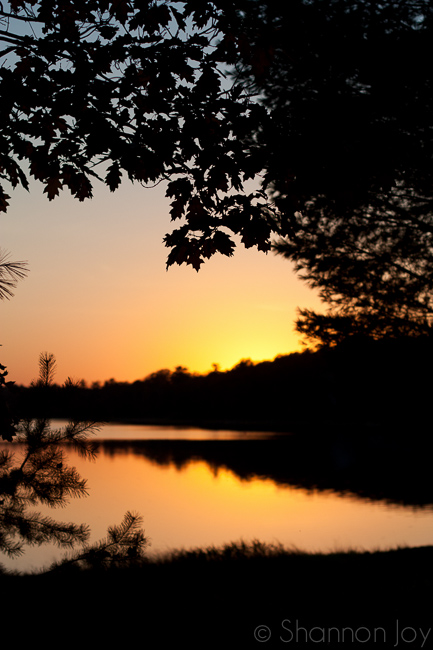
1. Consider taking a sunset silhouette photo, because the background needs to be brighter than the subject.
The main objective is to make your subject stand out. I often like to take sunset silhouette photos as the sun is low enough in the sky to perfectly silhouette the subject.
Read more: 7 Tips to Take a Sharp Photo
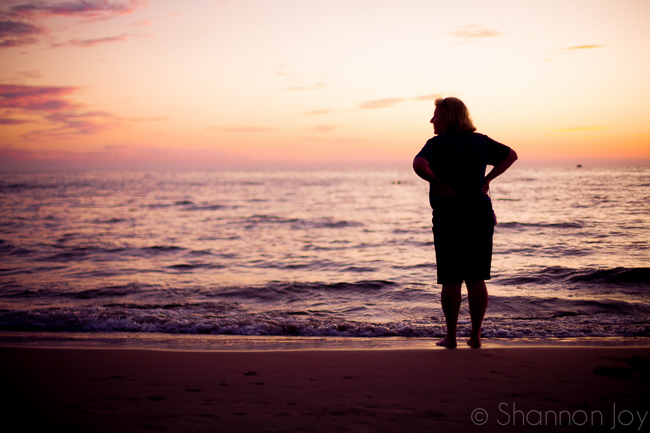
2. Then, choose a subject with distinct lines and shape. Your subject has to be recognizable in silhouette photography.
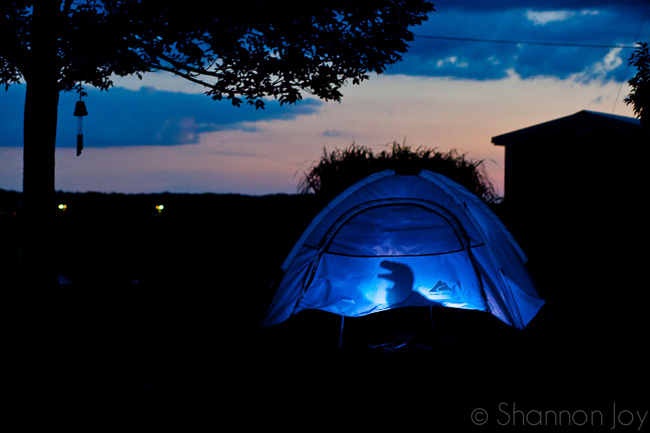
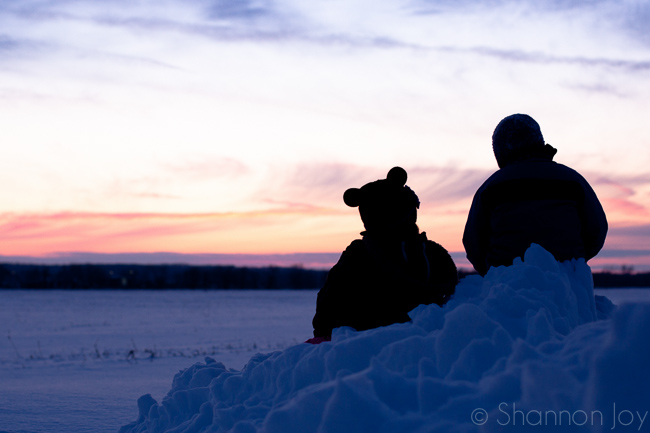
3. Remember, your subject should be isolated.
If there is more than one person in the picture, make sure they have a little space between them. Also, if there is anything in the background that is blocking the light or taking attention off of your subject, move your subject to a more open area to keep the subject recognizable.

Read more: 5 Tips for Freezing Motion in Photographs
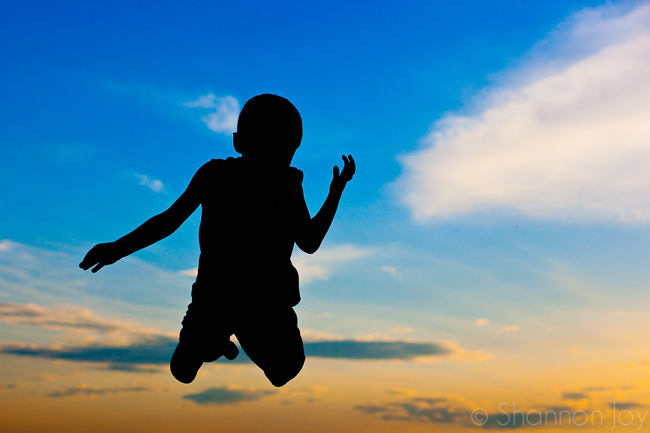
4. Next, get down.
I am often on my stomach when shooting silhouette photos. This allows for less background interference with your subject.
5. Now you are ready to shoot!
When I remember, I use spot metering. Meter off of the sky, not the sun. The harsh light from the sun can ruin your lens. Once your meter is showing proper exposure for the sky, focus on your subject and click away.
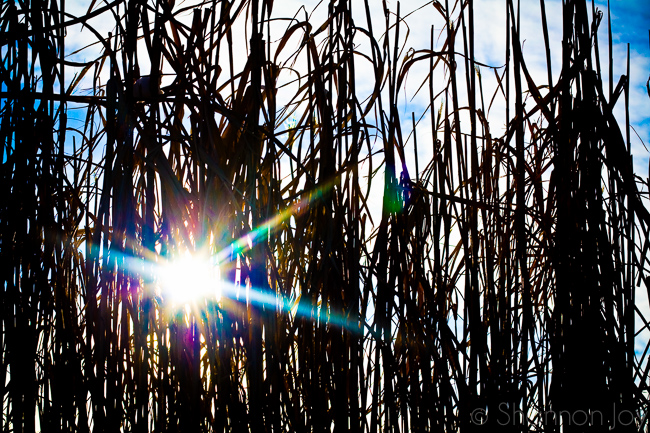
6. Don’t forget to close down your aperture f/8 or smaller to add a starburst effect to your image.
Read more: Everything You Need to Know for Unique Lens Flare Photos
7. Next, step back a little to frame your subject while continuing to pay attention to distracting backgrounds.
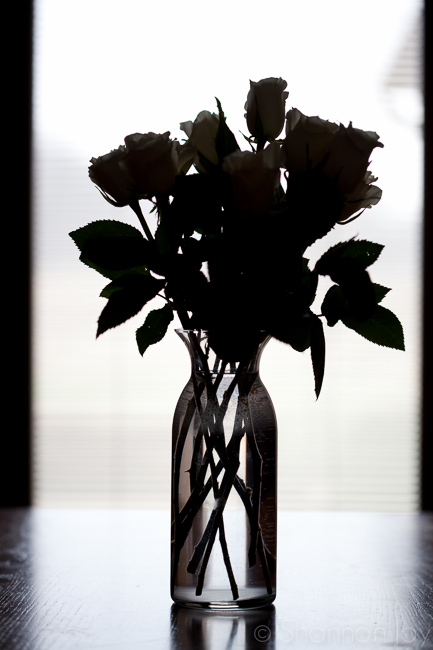
8. Silhouette pictures can also be taken inside on a dreary day.
Just look for a window with bright light and let your creative juices flow.
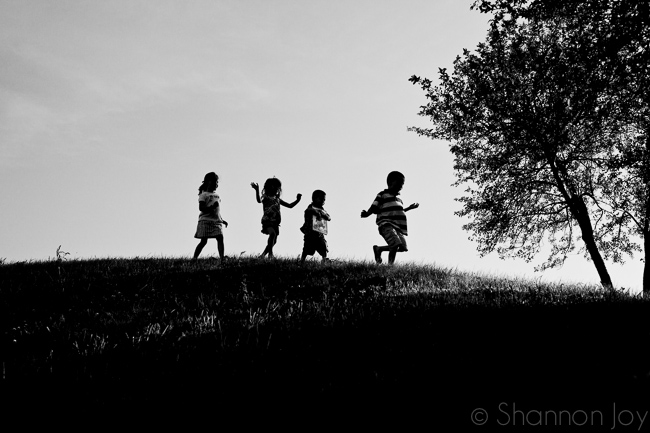
9. Silhouette pictures do not have to leave the subject completely black.
Partial silhouette photos offer an almost three dimensional feel to the image.
10. Last, have fun with editing.
Add more saturation and contrast during post processing to really make your silhouettes pop.


Hope this gives you a little nudge and encouragement to go out and take some beautiful silhouettes. And to tell your story.
Read more:
11 Photography Composition Rules to Know to Improve your Photography
Everything You Need to Know to Capture & Edit a Stunning Sunset Silhouette
Have you attempted silhouette pictures? What was the biggest challenge?




Love these tips! Thank you!
Glad you love it Rachel! Can’t wait to see you rock your silhouettes :)
Thank you so much, Rachel! Would love to see your work <3
Great Article. I love shooting silhouettes. here is one of my silhouettes shot https://www.facebook.com/photo.php?fbid=426808644059141&set=a.425641220842550.97157.234504223289585&type=3&theater
Beautiful silhouette, Pallavi! Thank you so much for sharing your work :)
Thank you so much for the silhouette tips. Have just up graded my camera to a SRL EOS 600D Cannon and can’t wait to try out your tips ;)
Your shots are amazing :)
I love silhouette’s these tips totally help me with some of the “why” my photo didn’t quite nail it with the timing of light and seperation of bodies if you want to get it just right, thank you!
Thanks for sharing :-)have a nice day.
Thanks that was really an amazing tip, will try this out soon…
I’m a little confused. I thought metering was adjusting your settings – aperture/ISO/SS to get proper exposure. Is this wrong? I thought it meant getting your ticker to the middle, maybe a step above, in order to take properly exposed pictures. But now I’m very confused!
That is correct. When you meter for exposure you are metering for those things. Was there something in the post that confused you?
I love this!! I’ve been stumbling through metering and this and even the question helped it click! Thanks :) Your website has been SO helpful! http://www.daniellegeriphotography.com
Glad you have found our site so helpful!
Great tips!! I just love silhouette photography. Here are a few of mine:
https://www.flickr.com/photos/100922070@N03/sets/72157635279734559/
I find this article really helpful. Thank you !
Thank you so much for this Tips. This is very helpful to my project. :D
Thanks for sharing!
Very help tips..Thanks
What exactly do you mean by metering? Also, would love to know the settings used to shoot some of those pictures., aperature, ISO, etc. Thank You.
Hello!
I still don’t understand. Sorry!
Can you tell me what your settings where for those pictures? Do I need to set my ISO at 200 and my aperture to 2.8?
Hello, guys! Students are rarely interested on lectures, they think over anything but studies, that’s why it is really difficult to make them listen to a professor, if you wonder how to change this situation, follow and article
Liked it…cleared to me…Thank you..
Very explicit, thank you…
IMPLICIT. GIVE AN ELABORATE AND VIVID GUIDE ON SETTINGS, ALSO WHILE USING A SMARTPHONE
Amazing shots! I really like them!
Regards, Speedypaper
thanks to the amazing article.
thank you for the article. I’ve take a few silhouettes. Took one of my Grand fishing yesterday. He was not impressed but I was. Iol I always need a reminder how to do it. I guess I need to take more to remember.
Thanks for the tips, I love silhouettes! Suffering through this Manual mode, trying hard to learn to capture what I visualize in my minds eye instead of the cameras.
What settings on your camera do you recommend for silhouettes?
I wish there was a simple answer to this question. It all depends on the light you are working with. Start with metering off the sky (not the sun) and adjust your settings accordingly.