When it comes to white balance, there are several ways to accomplish it. Honestly, I think I have tried them all! Finding the best one for your shooting style is important.
You may like to set a custom white balance in camera or adjust it in an editing program such as Lightroom or Photoshop. Whichever way you choose to address WB (White Balance) it is a step that can’t be skipped.
We are going to look at different ways to obtain a correct neutral white balance. I will compare several different ways and tools to use and hopefully it will help you decide the best way for your shooting style.
Some of the links in this post are affiliate links. Thank you in advance for supporting Click it Up a Notch®.
Table to Contents
- What is white balance?
- What does white balance do?
- How to set white balance
- How to use auto white balance
- Using a gray card to set white balance
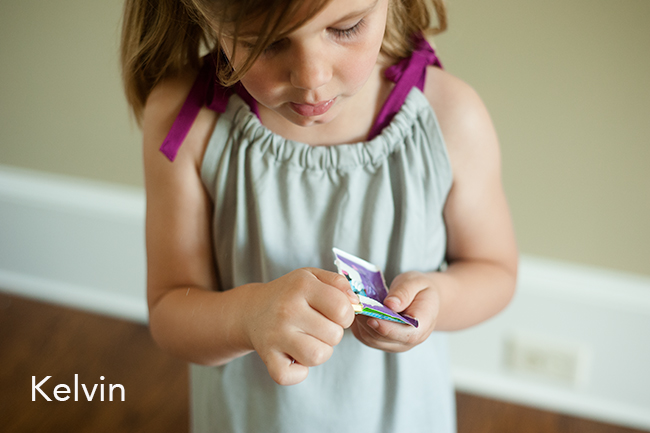
- How to use Kelvin to adjust white balance
- Using an ExpoDisc for white balance
- How to use a white sheet of paper to set white balance
- How to adjust white balance in Lightroom and Photoshop
- FAQs on white balance
What is white balance?
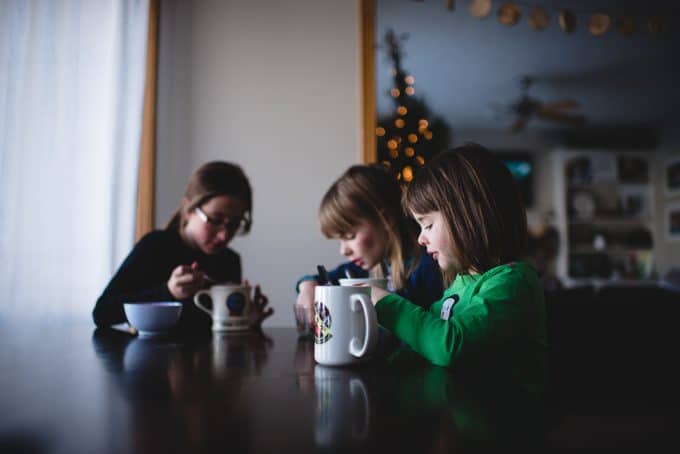
If you have taken a photo at night indoors and the photo appeared to have a yellowish color to it, that is because the white balance was off.
White balance is the color of the image. Some images appear more warm or orange and some photographs are cooler or more blue. You set the WB to achieve the desired color.
What does white balance do?
WB plays a huge role in the outcome of an image. When beginning to edit an image, one of the first things I do is correct exposure, then WB.
You can have the best focus, best composition, and perfect lighting, but without good color, the image is going to be missing something or in really technical photography terms, just look wonky.
How to set white balance
When it comes to setting your WB you have a few options. Don’t worry, we will be going over all of them so you know what will work best for you.
Try to set white balance in camera
There is an auto white balance setting on your camera that you can use. Or you can adjust it manually using Kelvin (check to see if your camera has this setting as not all cameras do). You can use a white piece of paper, a gray card, or an Expodisc. When using one of these options you will want to set your camera up for custom white balance. This will allow your camera to read the light on one of these options and set your white balance accordingly.
Aim for an accurate or consistent color
White balance can also be subjective. Some people prefer warmer images, some prefer cooler images.
The point of using a WB tool is to get accurate color, but also consistent color, which will make managing your images much easier once you get them off of the camera and into a photo editing program regardless if you prefer a warmer or cooler edit as a finished image.
You can edit in post processing
Of course white balance can be tweaked in Lightroom or Photoshop, but for me, the easiest way to set WB is in camera with minimal changes in an editing.
Stressing over WB is one of my least favorite aspects of photography, so I choose to get it as close to perfect as I can, so there is less stress about it on the back end.
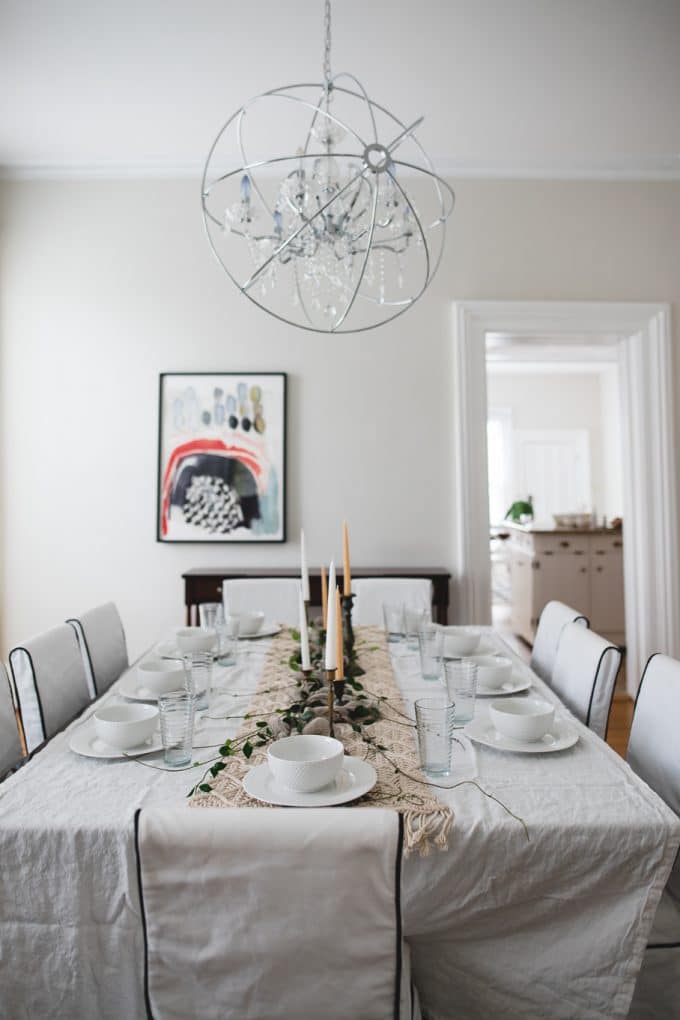
How to use auto white balance (AWB)
I think most people when first starting out begin with auto white balance. Usually as you upgrade cameras, the AWB feature gets better and better. I remember there being a huge difference when
This is the easiest of the options as far as setting your camera, but probably the most time intensive once the image has been uploaded to an image editing program. There are many well established photographers that find AWB to work great for them with minimal work in editing, but unfortunately, this has never been the case for me.
The better your exposure in camera, the better the AWB feature will be as well. Underexposed images appear blue, overexposed washed out of color, so when using AWB, perfect exposure is important.

Pros to AWB
- Easy to use. You can shoot away in any lighting during a shoot without changing settings.
Cons to AWB
- May require more editing in your editing program of choice.
- Can change from image to image depending on how your camera measure the light, where custom white balance is consistent from image to image until you change it.
Using a Gray Card to set white balance
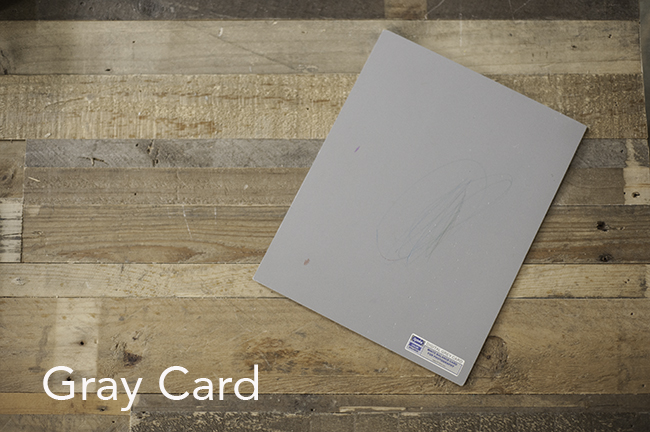
There are many, many brands on the market that I’m sure do a fantastic job. Here’s a link to a great one to check out. They come in different sizes. The one pictures below one is an 8×10 which makes it easy to fill the frame for a measurement, but makes it more difficult to carry around on shoots.
It can be used to set exposure as well as white balance. To set exposure, you place it in the lighting condition that you will be using, set your exposure to the center.
Then the custom white balance can be set following the instructions for your camera. This one needs to be replaced as it has been scribbled on. I didn’t do it!
Read more: How to set custom white balance
How to use a gray card in editing
Place the gray card in the lighting condition that you will be using and snap a quick picture with it in the frame. Then you can continue to shoot away while in the same lighting. Any change of lighting will require another quick image with the gray card in it.
Afterward, in your photo editing program, you can use the white balance tool to set your white balance by clicking on the gray card in the test images and applying that white balance to all of the images taken in that lighting condition. Then, repeat for each additional change in lighting conditions.
Set a custom white balance
Set a custom white balance (CWB) in camera. Using the gray card this way will require minimal work afterward in editing because your white balance will be applied to all of your images in the camera instead of afterward in an editing program.
Every camera model will vary, and some make it easier than others, but take a picture of the gray card and the camera automatically applies that white balance to all of the images you take until you change your CWB or change your camera setting to another form of white balance, such as AWB or Kelvin.
When using a gray card, this is the method that I prefer, and my camera makes it really easy to do this without going into a menu. If you are unsure of how to do this, look in your camera manual under Custom White Balance and there should be instructions on how to do so.
How to use Kelvin to adjust white balance
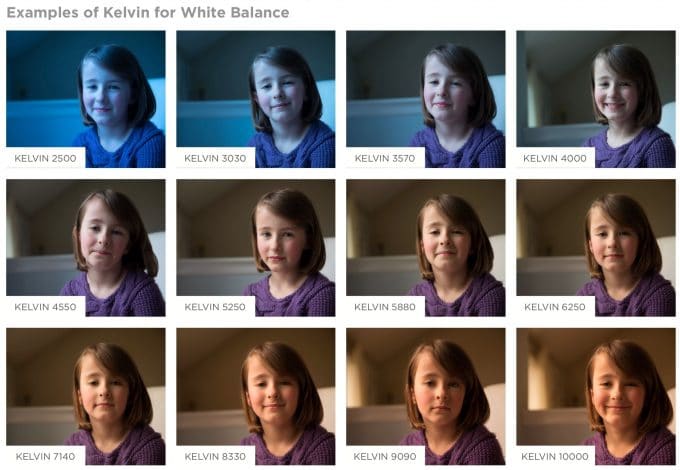
Kelvin is a great way to set white balance. I use this method a lot, mostly when I am outdoors. I may tweak it in Lightroom or ACR a little bit, but for the most part it is pretty minimal unless there is mixed lighting, which tends to get tricky no matter how you choose to set CWB.
Determine the color of your lighting and set your camera to a temperature of color. This method takes some practice and it may take some testing as well to get it right.
While I’m am not perfect at choosing the right temperature every time, it is easy to adjust in an editing program because for the most part you move the slider either to the blue to cool it down or to the yellow to warm it up. I like to use Kelvin a lot when I’m outdoors.
My favorite settings for Kelvins are:
– Using natural light – 5250K
– Using artificial indoor light – 3300K
Read more: How to use Kelvin for White Balance
Pros of using Kelvin
- It doesn’t require any extra equipment and it gets me pretty close to where I want my white balance to be.
Cons of using Kelvin
- Due to color casts indoors from walls, carpet, etc, it isn’t quite as accurate for me indoors as it is for me outdoors.
- It only accounts for lighting from the yellow to blue ranges. Fluorescent lighting can also add a mix of green/magenta, so the tint will also need to be adjusted more aggressively in post processing when using Kelvin in those type of lighting conditions.
Using an ExpoDisc for white balance
I also really love the ExpoDisc for white balance. It is my go-to for white balance when I am indoors. After using this tool, I panic if I have misplaced it, because I know that it will take me longer to edit my images without it.
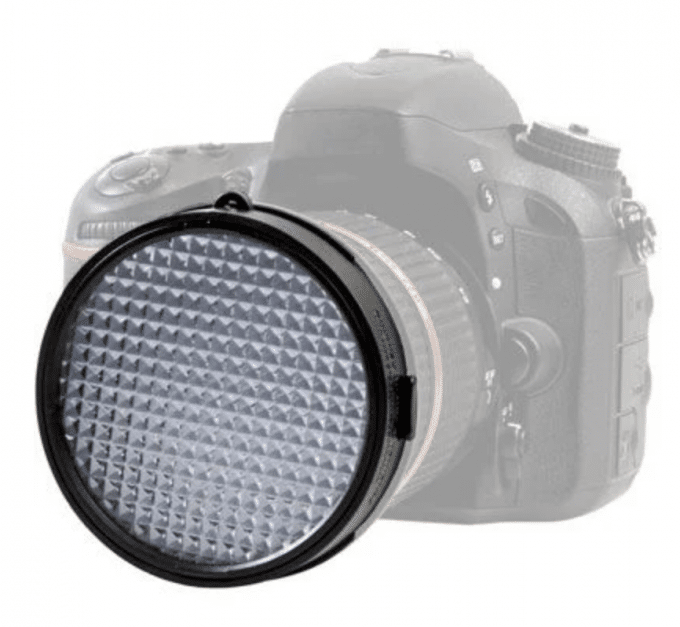
Using the Expodisc, meter for your subject, then point your camera at the most dominant light source of the room or if outdoors at the light source that is on your subject.
For example, if you are using the light streaming in from a window, follow the instructions for your camera model to set a custom white balance, then take a picture with the Expodisc covering your lens pointed toward the window. Then your CWB is set and you can continue to take pictures until you move your subject or the color of light changes.
Read more: How to use the ExpoDisc to perfect your white balance
White sheet of paper to set white balance

If you are in a pinch and prefer to set a custom white balance, but don’t have a white balance tool, or aren’t comfortable with Kelvin, you can always use a white sheet of paper.
This method is used just like the gray card, either as a picture of the white paper and adjusting WB in an editing program, or setting the CWB in camera following the directions in your camera manual.
Pros to using a white sheet of paper
- It is cheap and easy. If you aren’t comfortable with Kelvins and are in a pinch, a white sheet of paper is better than nothing in some cases.
Cons to using a white sheet of paper
- White paper comes in many different colors of “white”. So, you will get different results depending on the color of your “white” piece of paper.
Photos to show different methods
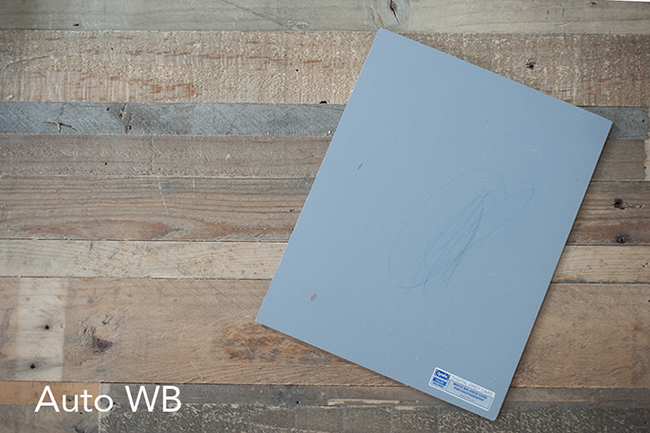
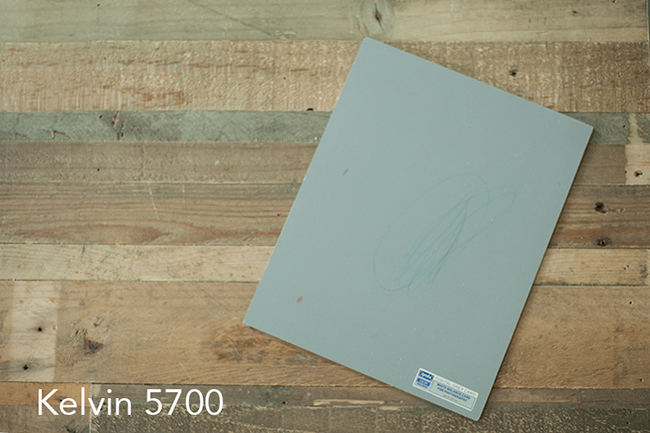
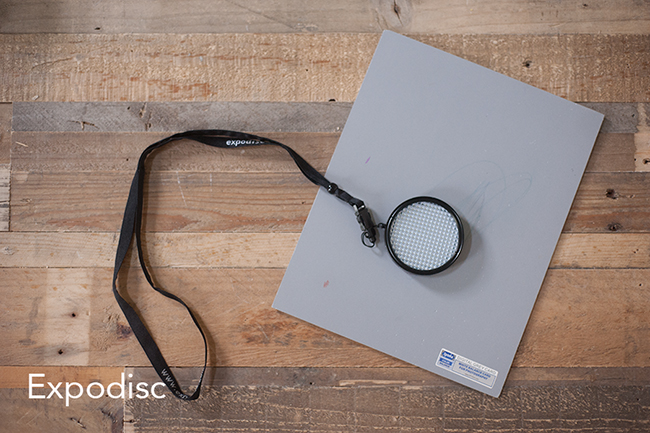
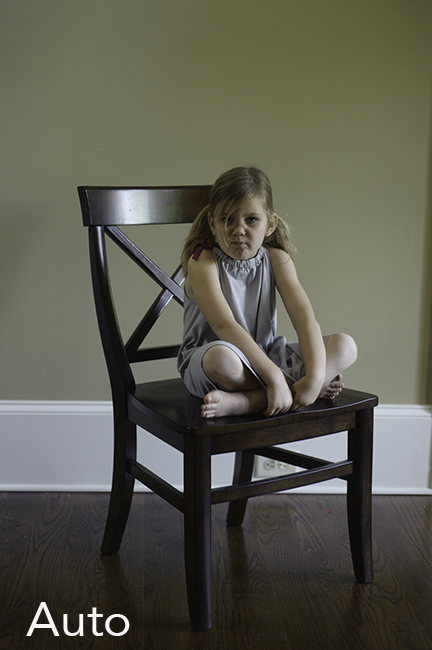
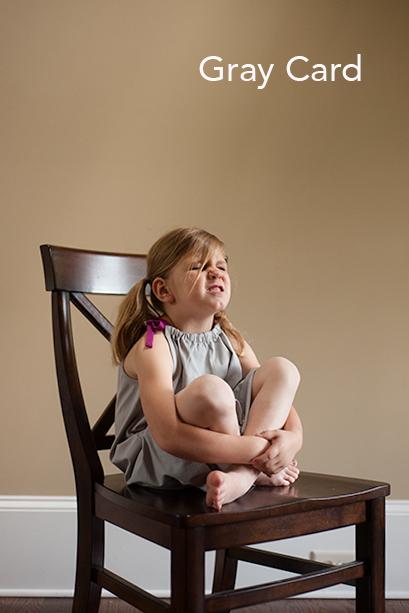
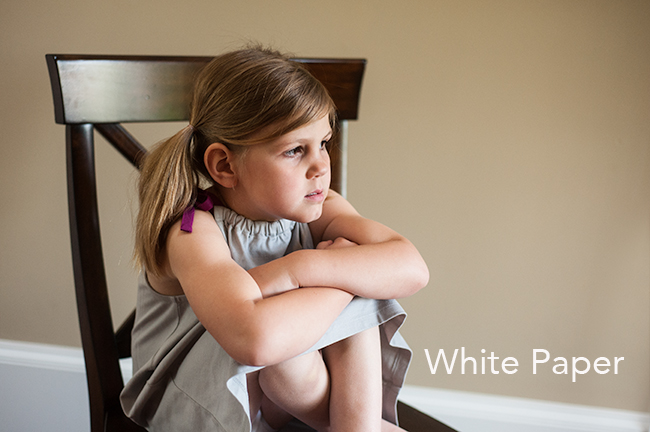
Okay, tons of picture to follow. The following are images of the gray card using all of the different techniques mentioned above:
I was really surprised at how different all of the images look. These were all taken within a few minutes an there haven’t been any changes other than resizing and adding text to the images.
Using a gray card
I like the look of the Gray Card the best in this series of images. The color is the closest to the actual color in the room.
Using a white piece of paper
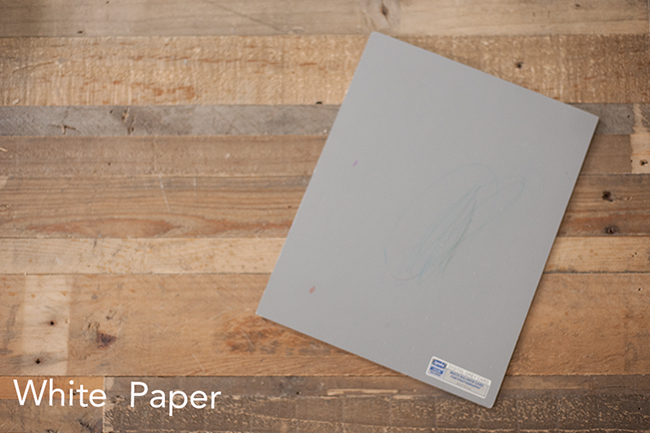
I used a piece of white card stock as my “white” paper. This one is a tad out of focus (sorry!) but it is really close in color to the gray card.
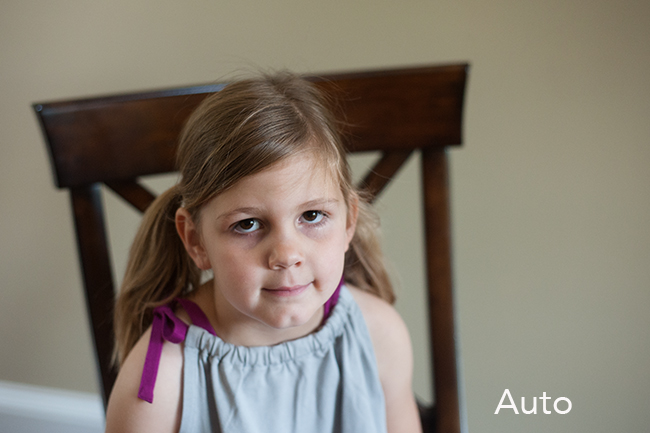
Using auto WB
Auto did the worst job. When checking the RGB numbers (which for a neutral gray color should in a perfect world be the same) the Red, Green, and Blue were all about 10-12 points apart.
In an image with a gray card, that would be a quick fix, but without a gray card it might cause some problems when dealing with an image with out a neutral color to check white balance with.
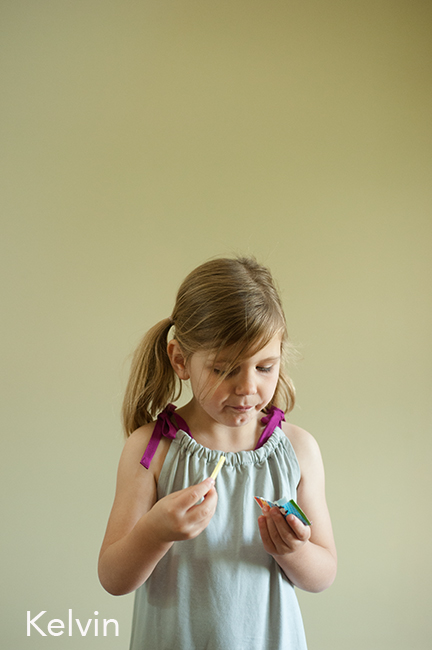
Example of using Kelvin
I was a little surprised by the following image being off so much. It is really cyan. If you compare to the more “neutral” images, it looks a little bluish green or cyan. When I was using Kelvin more in my everyday shooting, I usually needed to add red to my images. This would explain why!
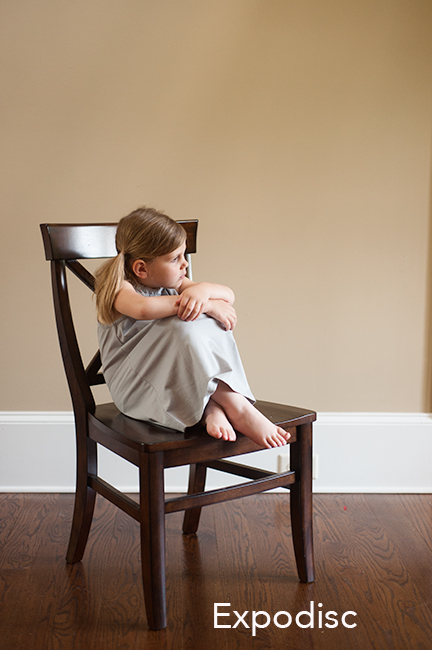
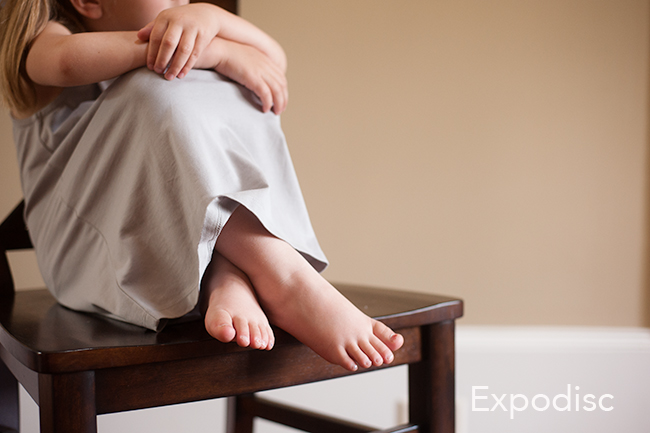
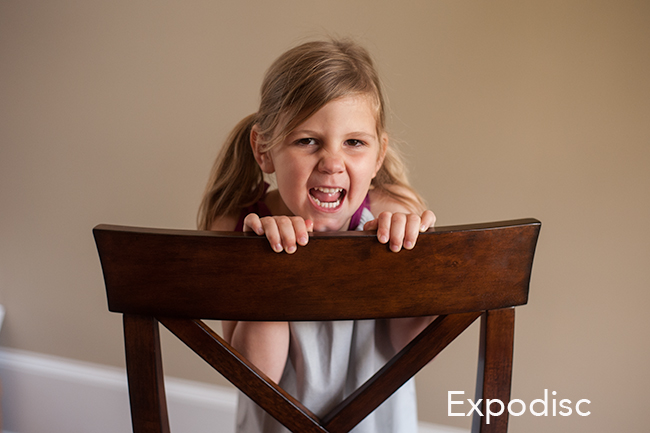
Using an Expodisc
I use the expodisc almost exclusively indoors. I was a bit surprised that it didn’t do as well as the gray card. When I looked at the RGBs in Lightroom, the Red and Green were equal and the Blue was a little high. After adding a little yellow, I had to add a tiny bit of green. It was a quick fix, but one I didn’t really expect.
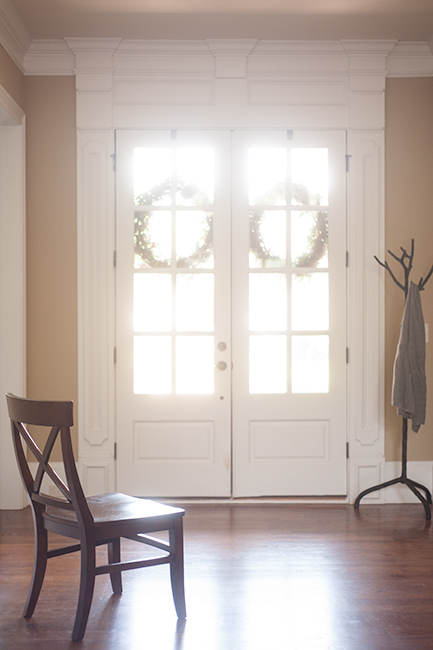
Setting the Scene
And this is the area where I took these images. The light was coming from the doors pictured here. My sassy little one was in the chair either 90 degrees to those doors or 45 degrees. I was standing camera right for the majority of the images.
Next up are pictures of my lovely assistant. Oh, what a little candy will buy you.
These are not SOOC images, however, I did very minimal work to them. I did not touch the temperature slider, but I did add a tad of contrast to each image bc Lightroom imports mine as flat images….not very pretty.
AWB
Gray Card
White Paper
ExpoDisc
Kelvin
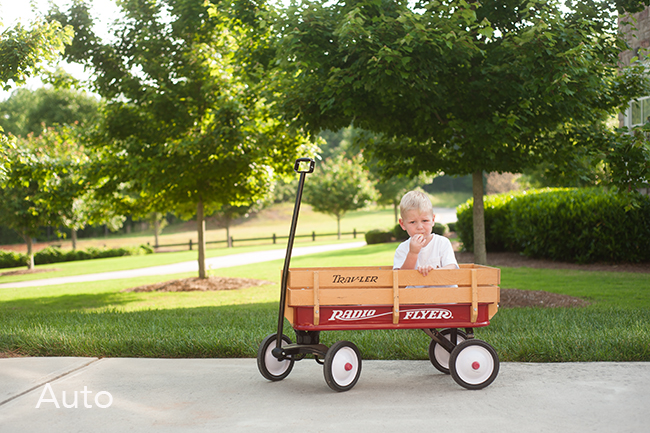
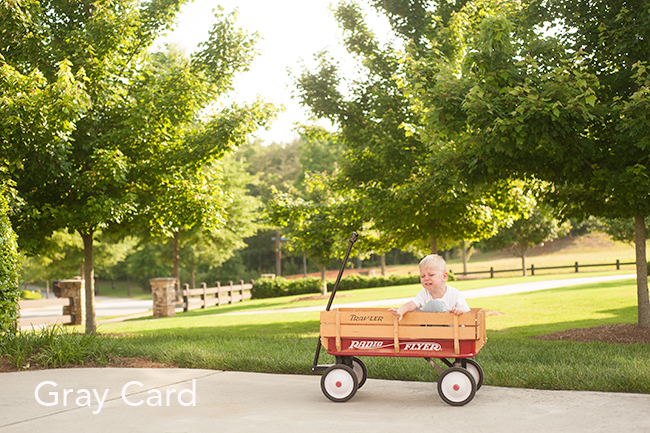
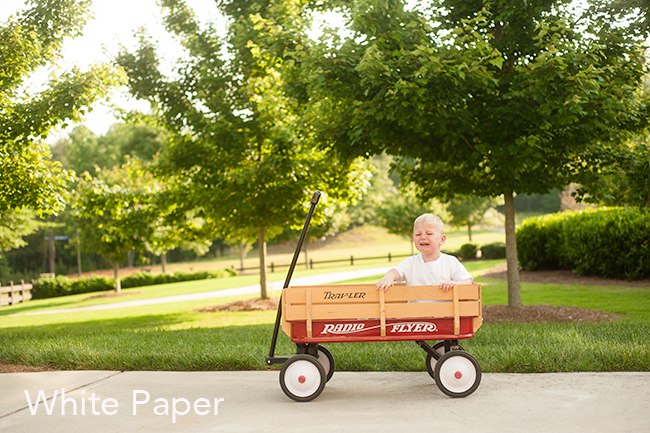
Examples of WB methods outdoors
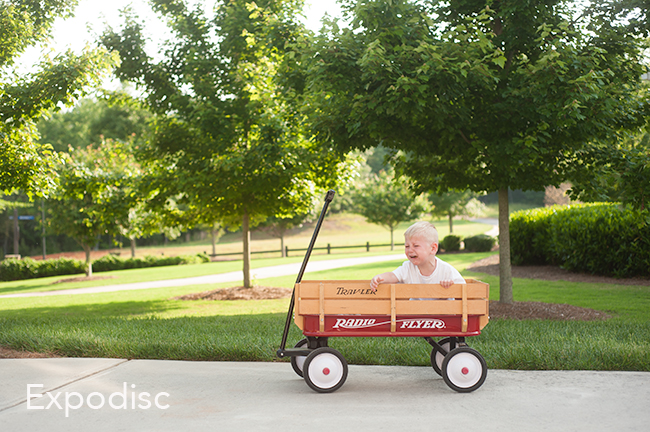
And thanks to my other assistant for helping me with a few outdoor snaps. Again, exposure tweaked a tad, and a tiny contrast was added in Lightroom, but no other changes or edits were made.
AWB
Disclaimer: He wasn’t crying because of me. He was angry at his big sister for riding off with the cookies….while he still had a mouthful.
Gray Card
White Paper:
Expodisc:
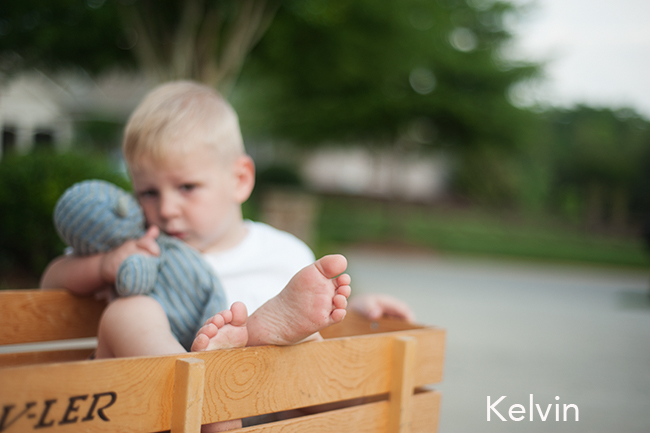
Kelvin
While all of these look very different, they are all within an acceptable range, depending on taste. Once in Photoshop, I took measurements on the driveway concrete and all but Kelvin and white paper were within a few points of the RGB being equal. Skin measurements were also pretty close, except for the white paper, which was a little wonky, but to the eye doesn’t look horrible. Auto did a much better job outdoors than indoors. The results look much more like the Expodisc in these examples.
How to adjust white balance in Lightroom and in Photoshop
Here is a video on how to correct white balance in Lightroom that will be helpful when using AWB in camera (or tweaking white balance in general).
Read more: How to correct white balance in Lightroom
If you use Photoshop rather than Lightroom, I have a video for that editing software as well.
FAQs About White Balance
You can change the white balance settings in camera using AWB, CWB, or Kelvin. If you didn’t get the chance to fix it while shooting your images, you can use an editing software like Lightroom and adjust it there. Either way, you can usually fix the white balance eventually.
This definitely depends on your camera. Some cameras are really good when it comes to AWB others seem to struggle. I personally don’t use AWB because it means I will most likely have to fix white balance later. Take a few pictures using the methods above and see how your camera holds up. You never know what will work best for you!
Since temperature in photos is measured by using Kelvin, daylight sun is measured as 5250K. So if you are trying to achieve a daylight warmth, you need to have Kelvin at a minimum of 5250K.
No, white balance is the about the color and exposure is about the light. For WB you want to make sure your temperature and tint are correct. For exposure you want to make sure you have the proper amount of light in the photo.





Wonderful tutorial! Thank you so very much for all of your hard work in creating this post to teach others!! I love all the examples and definitions!!
Wonderful article, Laurie. I keep looking at the Exposidk…hmmmm. :)
Do it Lisa! It really is a lifesaver inside for complicated lighting.
Outdoors I use the Expodisc 90% of the time. If that fails to give the results I want then I will switch to Kelvin. If that does not deliver then I take a picture of the subject holding either a gray card or a white piece of paper and use the WB tool in Lightroom to correct from that. If that fails, I delete the pic and start again :)
Loved this post! I am constantly fiddling with my WB in my settings depending on where I am. I guess it would be easier with Auto and I’ve tried Kelvin, but I don’t really understand it. If you use the gray card, is it basically just still going in and changing your settings to find the setting that most closely matches the gray?
Yes. That is basically what all of them are doing when you choose to do a custom white balance. Even with the expodisc, it allows light to come through, but it will look gray through the lens.
Check out my other post on Kelvin. I go into much more detail about how it works. Since I got the expodisc, I don’t use it as much indoors (I do when I don’t have the expodisc nearby) but I do use it a great deal when I’m outdoors with better results.
http://clickitupanotch.com/2012/04/kelvin-for-white-balance/
What about for candid shots at parties at night and other indoor fun, like catching the kids playing etc. I need to use flash so I bounce it off the wall/ceiling and the white balance is all over the place and takes ages to correct in Lightroom. Is there an easy solution or tip you could share for such circumstances?
I’m sorry Claire! I don’t even own an external flash and I never use the one that is on the camera. Because I’m not in business, a lot of my images can be considered candids or lifestyle and I shoot in all kinds of lighting indoors (by boosting the ISO and shooting without a flash). So, in those instances, I use the expodisc, point it at the light source, whether it be lamp light or overhead lighting, set my CWB and shoot away, with good results. I actually took a series of images using lamp light of my son, but didn’t include them in the post. Sorry I couldn’t be of more help! A speedlight is on my list of wants, but keeps getting bumped to the bottom ;)
Thank you for replying so fast! I’ve tried bumping up the ISO but on my canon 600D it’s too grainy for my liking, I’ll have a go at setting the camera white balance from the light with the expodisc and see how I go. My speedlight was one of the best things I’ve bought besides my nifty 50, it’s paid itself off a thousand times over :)
When I use my external flash I usually bounce it off the (white) wall behind me. I use Kelvins and take a couple test shots until it looks good to me and then shoot away.
Unlike Canon 600D (same Rebel T3i) lacks Kelvin. :(
Loved this post. Thank you! I’ve never learned Kelvin but by the looks of these images I need too! I’m loving your Kelvin examples!
You have only confirmed that I need to ask for an expo disk for the holidays!! :)
Now I understand why my photos are coming out blue–they’re underexposed!
Thanks for the great article.
Have a question on setting the CWB using a grey card. Once you set the CWB in camera, do you need to do this every time the lighting situation changes?
yes. you’ve got it!
I have never heard of the expo dish but I am absolutely going to check it out!
Love my Expodisk!! I use it everywhere and get consistent results every time.
Sorry for stupid question, but is external flash and speedlight the same?
And one more question: I saw, that the gray card come with set. There are also white and black card. What do you use the white and black card? Why do you need these?
And thans for the great tutorial! <3 :)
Great article! I’ll be looking to get an expodisc as well. Laurie, I’m assuming that your flash was off for the above photo examples? I always like the look of my photos better with the flash on, but maybe changing the WB instead of using flash all the time is a better way to go about getting great photos!
Hi Courtney,
Thanks for the great blogging.. Everything explained in very very easy way.. This is the one I was looking for so long.. I went through all your links in last two days.. I didn’t used my DSLR for the last two years .. But after reading your pages, I am very eager to use my camera now..
Thanks again..
Regard
Moosa
Thank you. Very much informative for beginner like me.
Wonderful and detailed explanation with exampes.