
Its no secret that Lightroom is a secret weapon for photographers and hobbyists looking to up their editing game. The system is powerful and relatively intuitive, but as it often happens when learning a new system, you don’t know what you don’t know. In the middle of the overwhelm of learning the system itself and how it works, some of its best features get overlooked.
Read more: 3 Lightroom Tricks You Did Not Know About
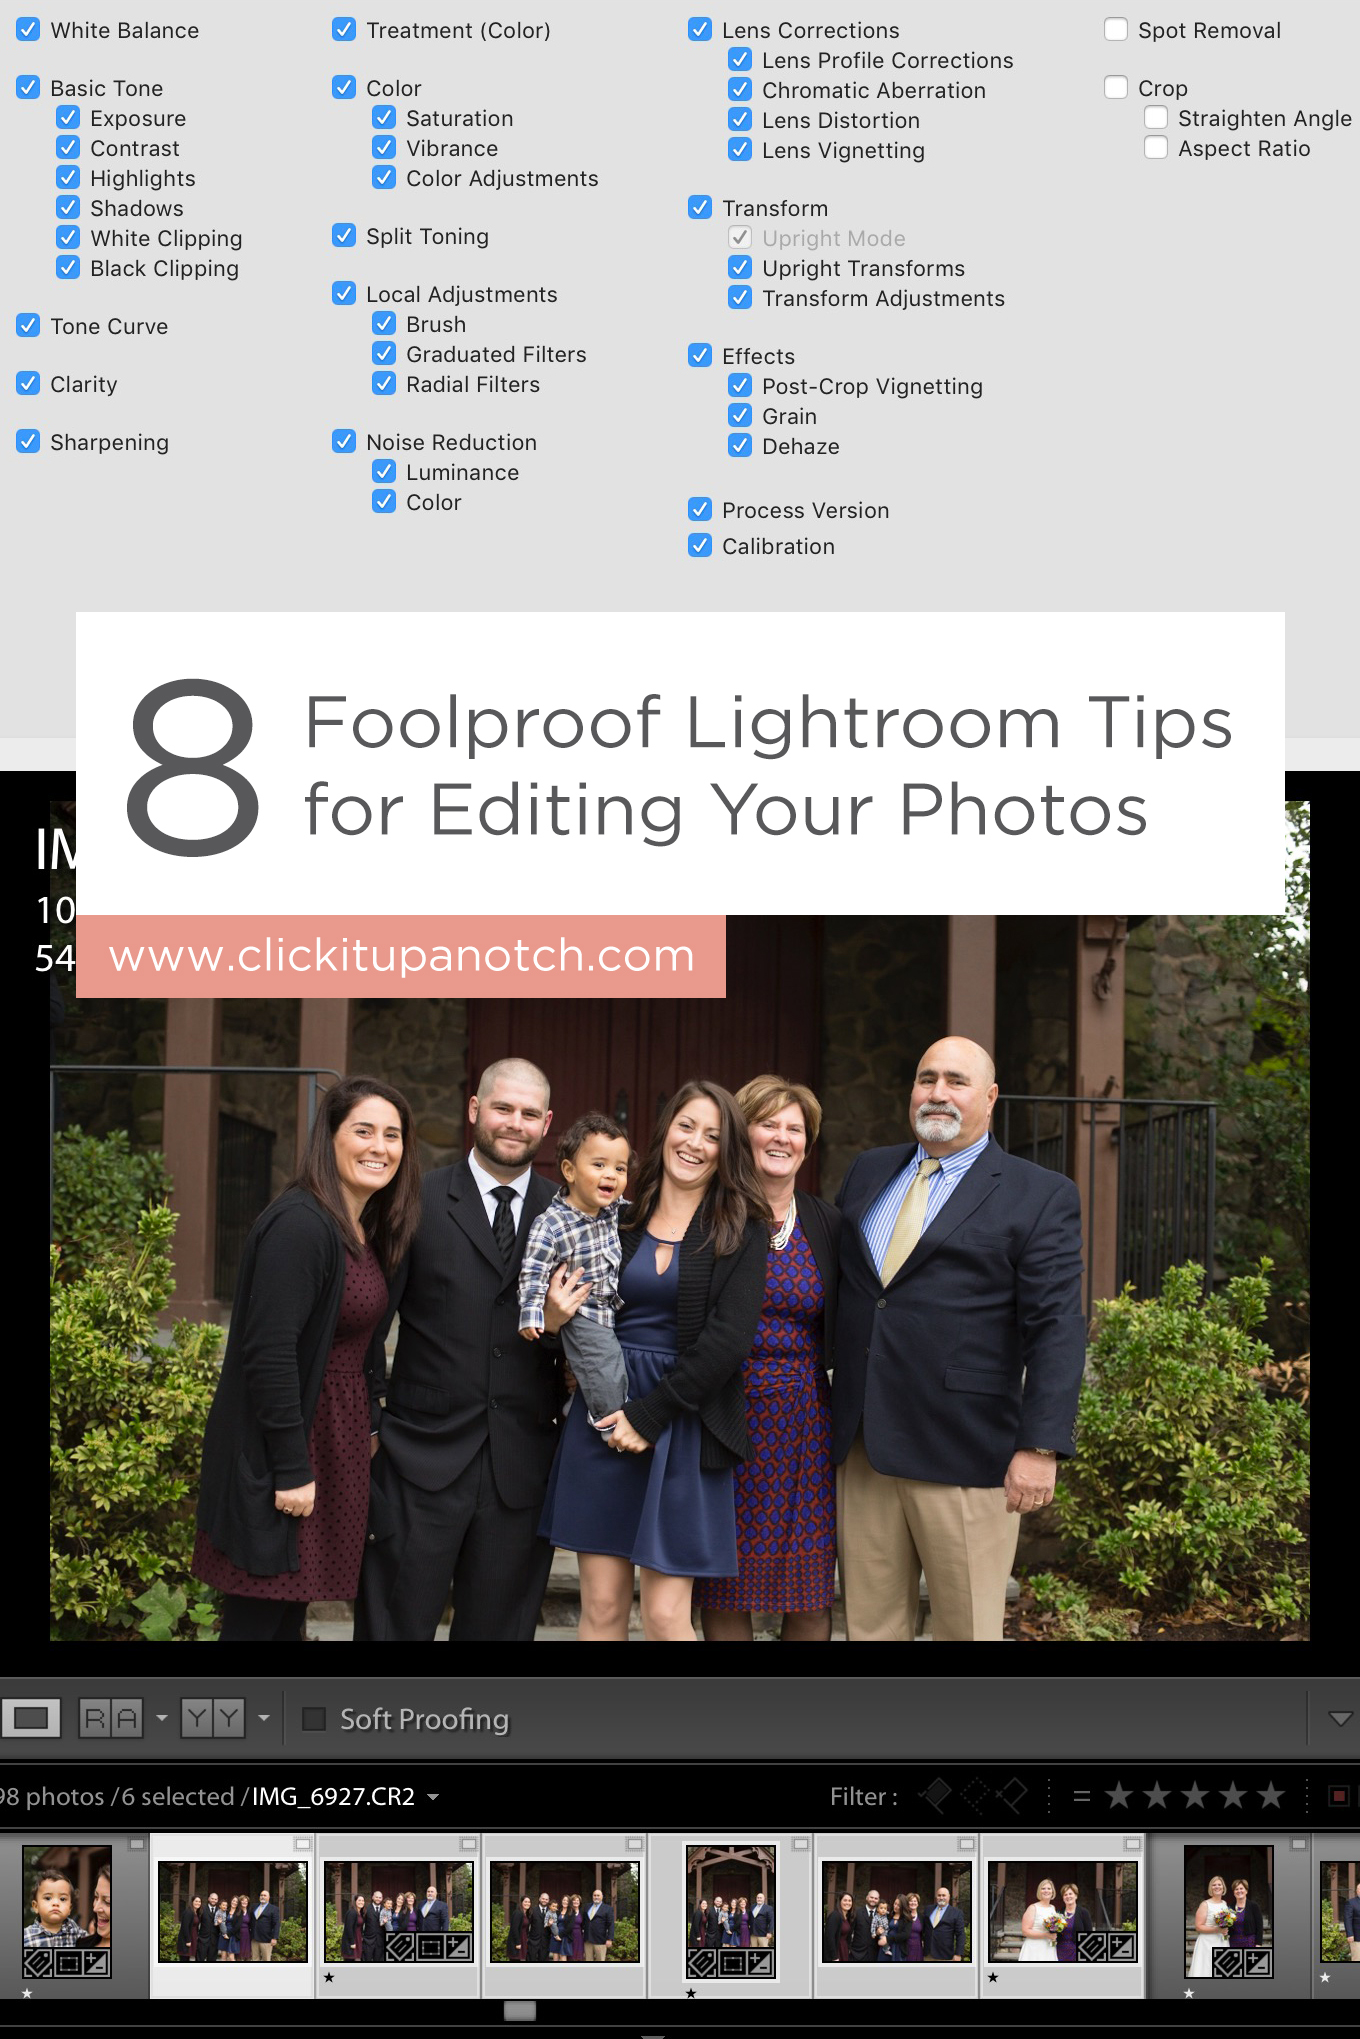
Today I’m sharing 8 of my favorite tools in Lightroom that help me to edit my photos quickly and consistently!
-
No.01Import Preset
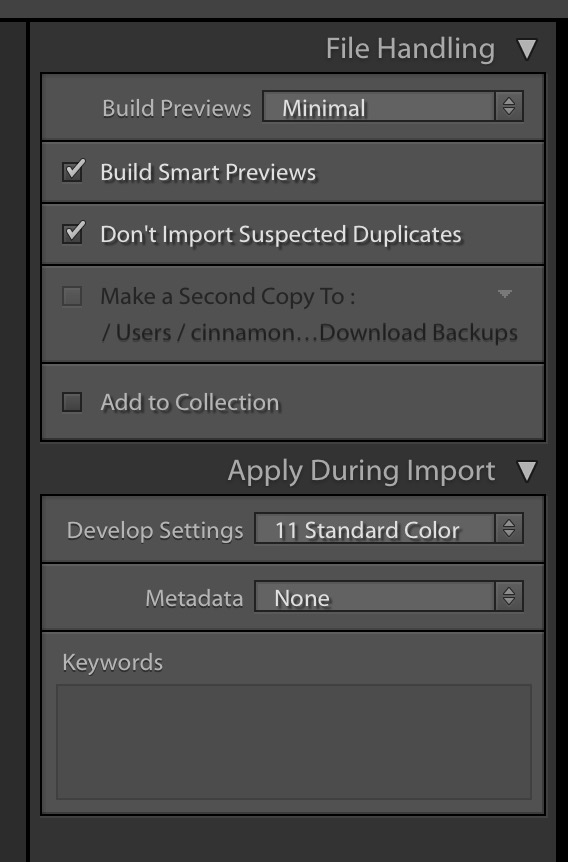
Did you know you can apply a preset to your photos essentially before you even import them? Well, technically it gets applied AS they are being imported, but that means if you find yourself always doing something to your photos in the editing process (adjusting sharpness, contrast, exposure, profile corrections etc…) you can do that before you even really look at the photos! It’s such an awesome and easy way to apply mass edits to your photos in the click of a button!
To do this, you will first need to create a preset to apply, then upon import, make sure that preset is selected in the Apply during Import box on the right hand side!

-
No.02Smart Previews
I could probably talk about smart previews and how great they are all day. Smart previews give you the ability to work on your photos when they are not actually connected to the computer you are working on. So if you work on a laptop where you don’t want to keep the photos on the hard drive of the laptop itself, and/or you don’t want to have an external hard drive connected to the laptop (editing while on the couch, can I get an amen!) then smart previews are for you!!
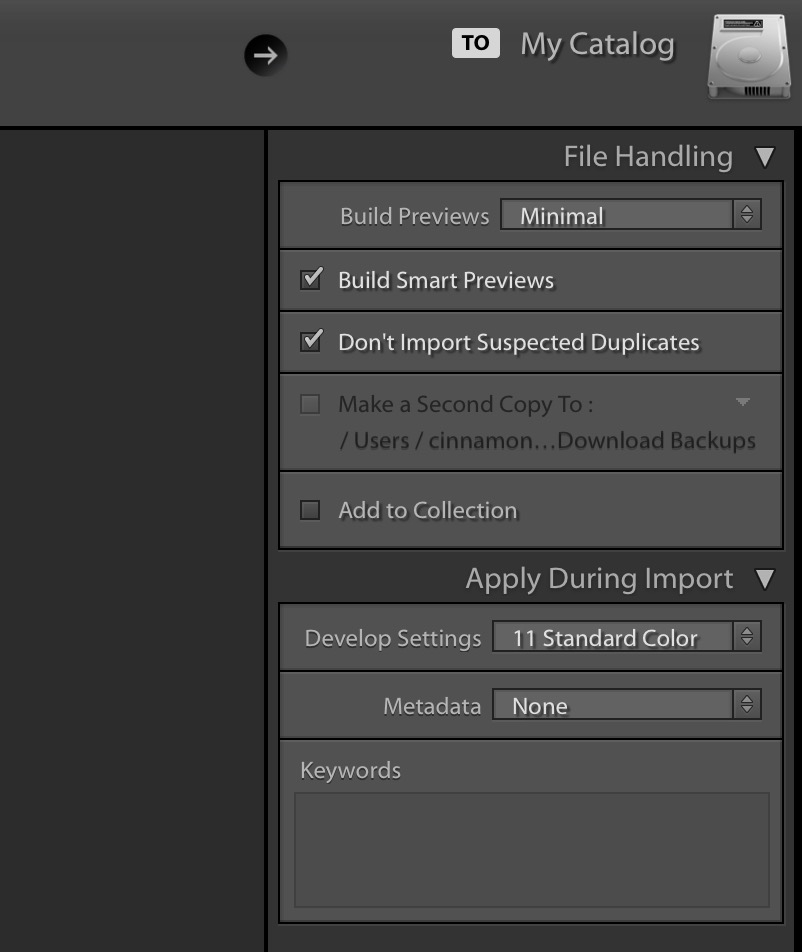
When you import photos into your LR catalog, all you need to do is make sure “create smart previews” is selected in the right hand panel. LR will create the smart previews upon import and then you are free to unplug the actual raw images from the computer and still work on editing the images.
If you didn’t create smart previews upon import however, you can still use them. All you need to do is select Library from the LR menu>Previews>Build Smart Previews. Viola! You are all set!
Pro tip! If you want to use two different computers to edit the same photos, LR smart previews will allow you to do this. All you need to do is house your LR Catalog in something like dropbox (that is connected to both computers) and then as long as the catalog is synced fully and you have smart previews built, you will be able to edit from both computers!

-
No.03Sync Editing
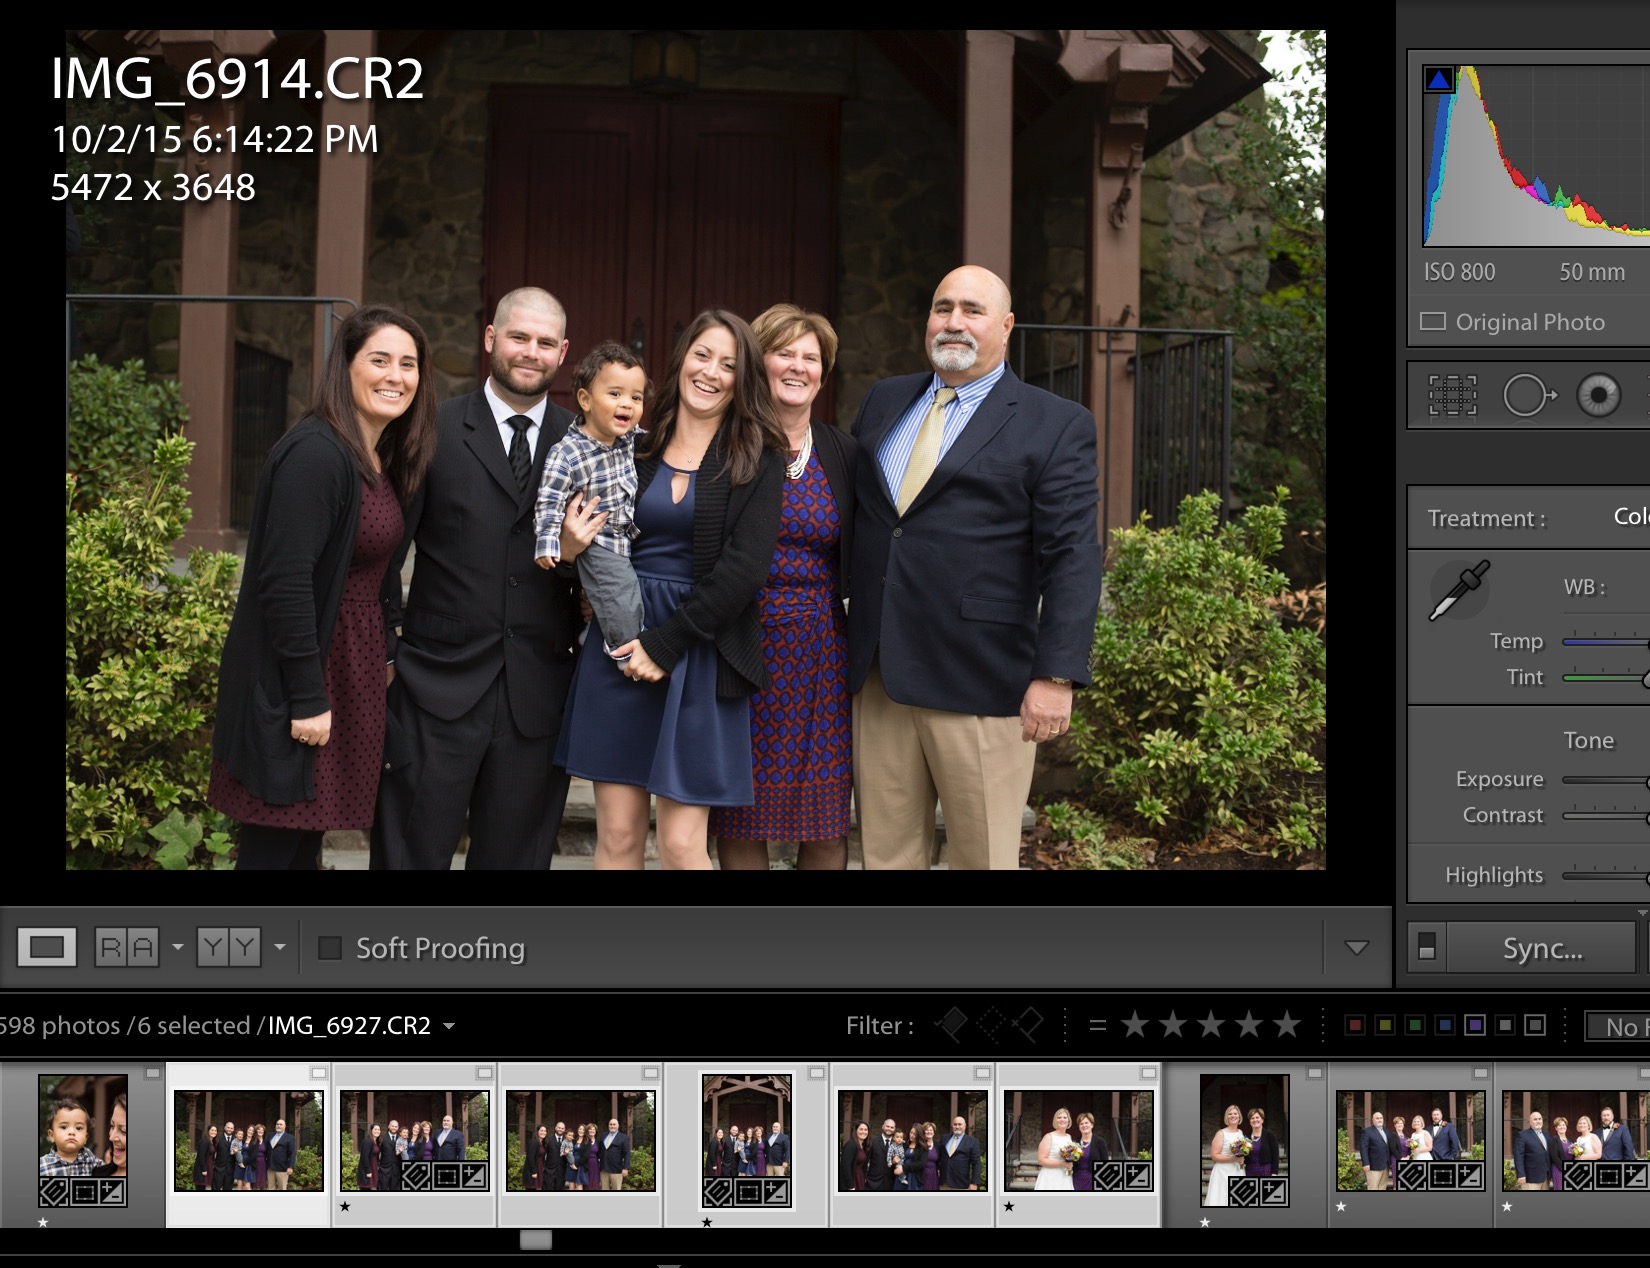
Syncing is one of the most powerful features in Lightroom to edit your photos blazing fast. If you have similar photos in a set (similar location/lighting/settings) you can edit one photo and then apply that same edit (in basically two clicks) to all other photos in that set.
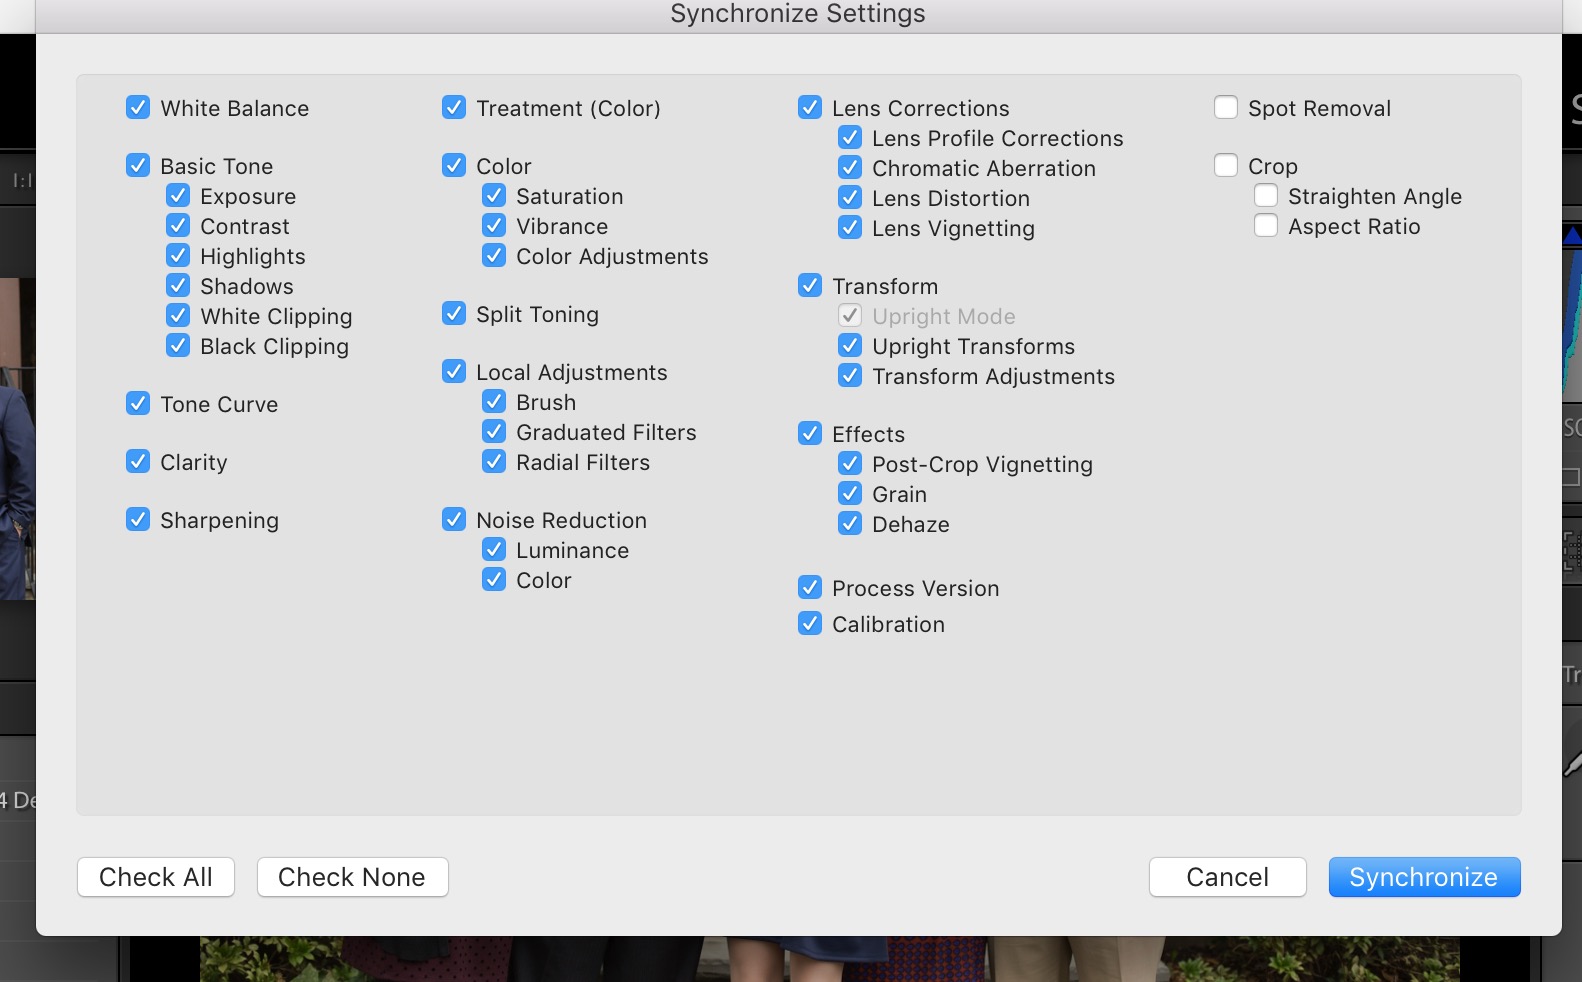
This can literally end up saving you hours and hours of time working with your photos. We often take multiple photos in the same area with the same light, so work on one and get it right where you want it and then click shift (or command if they aren’t all in a row) and highlight all of the other photos in that were taken in that same light. Click Sync and a dialogue box will open asking what exactly you want to sync. Select the items you want to sync, click SYNC at the bottom and then in just a few seconds all of those same adjustments will be made to the other photos. It’s like MAGIC!


-
No.04Color
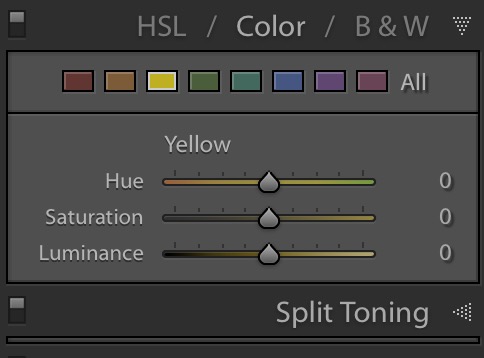
Using the COLOR option in the Develop module allows you to 1) reduce certain color casts 2) make certain colors in your photos saturated or less saturated 3) change the actual hue of the color.
A common example when I use the color option is when I’m editing a black tux or suit from a wedding that is reflecting the blue of the sky so it ends up looking more blue than black. I can choose the color option, pick blue and then reduce the blues until I feel the color of the suit is more accurate. Works like a charm every time! Another common example is if someone is cold and has really red nose or cheeks sometimes you can use this to reduce the intensity of the red in their skin. Be careful though because if you go too far their lips will turn peach and that just never looks right!
The color option is really powerful and I find myself using it often!! If you have some weird color casts going on in the room (or with grass) you can use the color sliders to reduce those unwanted colors in just the right spots. If you need to reduce yellows without changing the temperature of the entire photo, color sliders work great. If you haven’t already, play around with them a bit, I think you will really like what they can do for you!

-
No.05Chromatic Aberration
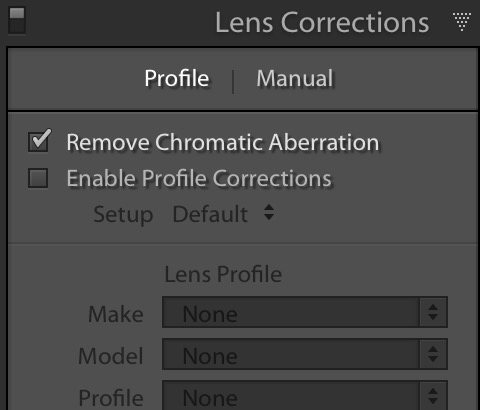
Certain lenses are prone to Chromatic Aberration but often times this happens when there is a very stark line between shadow and highlight (or lights and darks). A purple line will show up where the dark is meeting the light. LR makes it super simple to reduce that purple line by simply going to the Lens Correction section in the Develop module and selecting remove chromatic aberration. Done!

Read more: How to Fix Chromatic Aberration in Lightroom
-
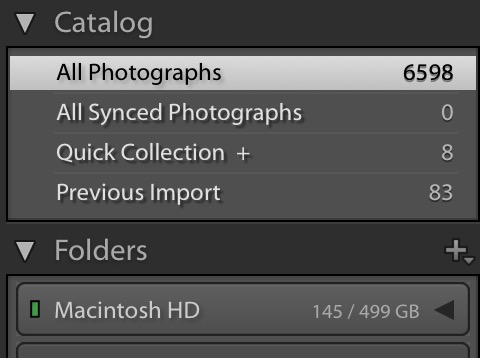
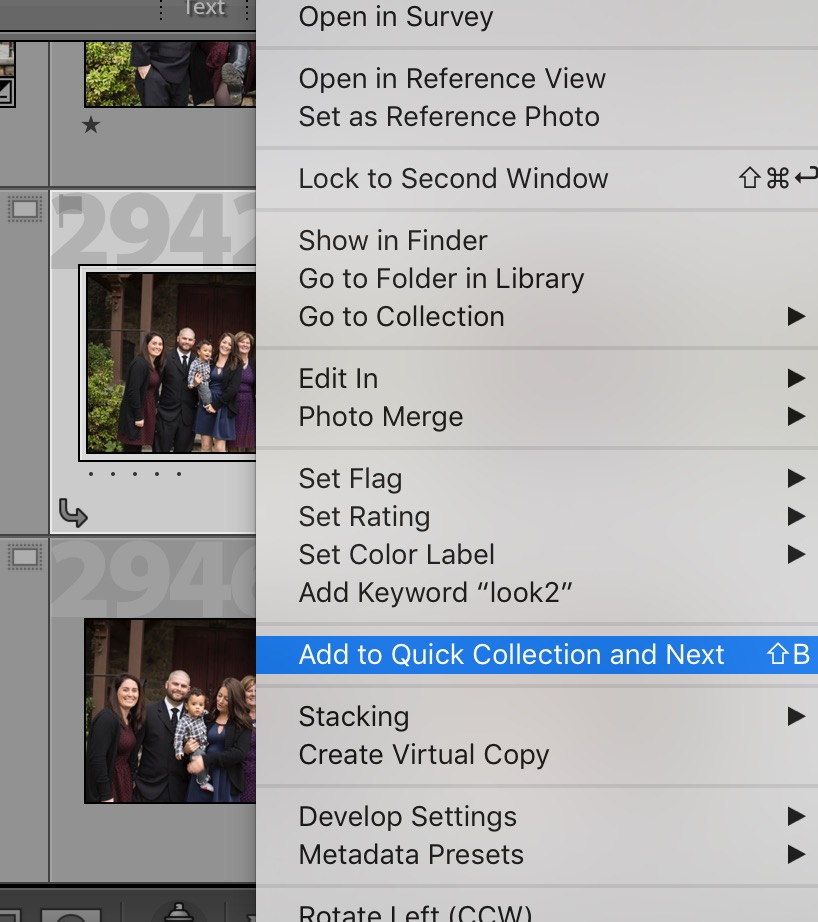
No.06Quick Collection
Adding photos to a quick collection was something I recently found out about and let me tell you it is a game changer. When you add photos to a quick collection, you can then view the quick collection and then move the photos around within the collection.
This could be helpful if you are wanting to edit the photos in a different arrangement aside from any of the ways you can already sort photos in Lightroom. Personally I use it to arrange the photos I want to use in the client’s blog post.
I will move the photos around into the exact same arrangement I want them to flow down the page of the blog post. Then I export then and rename in sequence. Then when I put them into Blogstomp to resize, they will already be in the exact order and I can quickly (like within less than 5 min) stomp them and upload them into my client blog post! Such a time saver!


-
No.07Keyboard Shortcuts
Some of my favorite features of LR are the keyboard shortcuts. A lot of editing is really repetitive and not having to move your hand back to the mouse or the trackpad over and over can end up saving you a lot of time.
Some of my favorites are the crop shortcut which is “r” and when you are in that view if you want to change the crop from portrait to landscape or vice versa, you can select “x”.
If you want to change the orientation of a photo from the get go, press COMMAND { or } (on a mac). This is so much easier than going up to the menu and trying to find the option to change orientation from the menus.
Also, if you find yourself making changes to one slider more often than any other, you can click on that slider and then you’ll be able to move it up or down with the +/- keys! I usually do this with the exposure slider because I’m constantly making tweaks to the exposure.
-
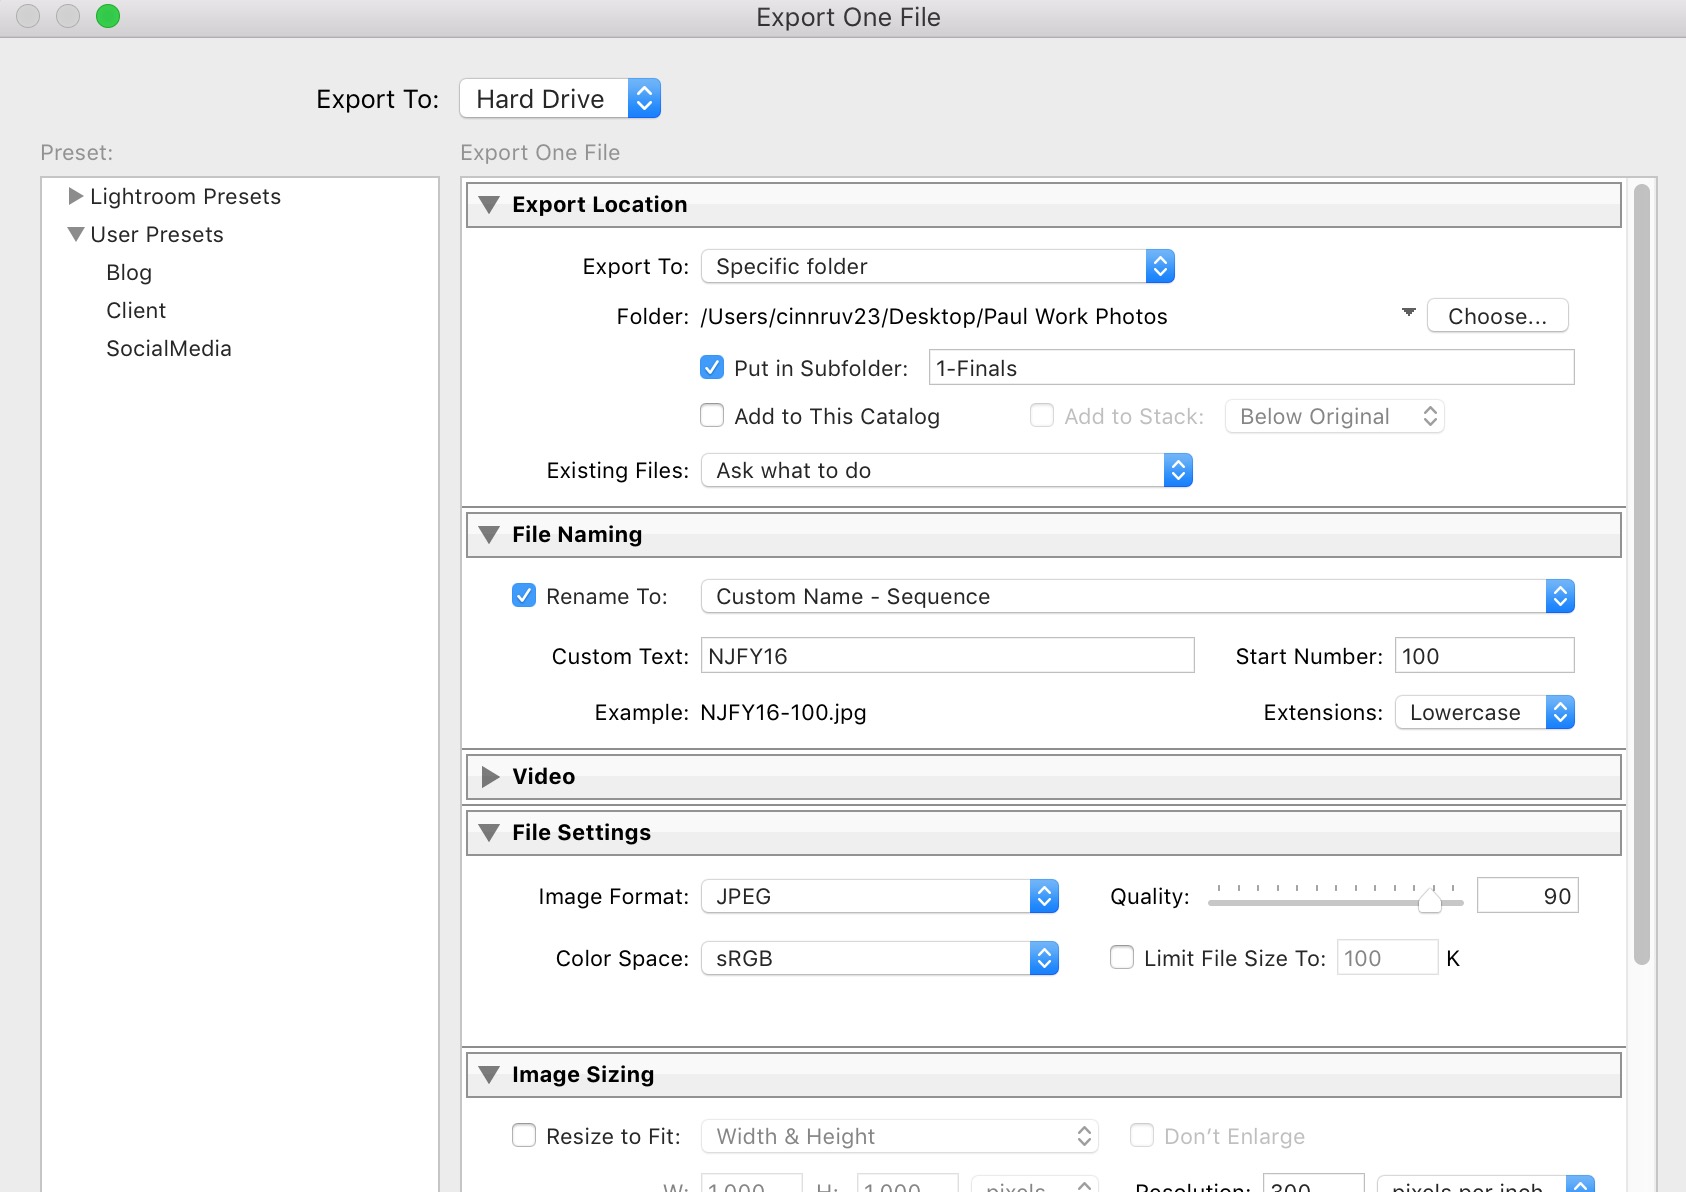
No.08Export Presets
And just like you can make a preset for importing your photos, you can also make a preset for when you are exporting. LR simply makes it super easy to make the repetitive tasks that occur during the editing process much less of a headache!
If you want to export photos from a set at different quality, sizes or with different names, you can set up presets for all of that. When you go to export simply make your selections and then click the ADD button in the bottom left column under presets. Give your preset a name and boom, you are done! So incredibly easy.
I normally use two different presets: one for client photos and one for the blog. I want my client photos to be 90% quality at 300ppi and I want the blog photos to be restricted to 1500 on the long edge. With my export presets all I have to do is click that preset and all of those settings fill in and I can click export. Saves tons of precious time.
I hope you found these tips helpful and I hope that at least some of them were new to you!! Lightroom is an amazing tool for photographers and the more we learn about all of the things it can offer, the more time we get back to what we love doing most, serving our clients!

Read more about Lightroom:
– 3 Ways to Brighten an Image in Lightroom
– How to organize Lightroom with Collections and Collection Sets
– Correcting Lens Distortion in Lightroom


Hello – I am hoping you will get this and reply (and that I will get your response =). A couple months ago, I listened to your webinar and purchased your photography class (which, sadly, I haven’t started yet). I know I am jumping way ahead, but I am homeschooling mom that was volunteered to take “class pictures” of all the kids in our community and I would like to edit them before creating a “yearbook.” However, I am not sure which version of Lightroom you recommend. You actually have post titled, “What Version of Lightroom I Recommend,” but the link is outdated and takes to an Amazon page for a version of Lightroom that is no longer available. Can you please tell me if you would recommend Lightroom Classic or Lightroom CC??
I appreciate your help (and look forward to completing your online course this summer)!
Traci =)
Definitely get Lightroom Classic CC. You can’t control as much with Lightroom CC. I made that mistake starting out and was so confused why I couldn’t change things.
Thank you for this valuable info. I have not subscribed to Lightroom yet and wasn’t sure what it was capable of doing. This definitely lead me in the right direction !
very important advice thank you
Thanks. Very helpful. Enjoy knowing how you personally use the features.