
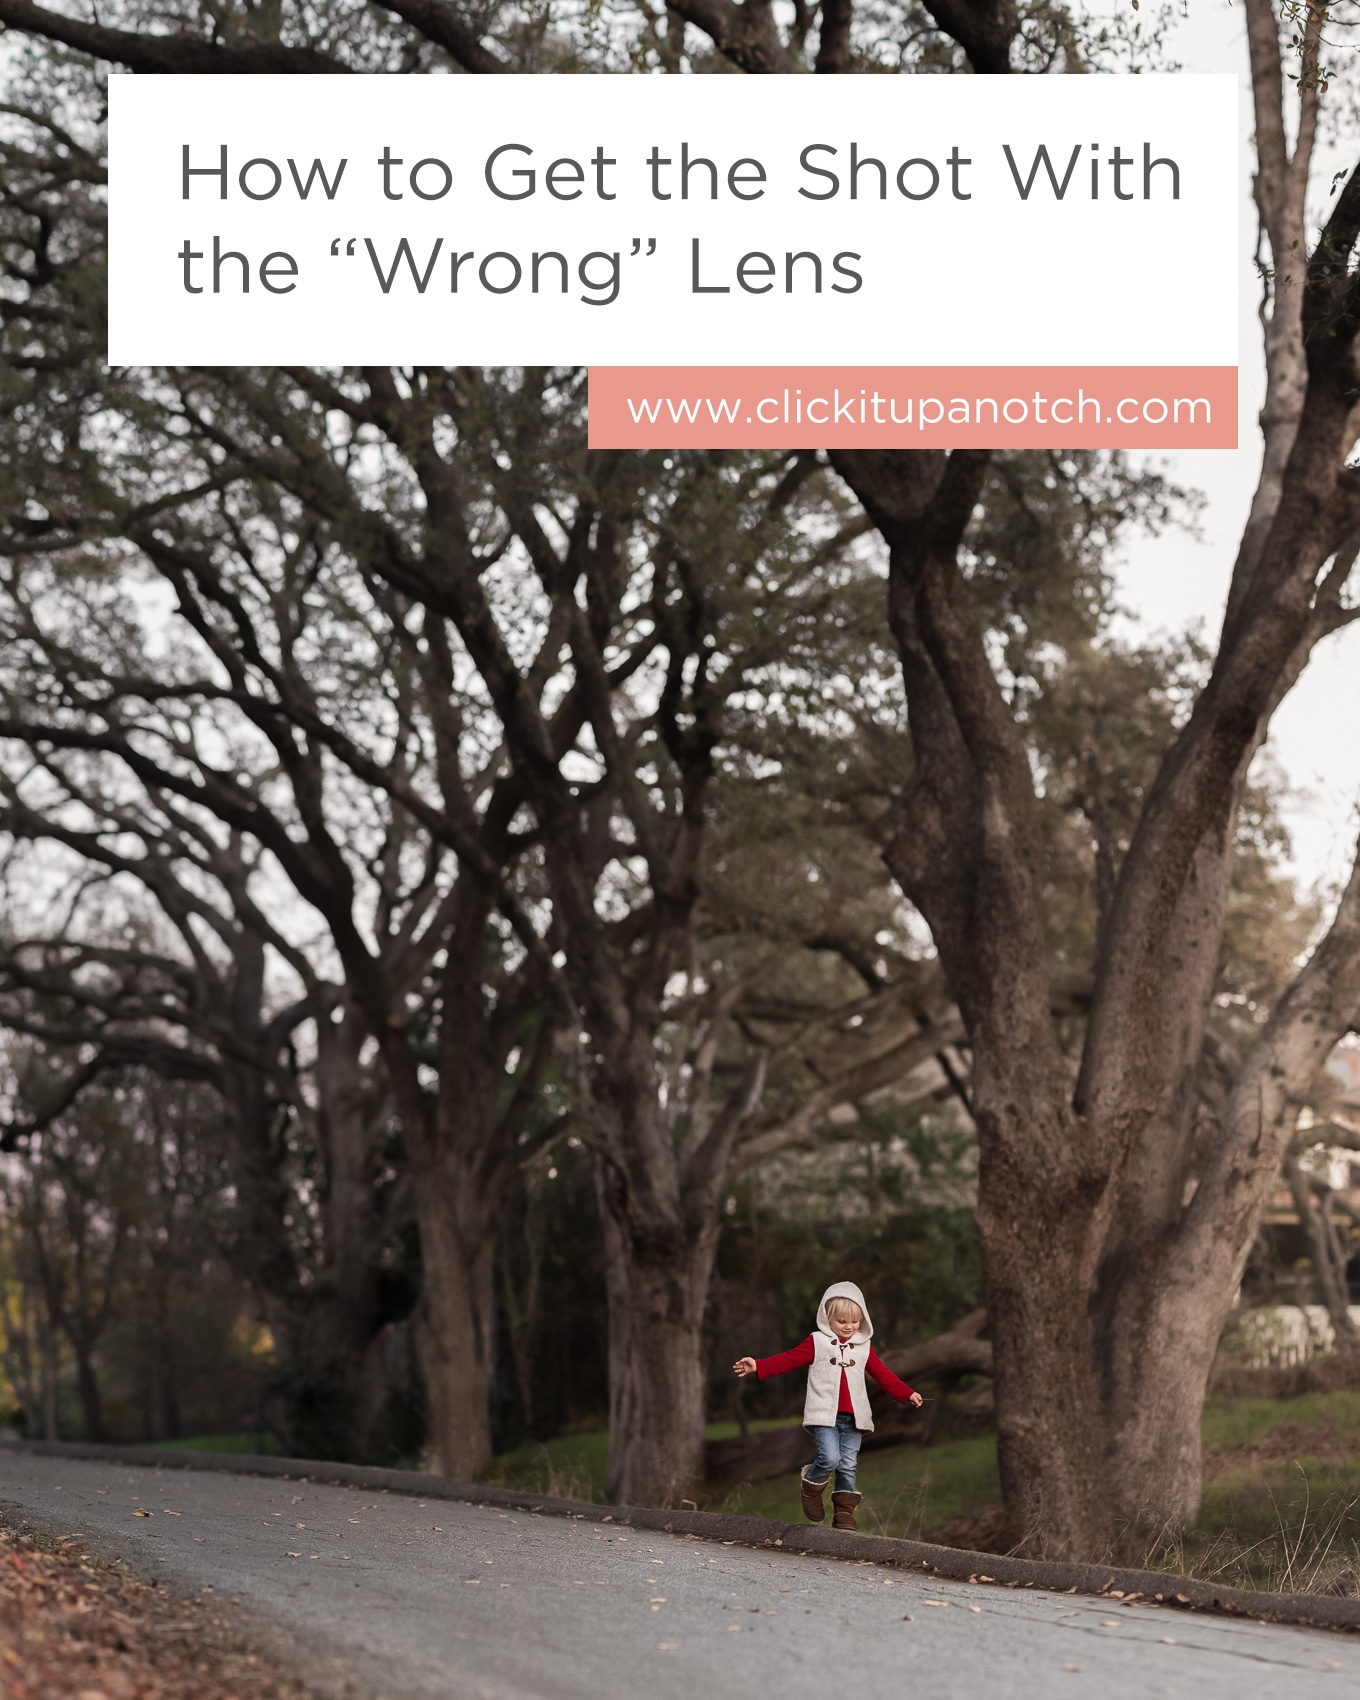
You leave the house, grab your camera, and- to keep it simple- you bring one single lens with you. Not a horrible plan. In fact, this happens to be my go-to most of the time with three kids in tow. If I know we’re going somewhere that I’ll need versatility, I’ll carry my 24-70mm lens. But to be honest, I LOVE my prime lenses, and sometimes will just leave one on there and hope for the best.
But then comes the moment that you realize, the lens you have isn’t the right lens for the moment. You can take the shot but it won’t be what you’re looking to capture; either too wide or much too close. This is exactly what happened to me on a recent evening walk with my kids.
Read more: Intro to Photoshop Composites
My daughter was being cute and walking a tightrope on the curb. She was under these enormous arching trees and I really wanted to capture the scale of the scene. I tried it from a few angles and it wasn’t working.

My one and only lens that day was my 85mm- definitely the wrong lens for the job. I moved as far back as I could and wasn’t close to wide enough.
What I really wanted was my 24mm, but since I was empty handed, I decided to improvise. I carefully composed the shot I wanted. Then, with minimal movements, I scanned the scene, shooting over lapping images that I could work with later in Photoshop.
I started at the bottom and took five shots from left to right, then repeated that in the middle section, and again at the top of the trees. Once I got home and uploaded the 16 images (15 of the scene & one of my daughter in the middle of it all), I was ready to begin.
-
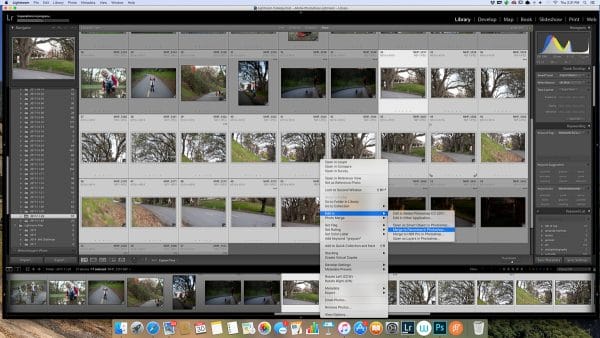
No.01Select Your Images

When in the Library module in Lightroom, begin by selecting the images you want to merge together. Then right click, select “Edit In” and “Merge to Panorama in Photoshop.”
-
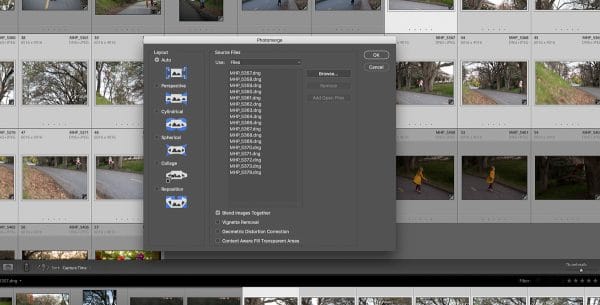
No.02Photomerge

After following the above steps, this screen should pop up. There are several choices on the left. I’ve generally found good success with “Auto” but feel free to play with the other setting and see if you like the merges better with those options.
Depending on how many images you use, this next part can take awhile for Photoshop to “think.” Be patient.
-
No.03Move to Photoshop

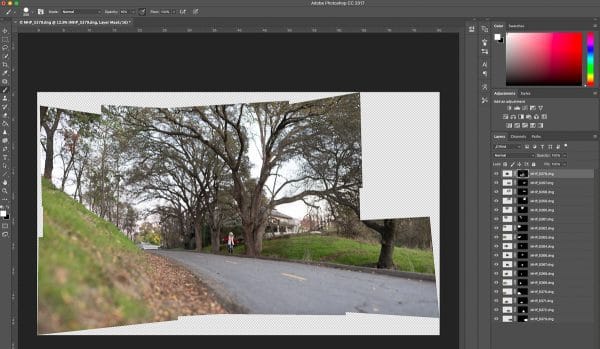
Once the images are merged, you should end up with a sort of jumbled/puzzle like image, with all the layers showing on the right. Photoshop will automatically mask off the images and erase parts that don’t match well with the other layers.
If you changed settings while shooting, you may have to play with these a little bit to make all your layers cohesive.
Or to find an important part, like your subject, which Photoshop kindly left out of my original merger. I ended up having to drag her layer to the top so she would show.
-
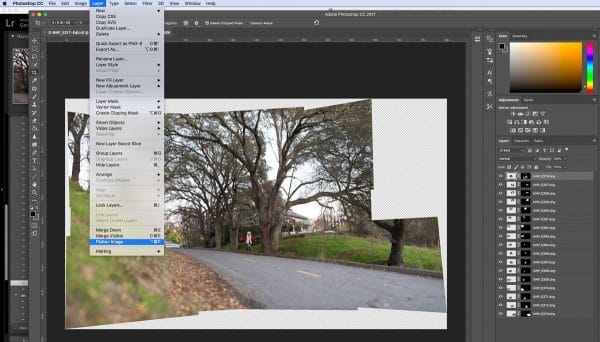
No.04Flatten Image and Save

Go ahead and flatten your image and save it. This should bridge your new image back to Lightroom.
-
No.05Lightroom

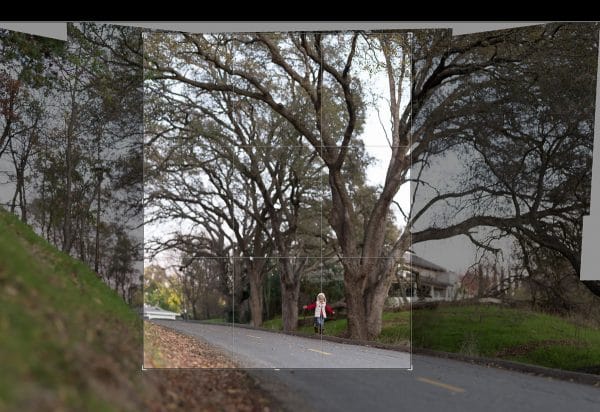
From here, I move back into Lightroom. I prefer this program for cropping because I can easily see what my crop will look like in the upper left preview box.

As you can clearly see, I probably overshot my background a bit, as I cropped in well beyond what I shot. (However, I would always rather have more to work with than not enough.) I opted for a vertical crop to showcase the scale difference between my daughter and the arching trees.
After cropping you can proceed with your standard editing process.
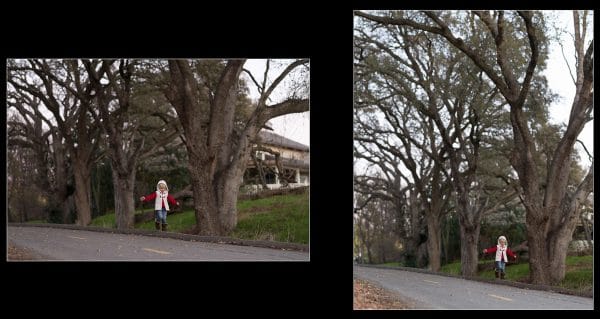
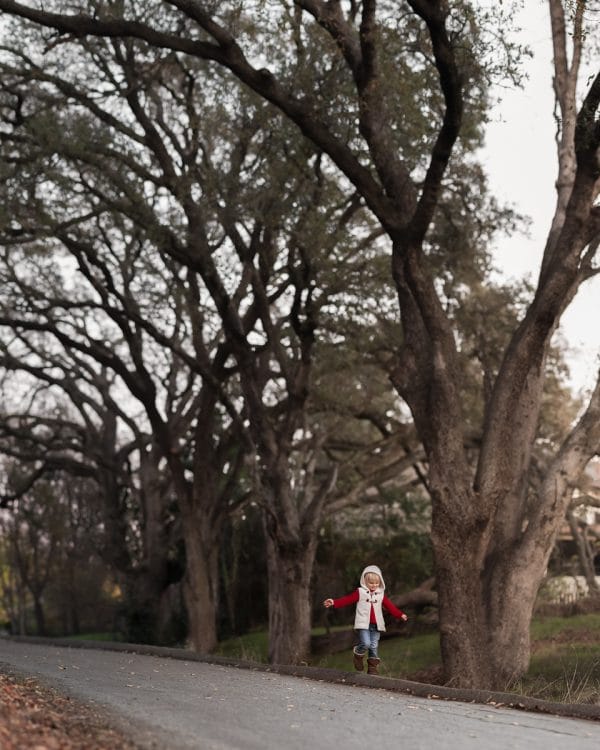
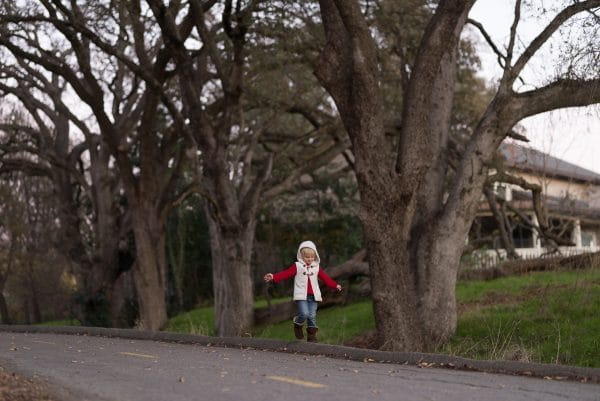
And here is my final image. Not too bad for having the “wrong” lens on my camera. Sometimes you just have to use the tools you’ve got. Happy shooting!
Find more Photoshop Tutorials:
– How to Extend Backgrounds in Photoshop
– Quick Guide to Photoshop: 6 Features You Need to Know About


No comments yet.